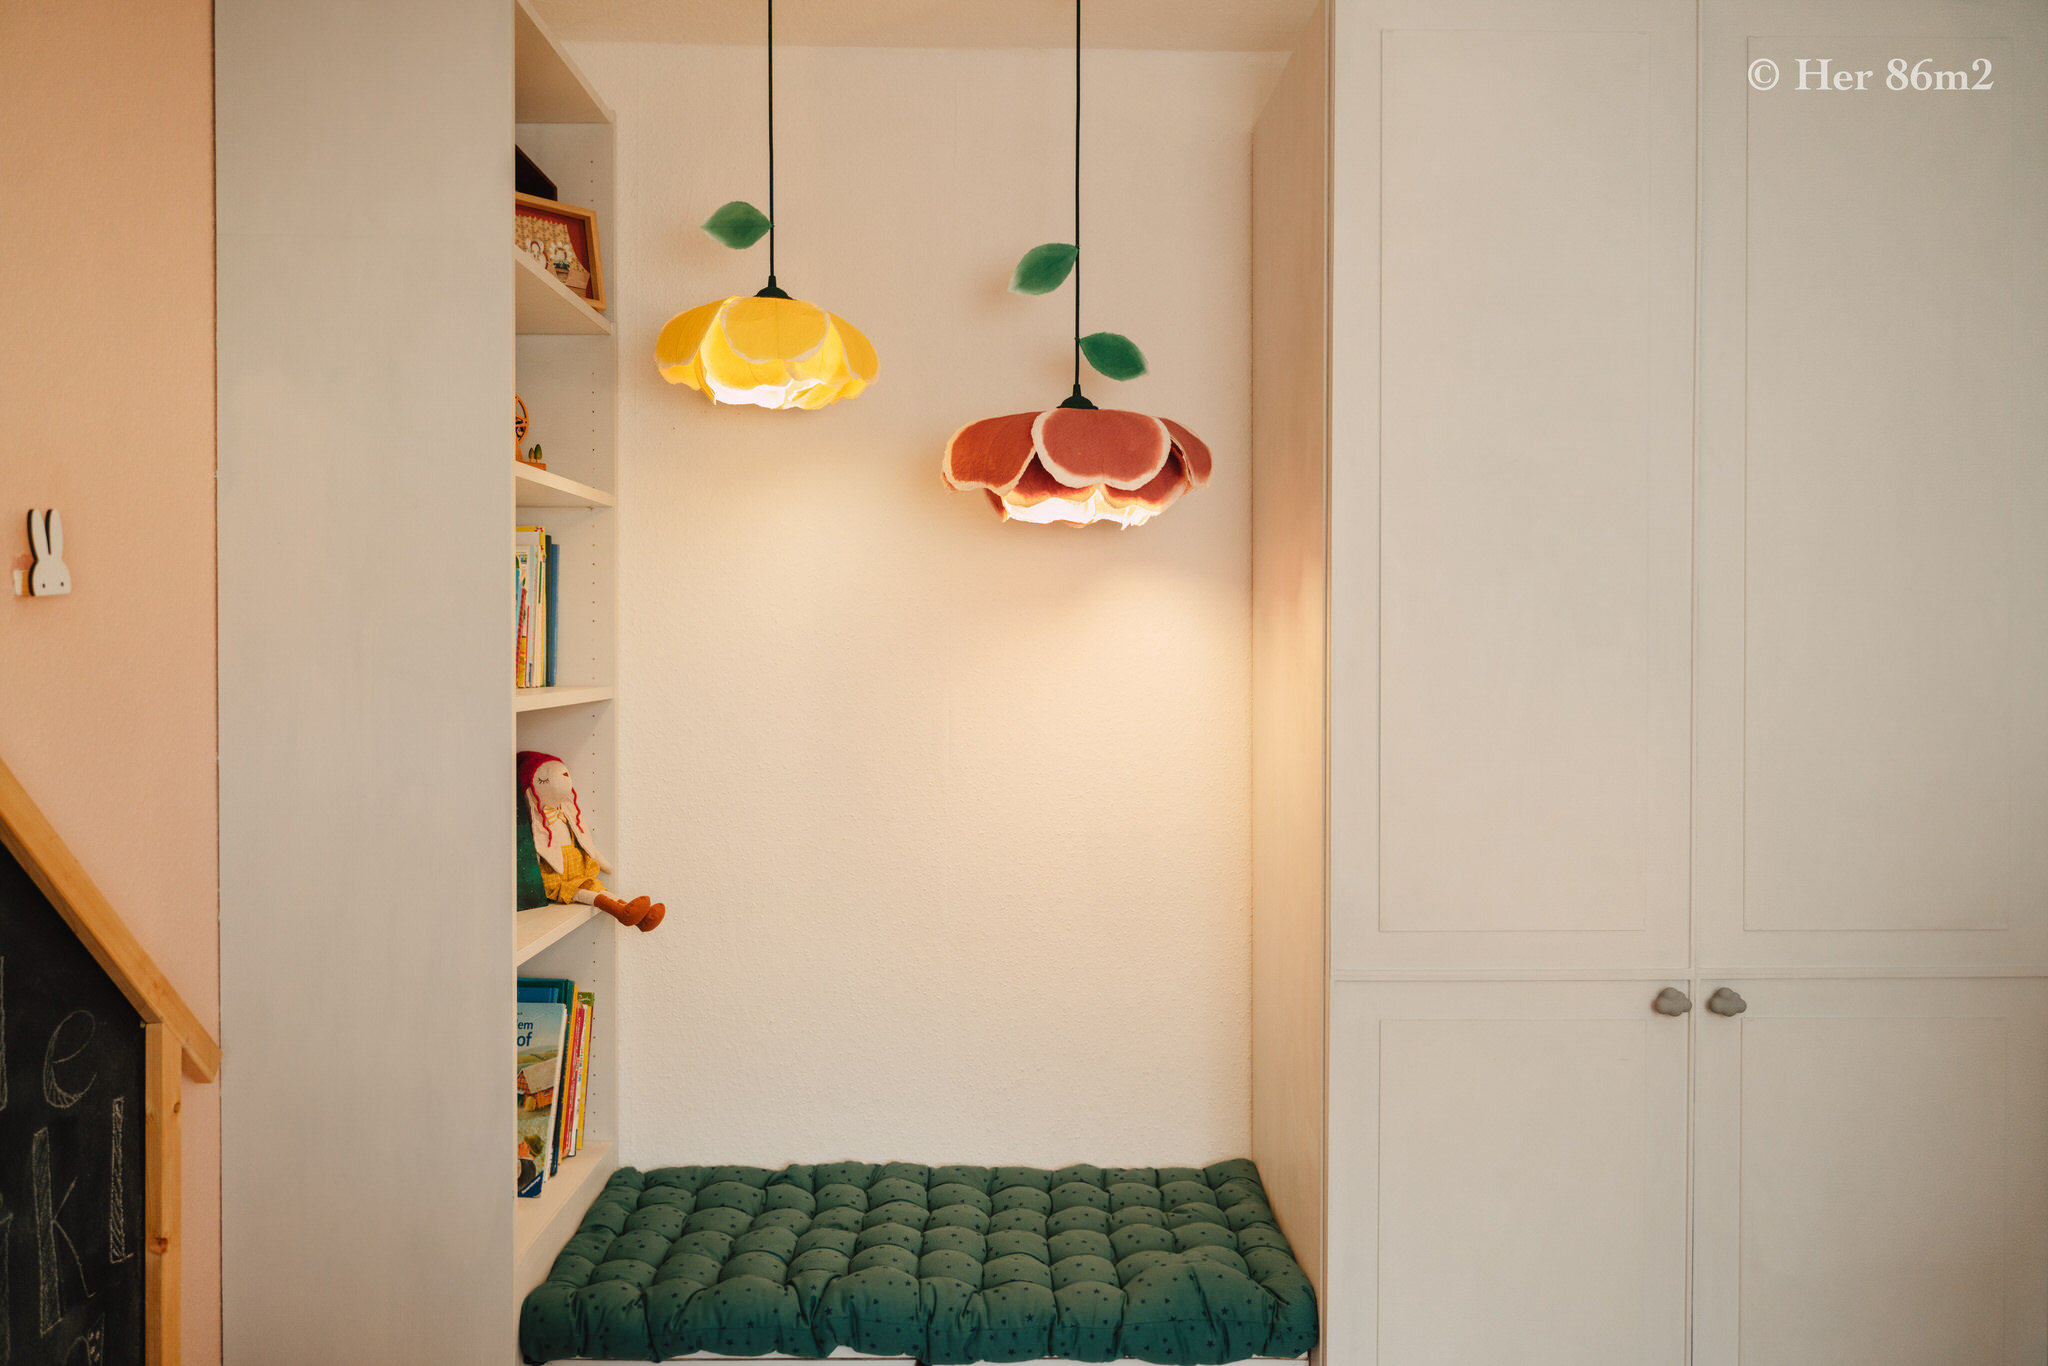
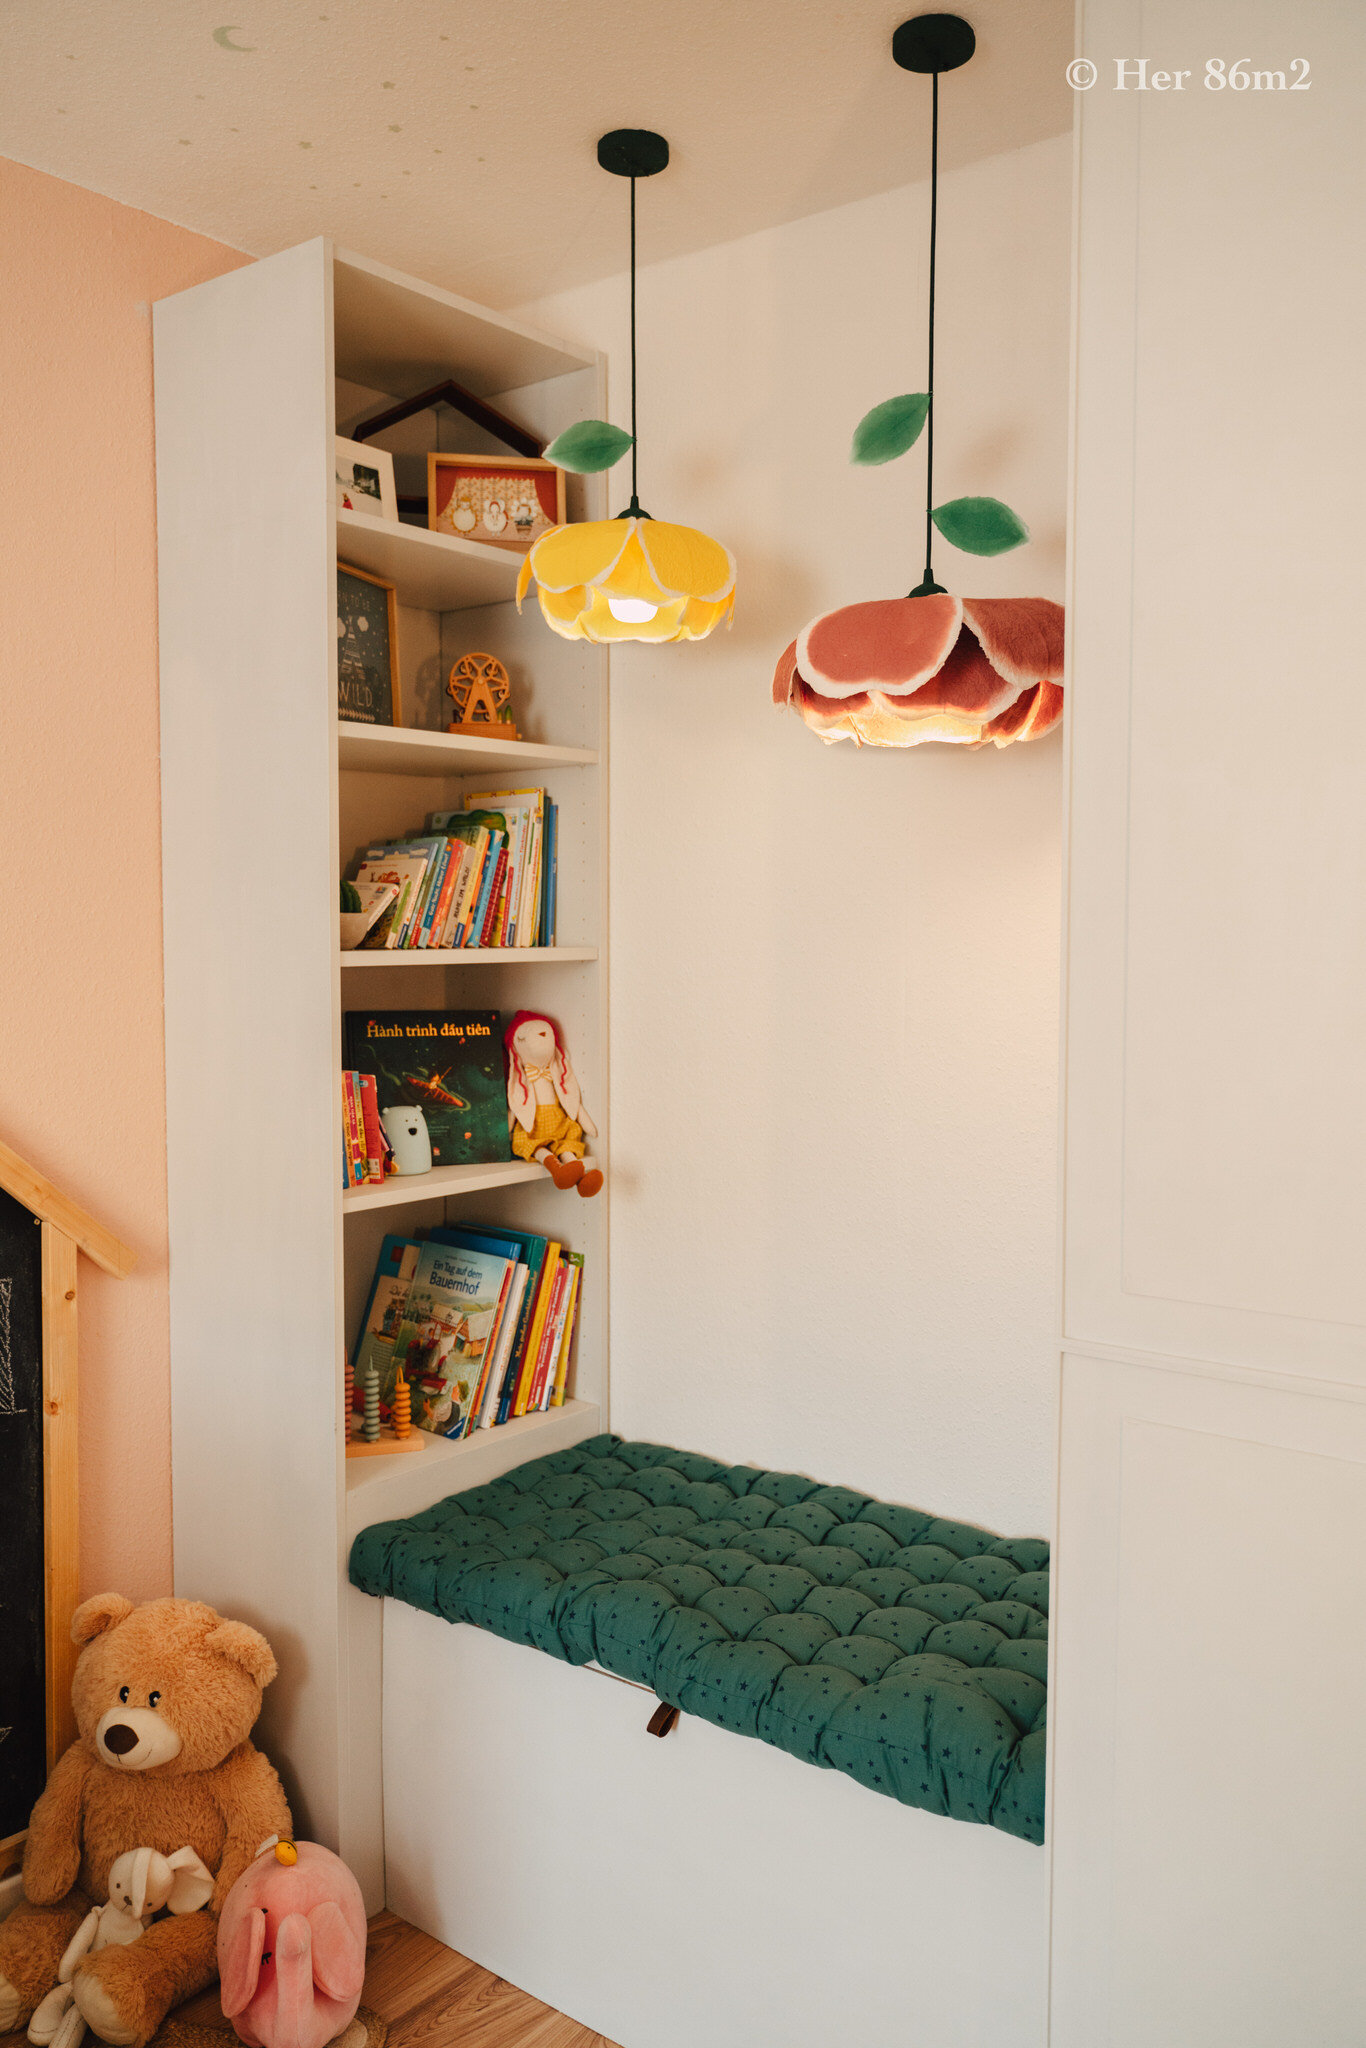
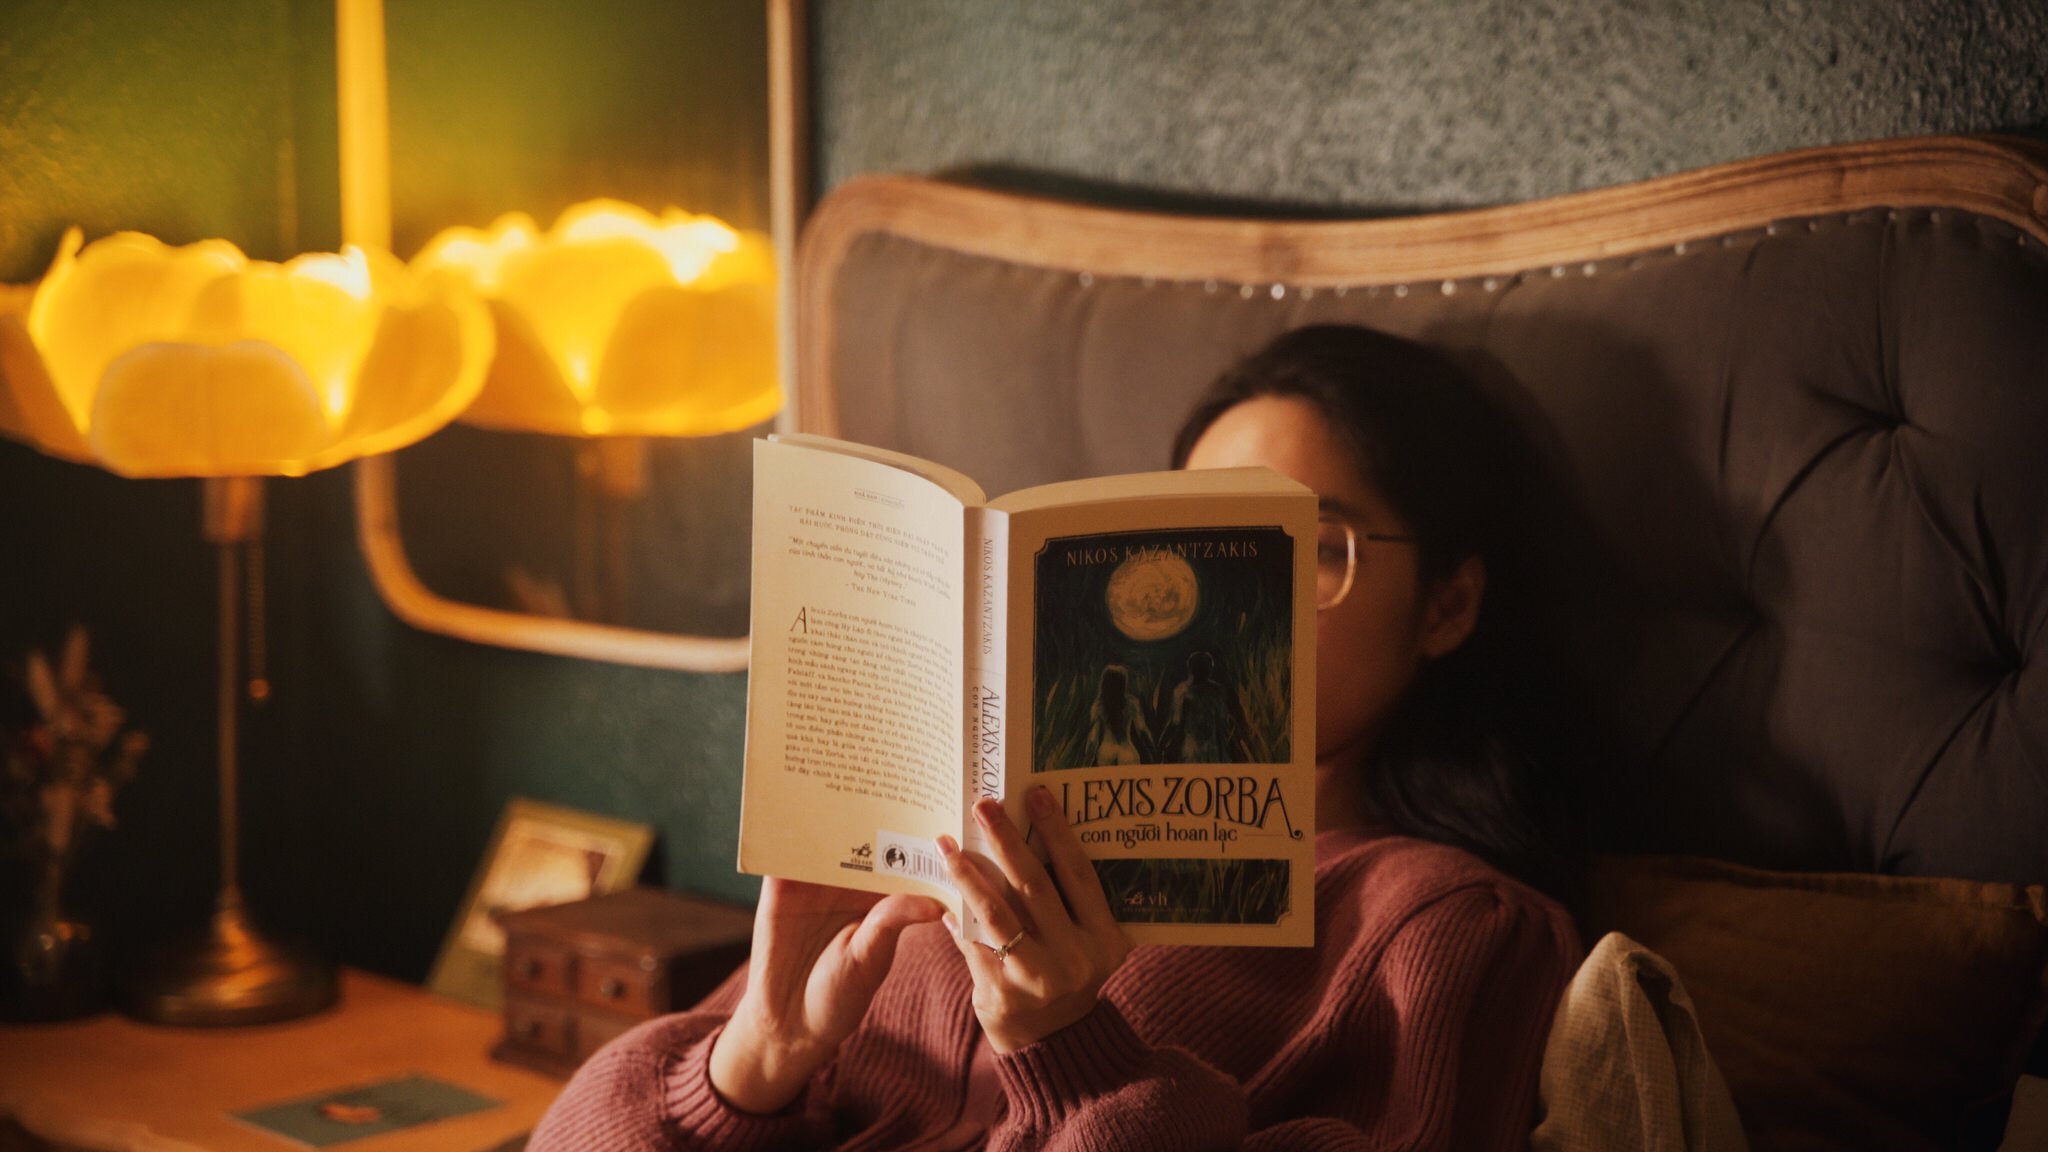
DIY Paper Flower Lampshade | Chụp Đèn Hoa Giấy
Mọi người còn nhớ hai chiếc đèn hoa trong video sửa phòng An không? Hôm nay mình sẽ hướng dẫn cả nhà làm chiếc chụp đèn hoa được làm từ giấy Washi của Nhật.
Ý tưởng này là của Sachie Muramatsu. Cô Sachie có cả trang web để bán chụp đèn hoa như thế này và có shiping toàn thế giới. Nếu bạn nào ngại làm thì có thể mua ở website để ủng hộ cô ấy nhé^^!
Mình đọc được bài phỏng vấn của cô trên tạp chí nên đã tự mày mò tìm cách DIY lại vì ý tưởng quá xinh và độc đáo. Các bạn có thể đọc bài phỏng vấn ở đây.

Do you still remember the two beautiful flower lamps in the Alexia's Room Makeover Video? Today I will show you step by step how to make such a cute flower lampshade made from Japanese Washi paper!
This idea belongs to Sachie Muramatsu. Ms. Sachie even has a website to sell her flower lampshades as well and shiping all over the world. If you don’t have time to do it, you can buy it on the website to support her ^^! I found her through a magazine interview, so I tried to recreate them myself because the idea is so beautiful and unique - also making them was as fun as the results :). You can read the interview here.
🌱 Cách làm:
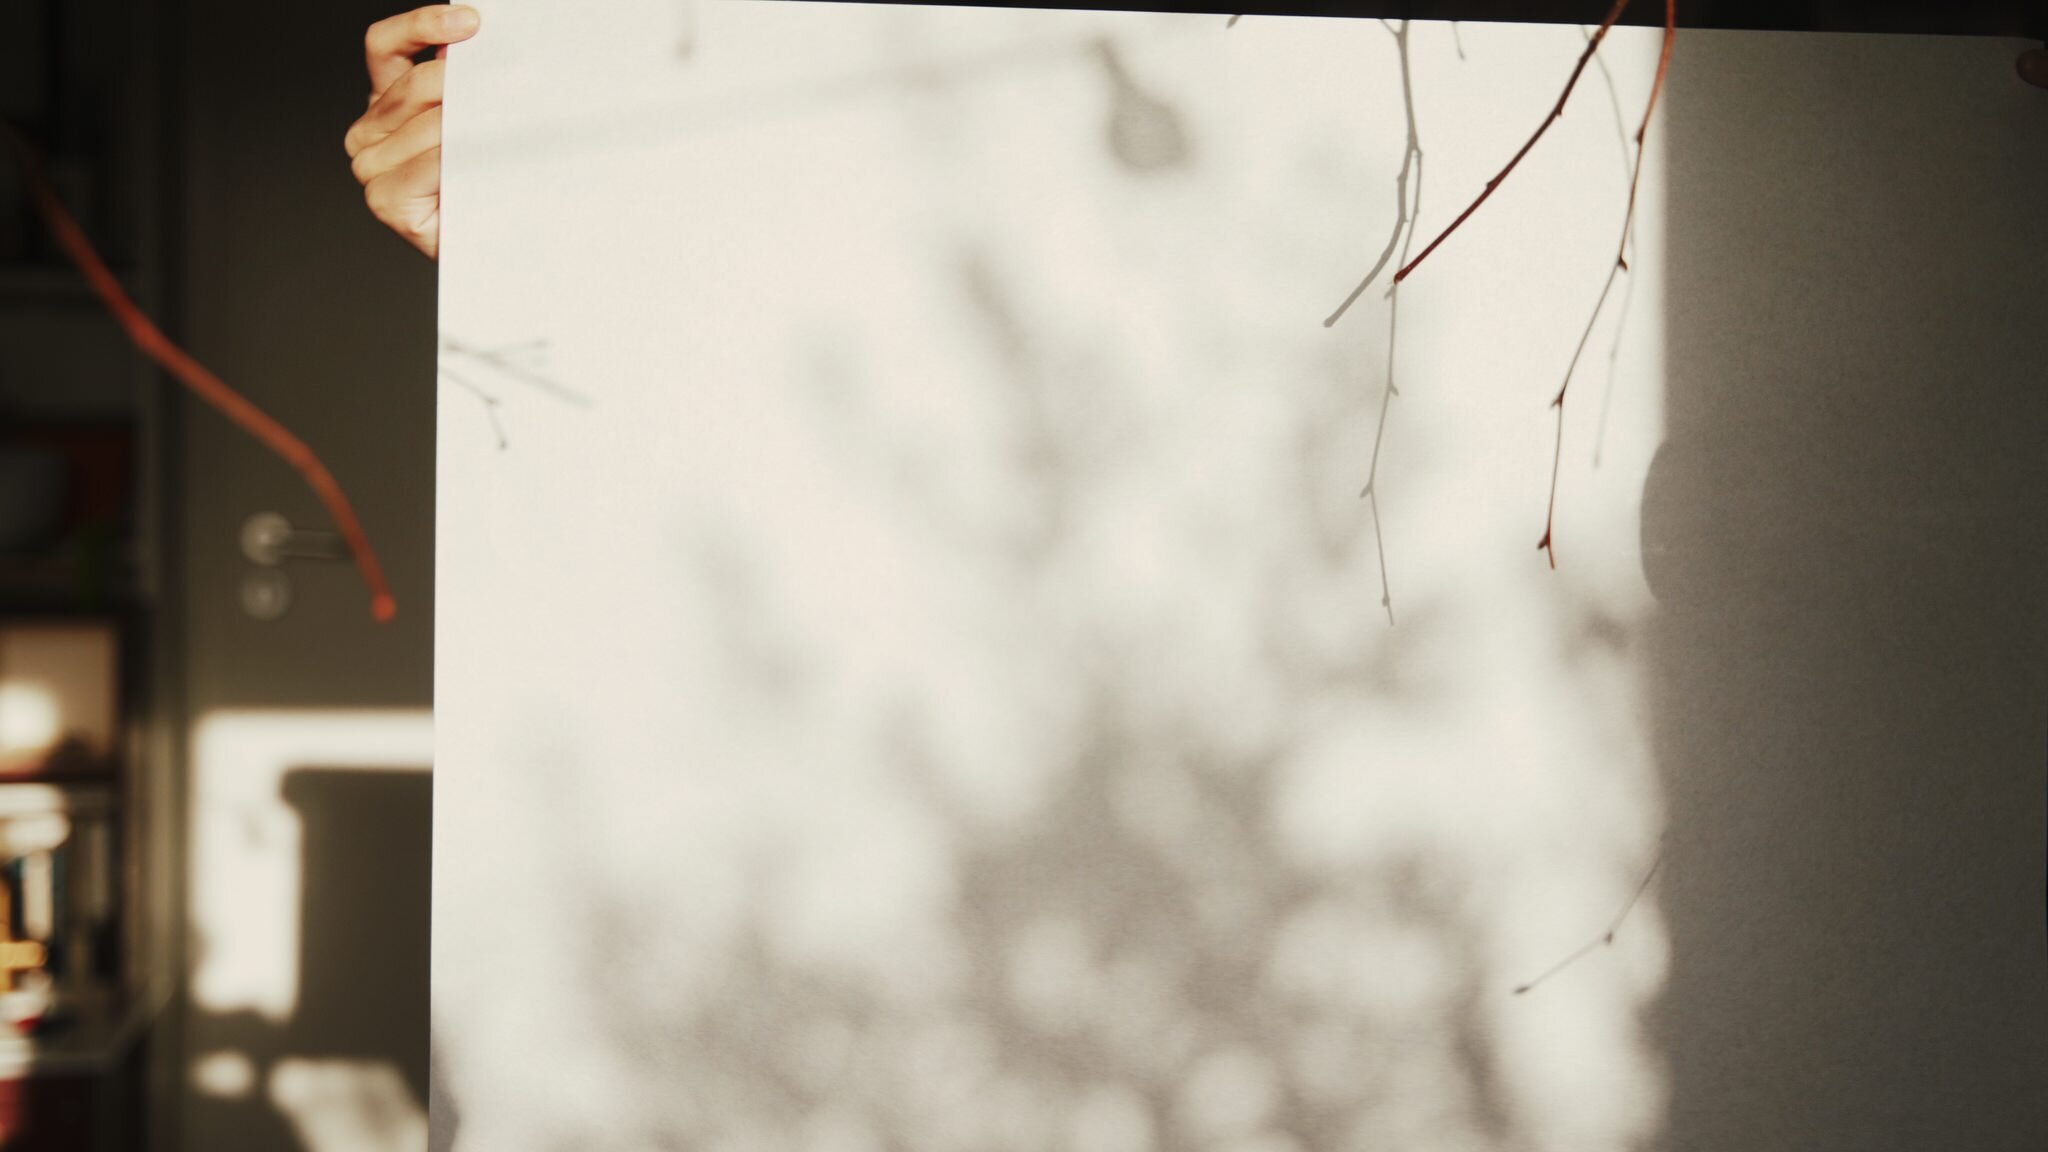
Vẽ hình dáng loại cánh hoa mà bạn thích lên bìa cứng để tạo khuôn.
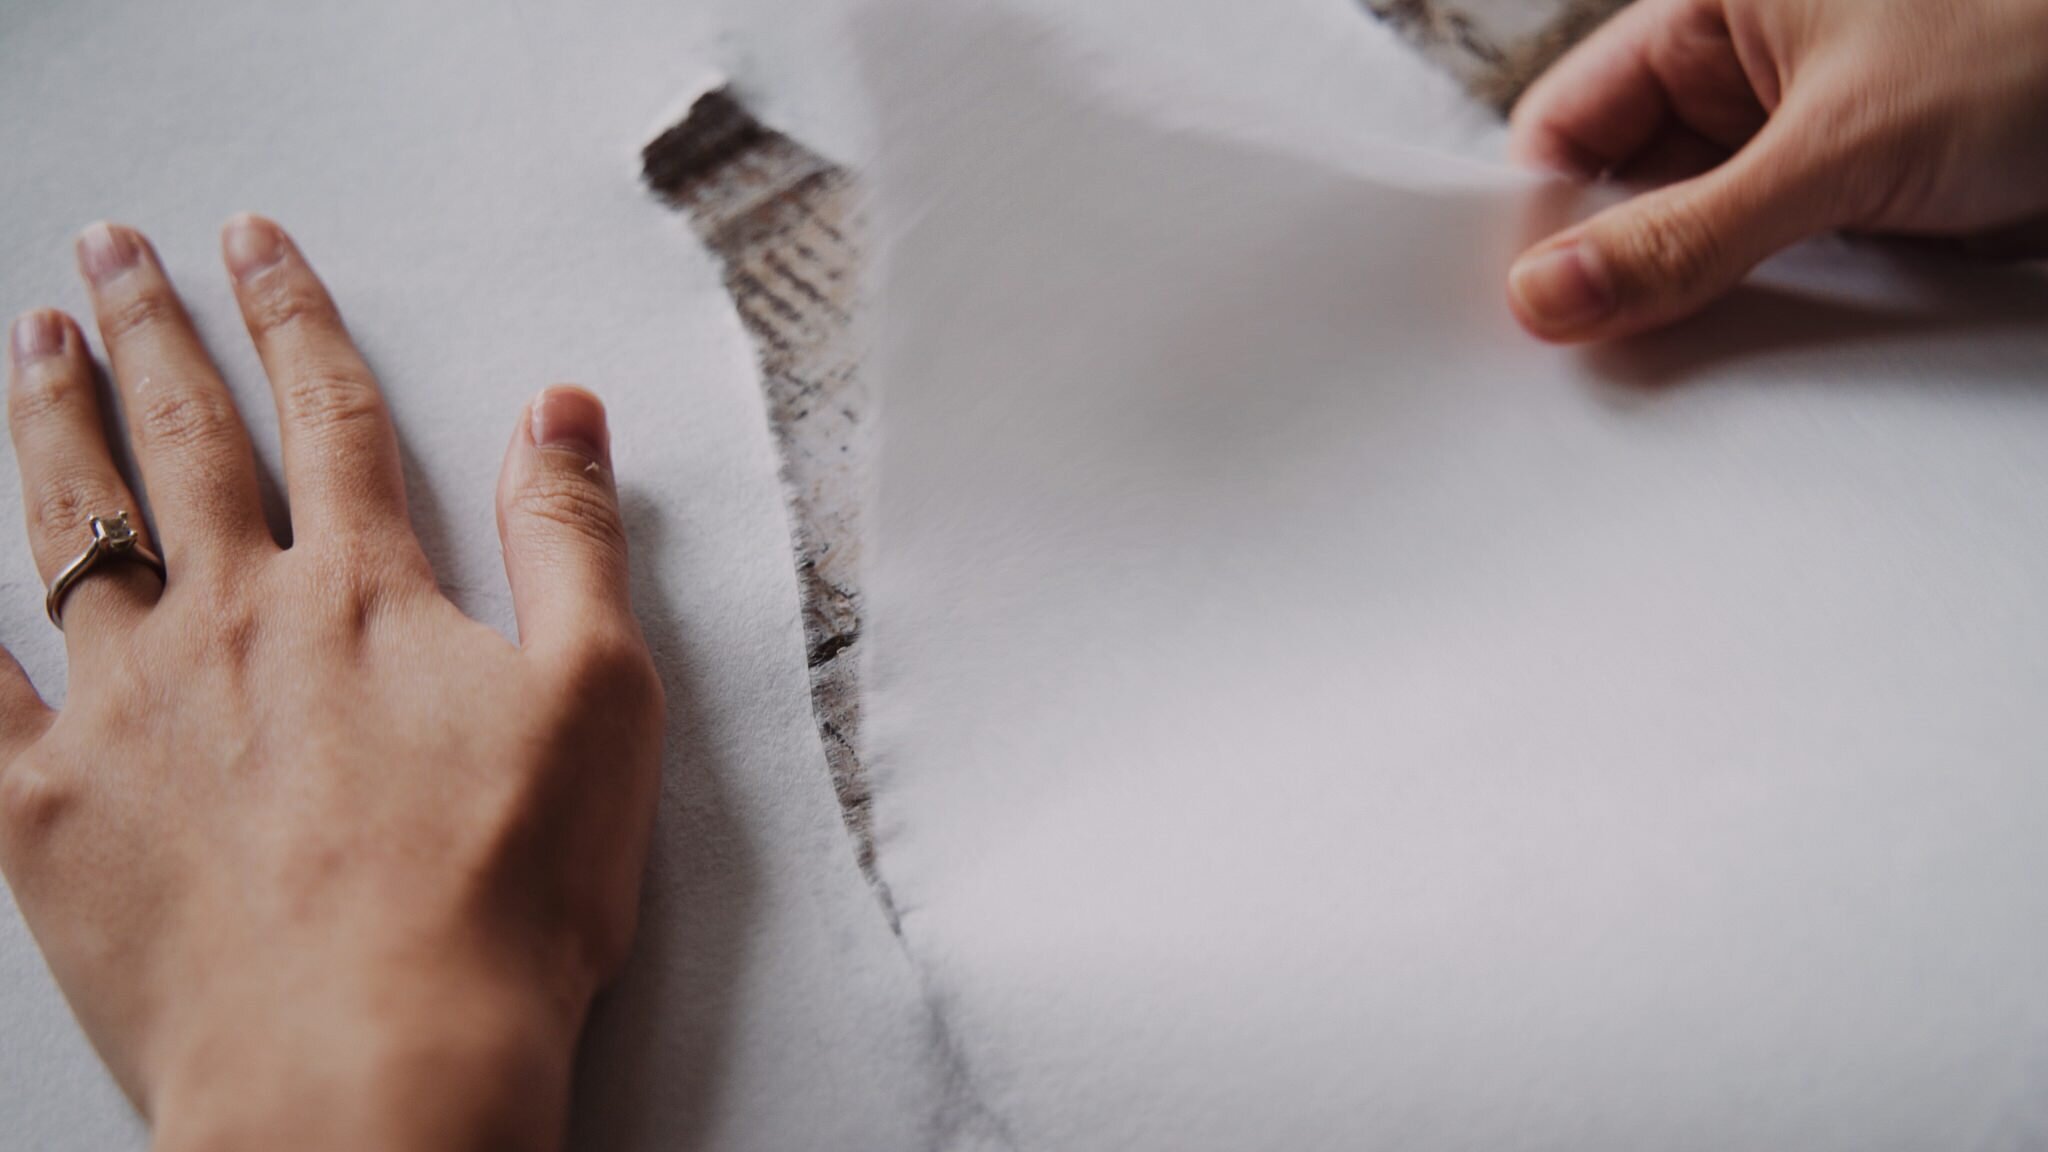
Ốp khuôn lên giấy Washi rồi dùng dao dọc giấy rạch nhẹ. KHÔNG RẠCH ĐỨT mà chỉ rạch nhẹ trên bề mặt. Phết chút nước dọc theo vết rạch sau đó dùng tay xé giấy. Nước làm mềm giấy nên xé dễ hơn khi giấy khô. Làm cách này thì cánh hoa sẽ có tơ giấy tủa ra, nhìn đẹp mắt hơn nhiều so với việc rạch hay cắt đứt bằng dao kéo. Lưu ý: xé nhẹ nhàng từng vùng để tránh làm rách hay hỏng cánh hoa.
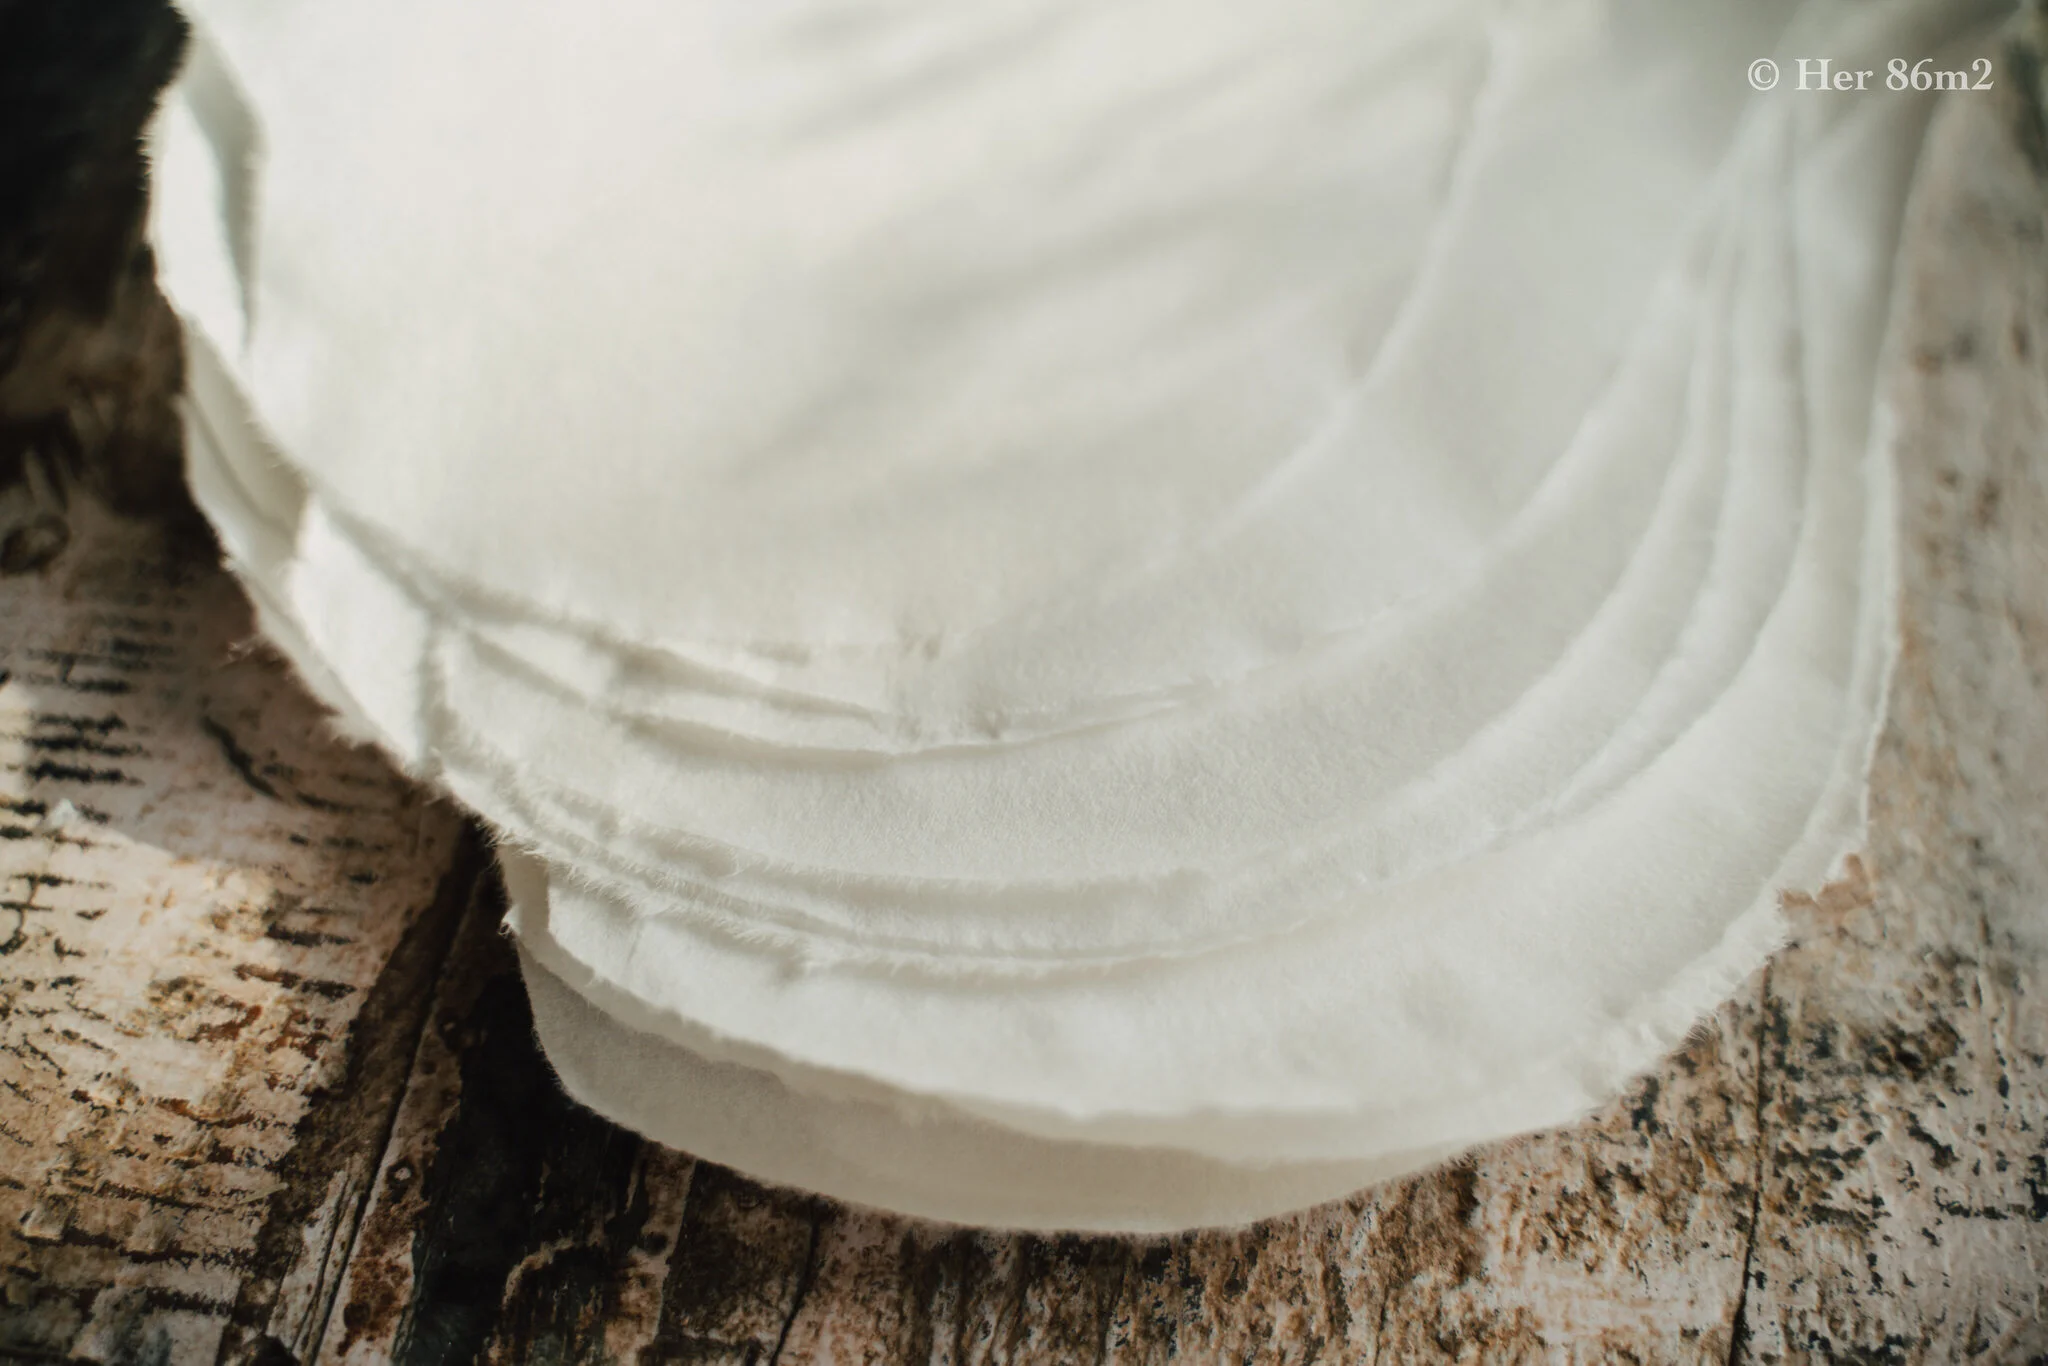
Cứ hai lớp giấy sẽ tạo thành một cánh hoa. Một bông hoa cần khoảng 12 cánh hoa. Vậy ta cần xé 24 lớp giấy.
🌱 INSTRUCTION:
Draw the shape of the petal the way you like on the cardboard to create some kind of ‘molding’.
Place the ‘molding’ on the Washi paper and use a pen cutter. Let the shape guide your hand and gently cut it. DON’T CUT THROUGH THE PAPER - only create a slight incision on the paper surface. Spray water along the incision line, then tear the paper gently and slowly with your bare hands. The soaked paper should be easy to teared off than dry paper. By doing this, the petals looks lovely with their natural deckle, which look much better than straight edge by cutting.
Every two layers of paper will form a petal. A flower needs about 12 petals. So we need 24 layers of paper.
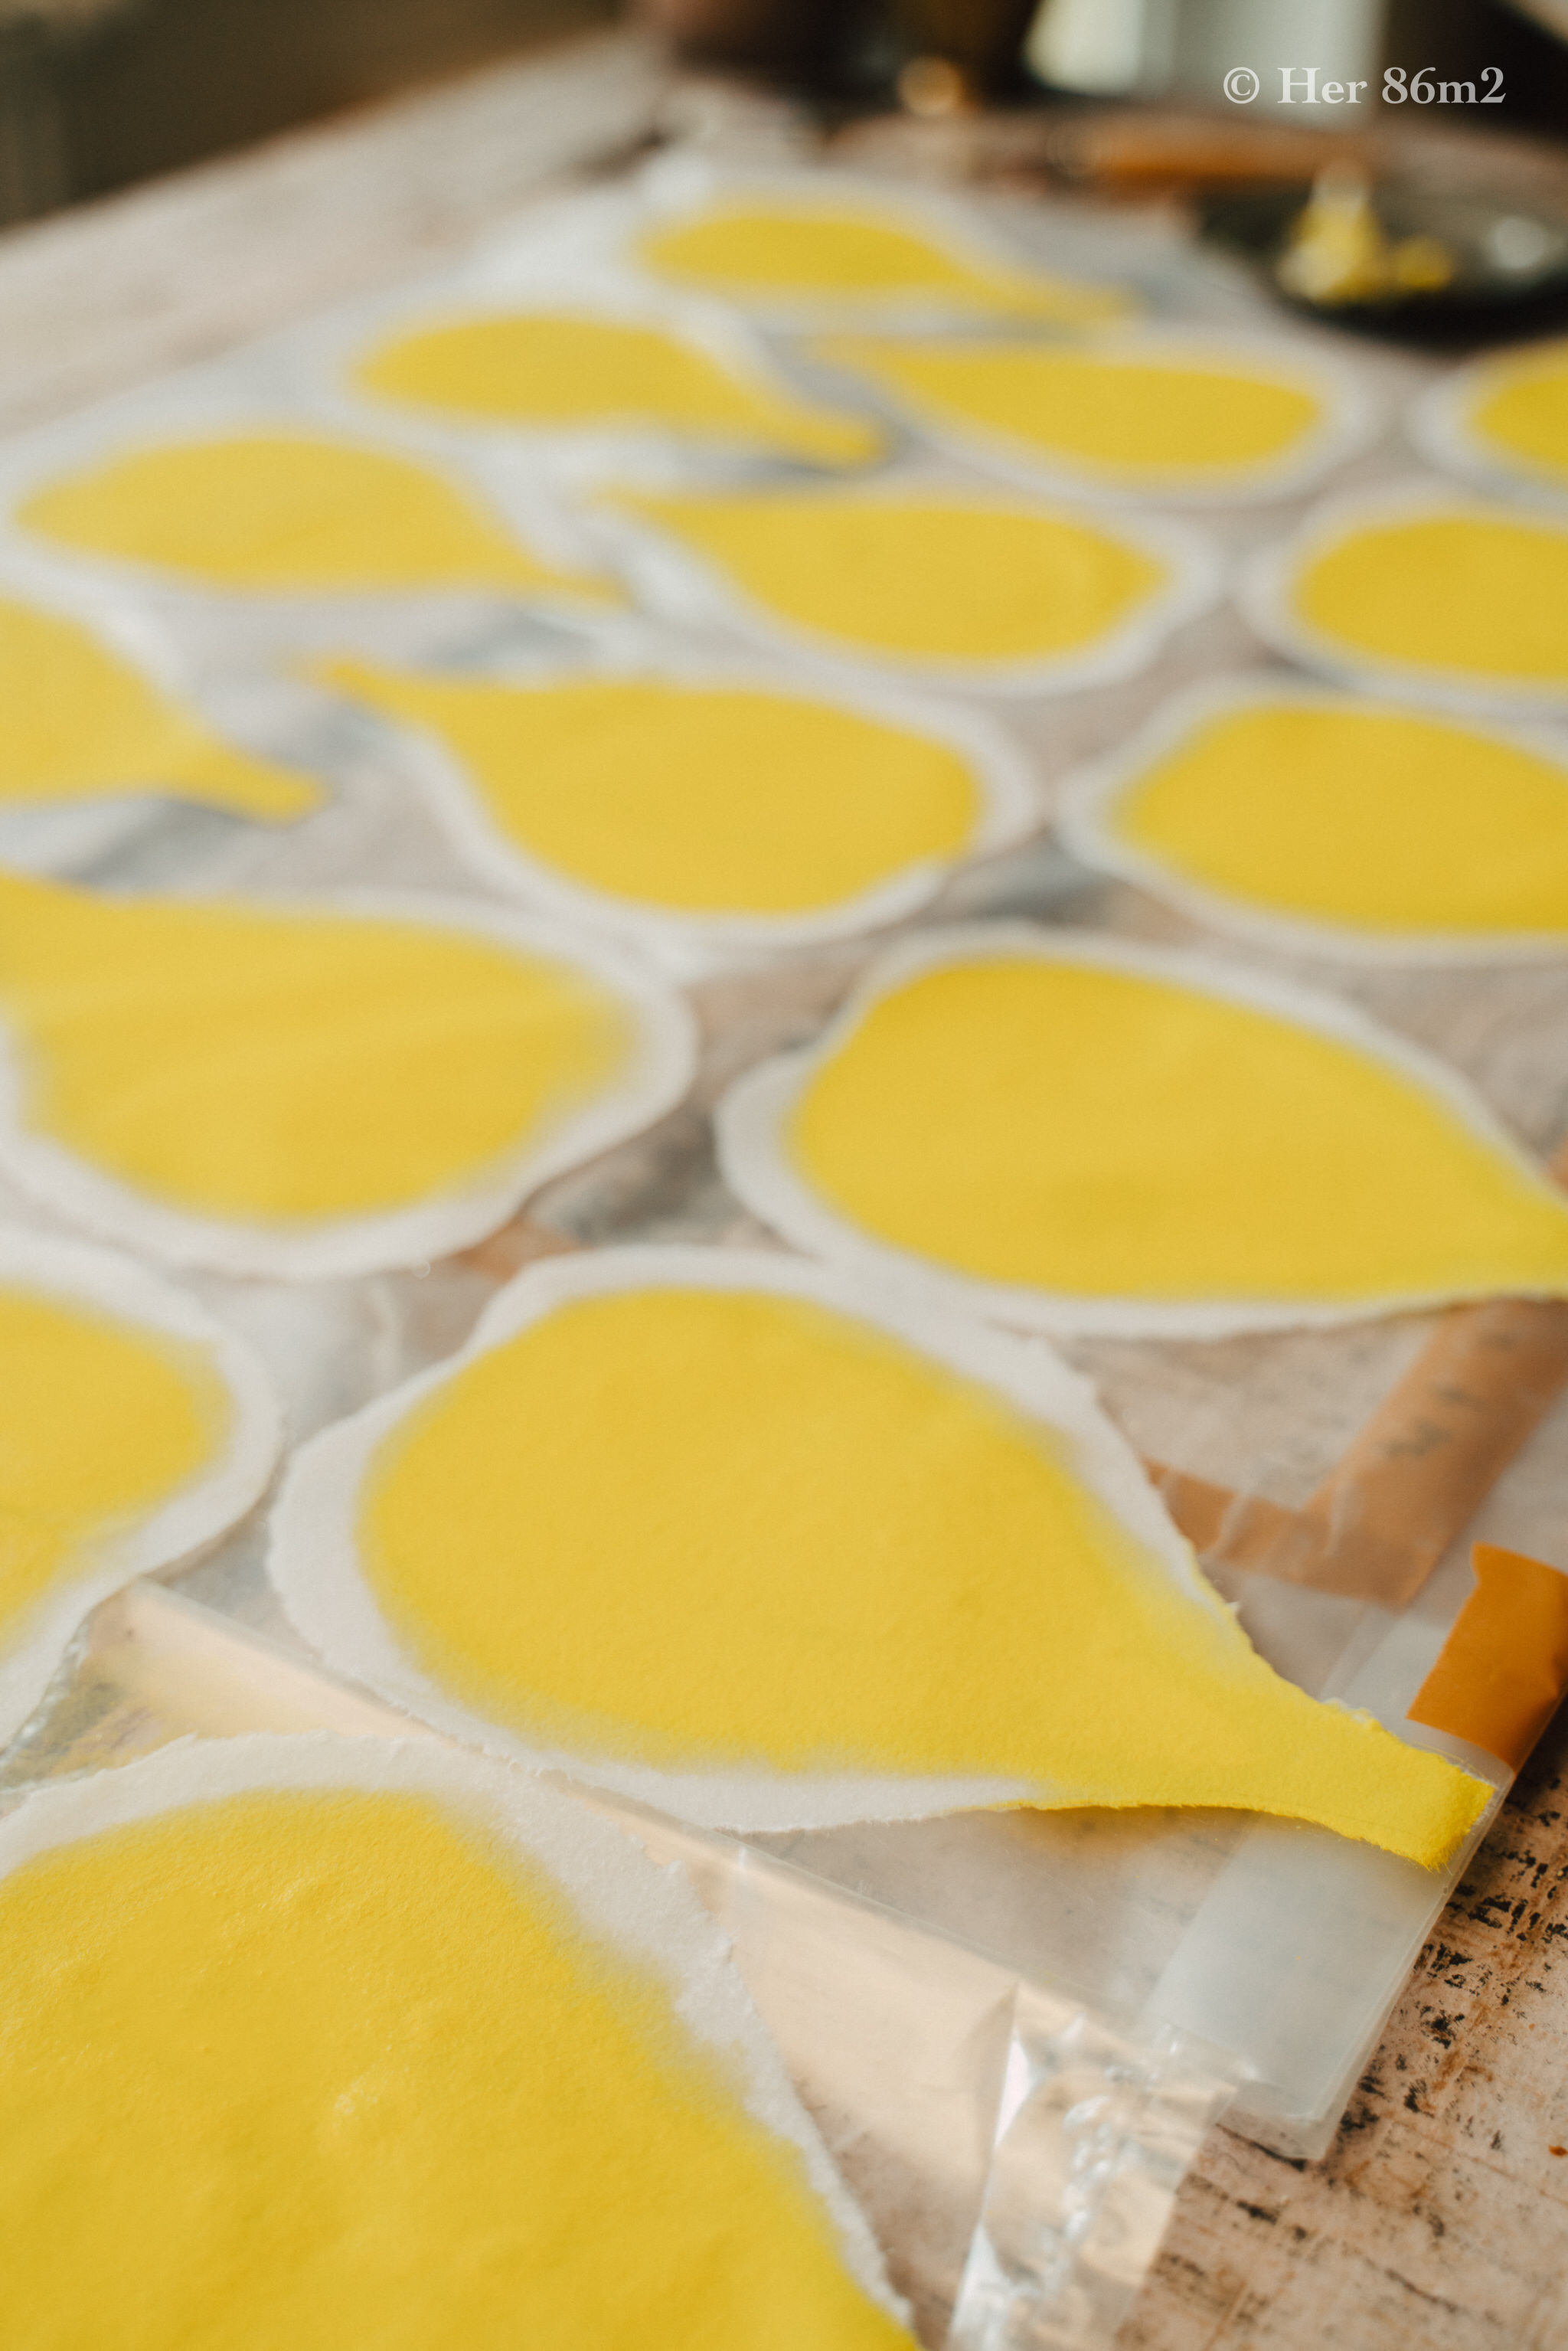
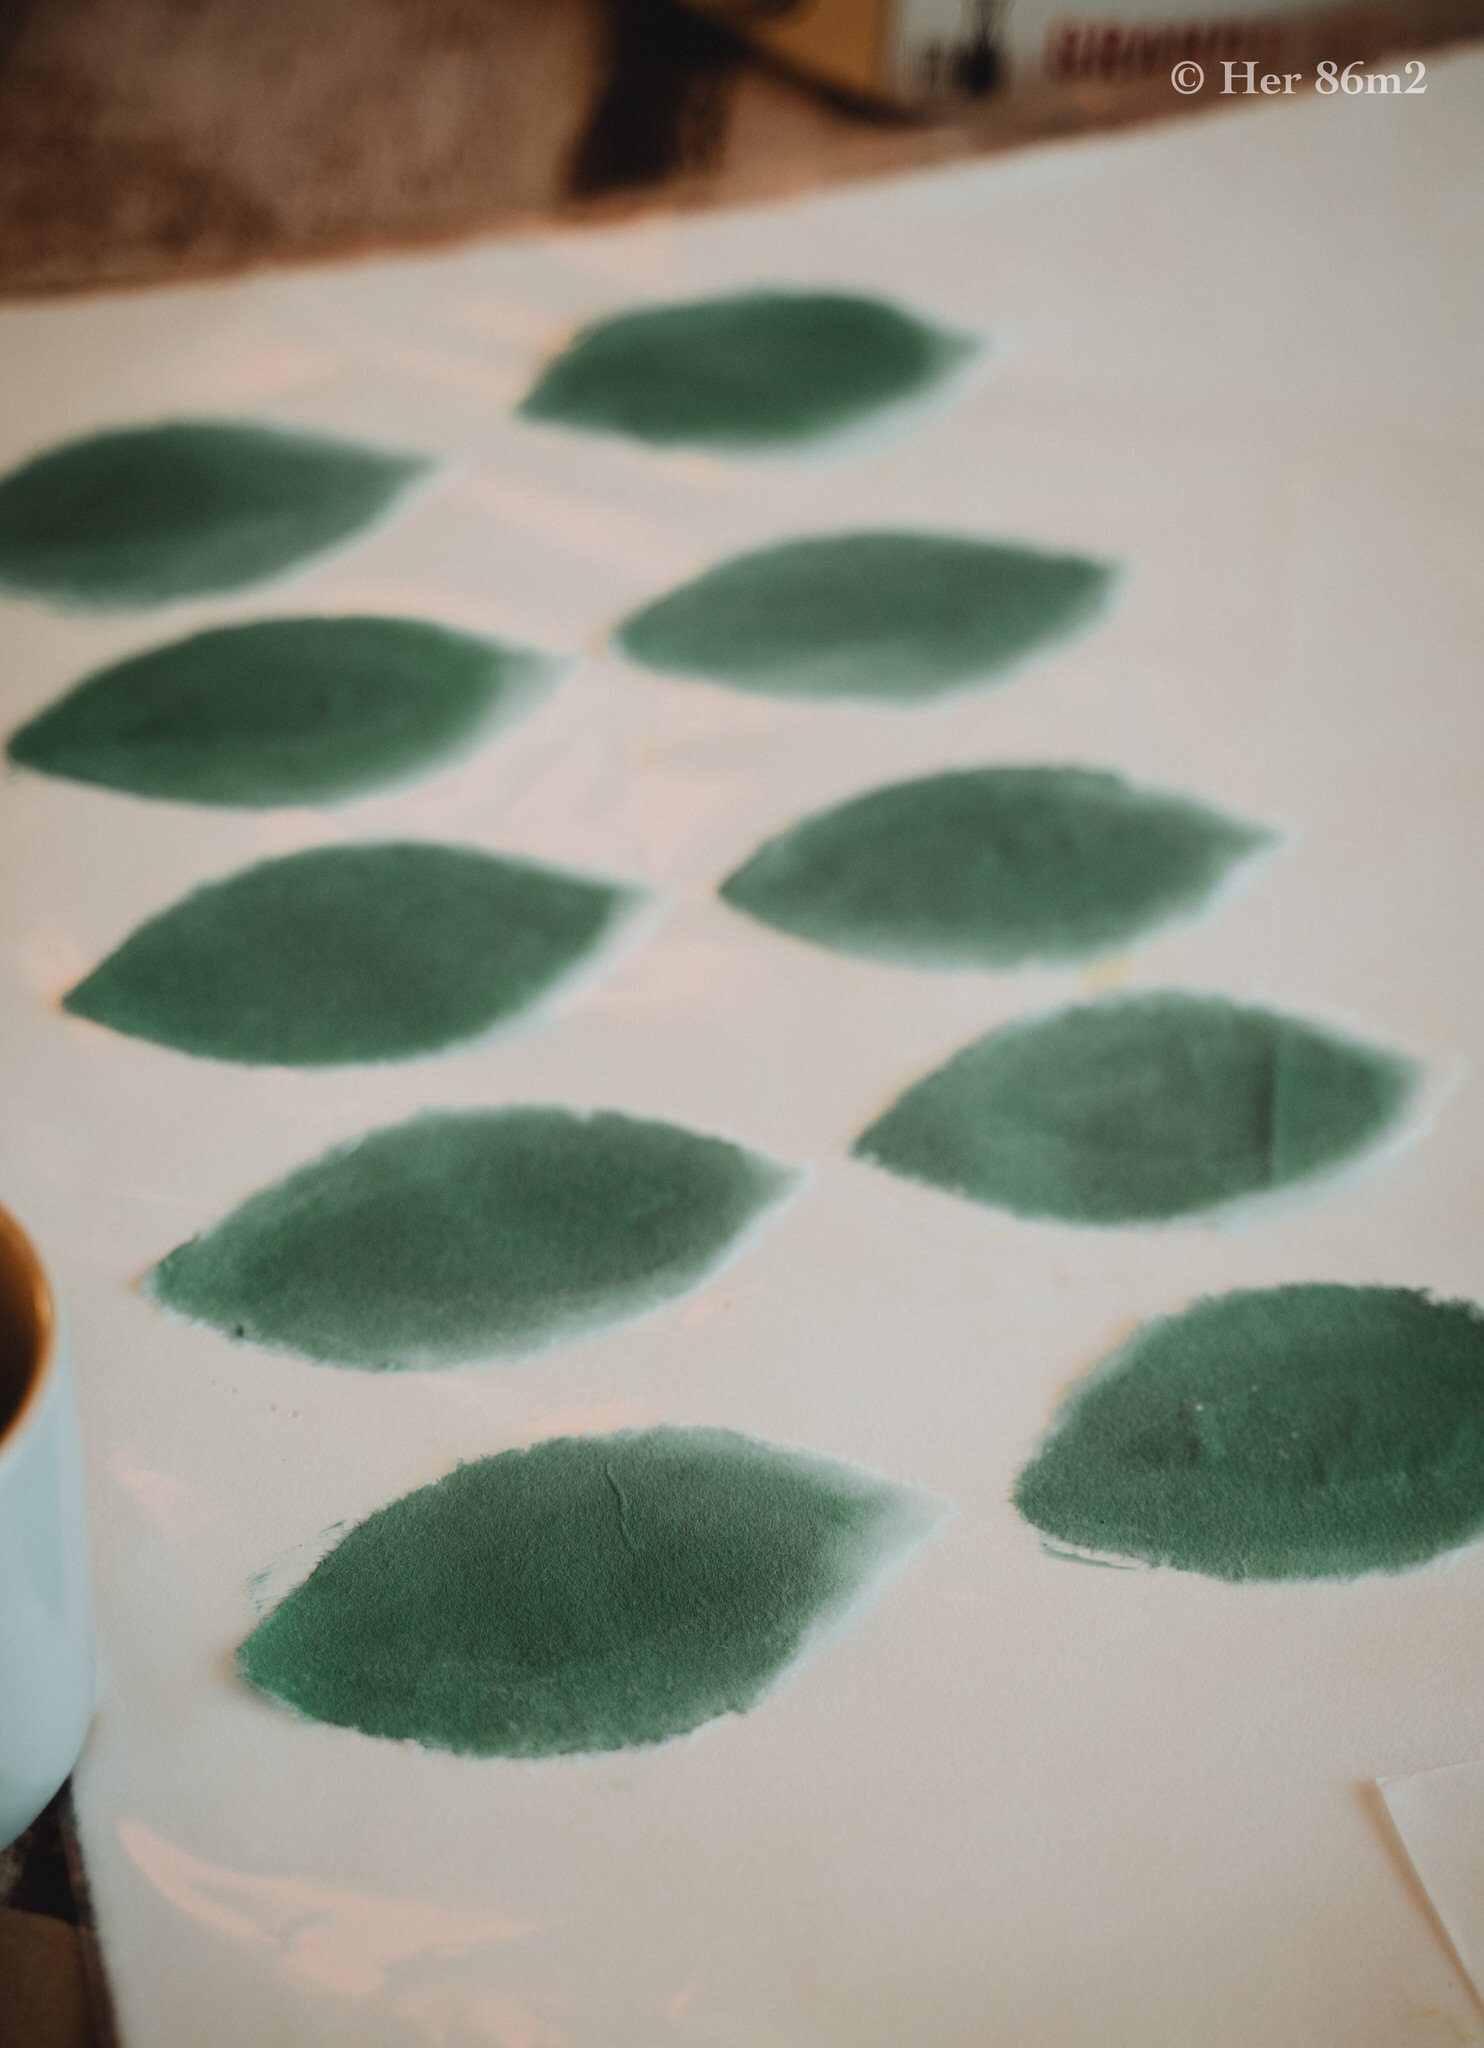
4. Sau khi xé xong thì tới bước tô màu cánh hoa. Giấy mỏng nên khi tô sẽ bị thấm màu, nên đặt giấy lên trên mặt kính hoặc mặt phẳng nào dễ lau dọn sạch sẽ.
Nơi mình ở không bán giấy Washi ở cửa hàng, mình phải mua online và họ bọc giấy vào trong lớp ni lông rất to nên mình sử dụng lớp ni lông này để lót luôn. Tô xong mình lại cất giấy washi chưa dùng tới vào :D
Pha loãng màu arcylic, nhớ test trước để đảm bảo bạn ưng ý với màu đã pha nhé. Nên pha màu loãng hơn khi vẽ bình thường.
Tại sao không dùng màu nước dù màu nước dễ pha và dễ tô hơn nhiều? Màu nước dễ bị bay, bạc màu và không bền như Arcylic.
4. COLORING
The washi paper is so thin so acrylic paper will get through it and stain the underneath surface, so to avoid this you can place the paper on a glass or flat surface that is easy to clean. They don’t sell Washi paper where at the store where I live (small town :P), so I have to buy it online and they wrap the paper in a very big plastic cover so I use this very cover to put underneath. After finished, I put the unused washi paper back in and store away: D
Thin the Arcylic paint with water, remember to test first to make sure you are satisfied with the final color. Pro Tip: you should add more water to the paint than you normally should. Watercolors are not suitable since they fade faster and are not durable as Acrylic.

5. Làm ướt đường viền của cánh hoa, rồi bắt đầu tô màu. Không tô màu phần đường viền đã làm ướt.
Phần này có thể bỏ qua: Tô từng khoảng nhỏ, dùng giấy ăn cuộn tròn nhỏ, chấm vào nước và bắt đầu chấm lên viền của phần màu đã tô để làm phần màu này nhạt đi và đường tô màu không bị sắc nét. Hoặc cứ tô màu theo phong cánh bạn thích hay tham khảo thêm các mẫu hoa mà cô Sachie đã làm.
5. Wet the outline of the petals, then start coloring. Do not color that wetted parts.
This below part is optional:
Do it slow, work on small areas and don’t rush it! Use small curled tissue, dip lightly in water and start dabbing on the edge of the colored areas to make this color lighter on the edge and make the edge line more soft, blurry and less sharp. Or just do it the style you like! You can also check out other floral patterns that Ms. Sachie did.

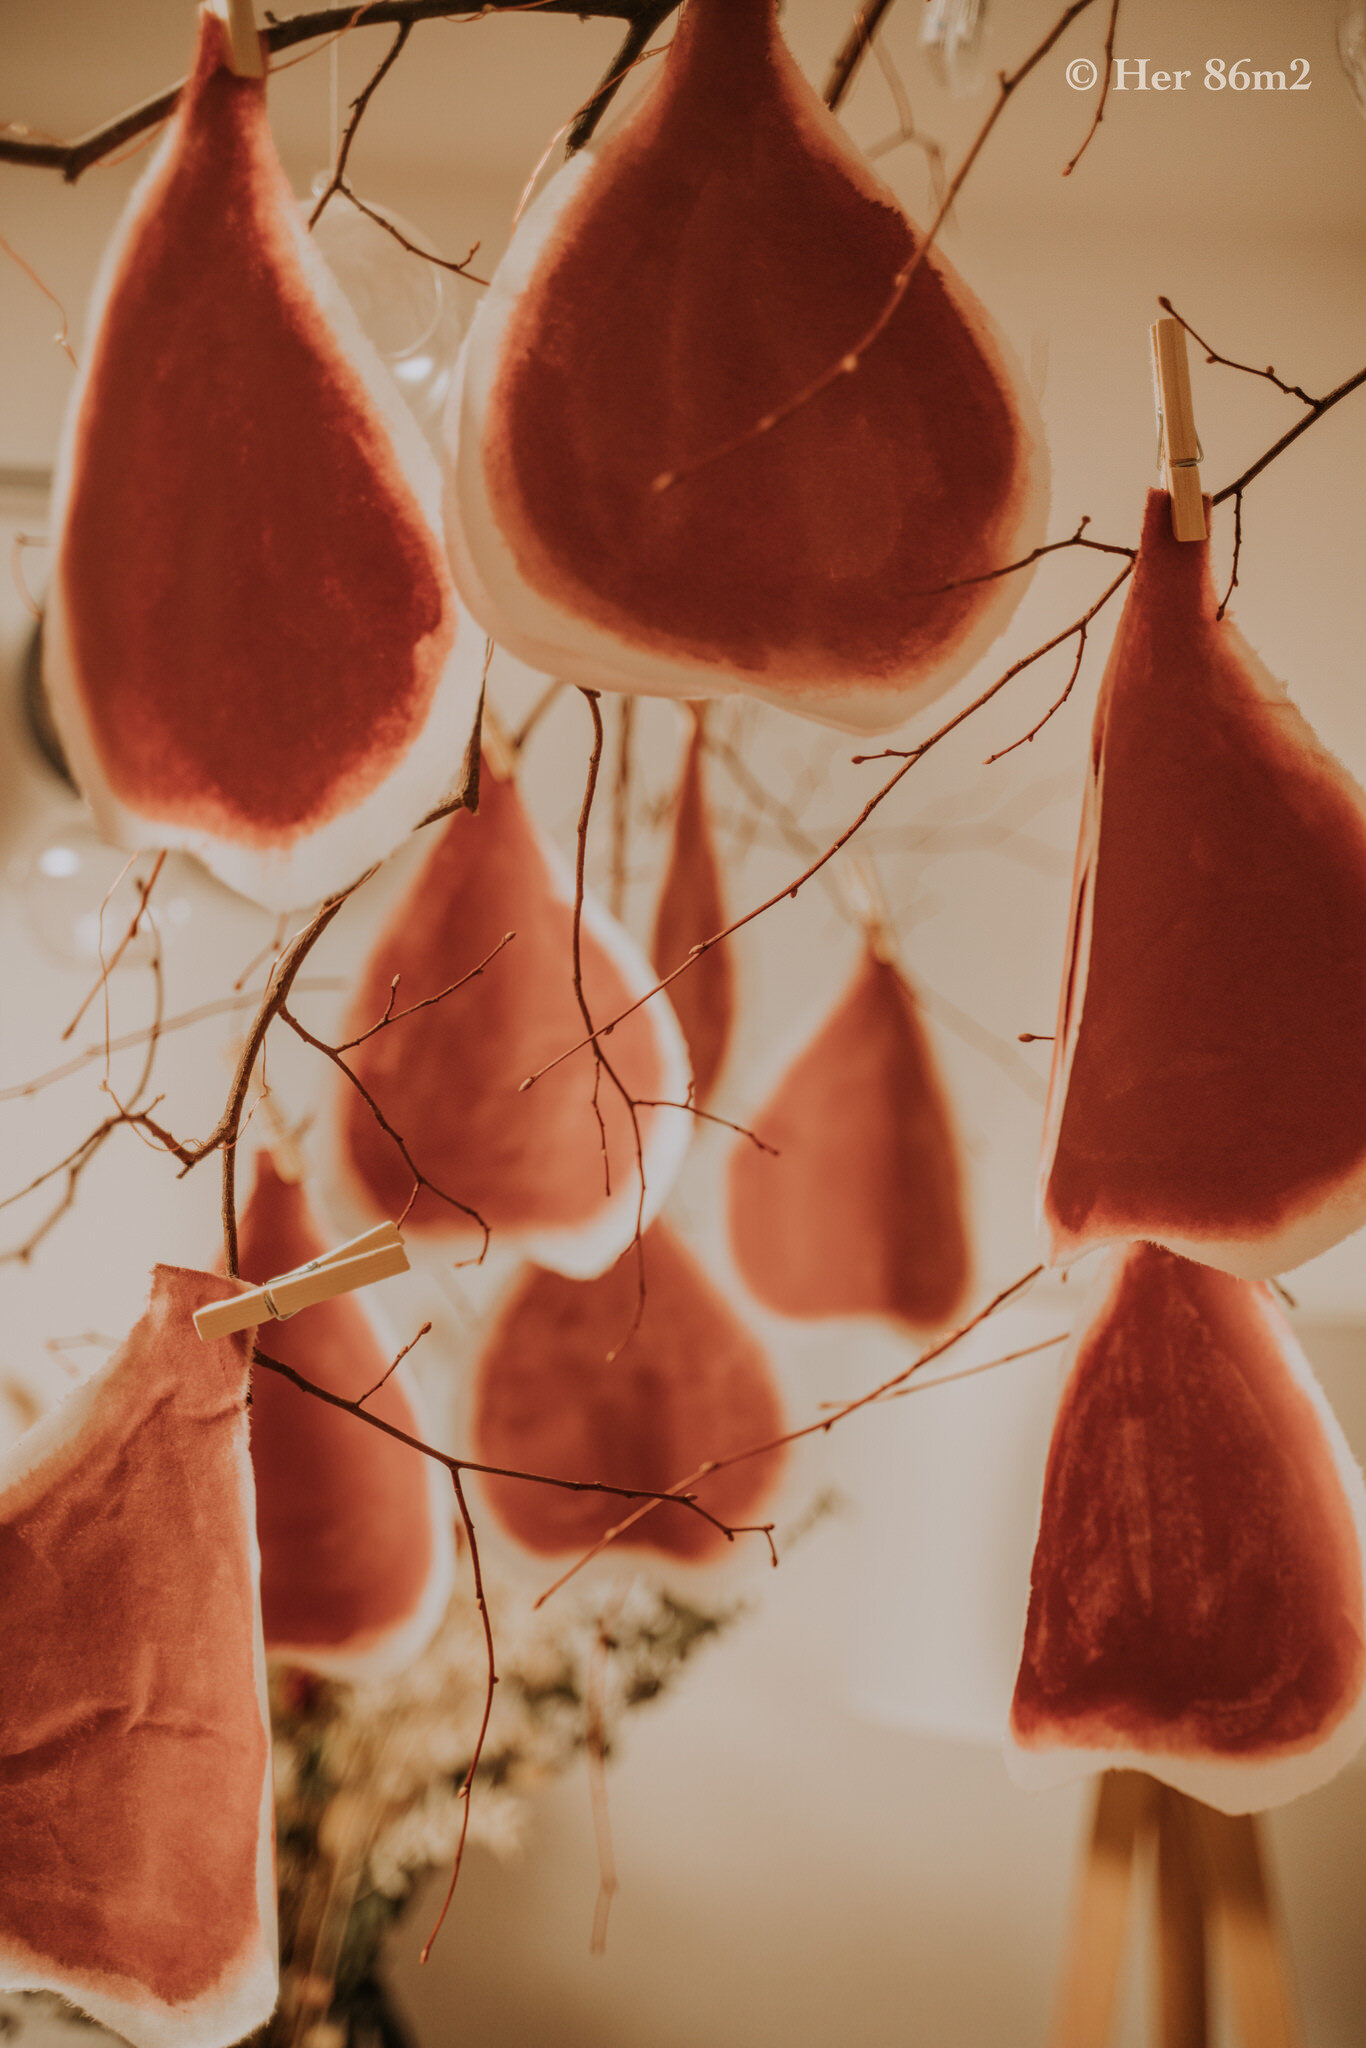
6. Tô lần lượt hết các cánh hoa. Đợi giấy khô hoàn toàn. Bước này có hai cách, nếu để nguyên vị trí giấy sau khi tô thì có thể phải mấy tới mấy tiếng (tuỳ vào khí hậu nơi bạn sống) giấy mới khô hoàn toàn. Cách thứ hai là đợi khoảng nửa tiếng sau khi tô rồi treo lên, chỉ sau khoảng nửa tiếng tới 1 tiếng là các cánh hoa sẽ khô hoàn toàn.
6. Paint all the petals one by one. Wait for the paper to dry completely. There are two ways to do it:
- If you leave the paper exactly where you color it, it may take several hours (depending on where you live) for the paper to dry completely.
- The second way is to wait about half an hour after coloring and then hang it. Usually it should take about half an hour to 1 hour for the petals to dry completely.

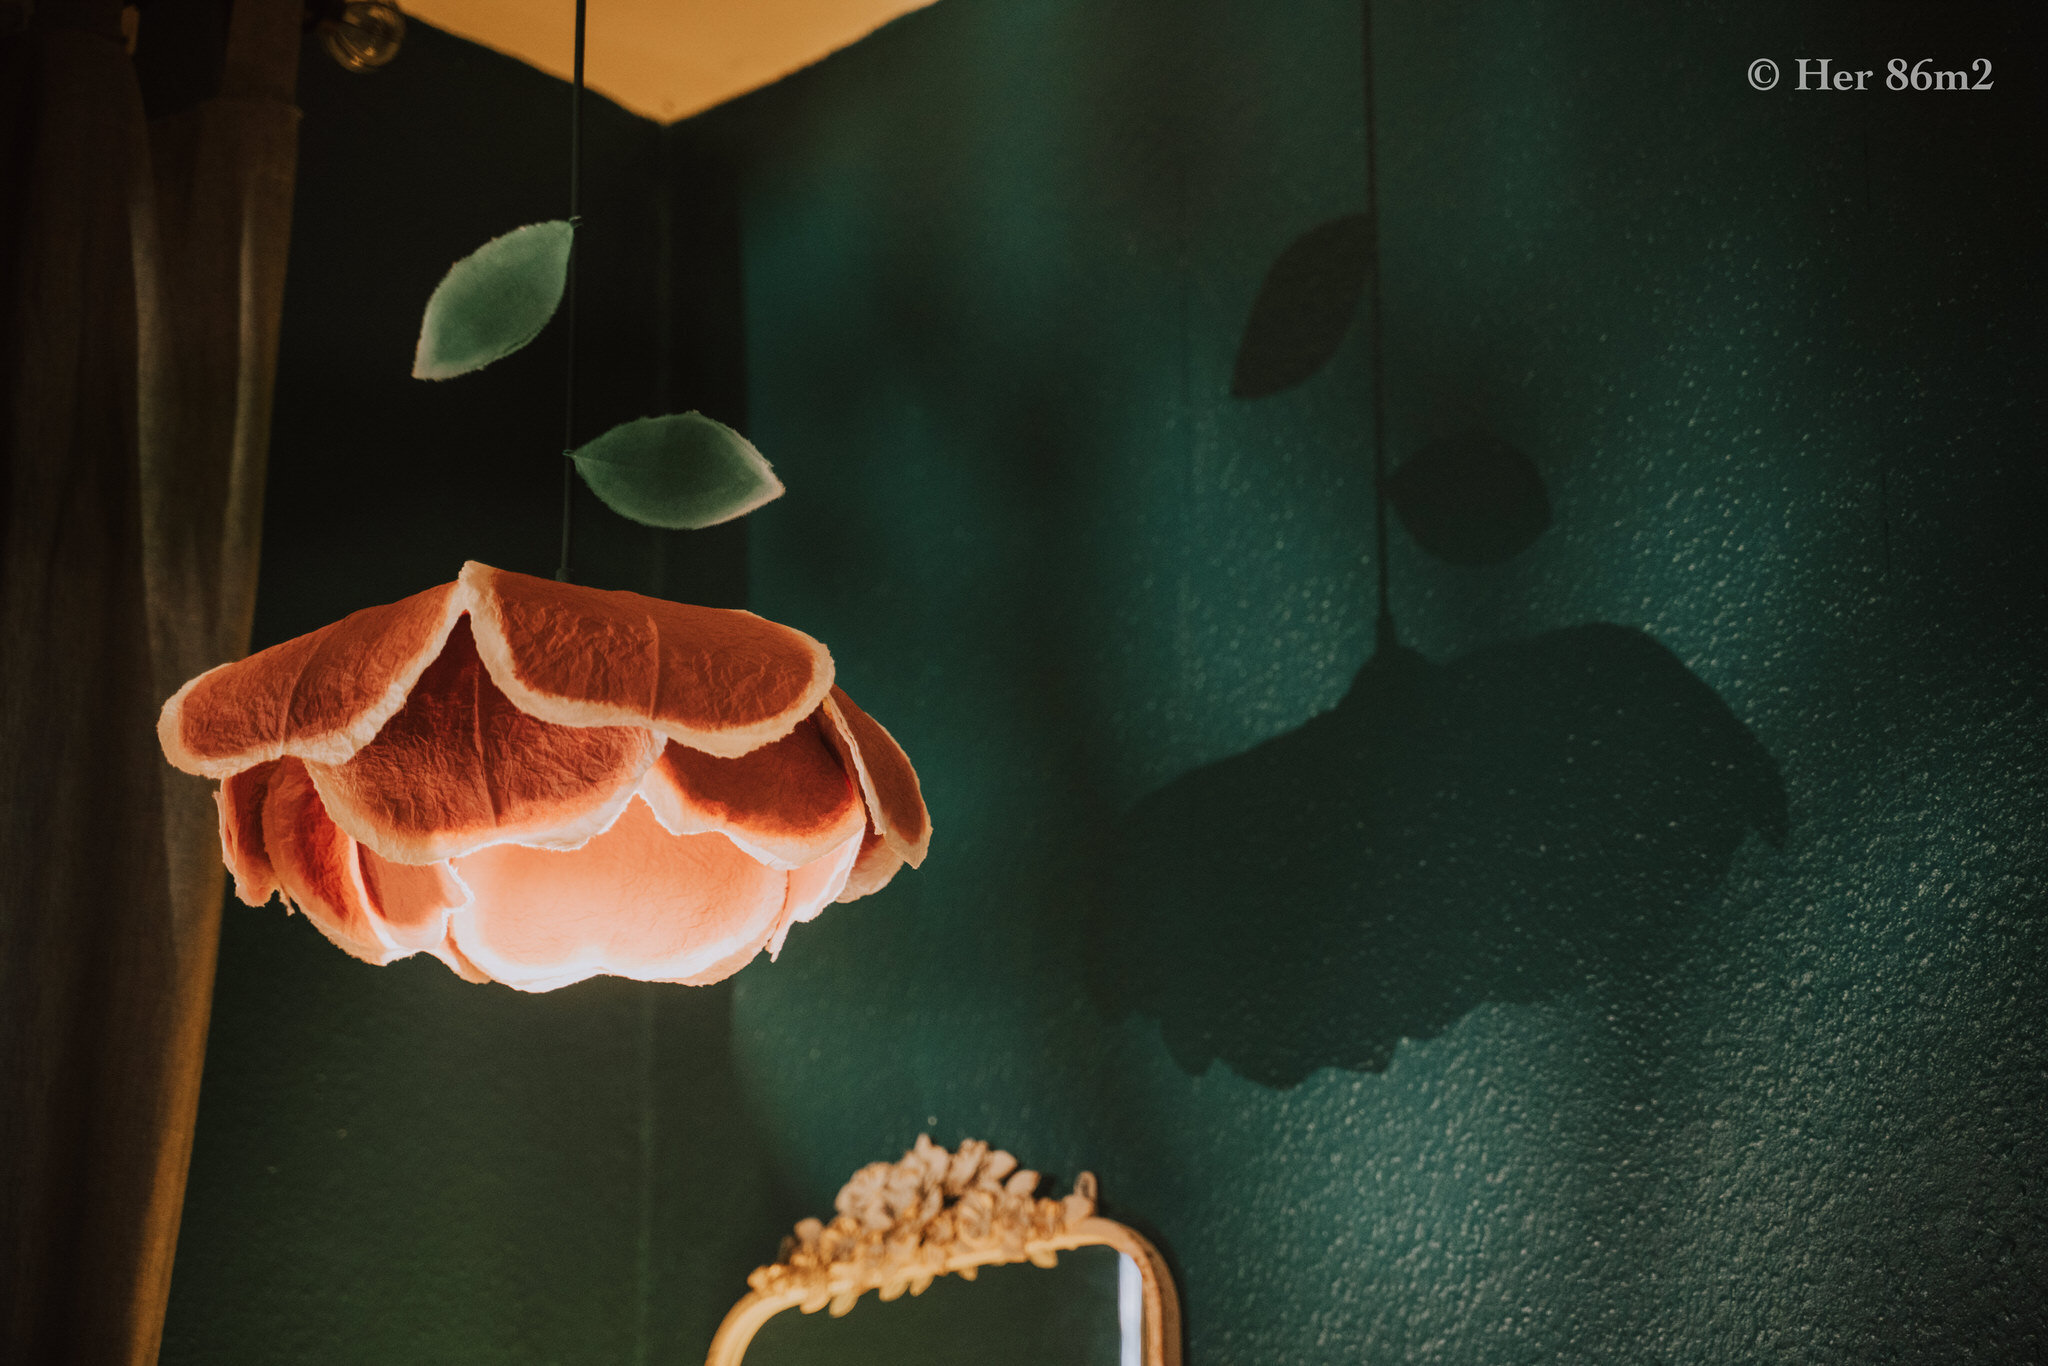
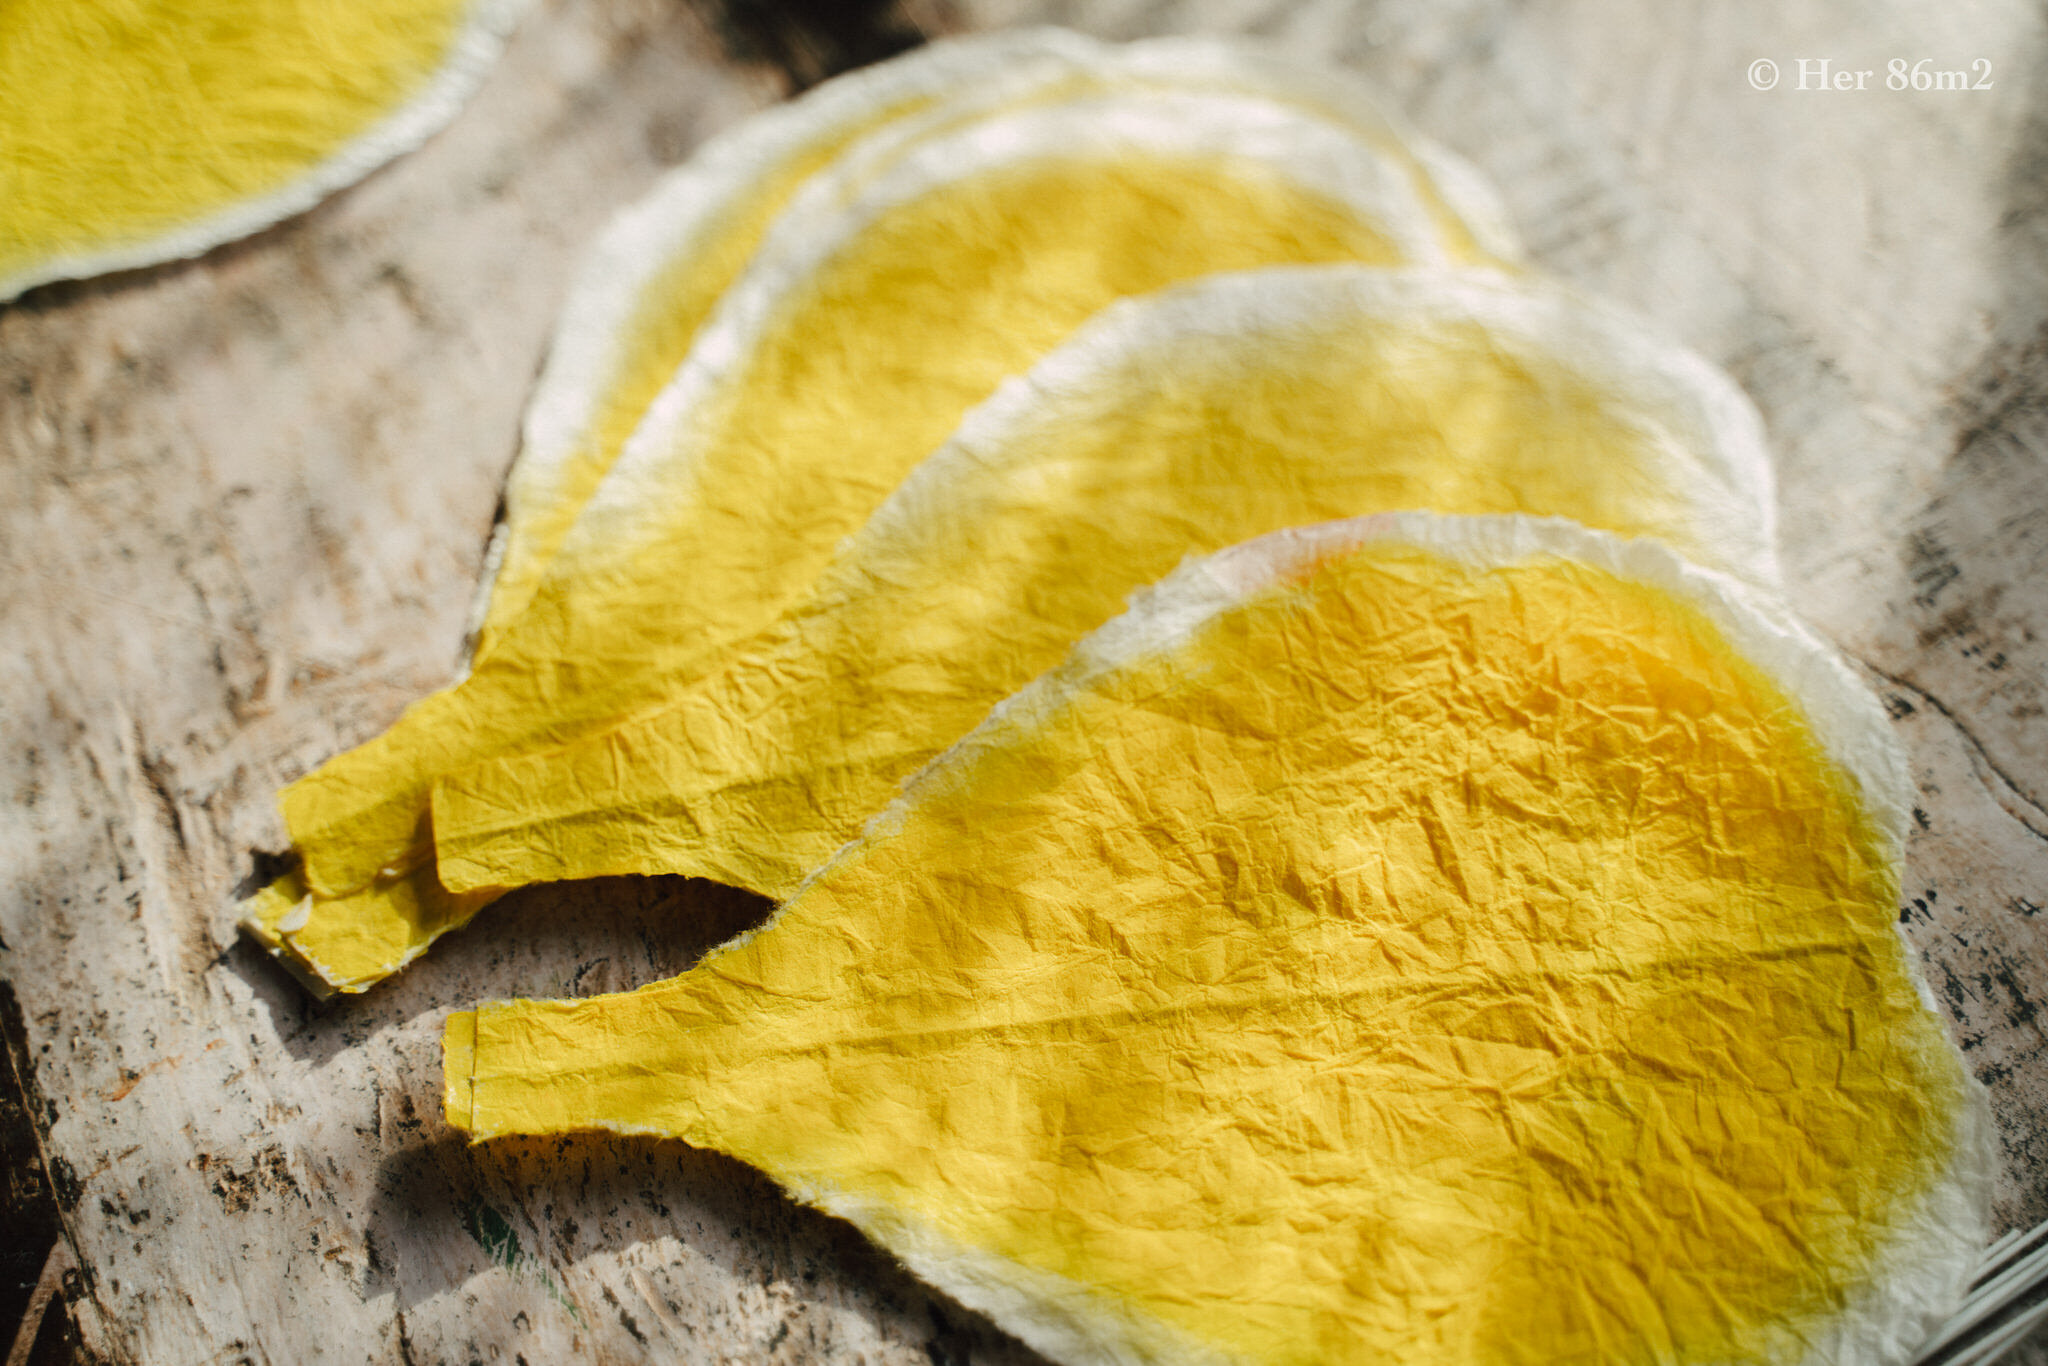
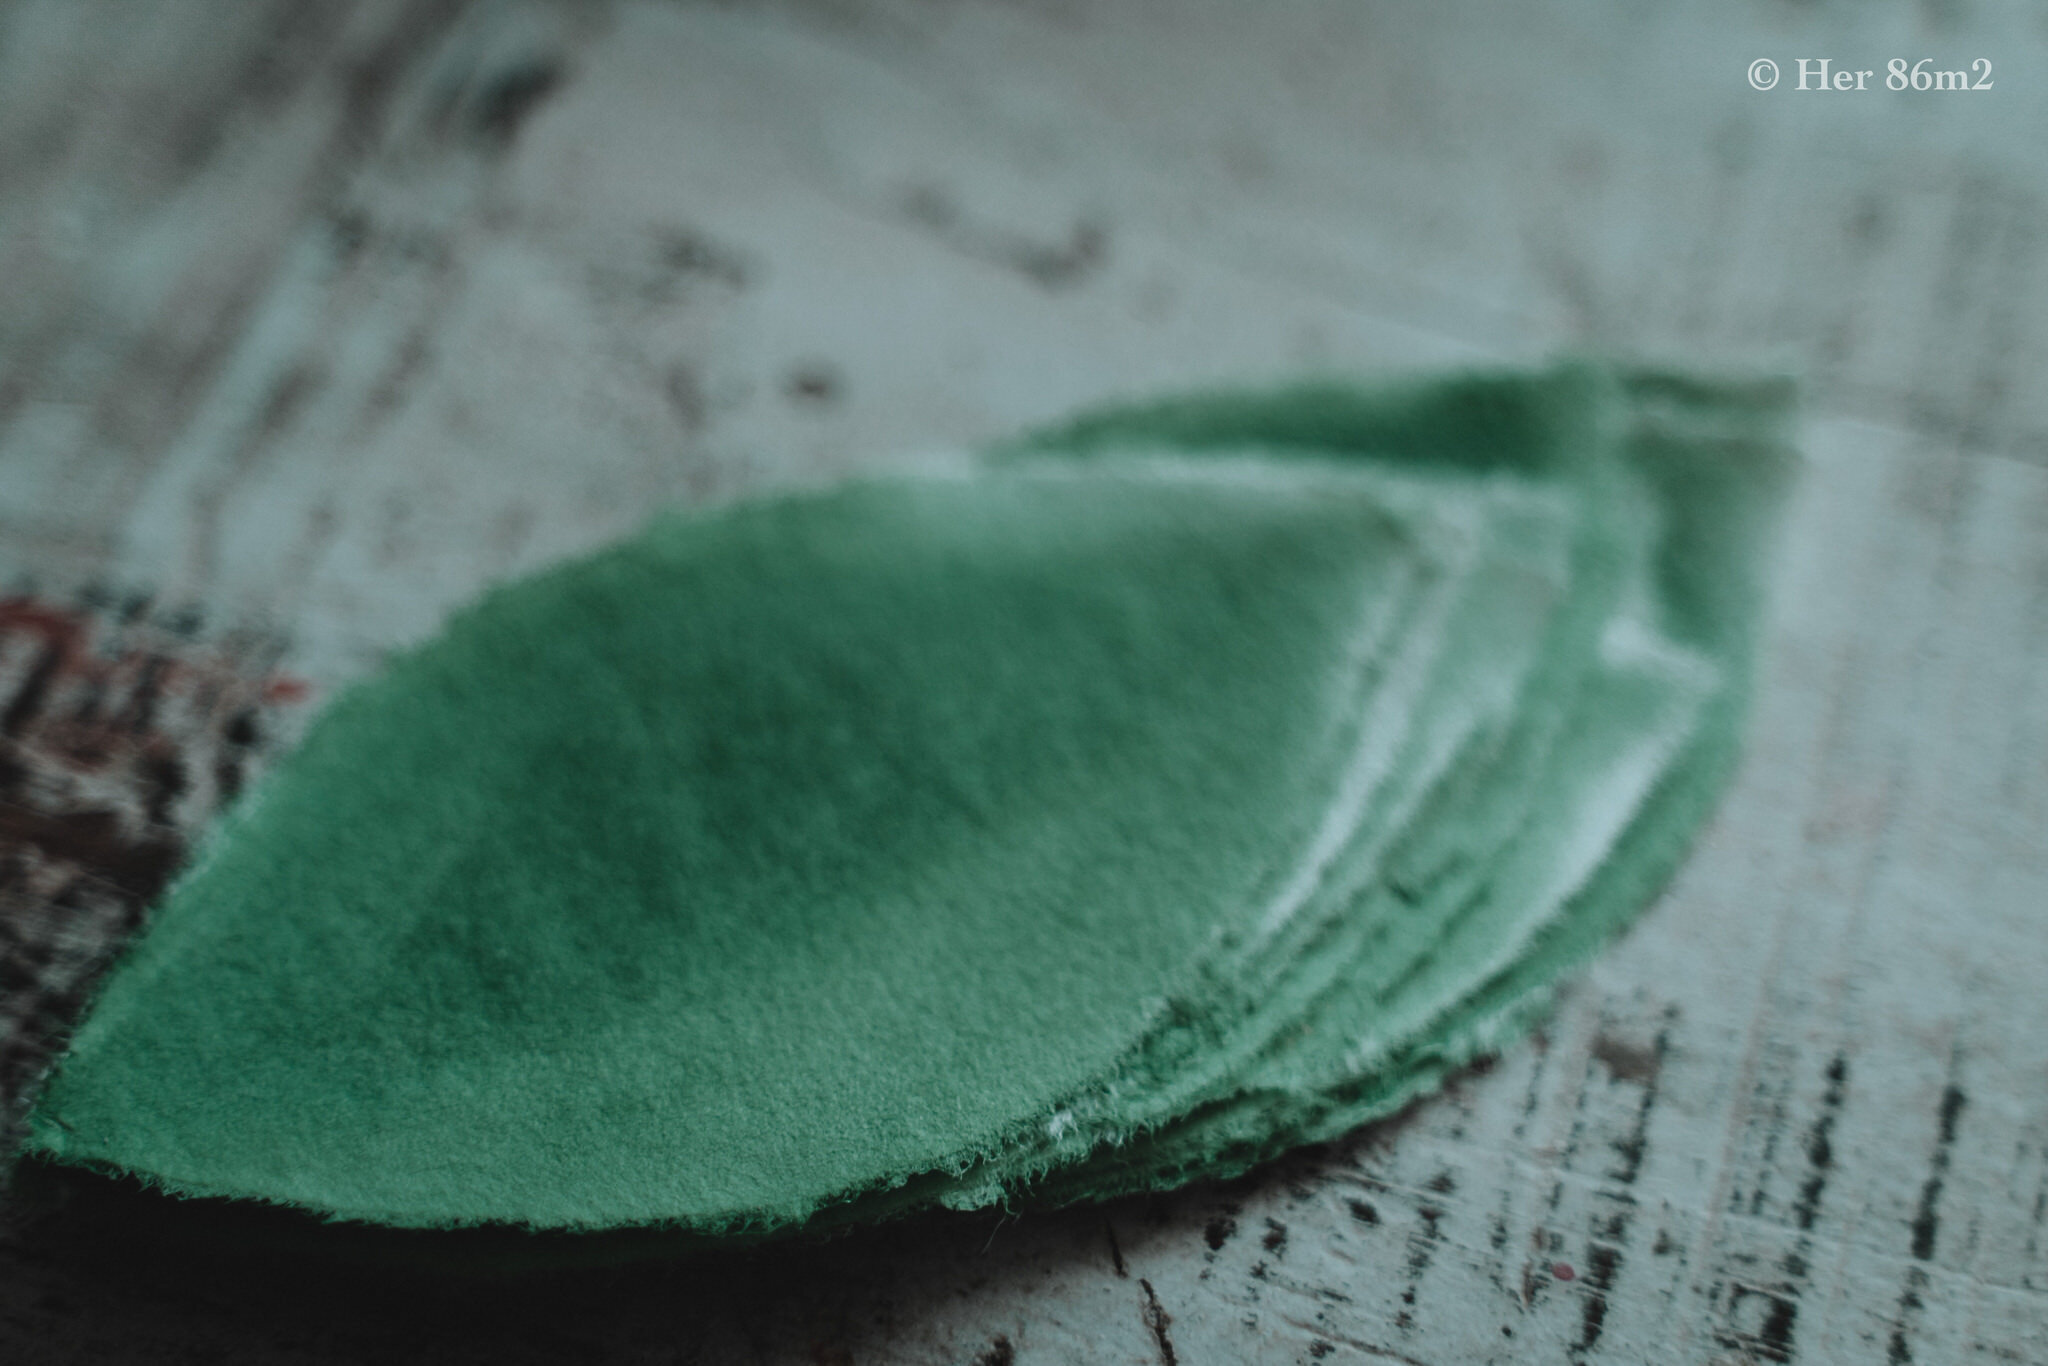
7. Sau khi màu khô, vò từng cánh hoa này, vò làm sao để các nếp nhăn giấy càng nhỏ càng tốt. Sau khi vò ta trải ra rồi ép các cánh hoa này lại, để cánh hoa phẳng nhưng vẫn có nếp nhăn, tạo cấu trúc cho mặt giấy. Ép qua đêm hoặc ép tới khi nào bạn cảm thấy hài lòng với thành quả.
Lưu ý: Không ép quá chặt hoặc quá lâu vì sẽ làm giấy mất nếp nhăn.
Chính vì cấu trúc này nhìn rất đẹp mắt nên mình mới quyết định DIY vì những loại hoa giấy làm từ bìa hay từ giấy crepe không tạo nên được cấu trúc này.
7. After the petals dry completely, crumple each of these petals, as small as possible. If needed, do two three rounds of crumpling. Aim for small wrinkles. After that, spread them out again and flatten them with a heavy book, leaving the petals flat but with micro wrinkles, creating an interesting textures for the paper surface. Leave them pressed overnight or until you feel satisfied with the result. Note: Do not press too tight or too long as it will make the paper lose wrinkles and go back to the original texture. I tried many other kinds of papers but they didn’t work like washi paper!
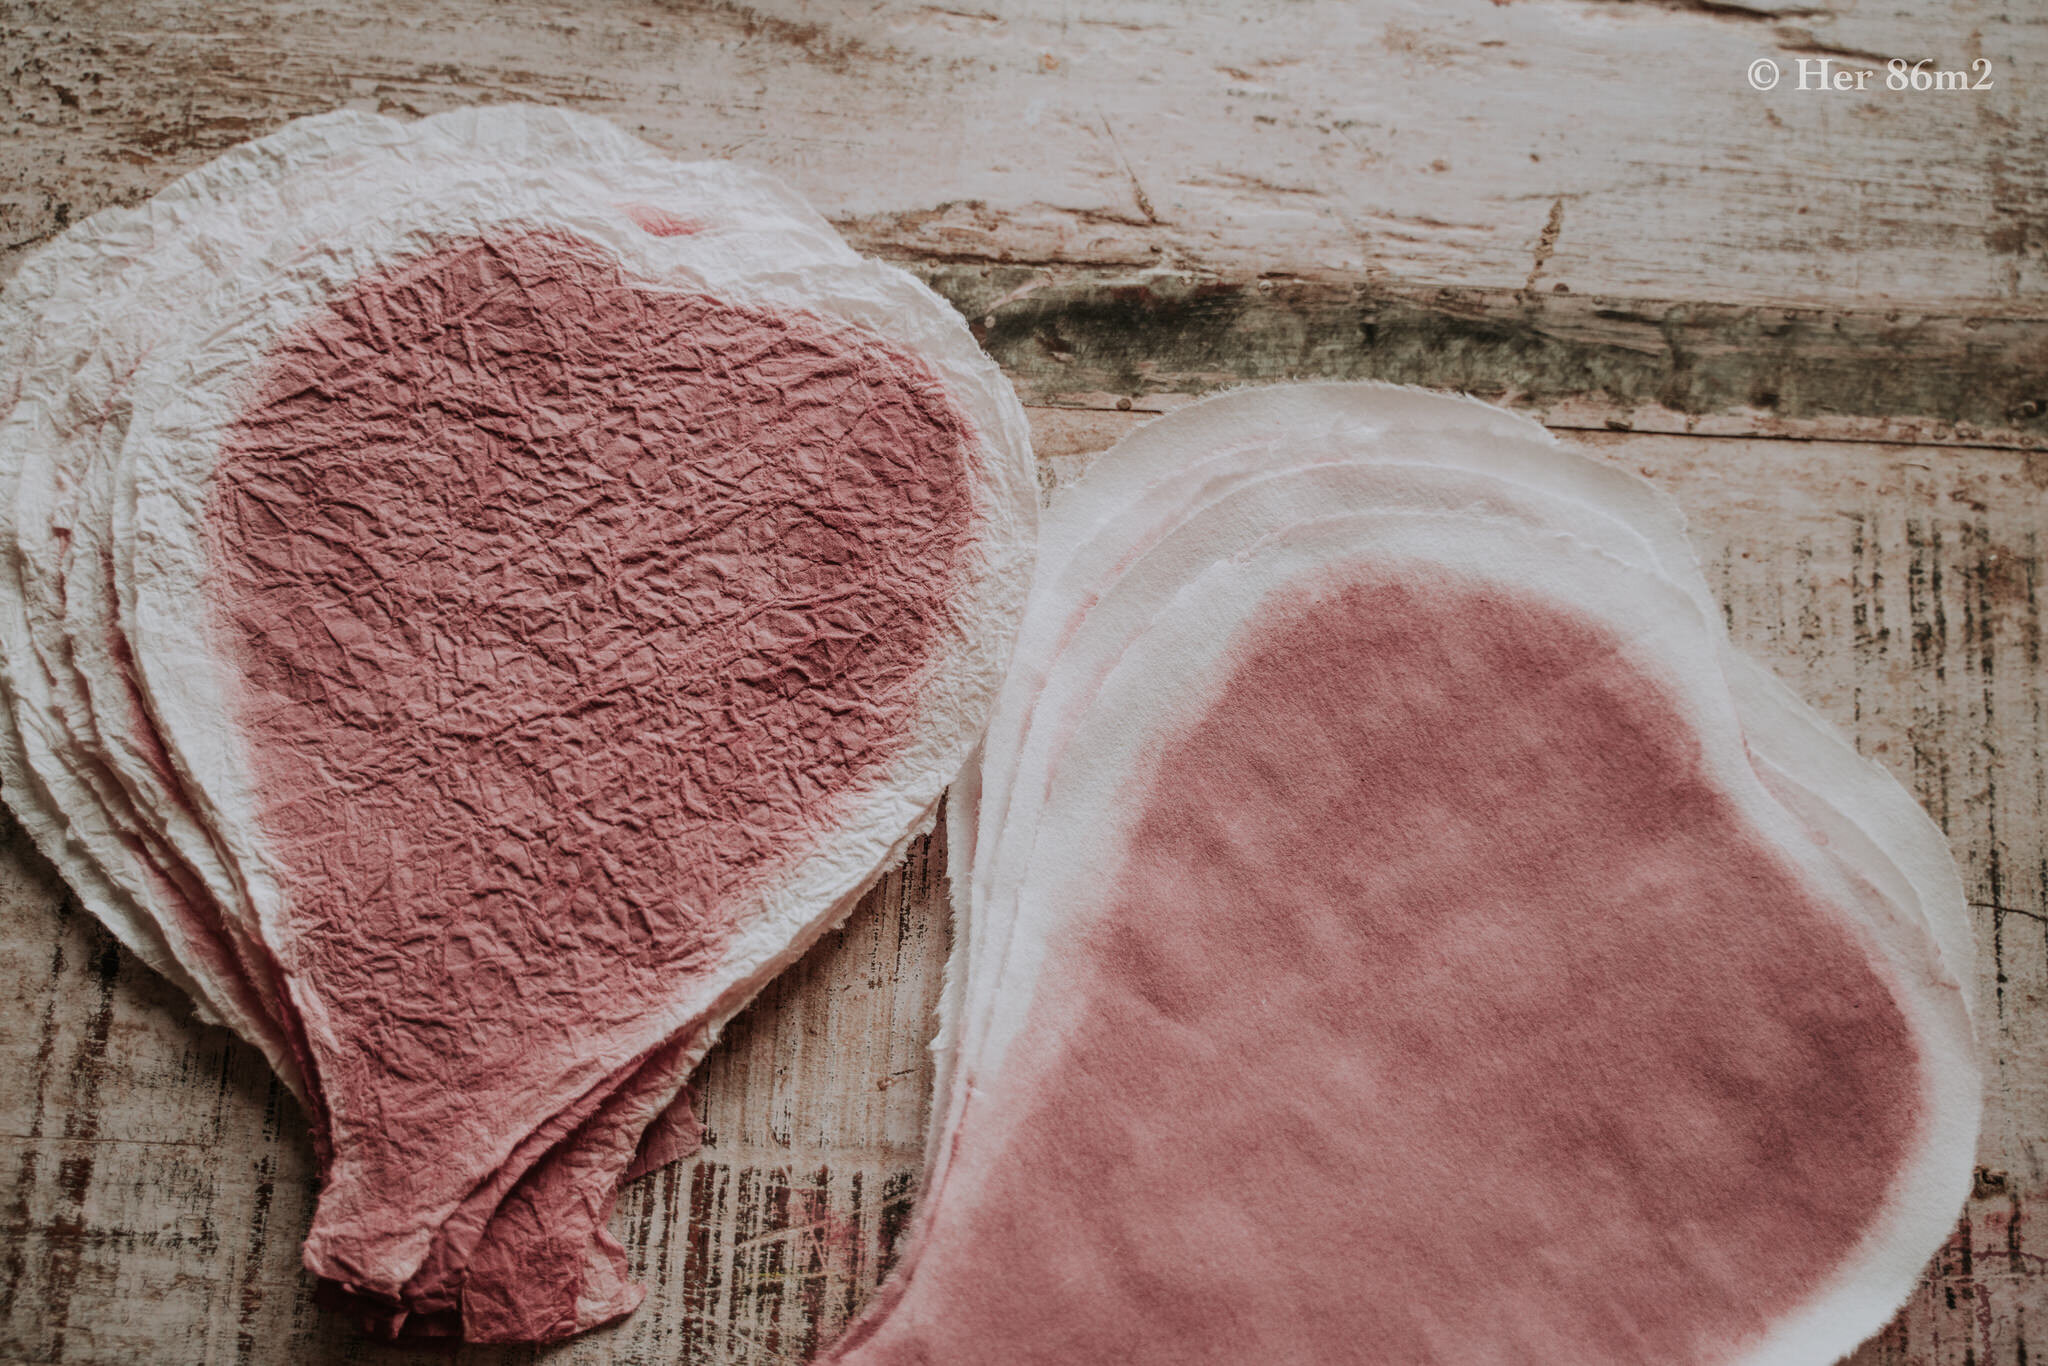
Giấy đã ép (phải) VS giấy vừa khô. / Pressed paper vs. dried paper

Giấy đã ép (phải) VS giấy vừa vò (trái). / Pressed paper vs crumpled paper
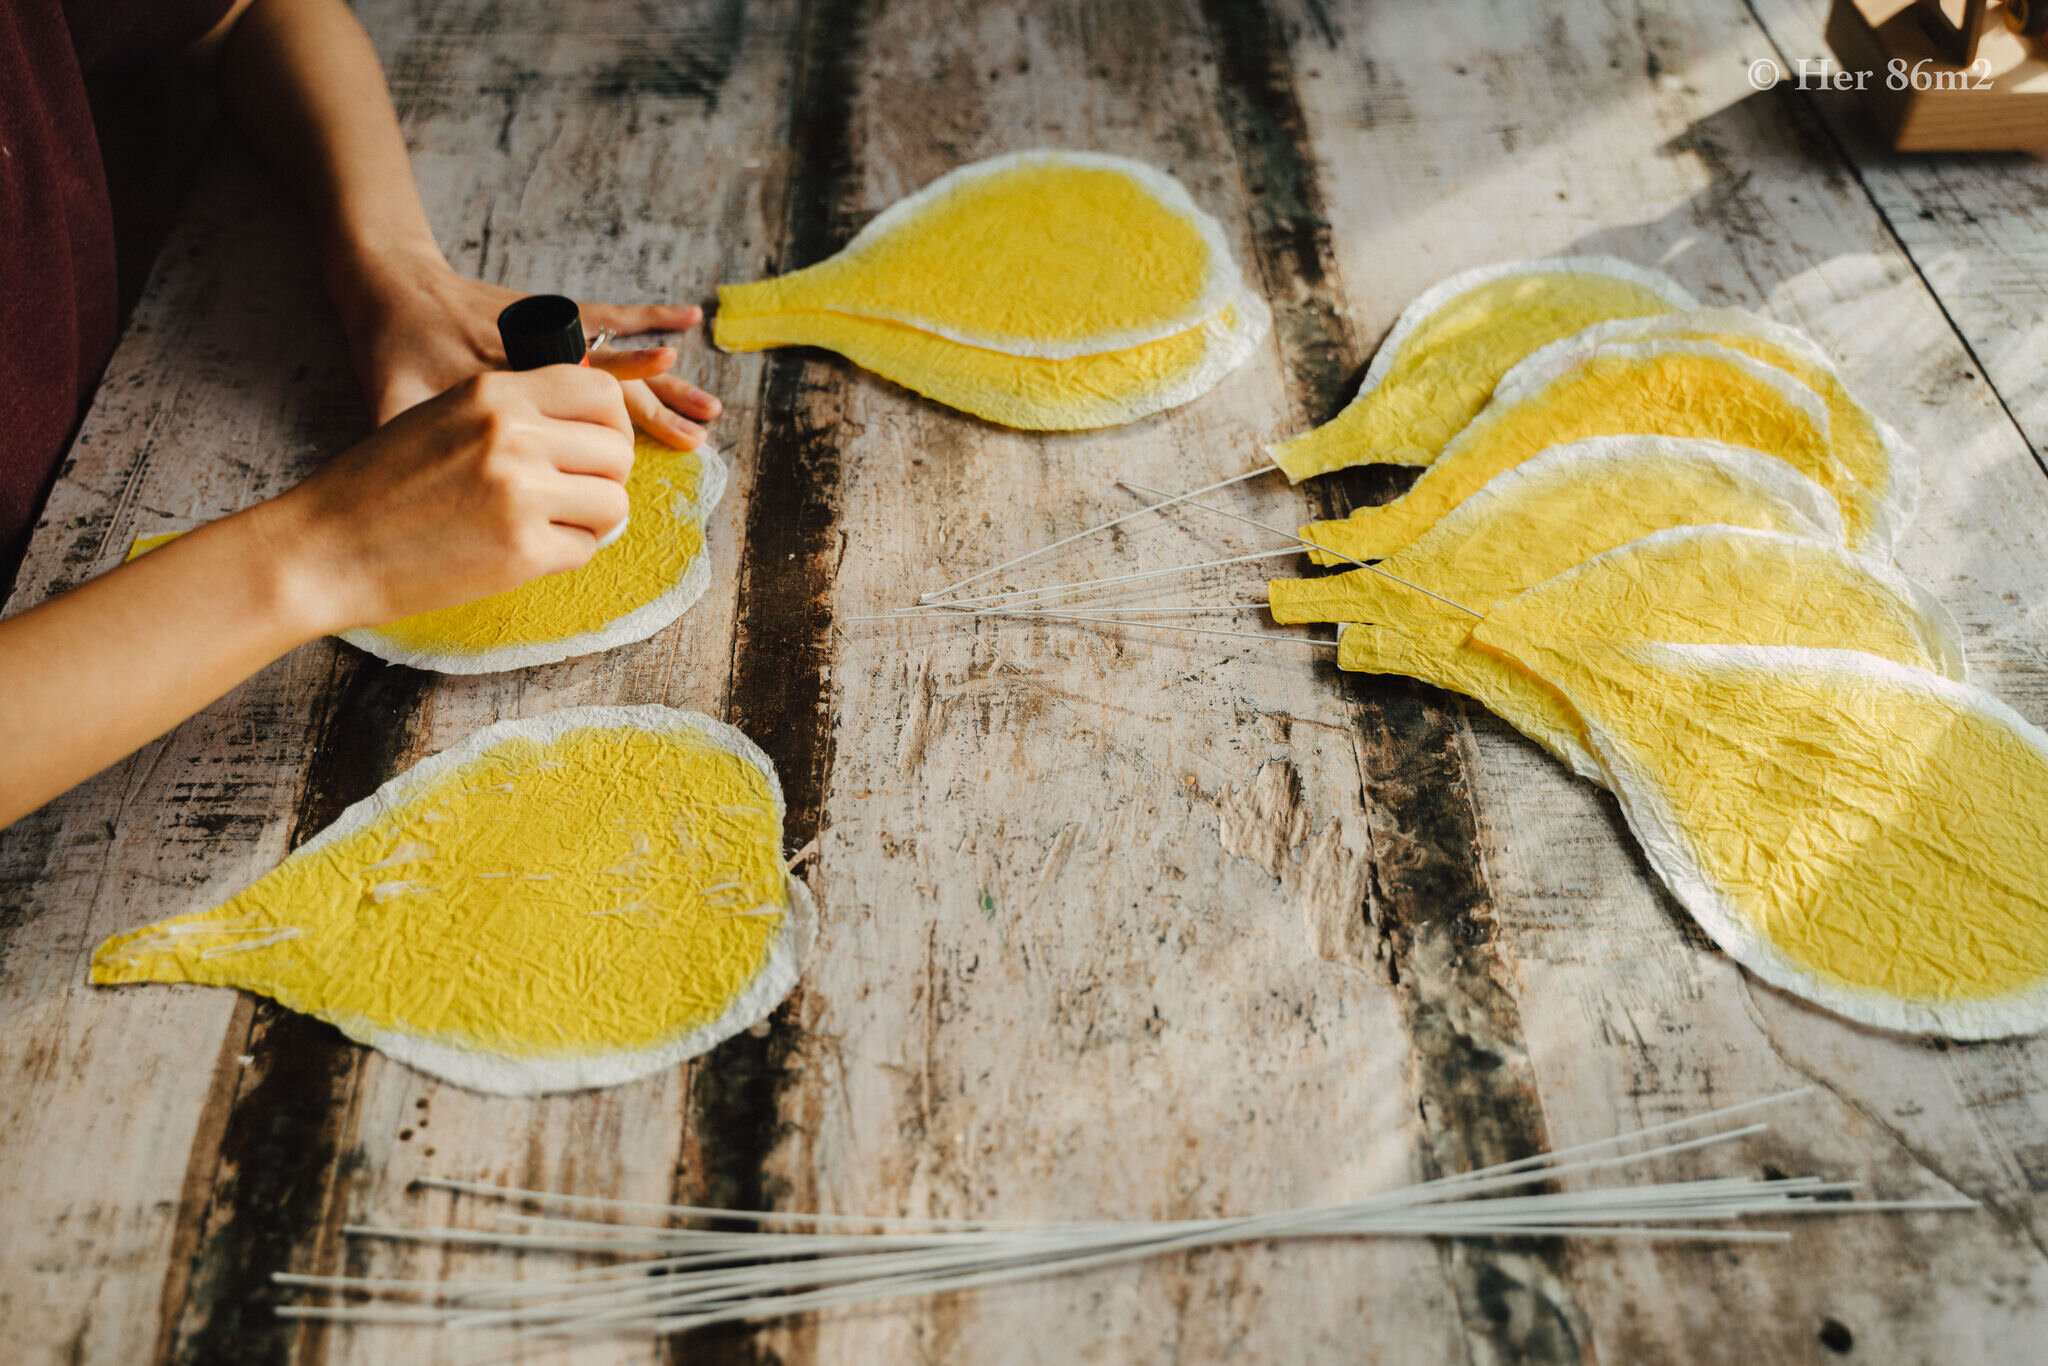
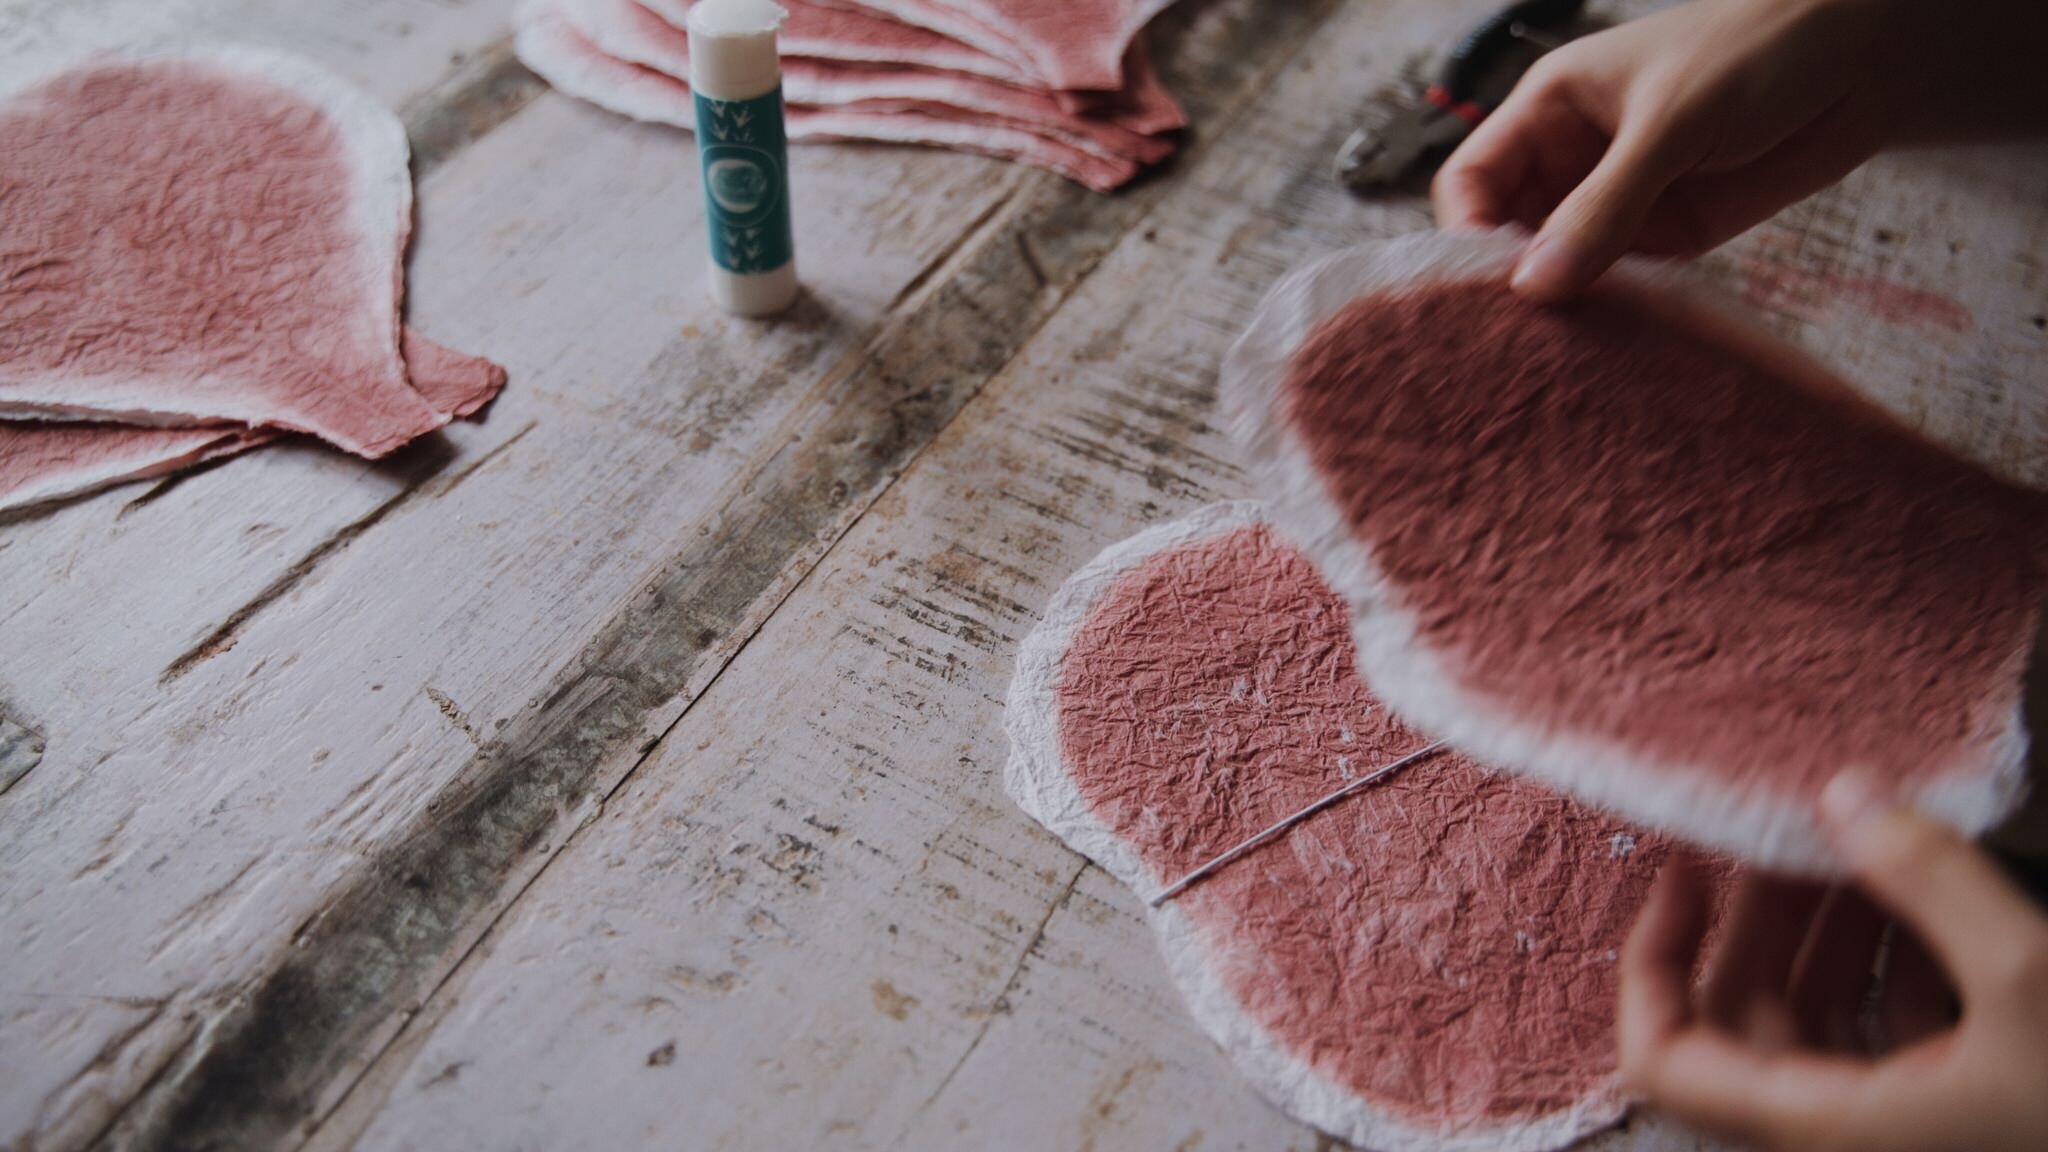
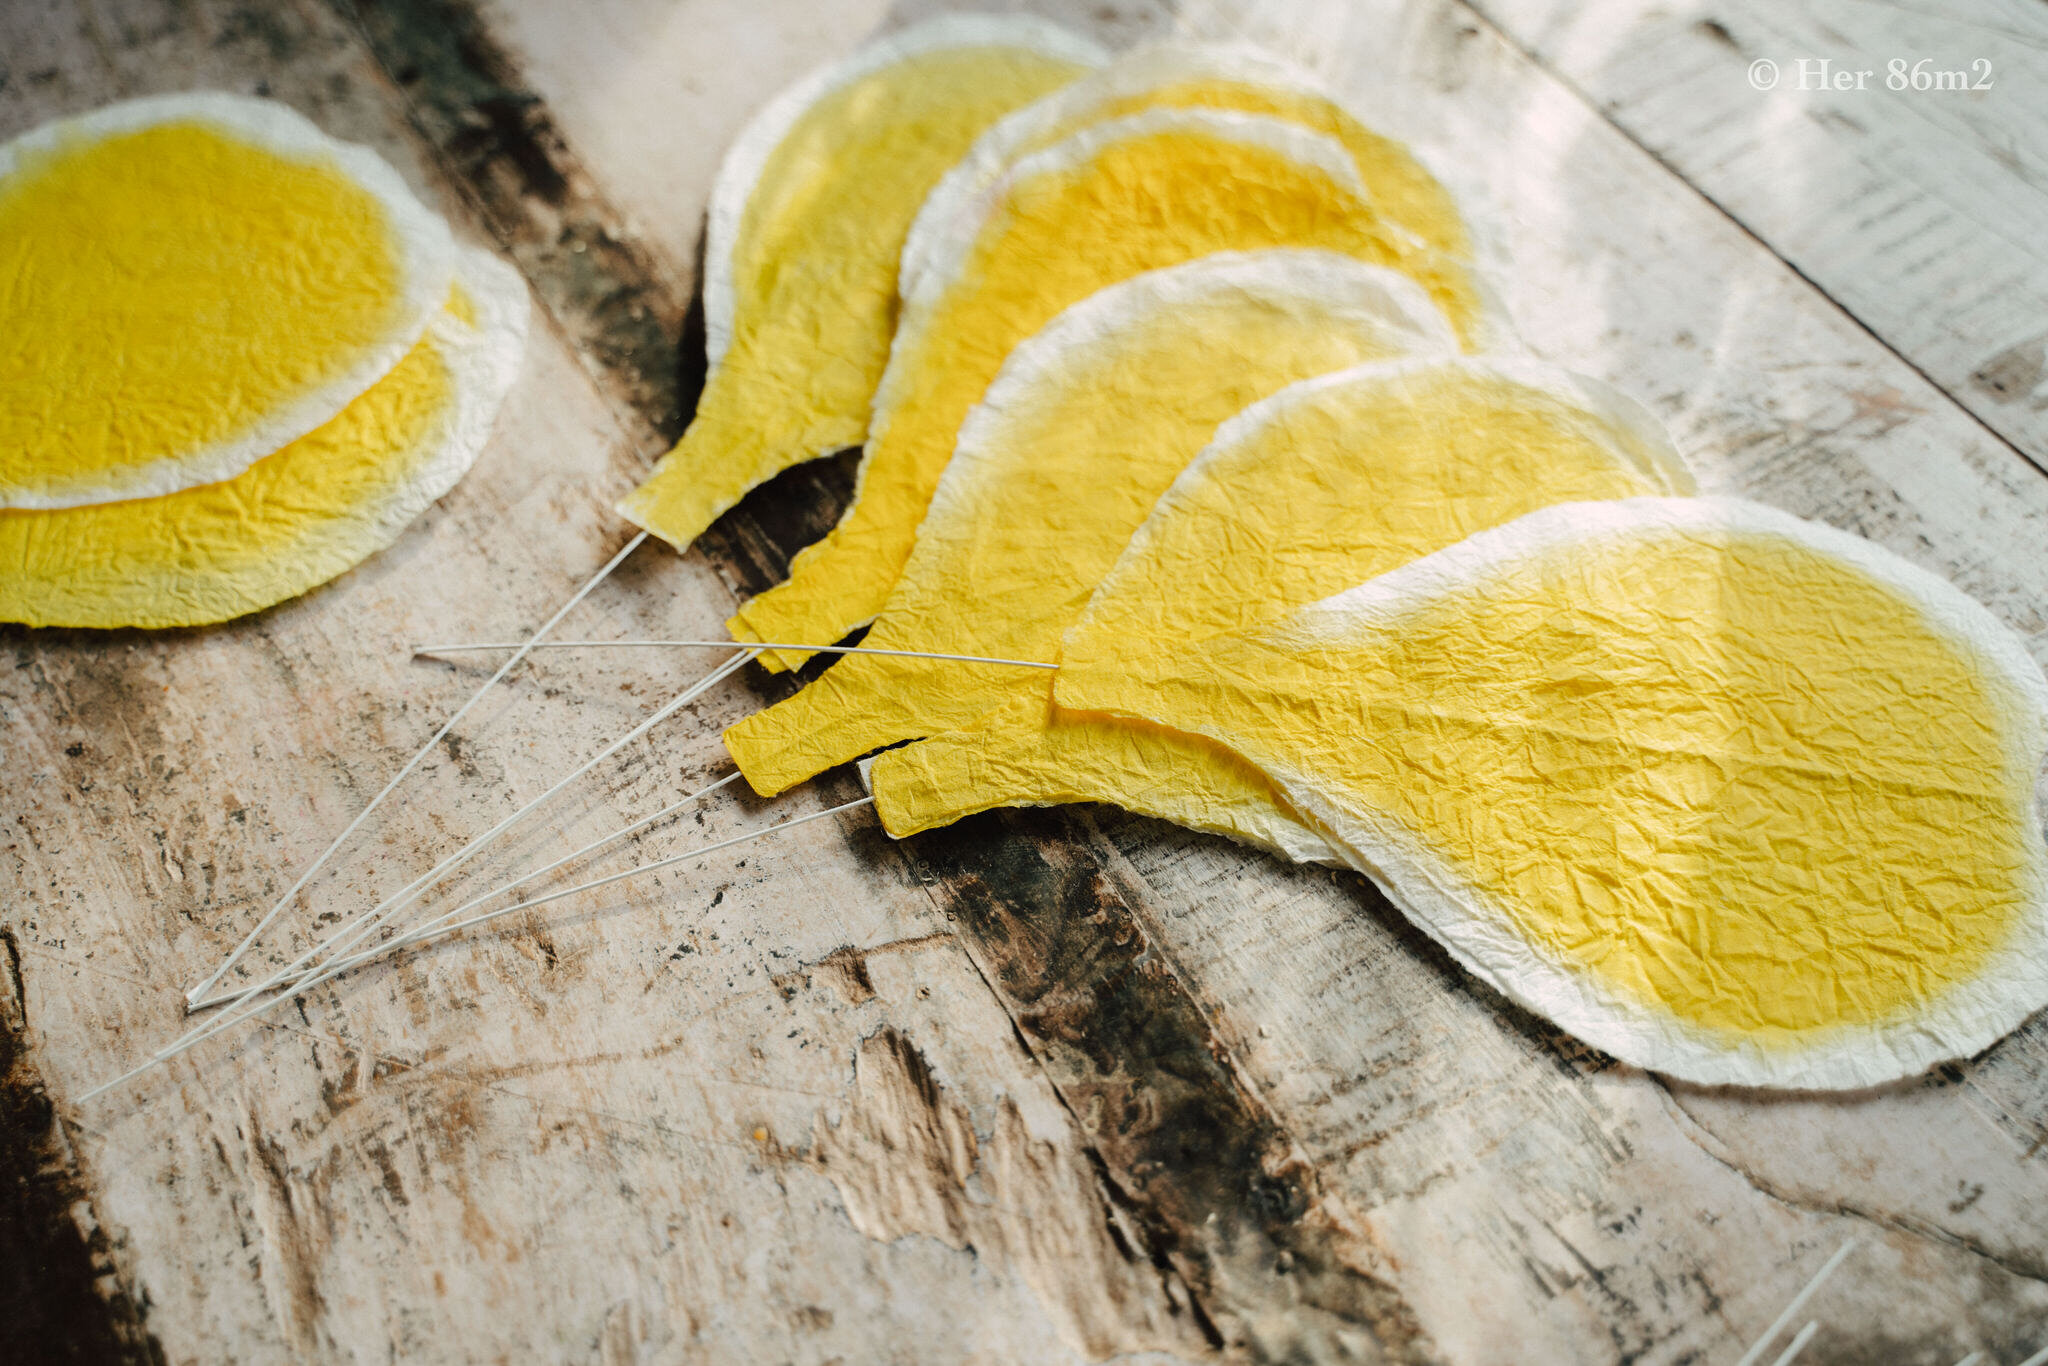
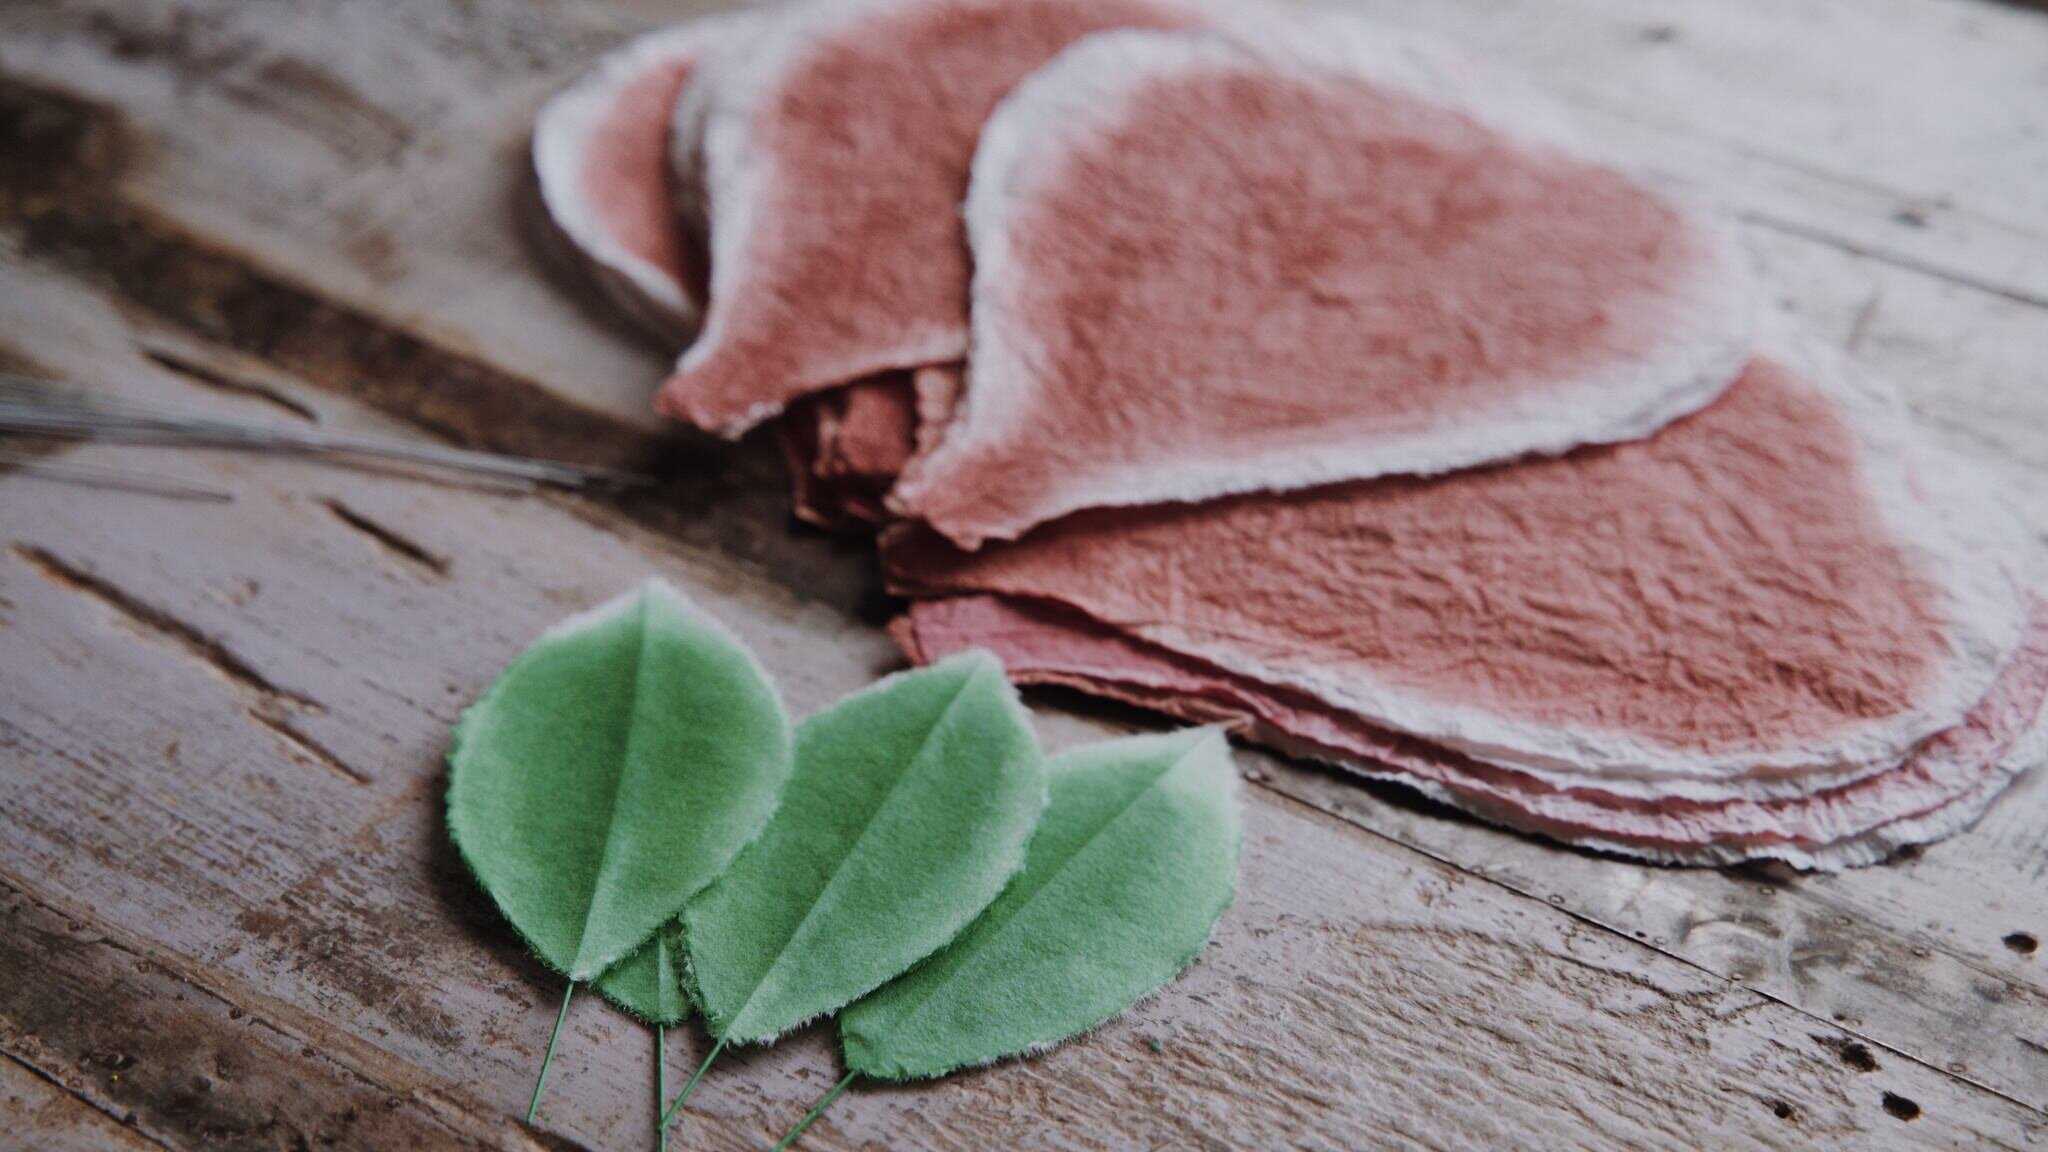
8. Sau đó, đặt thanh kẽm ở giữa cánh hoa và dùng hồ để dính hai cánh hoa lại với nhau. Cắt bỏ phần kẽm thừa. Thanh kẽm giúp chúng ta thay đổi được độ “nở” của hoa, bẻ từng cánh hoa theo ý muốn và giúp giữ vững hình dáng của cánh hoa.
Cô Sachie đặt thanh kẽm phía ngoài cánh hoa, nhìn gần giống như phần xương sống của lá cây vậy. Còn mình thì để ở giữa hai cánh hoa. Nếu bạn gắn thanh kẽm ở ngoài thì tô màu cả thanh kẽm cho trùng với màu hoa nữa nhé.
8. Then place a floral wire in the center of the petal and glue the two petals together. Cut off excess wire. The floral wire plays a crucial role here to help us change the whatever shape of the flower we want. Ms. Sachie placed the floral wire outside of the petal to make it look almost like leaf venation. But I put in inside, between the two petals. If you plan to put it outside don’t forget to paint the wire to match the petal color.
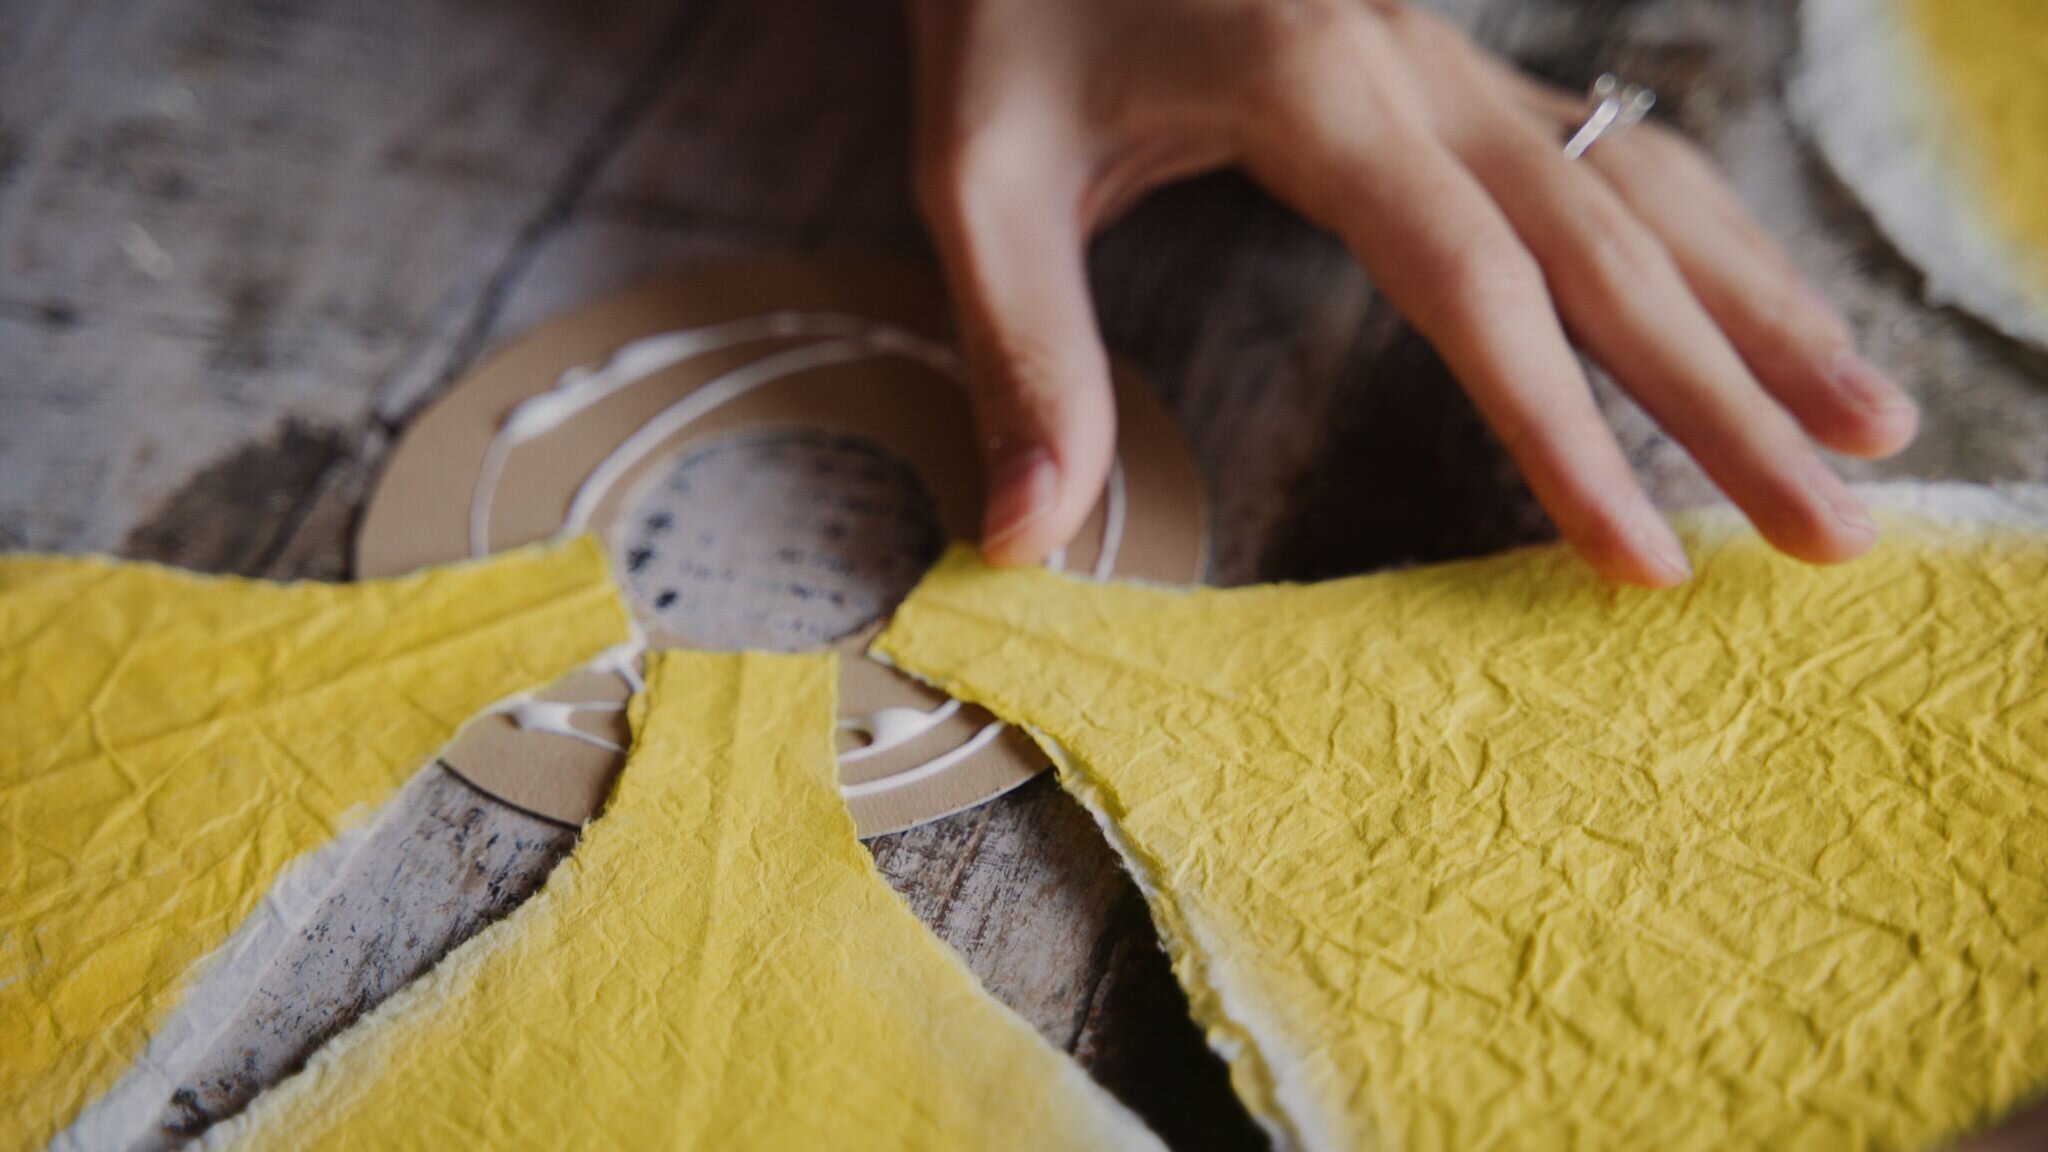
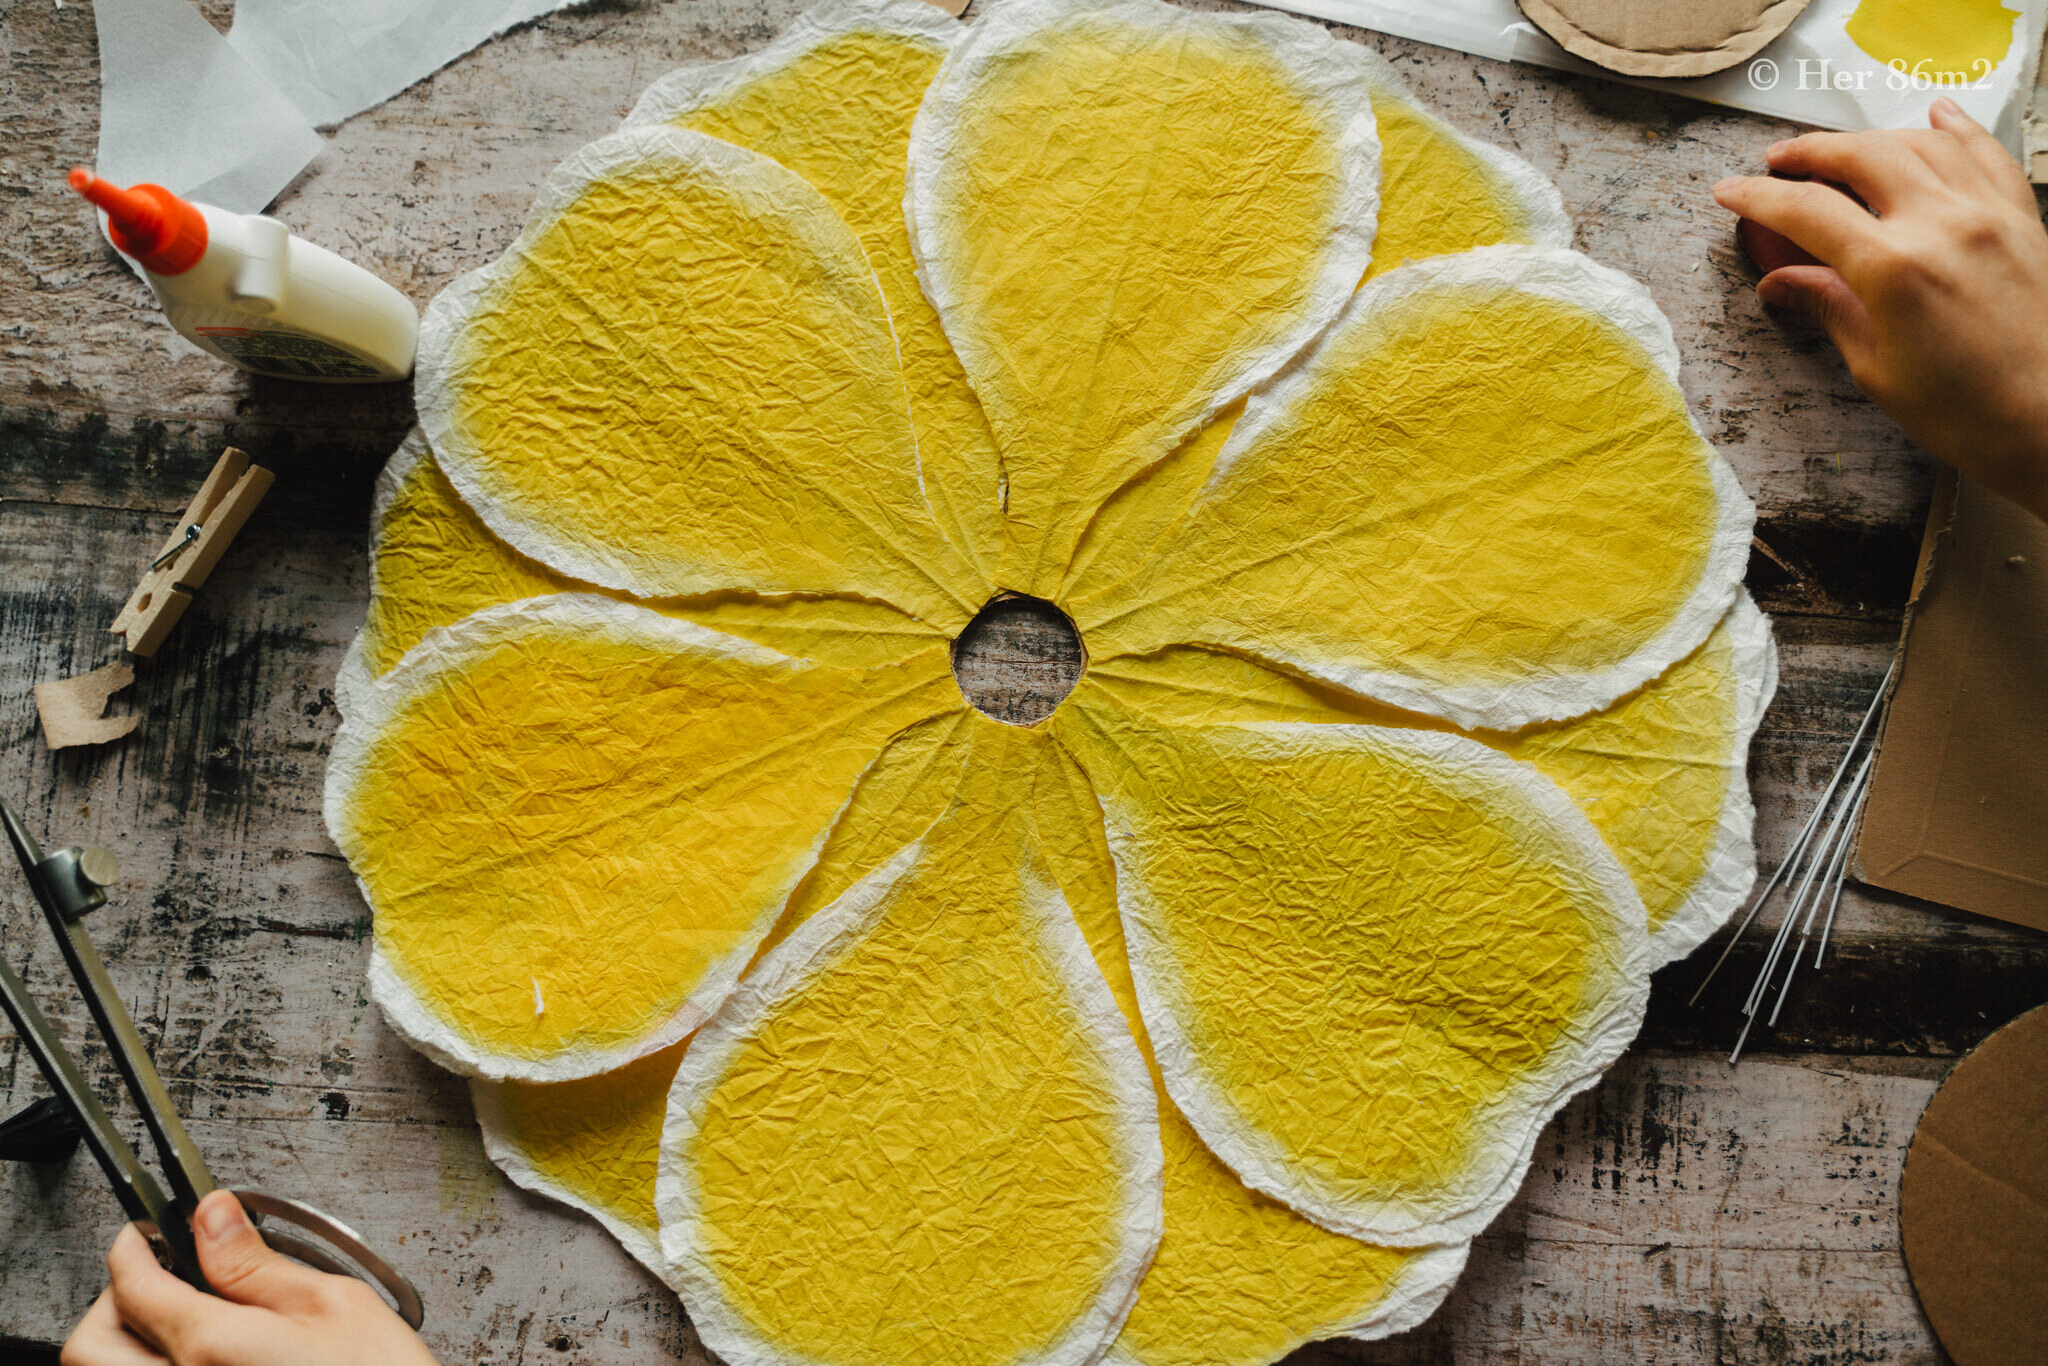
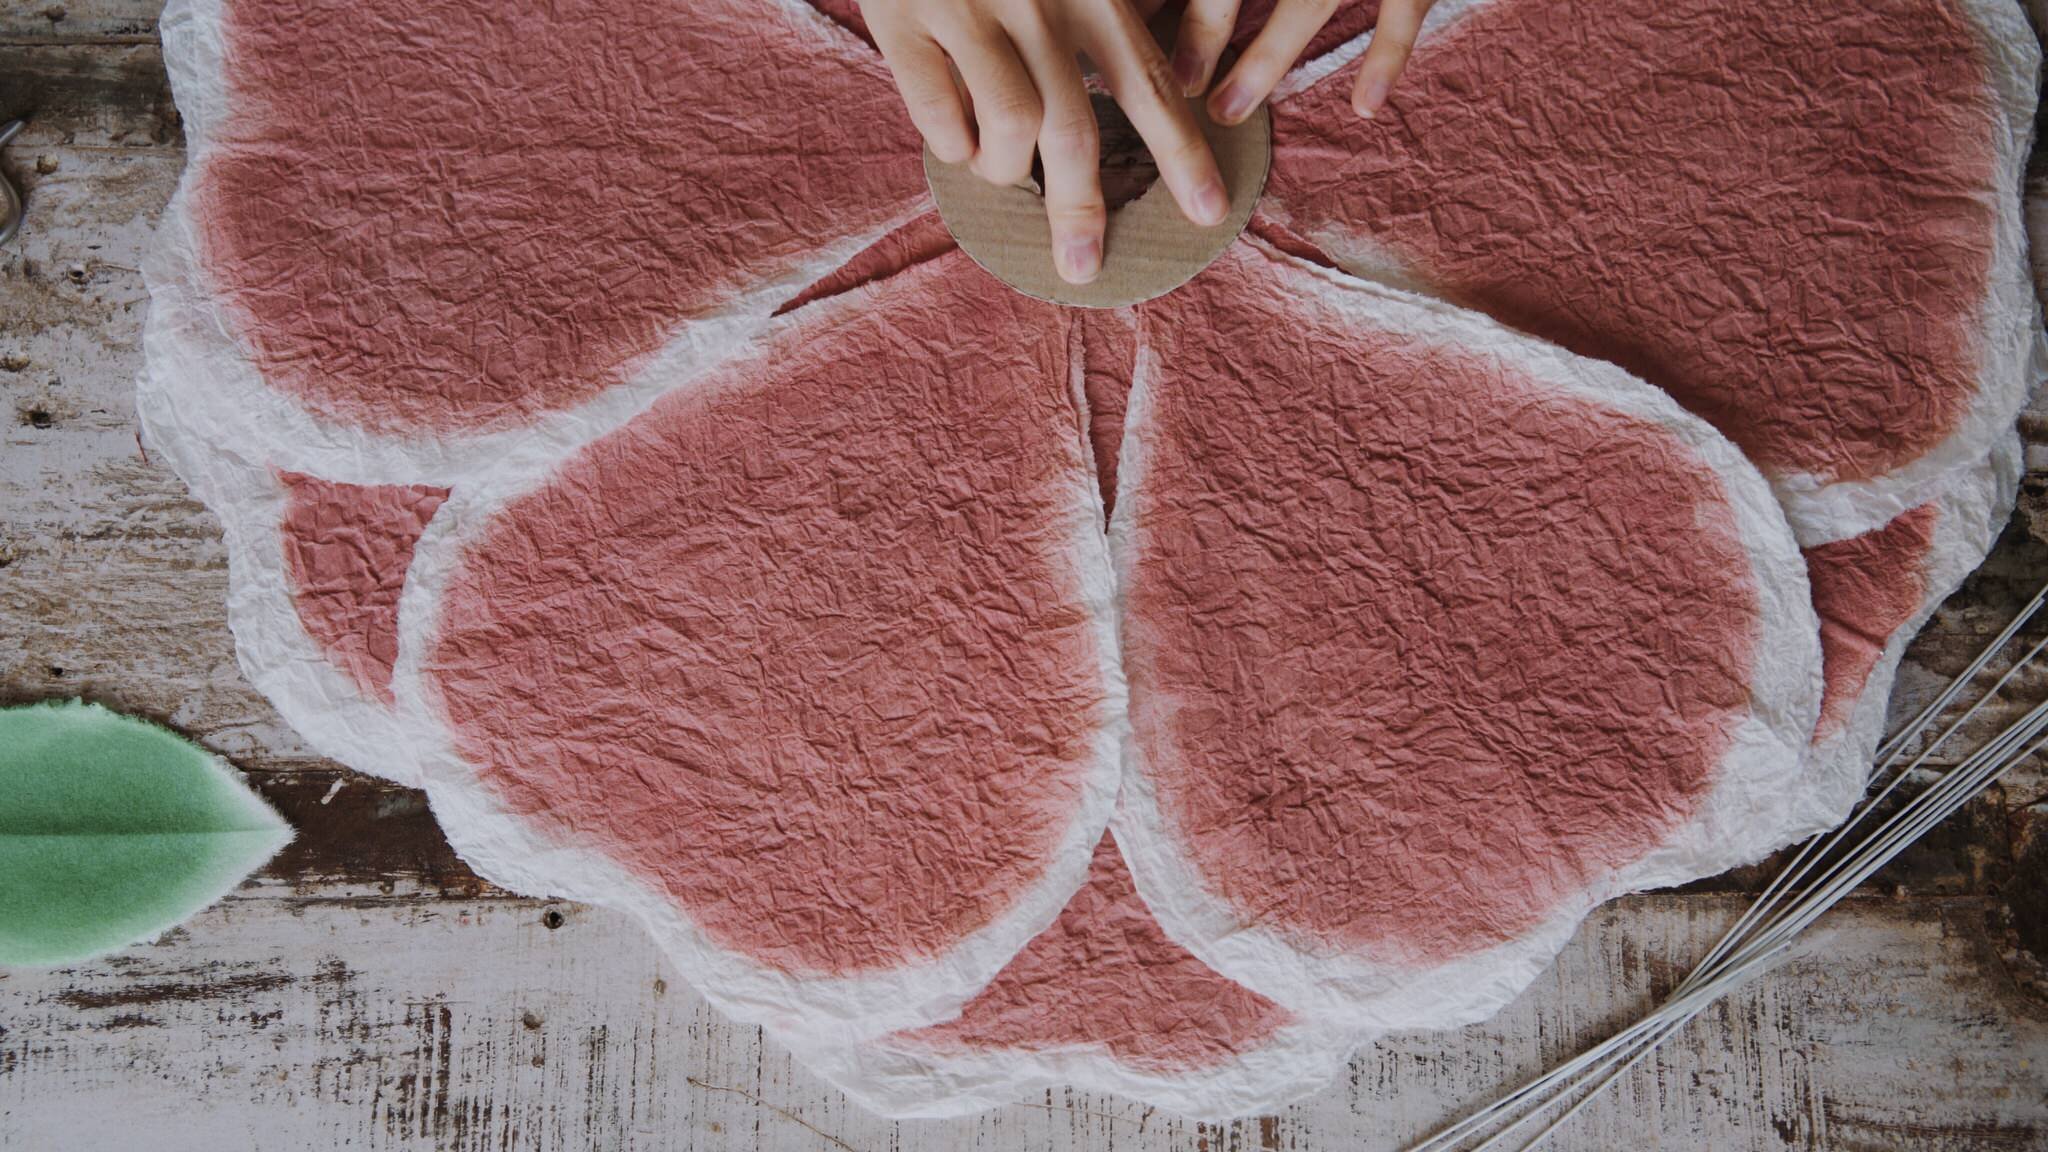
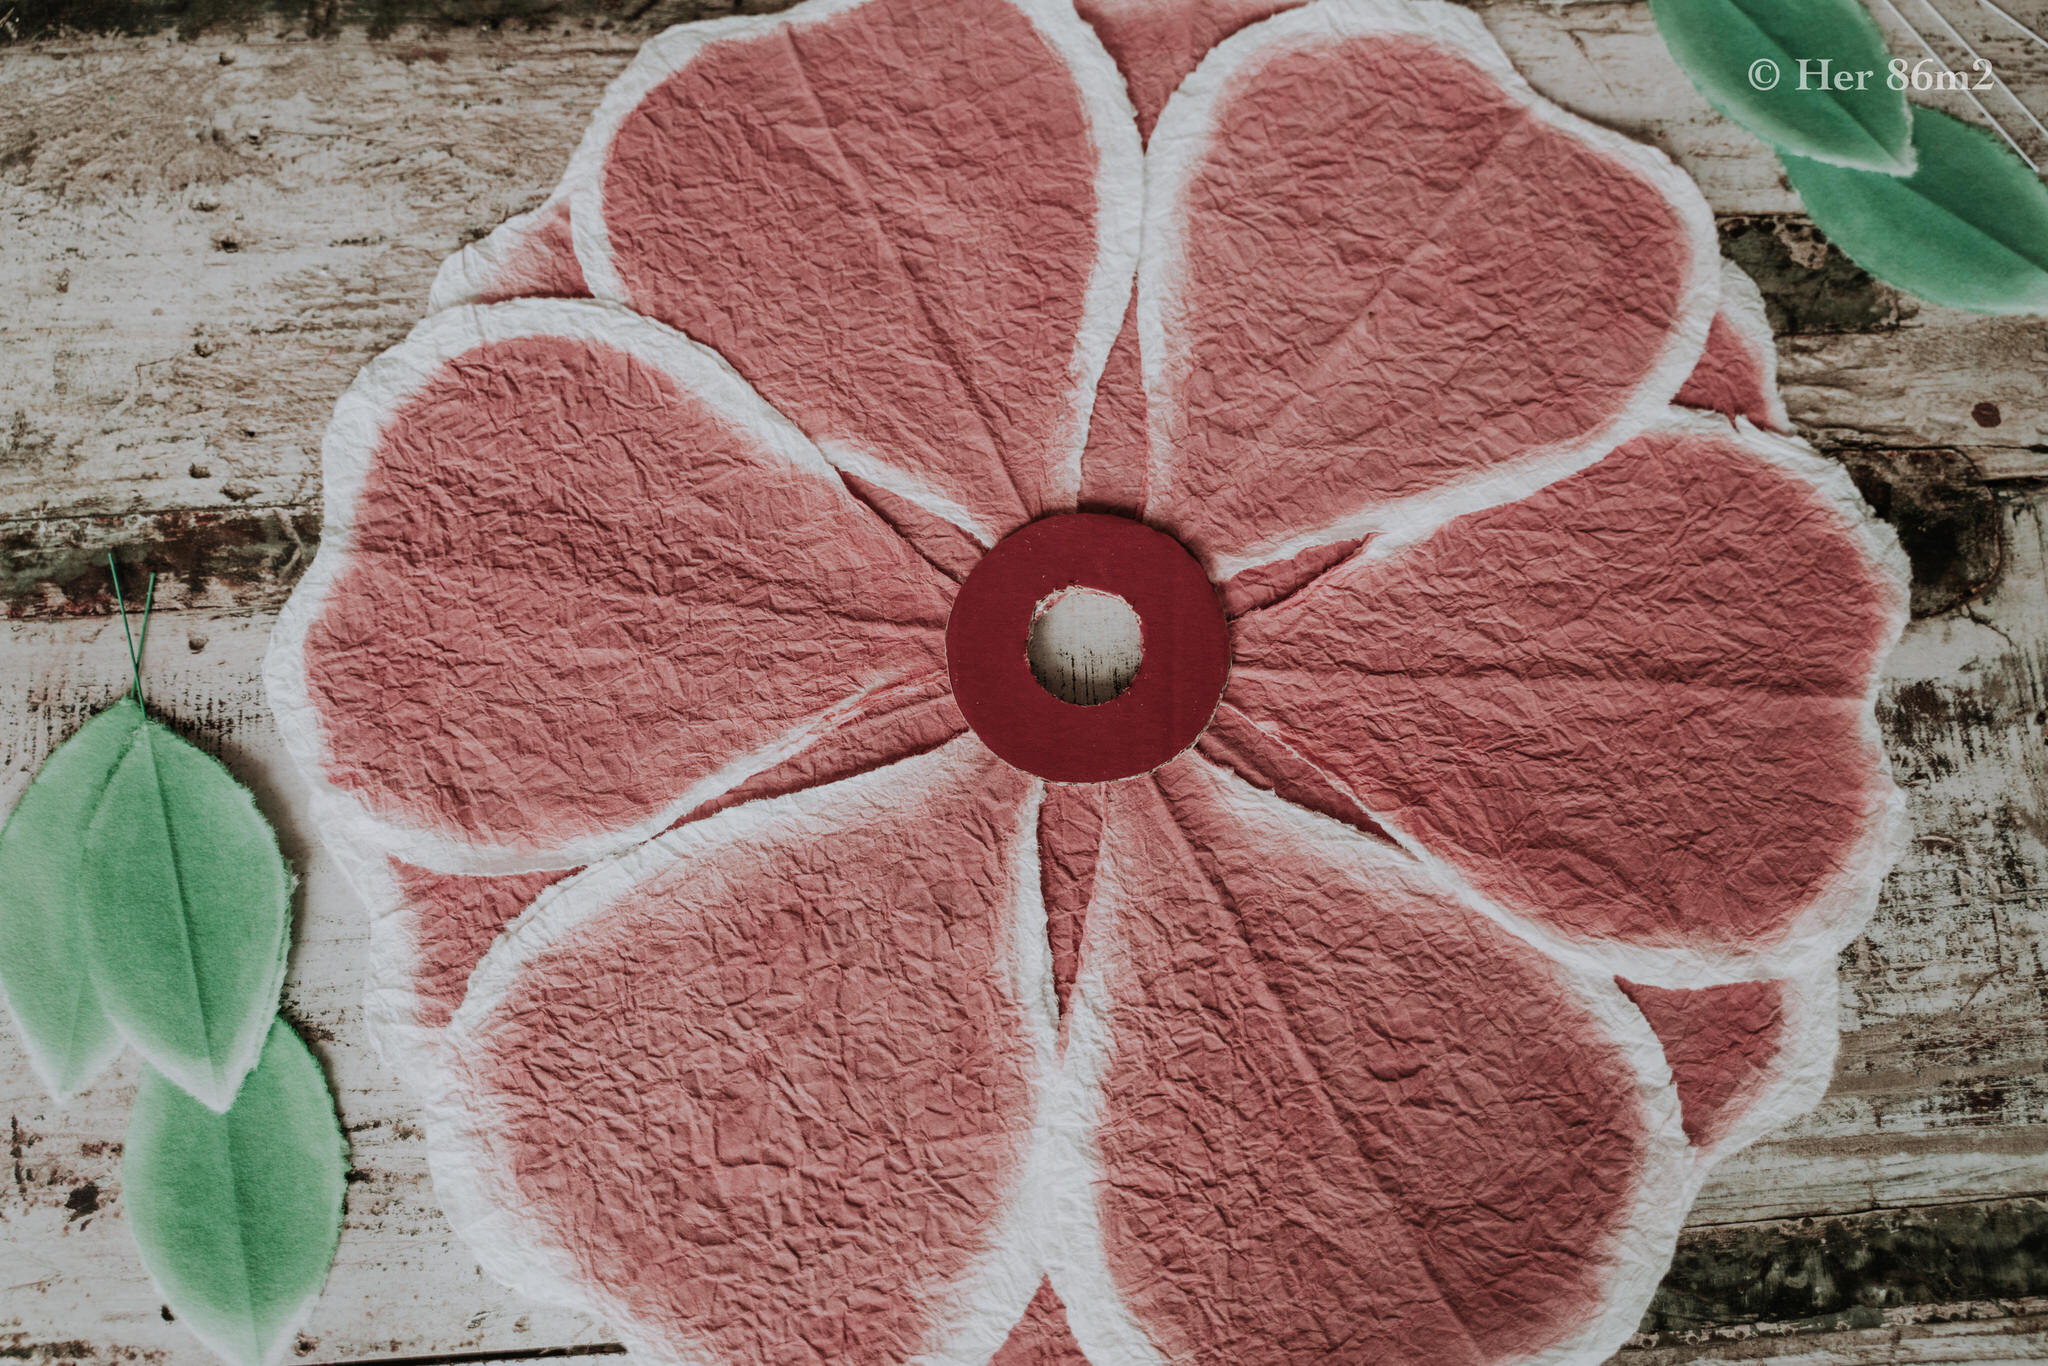
9. Cắt hai miếng bìa cứng hình tròn. Khoét lỗ tròn ở giữa để vừa với đui đèn của bạn (E26/E27). Lần lượt dính các cánh hoa xen kẽ vào nhau vào một miếng bìa cứng vừa cắt. Sau khi dính hết các cánh thì dính miếng bìa cứng còn lại lên trên để cố định các cánh hoa. Tô màu phần bìa này trùng với màu hoa của bạn. Do lười nên mình chỉ tô miếng bìa phía ngoài, còn bên trong thì không tô :p
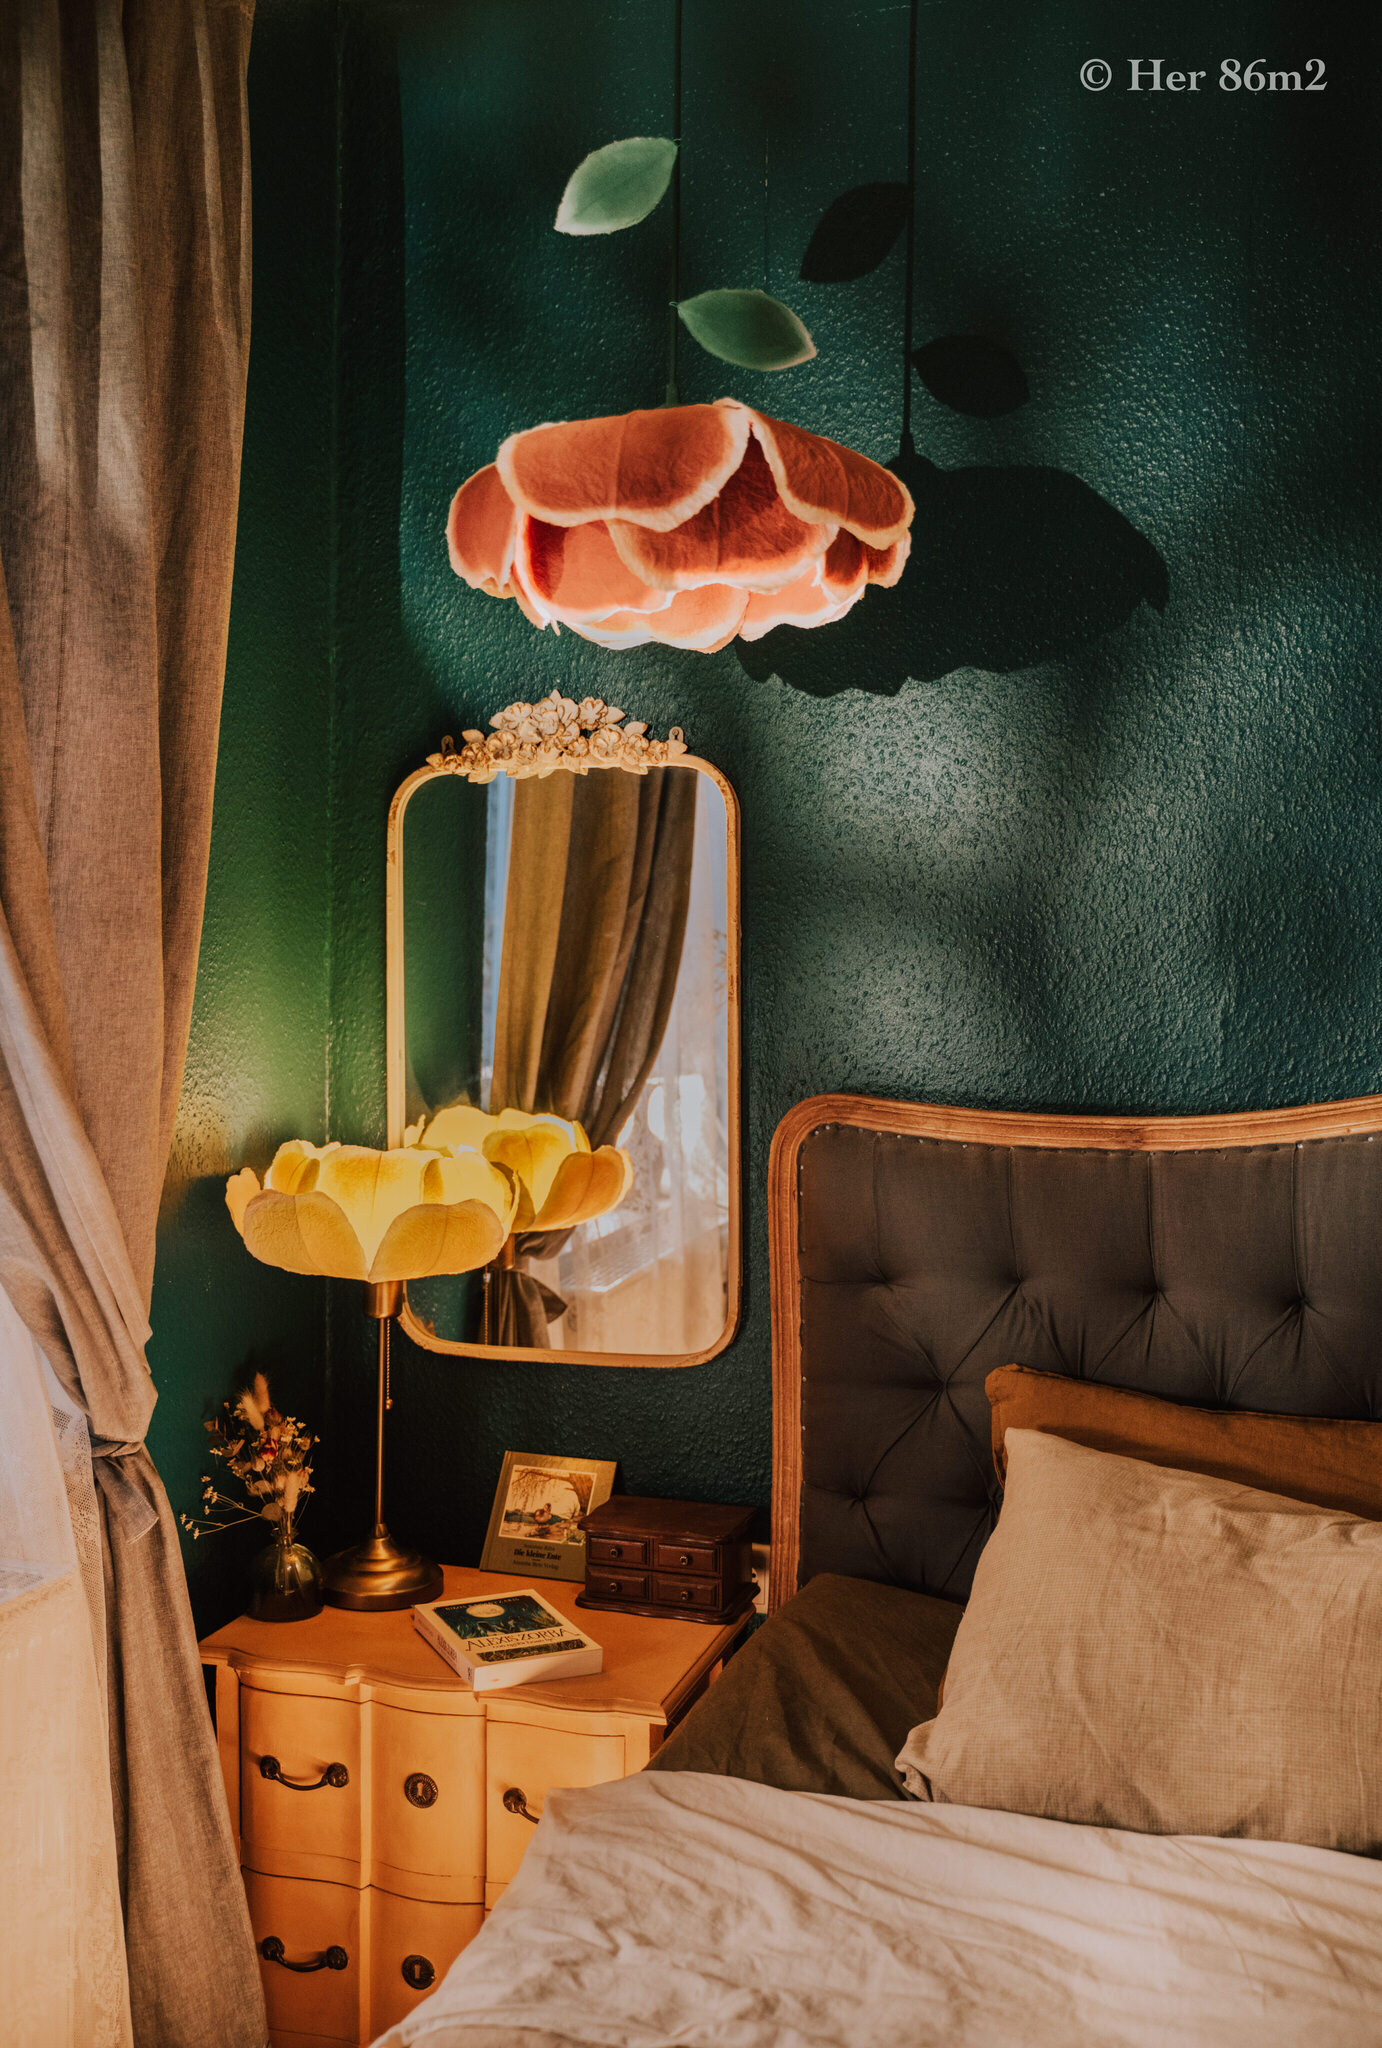
10. Bẻ cánh hoa và tạo hình chụp đèn như bạn mong muốn rồi thay cho chụp đèn cũ của bạn là xong!

9. Cut two pieces of circular cardboard. Cut a round hole in the middle to fit your lampholder (E26 / E27). Glue all petals together on a piece of cardboard just cut. After glueing all the petals, glue the remaining cardboard on top to fix the petals. Paint it to match the color of your petals. Because I was such a lazy person, I only painted the outer socket, not the inside :p
10. Break the petals to the shape you like and replace the old boring lampshade!
I license a lot of music for my videos here - Sign up using the link below to get 2 extra months free :)

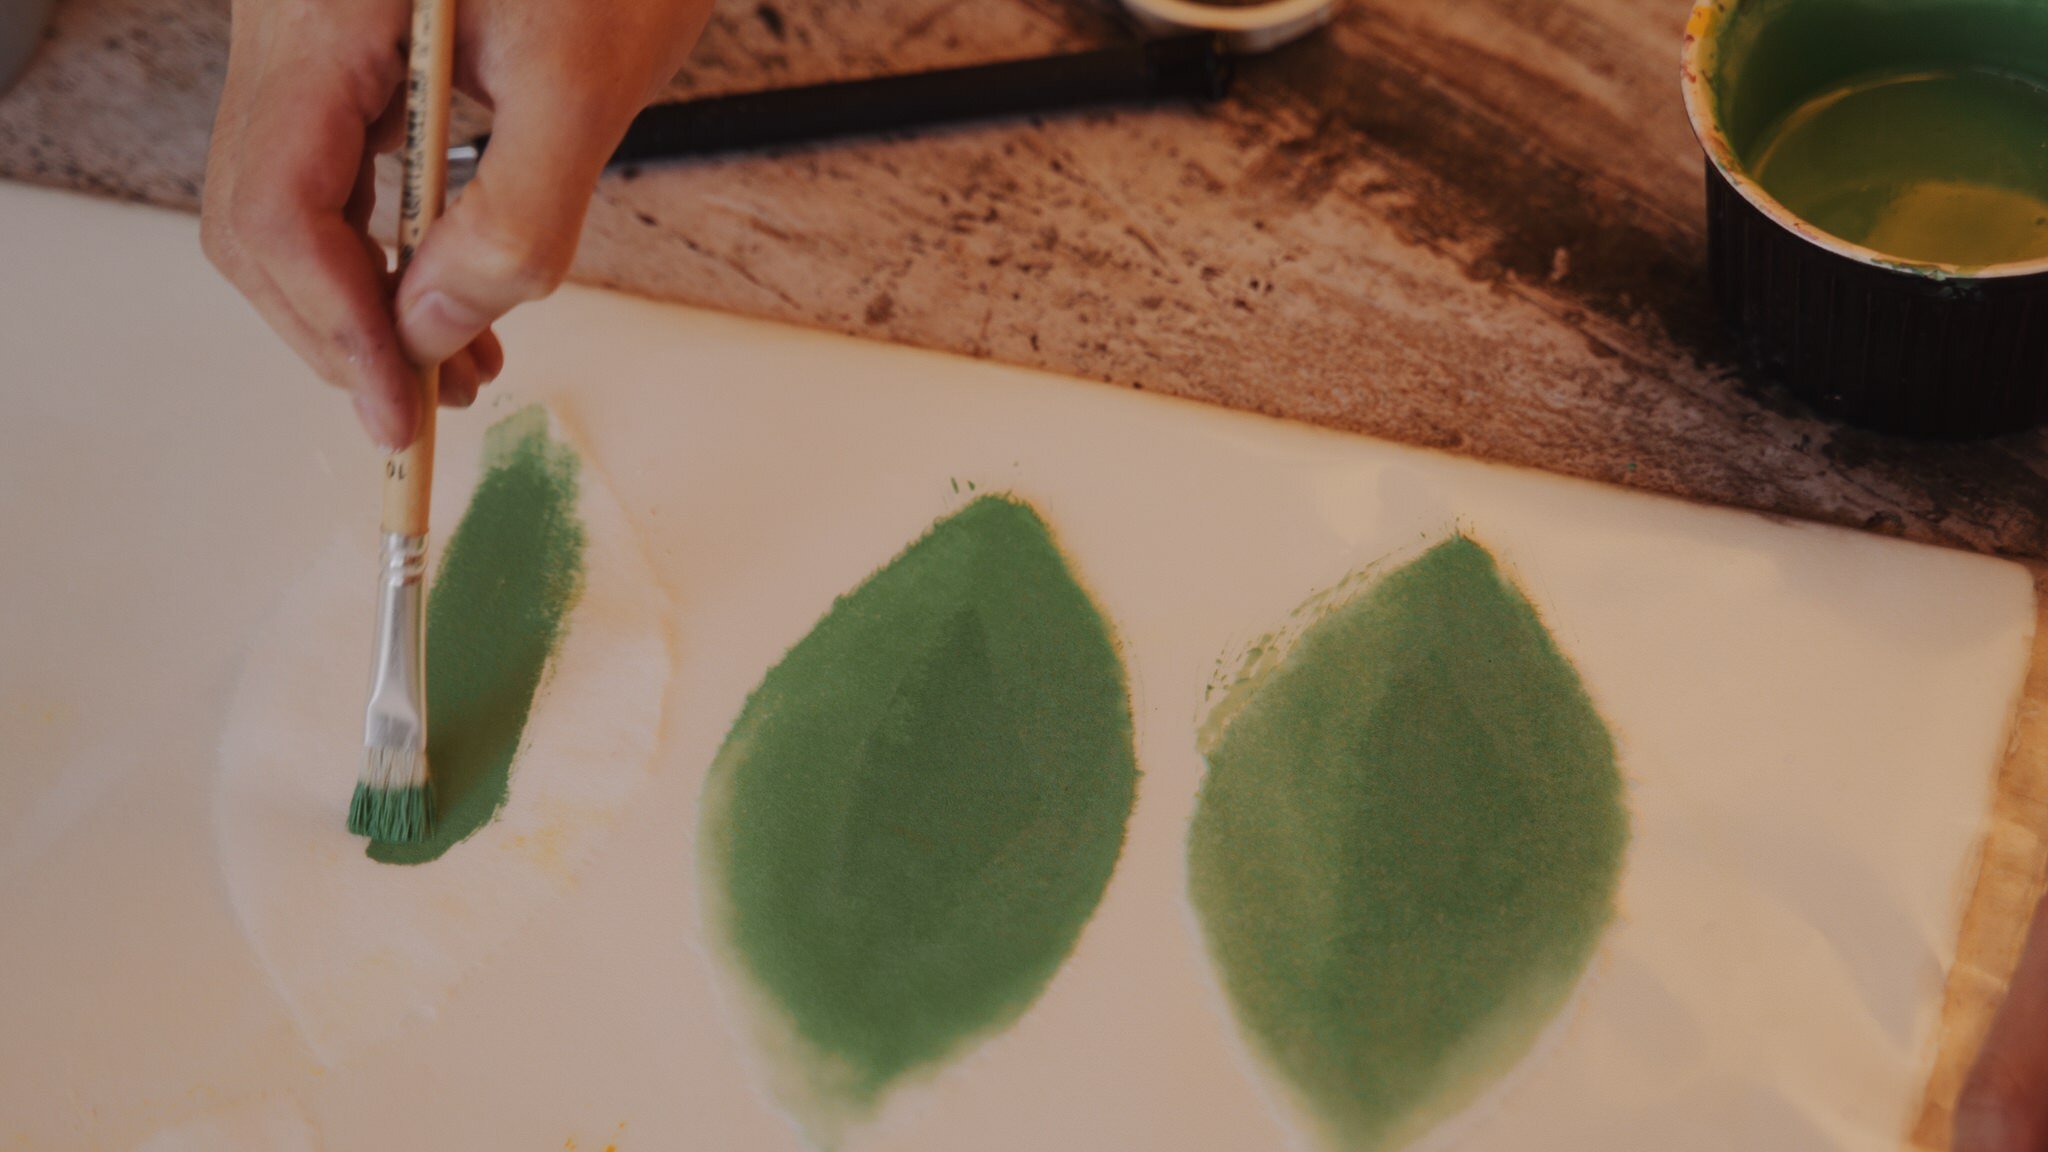
!! Cách làm các lá hoa tương tự như cánh hoa. Mình chỉ bỏ bước vò đi vì thấy thích nhìn lá phẳng mượt. Phần kẽm nối giữa lá nên để dài, để quấn được vào dây điện nhé.
!! Making leaf is no different! There is only one different thought. That I personally don’t crumple them because I like seeing smooth, flat leaves. The floral wire between the leaves should be left long, so that it can be wound on the wire.
Nhìn thì có vẻ nhiều bước nhưng những bước làm này rất đơn giản, chỉ hơi tốn thời gian một chút!
Làm đèn treo chỗ đọc sách như phòng An, hay đèn trần, đèn ngủ đều rất xinh!