
Complete guide to raising quails: egg incubation, raising chicks, coop build...
Back in 2022, when we first moved into this house,
I actually started raising quails for the first time.
It was all very new to me back then, and I was learning everything as I went.
And then after about a year, we made a mistake.
We forgot to close the coop door, and all the quails got out.
Yeah… that was kind of the end of that chapter… So we stopped raising quails after that.
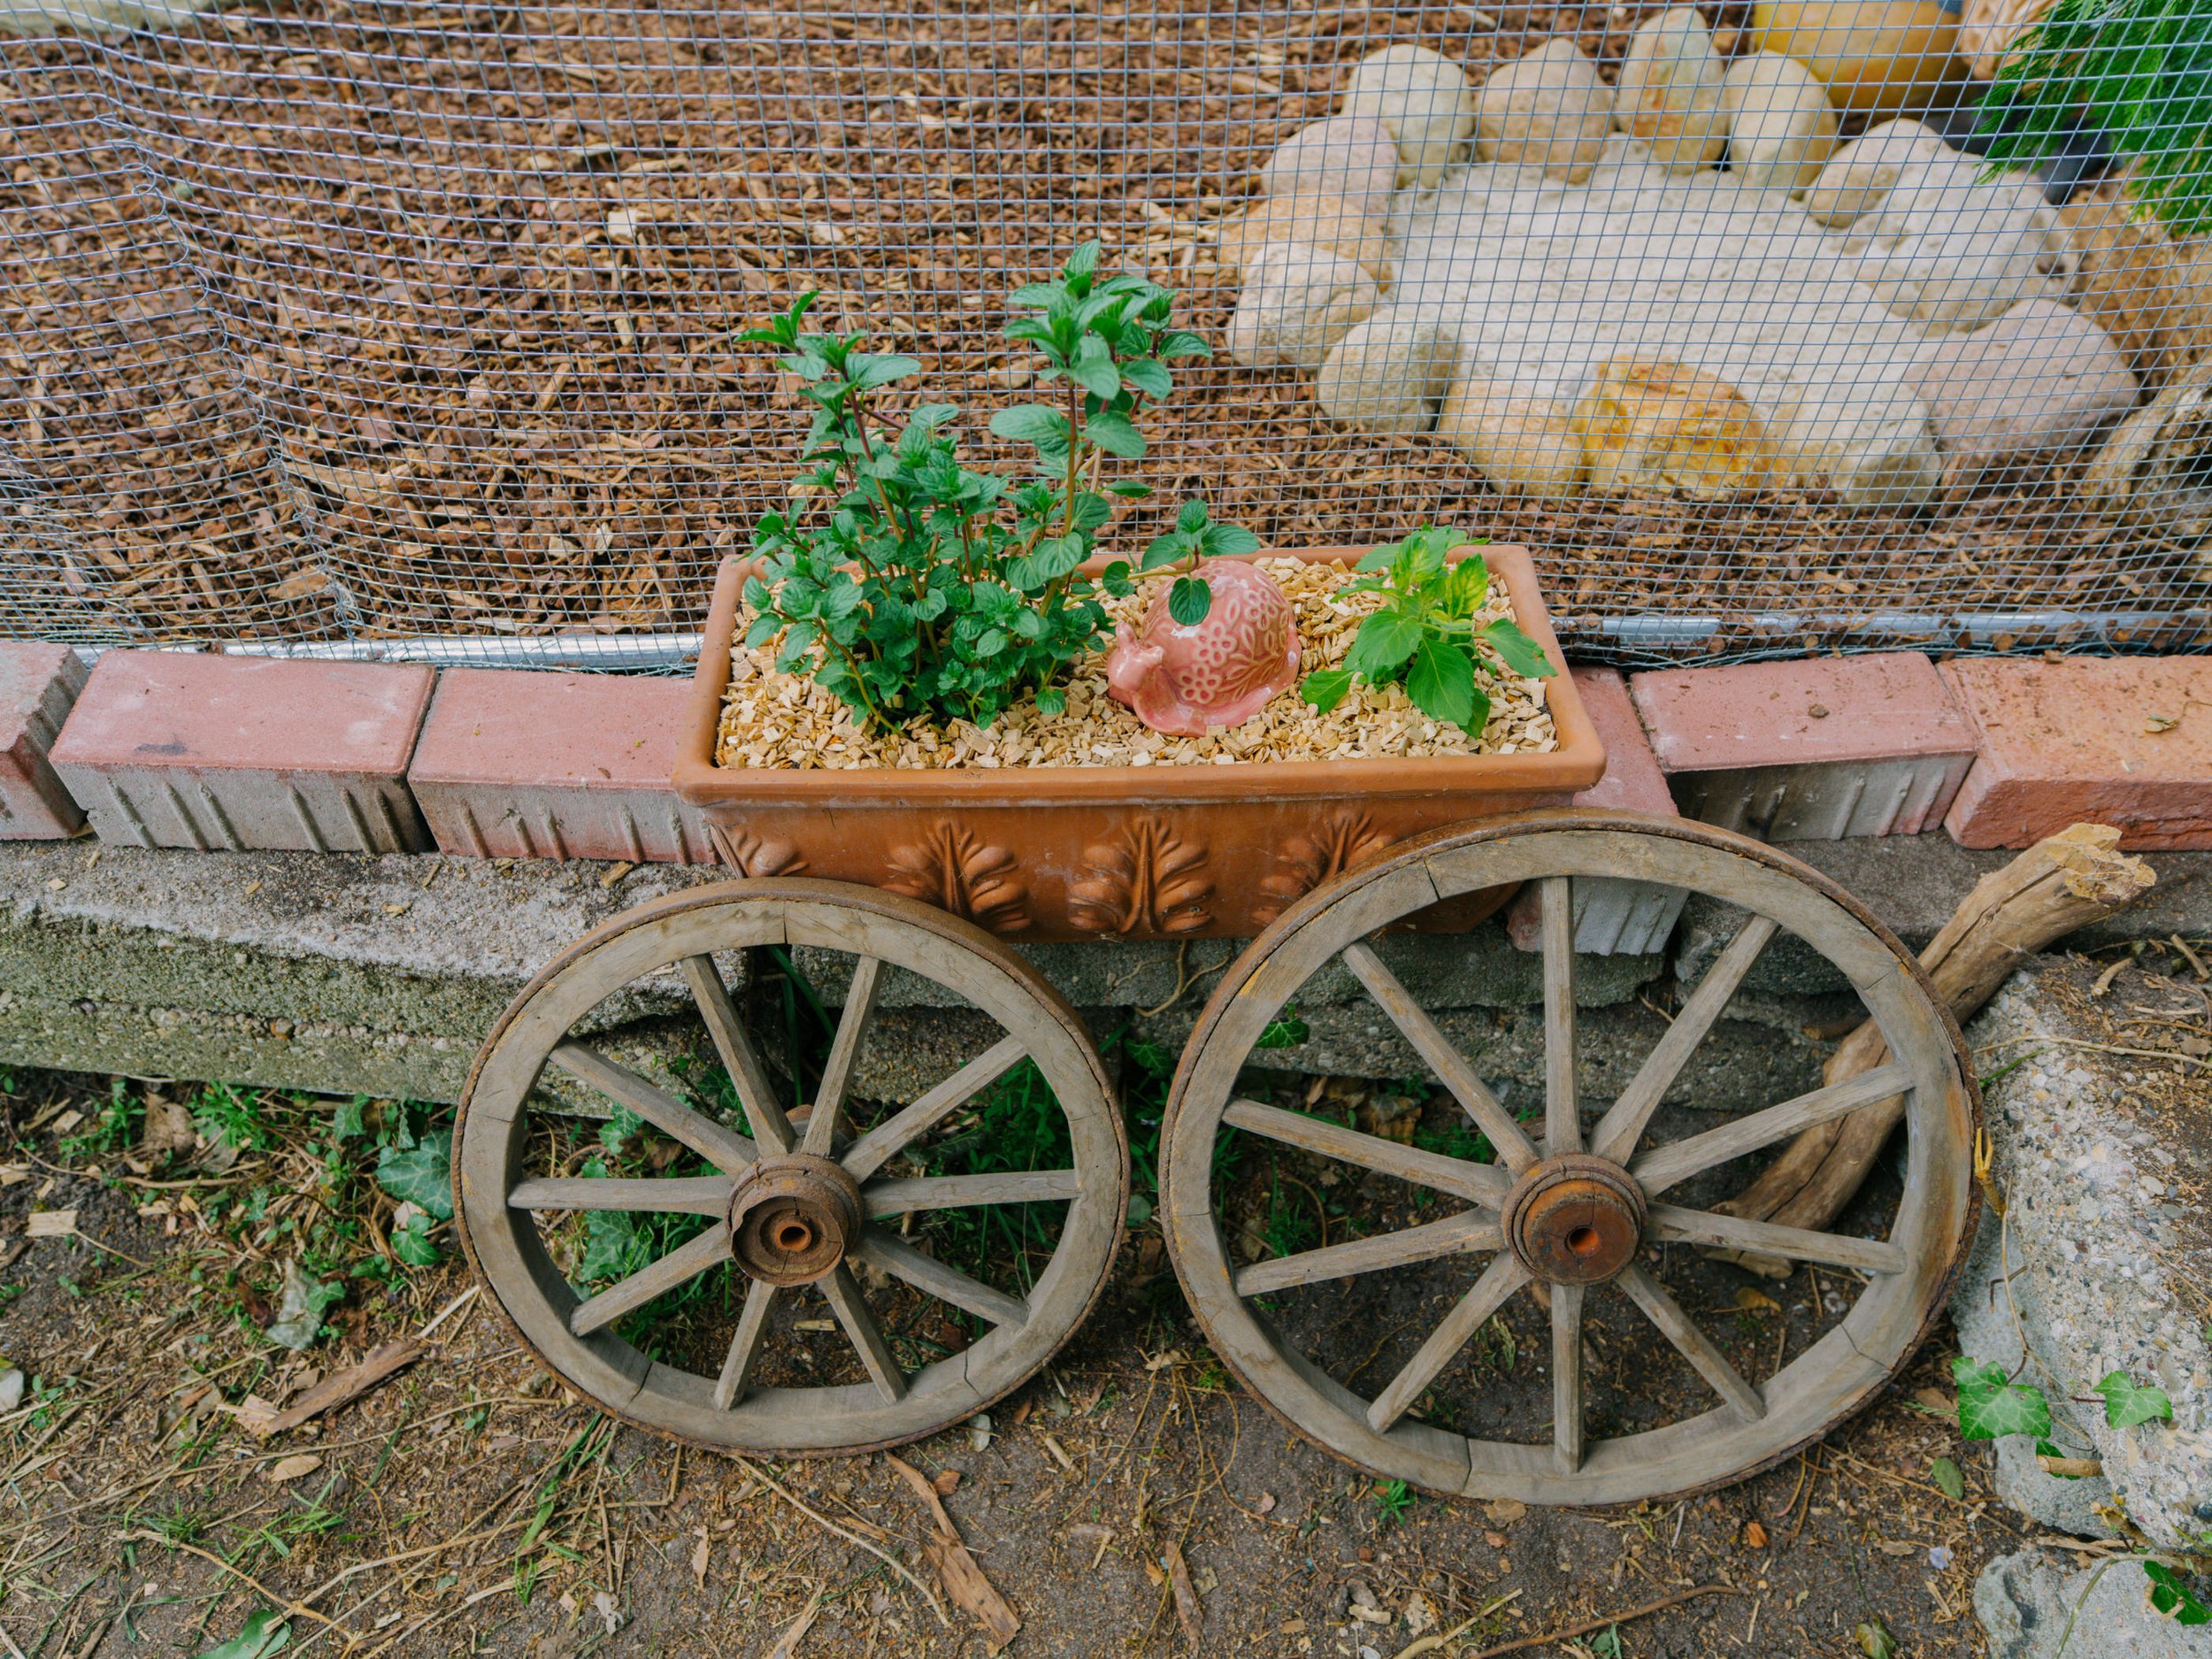
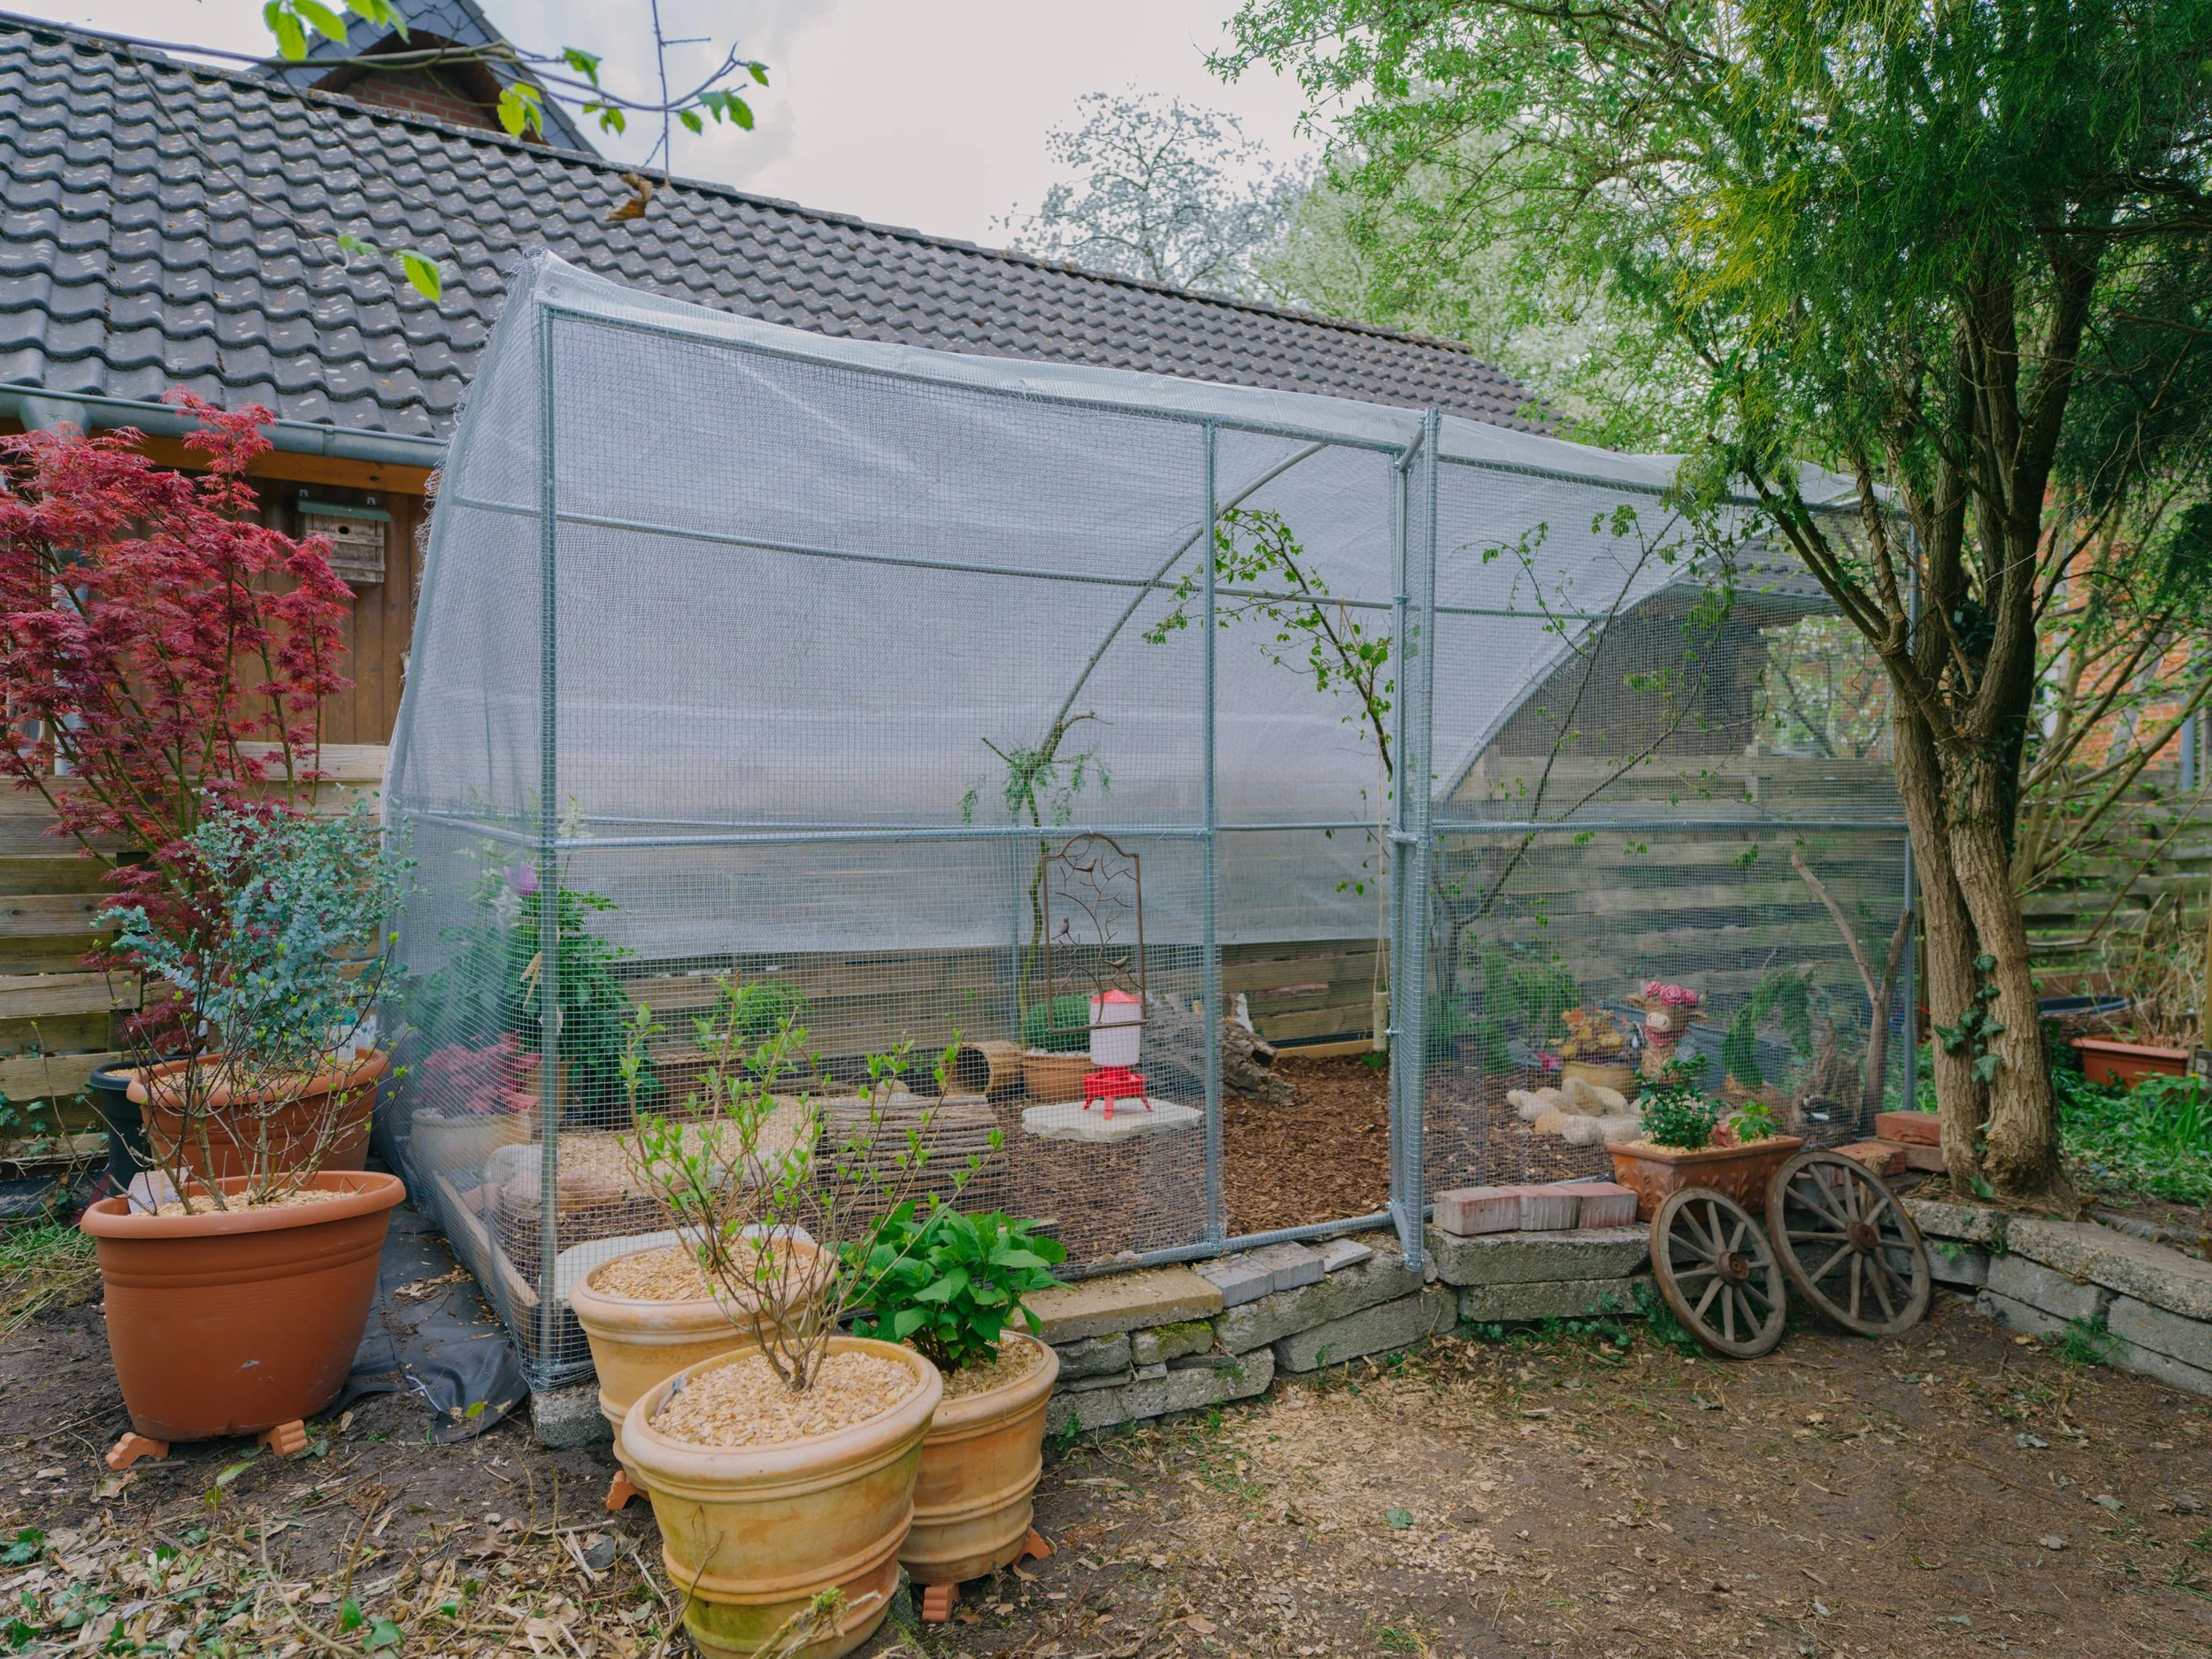
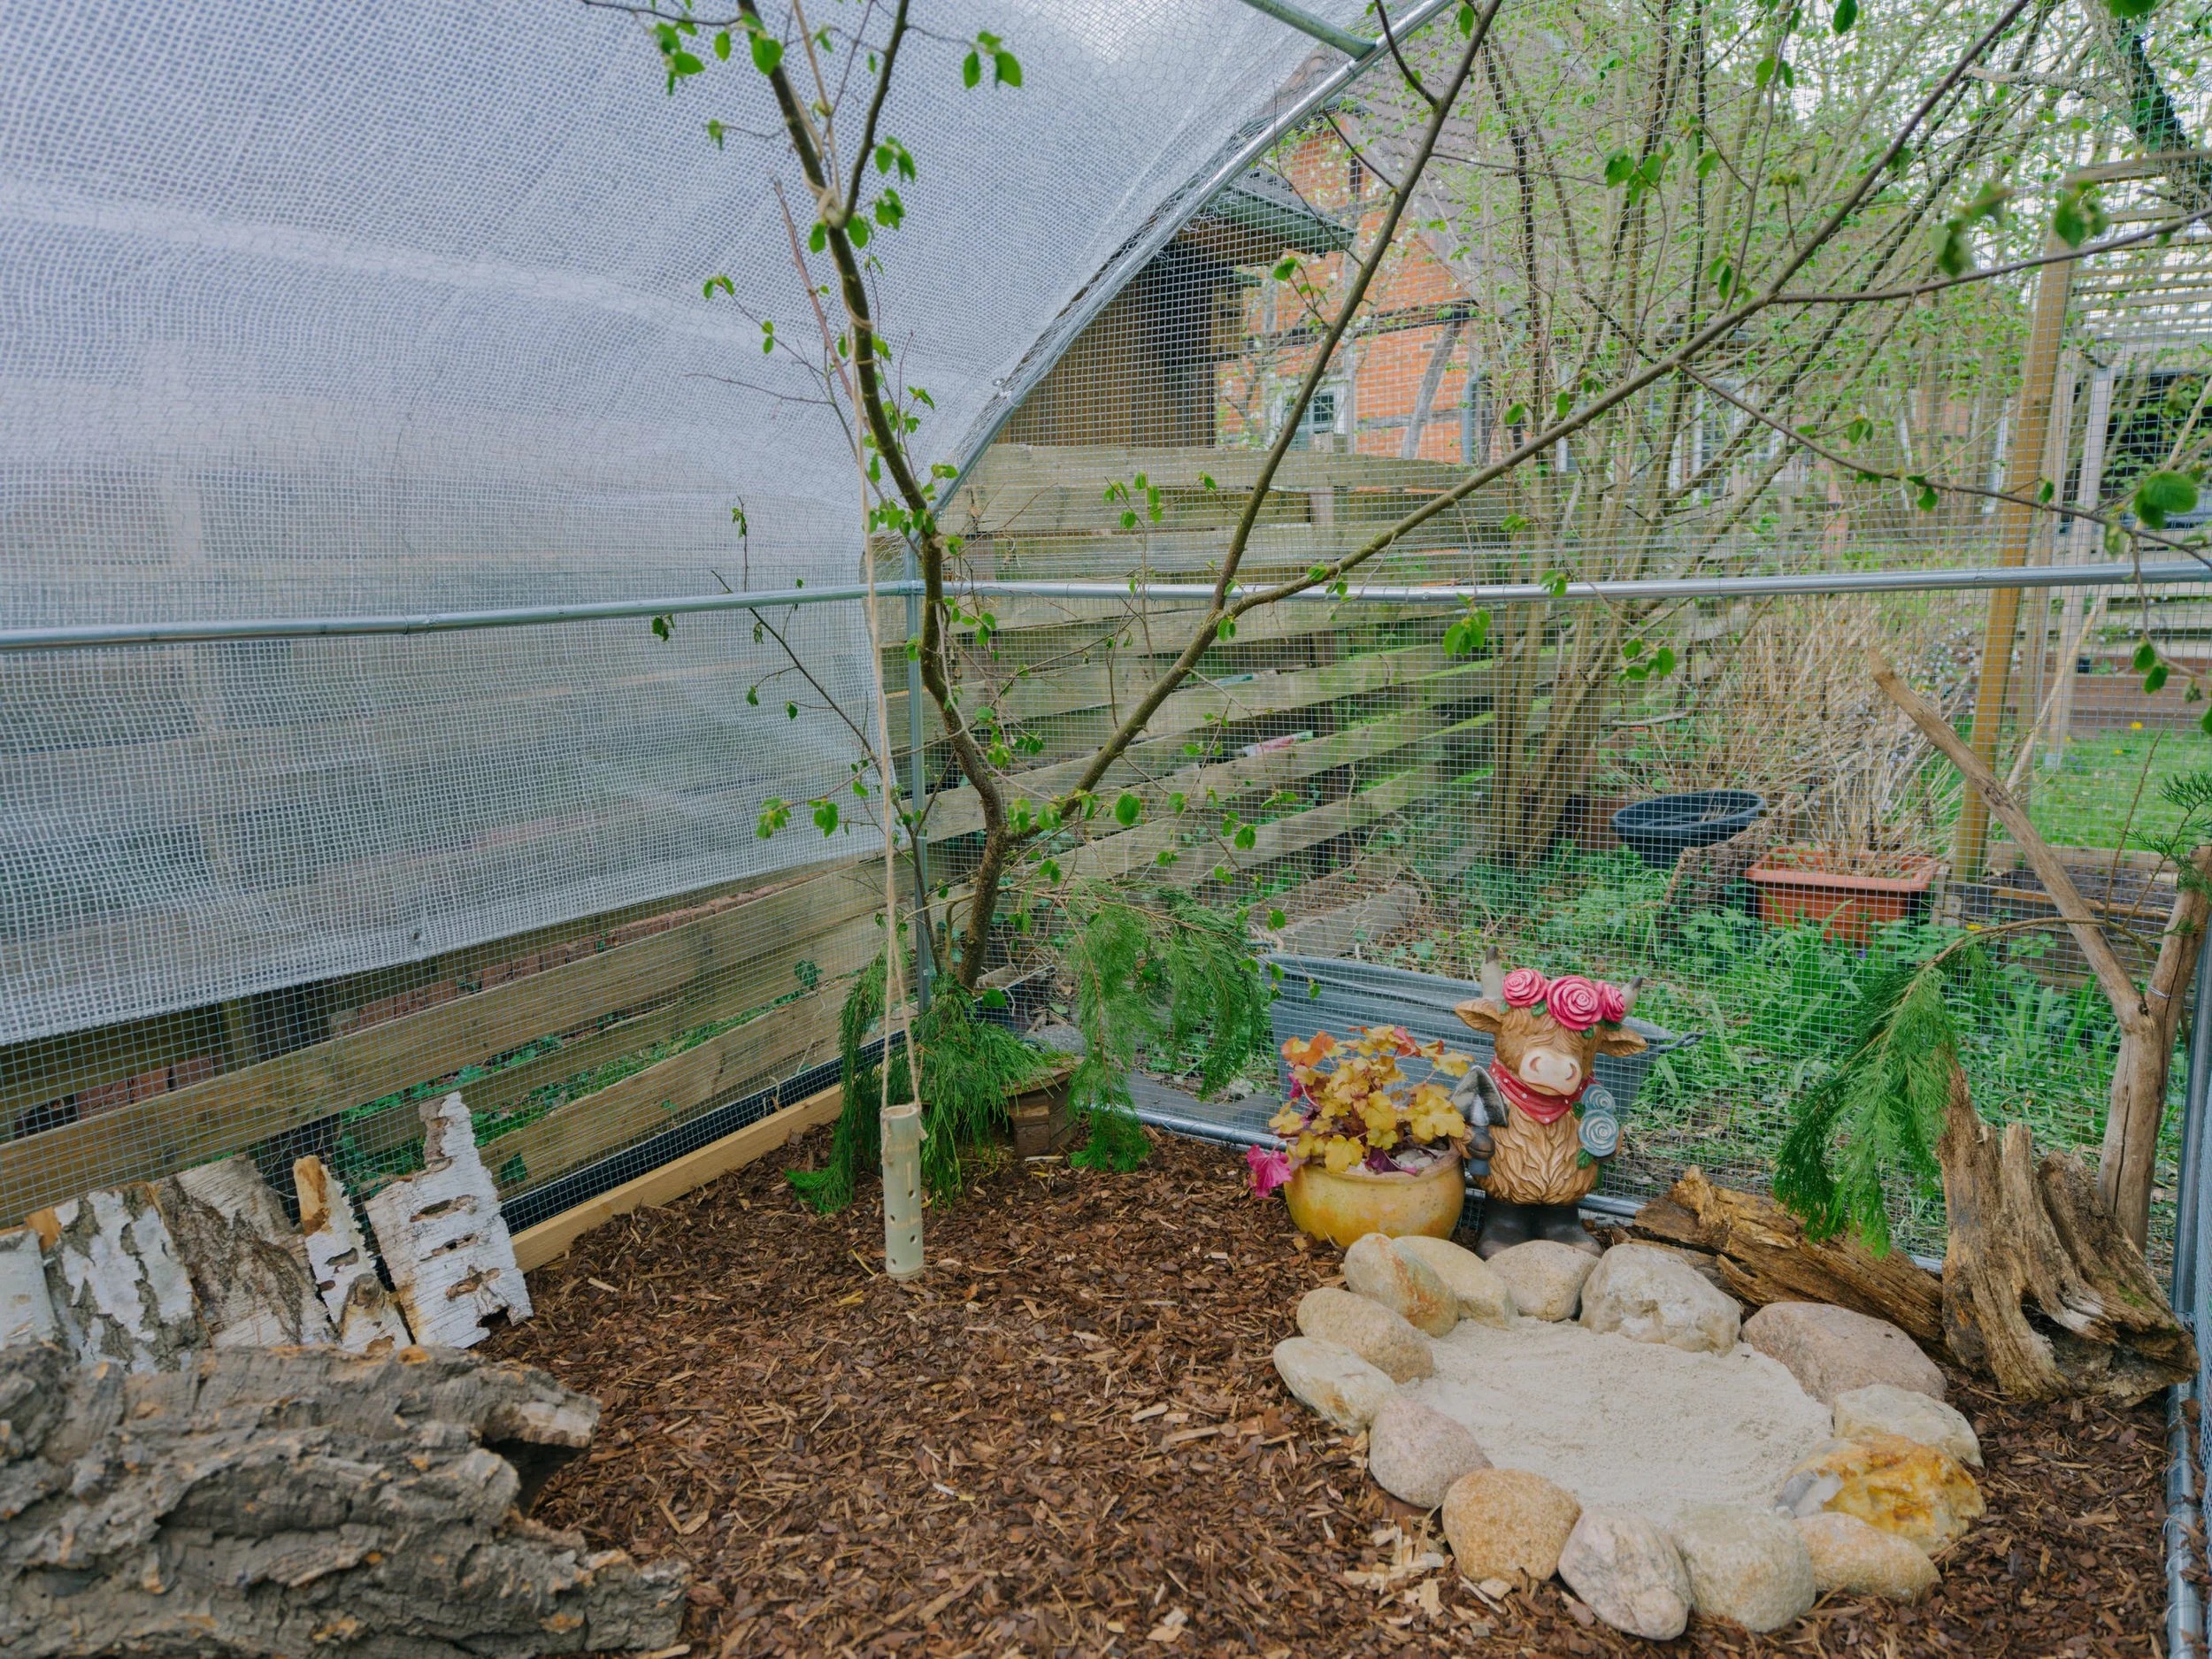
And now, 4 years later, here we are again… starting all over.
But this time feels very different. I know a lot more now, I’ve learned from my mistakes, and everything is just way more planned.
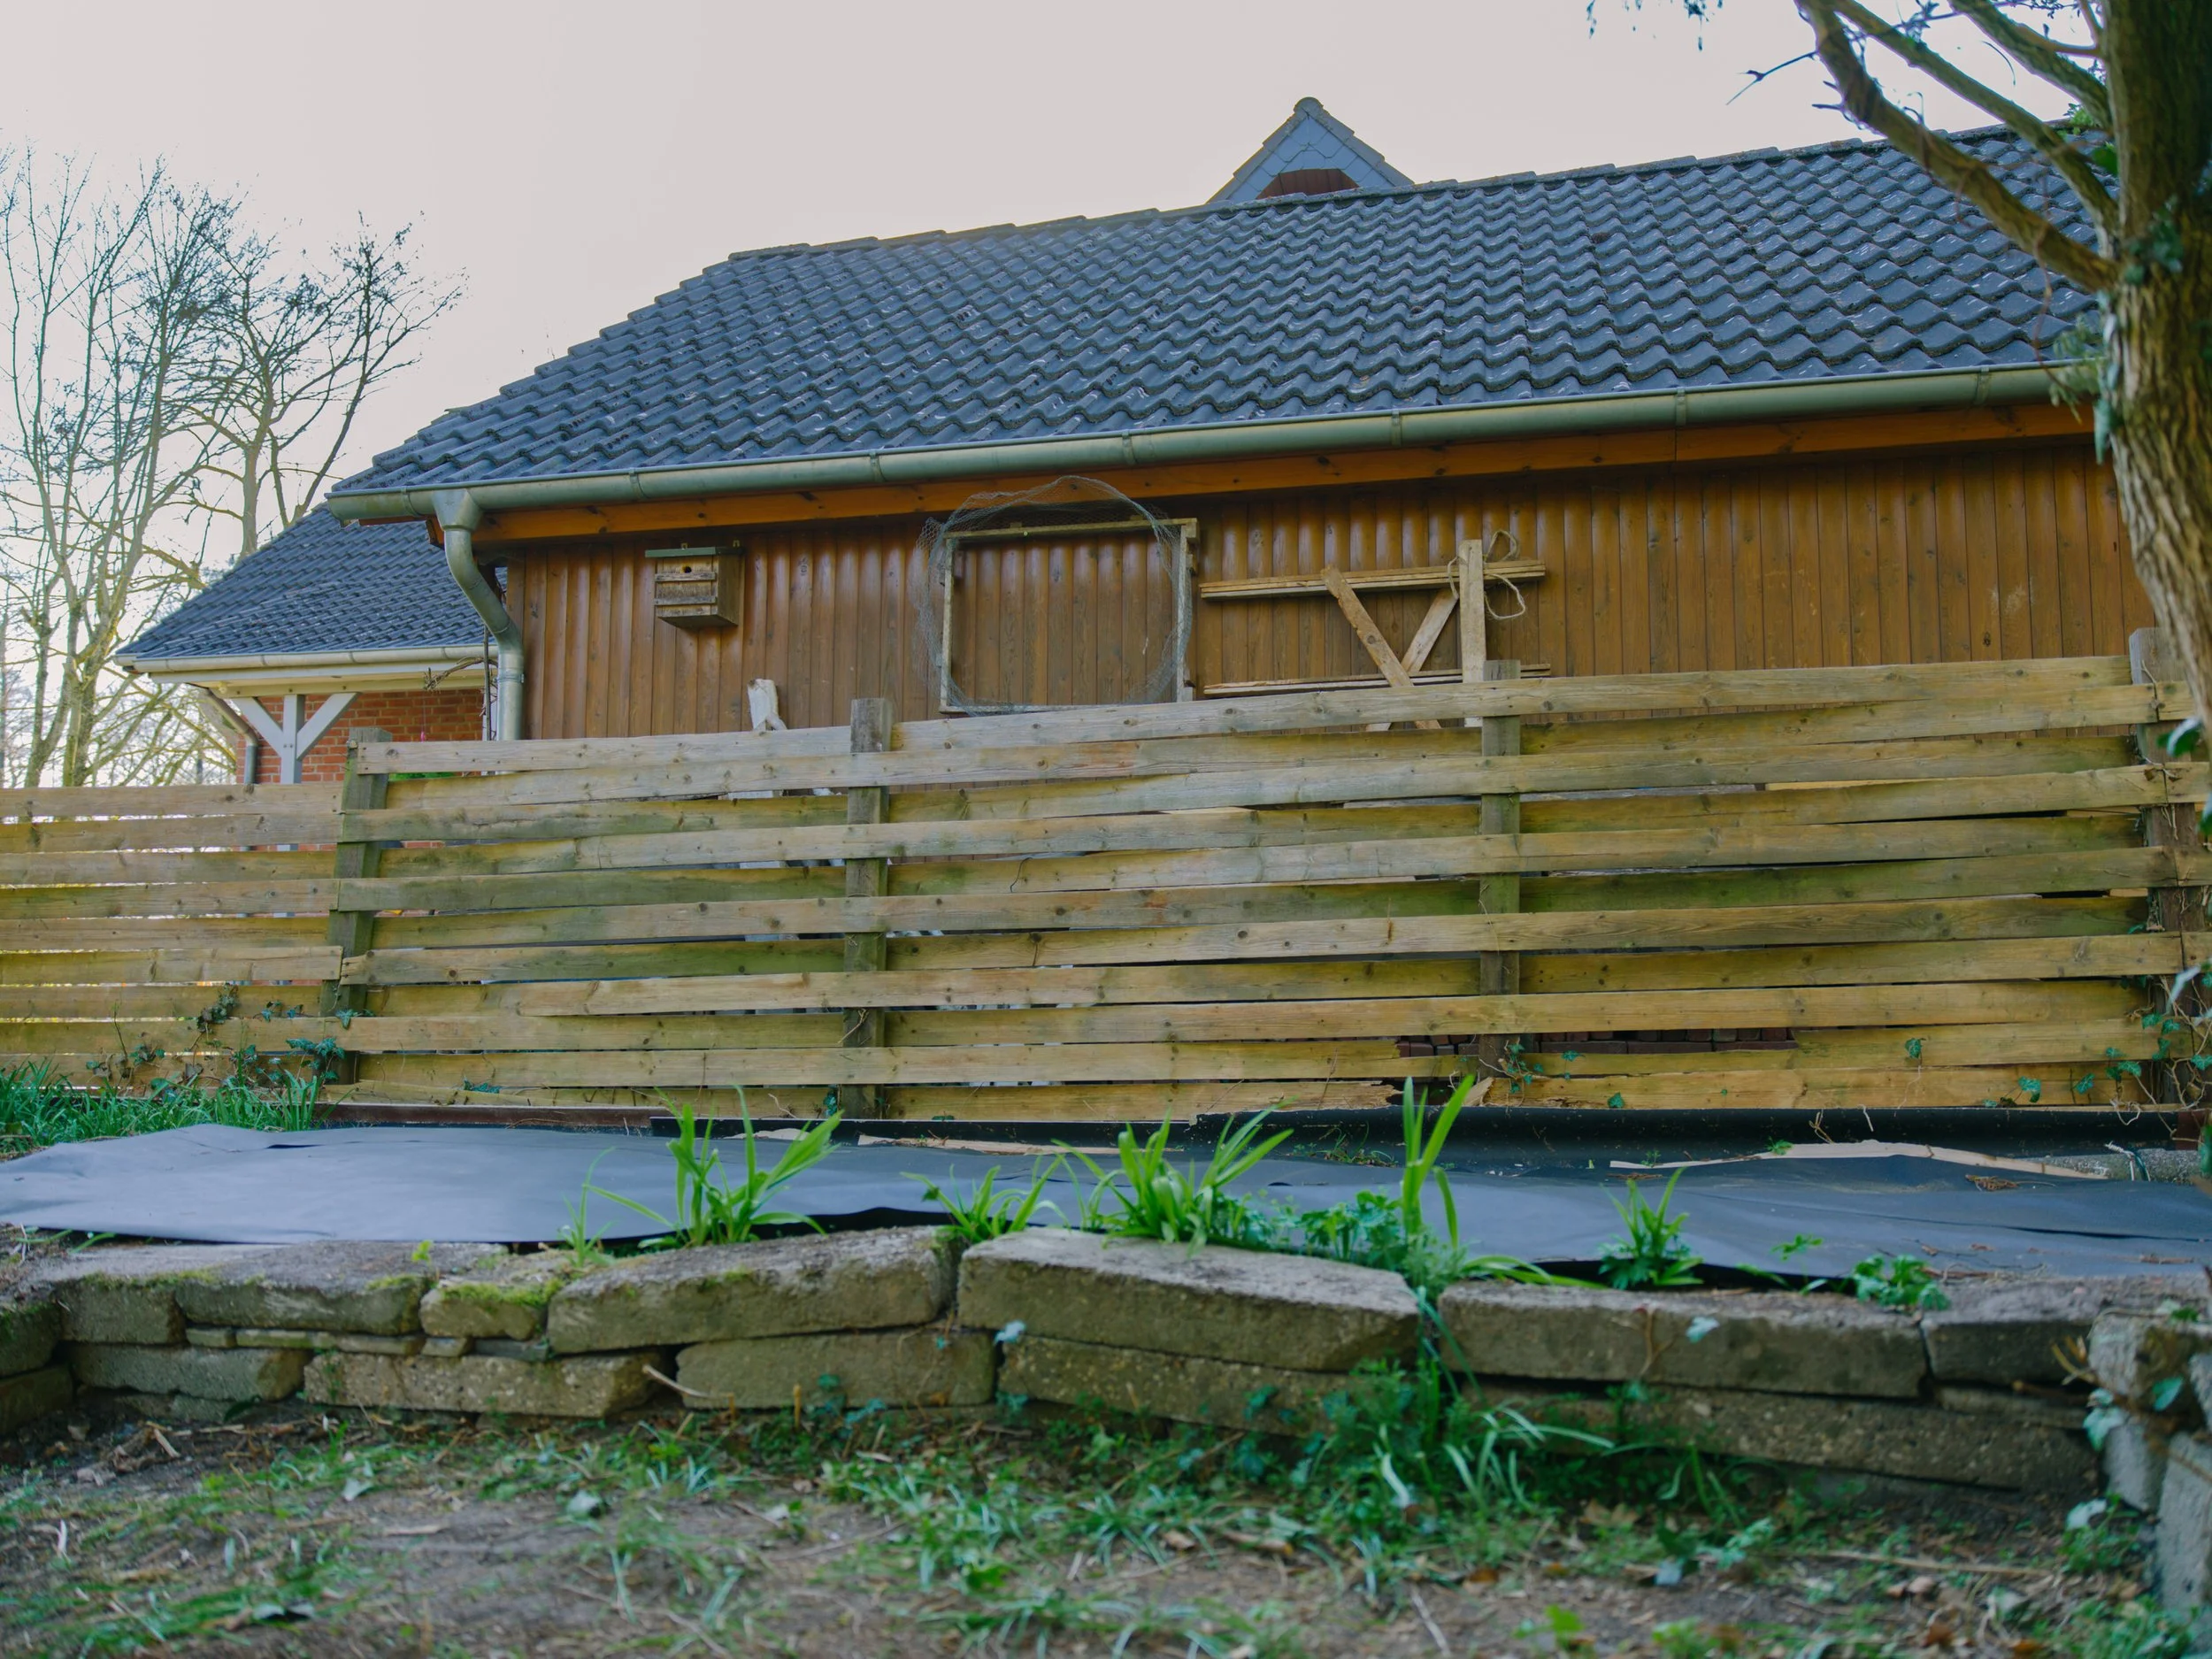
First, I remove all the weeds from the area.
You really want to clear everything out properly, so they don’t just grow back immediately.
Then I cover the ground with cardboard, and add a layer of weed control fabric on top.
This helps block out light and stops new weeds from coming through.
It also makes the whole area easier to maintain later on, especially once the quails are already living there.
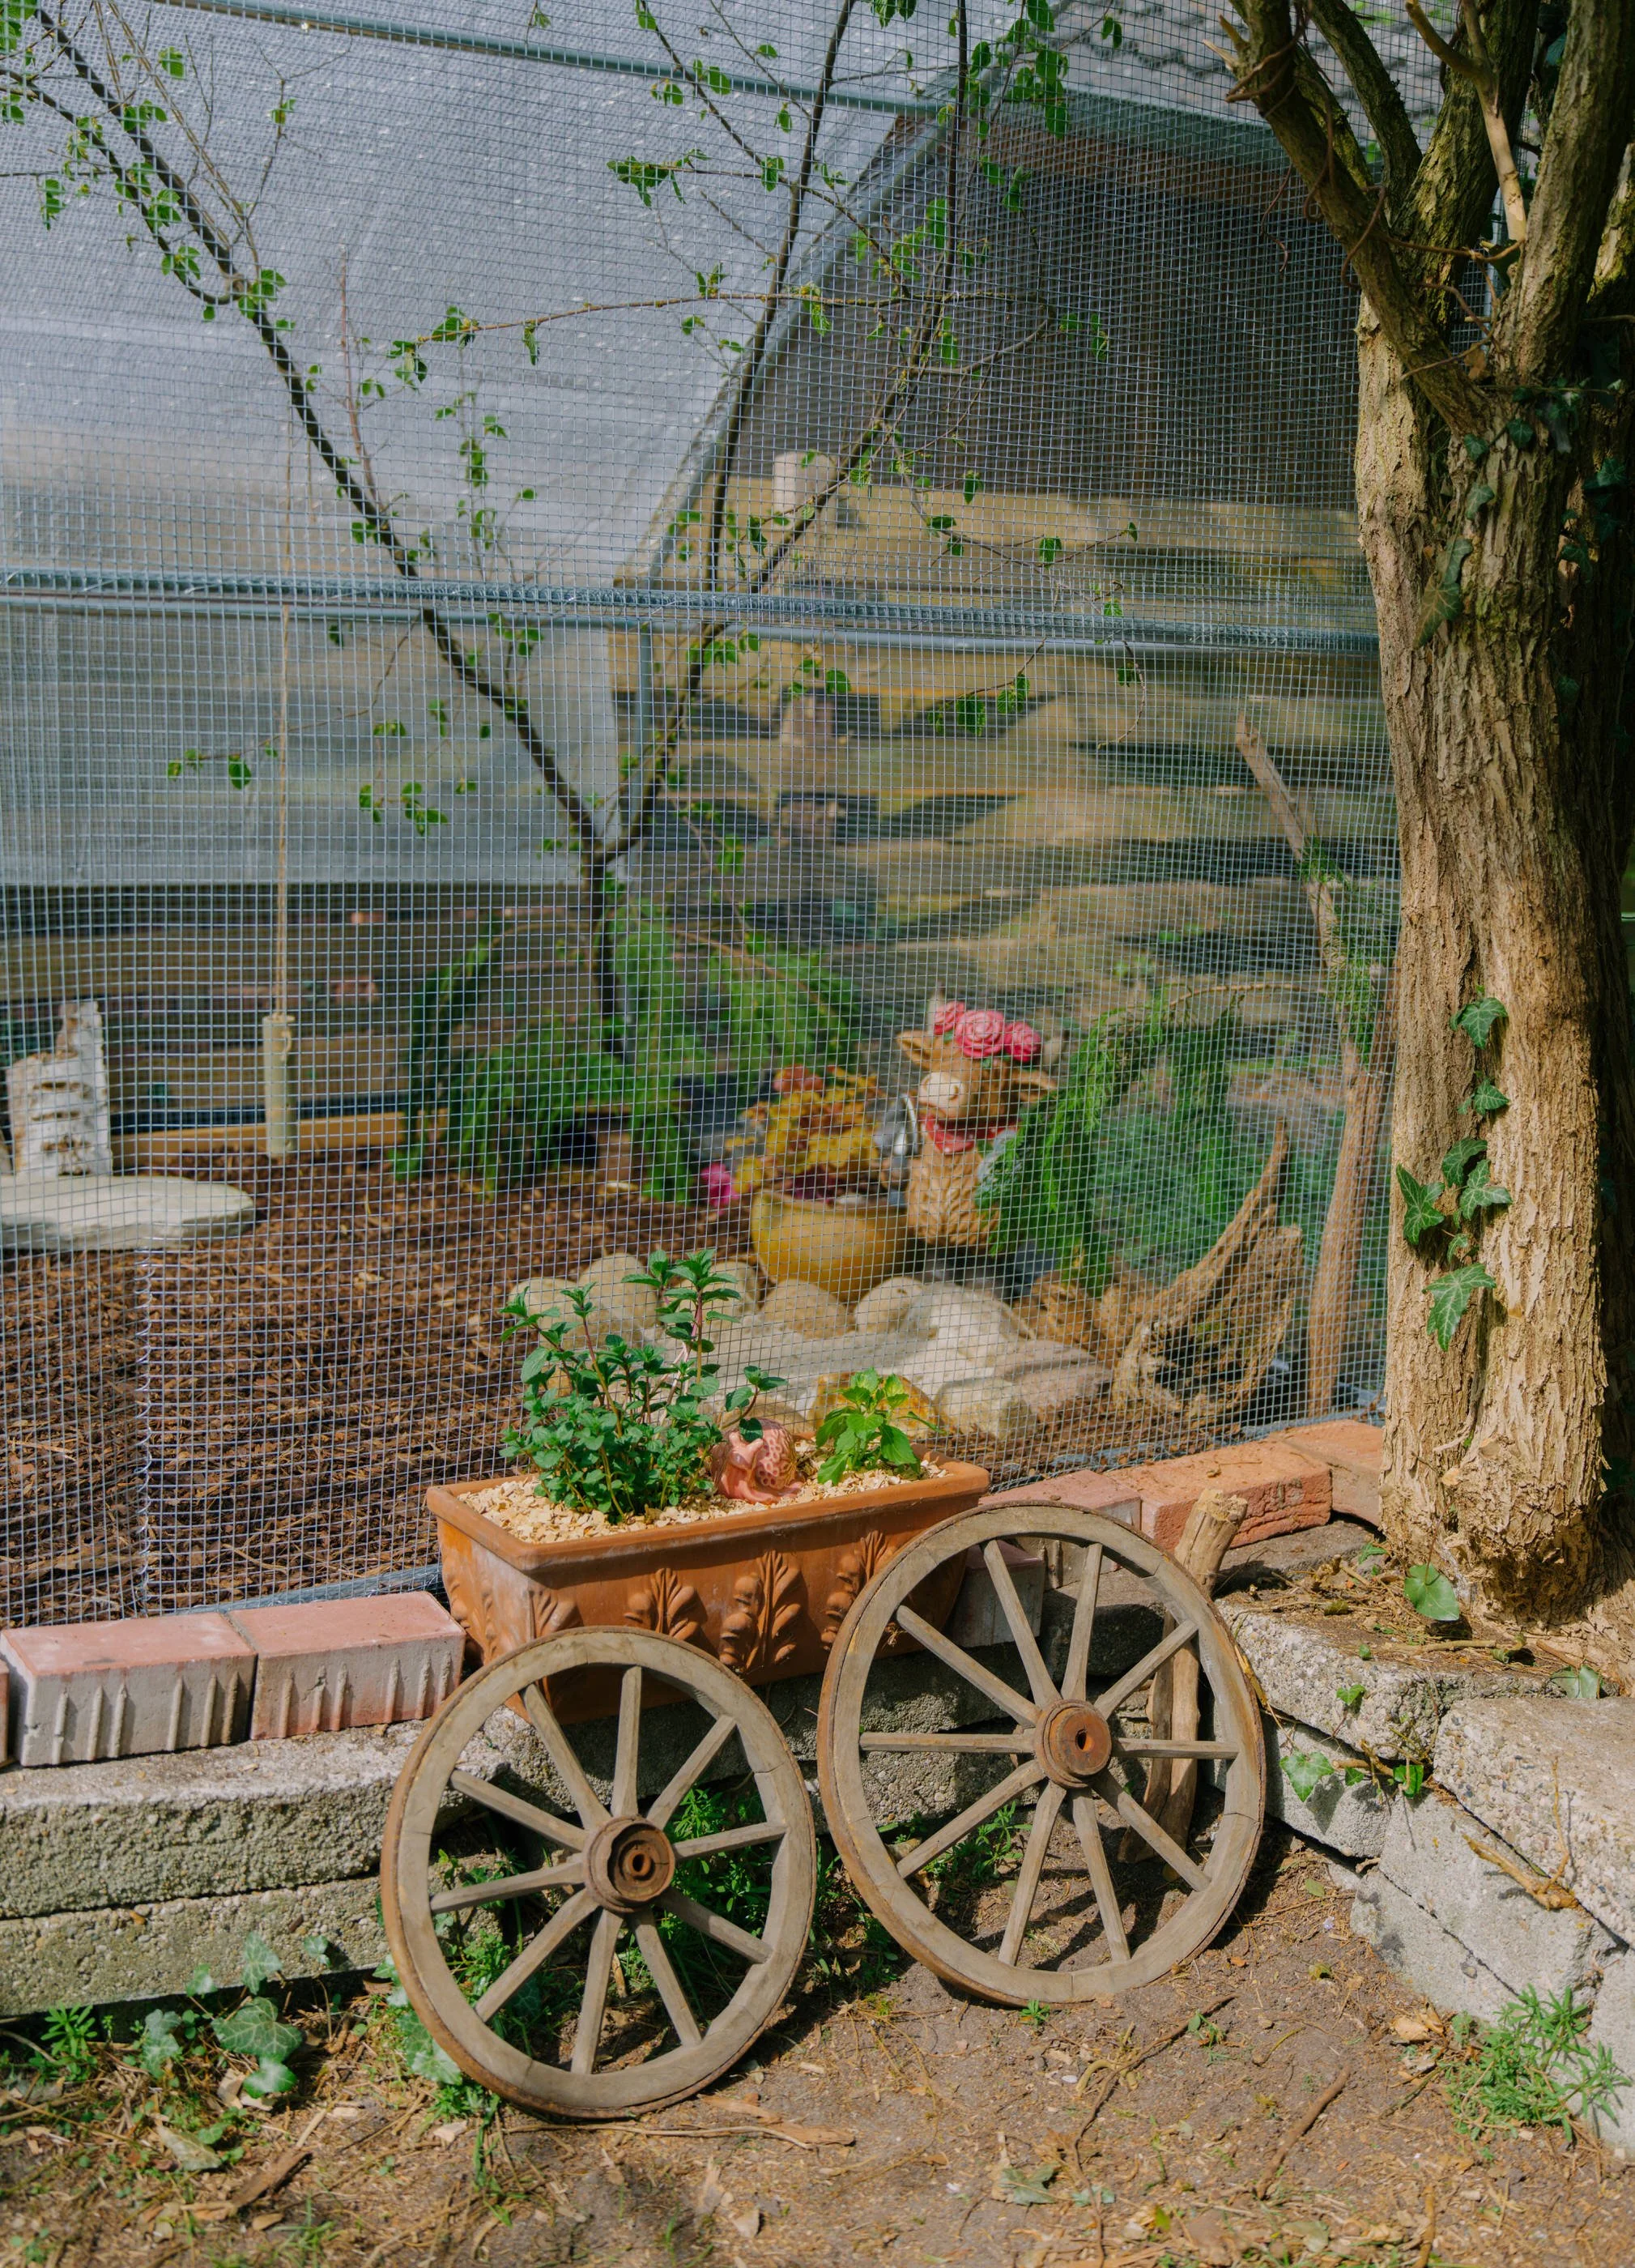
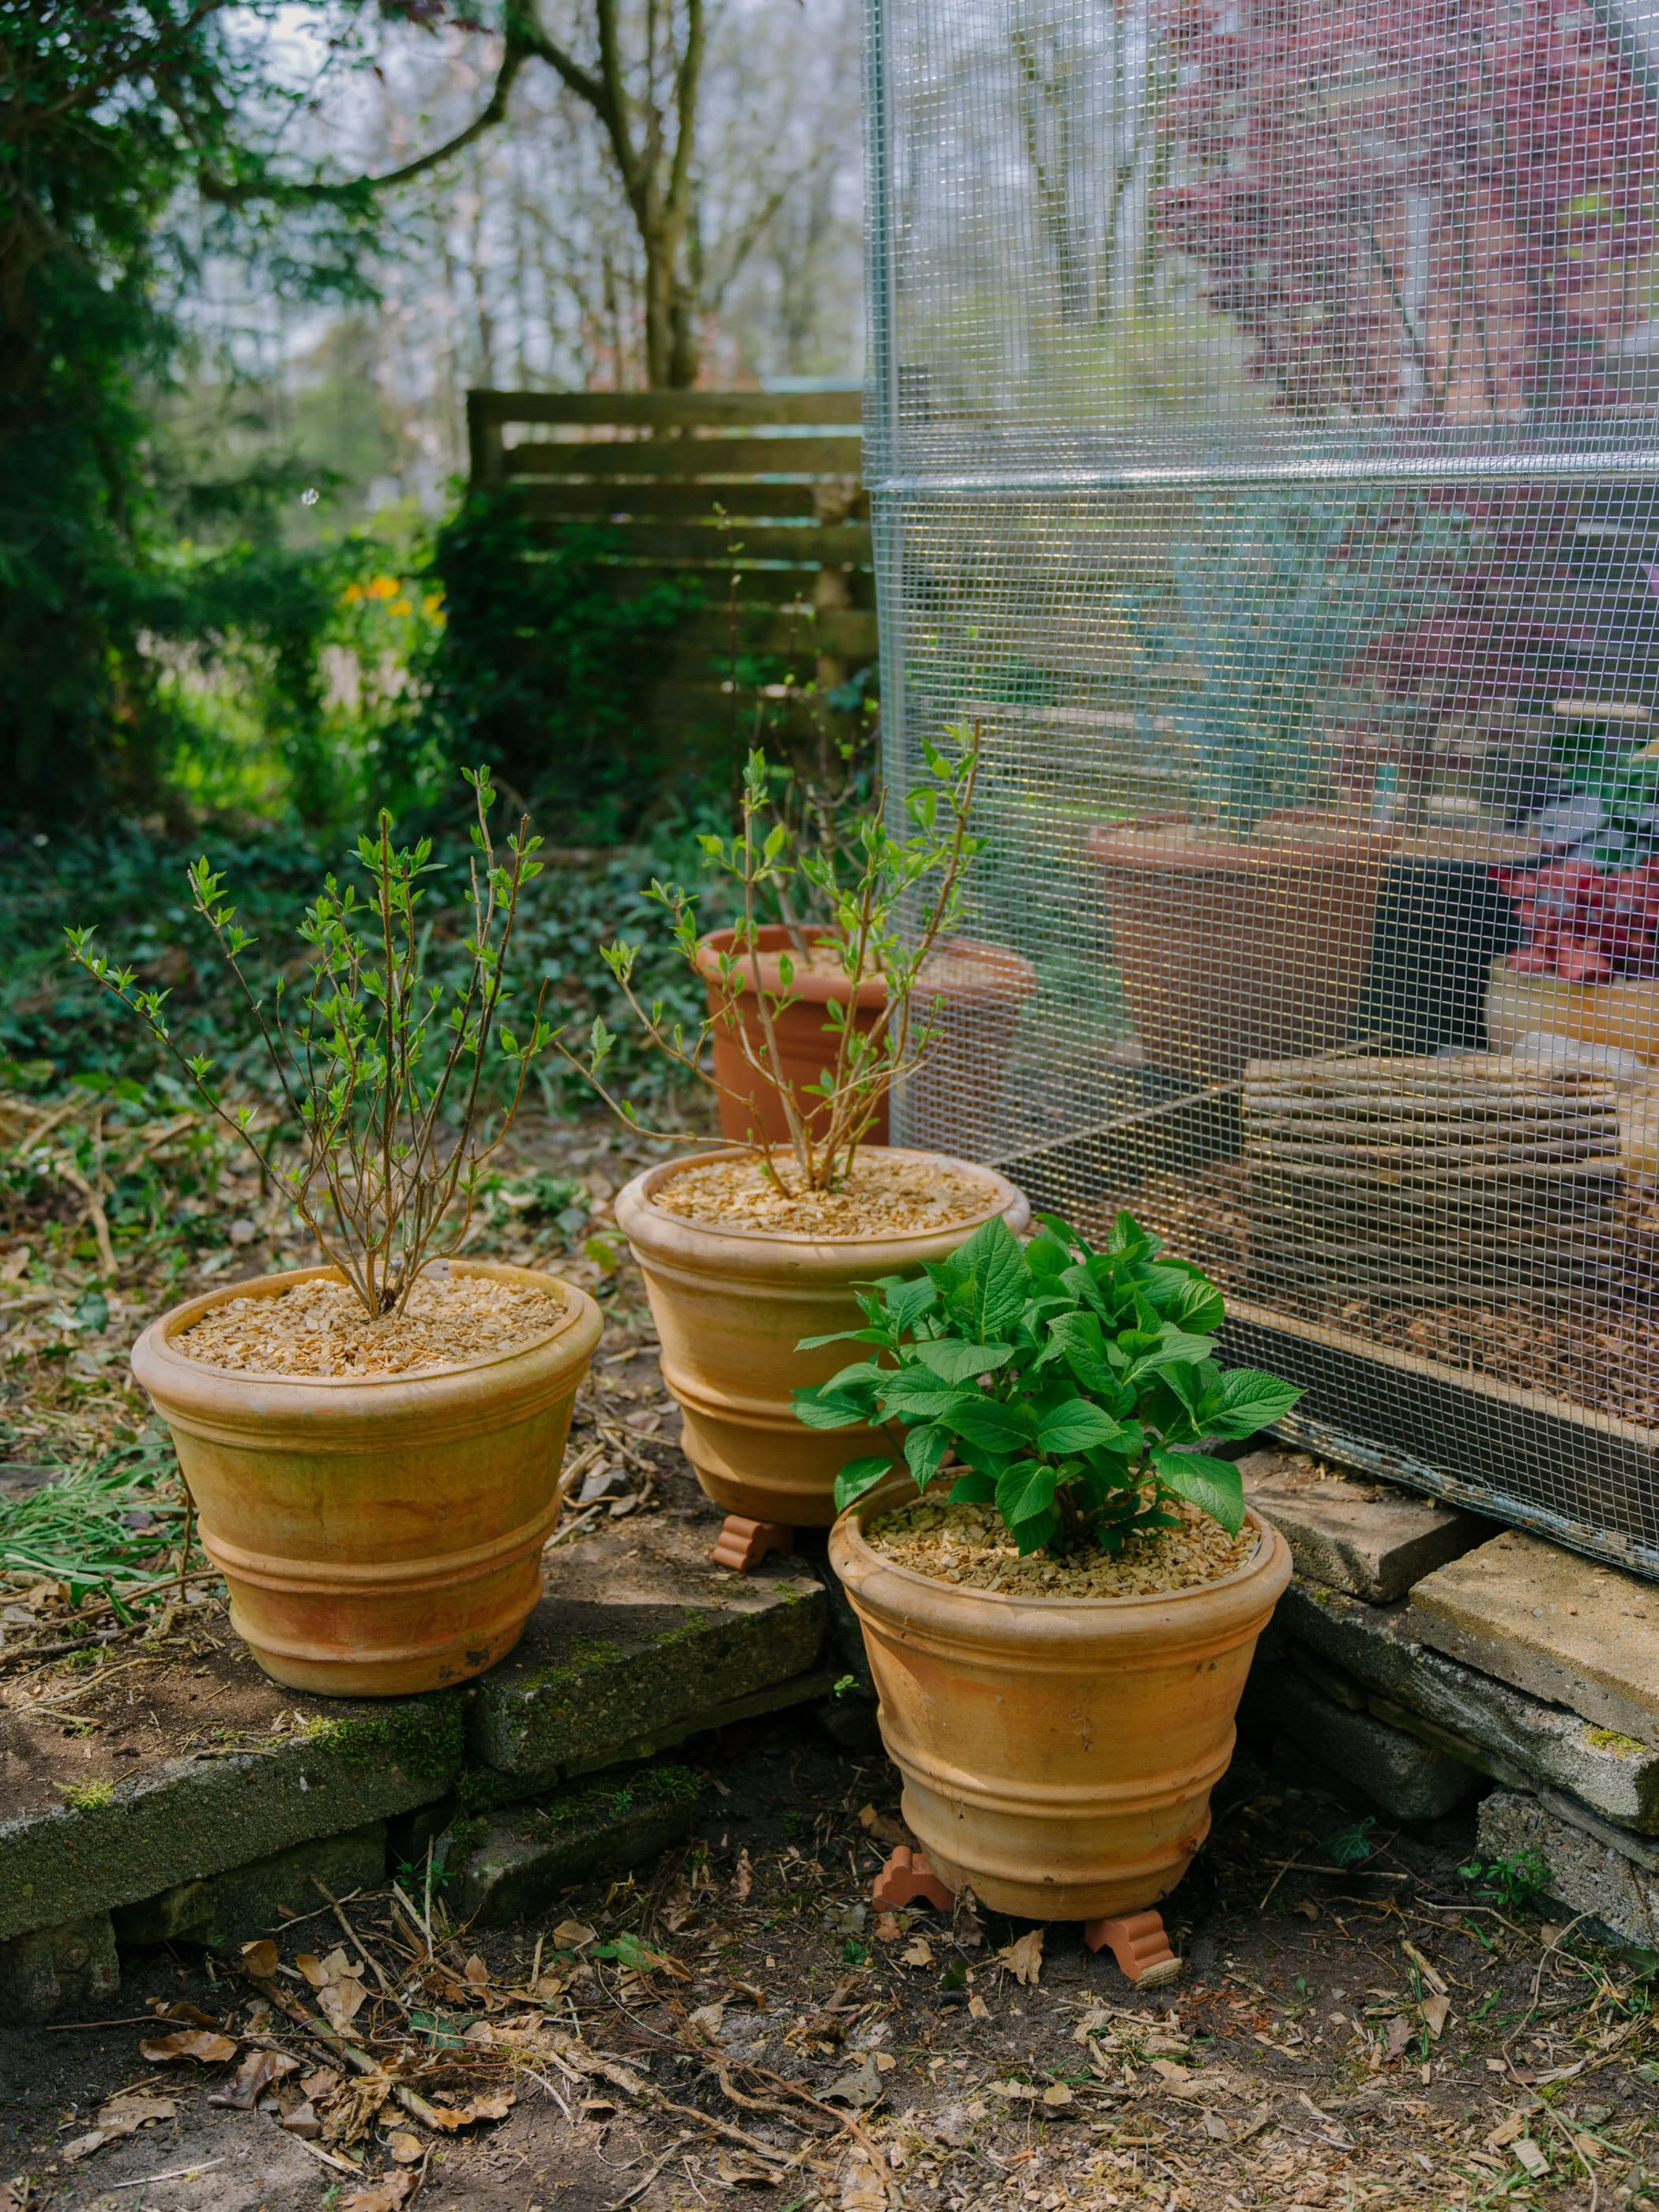
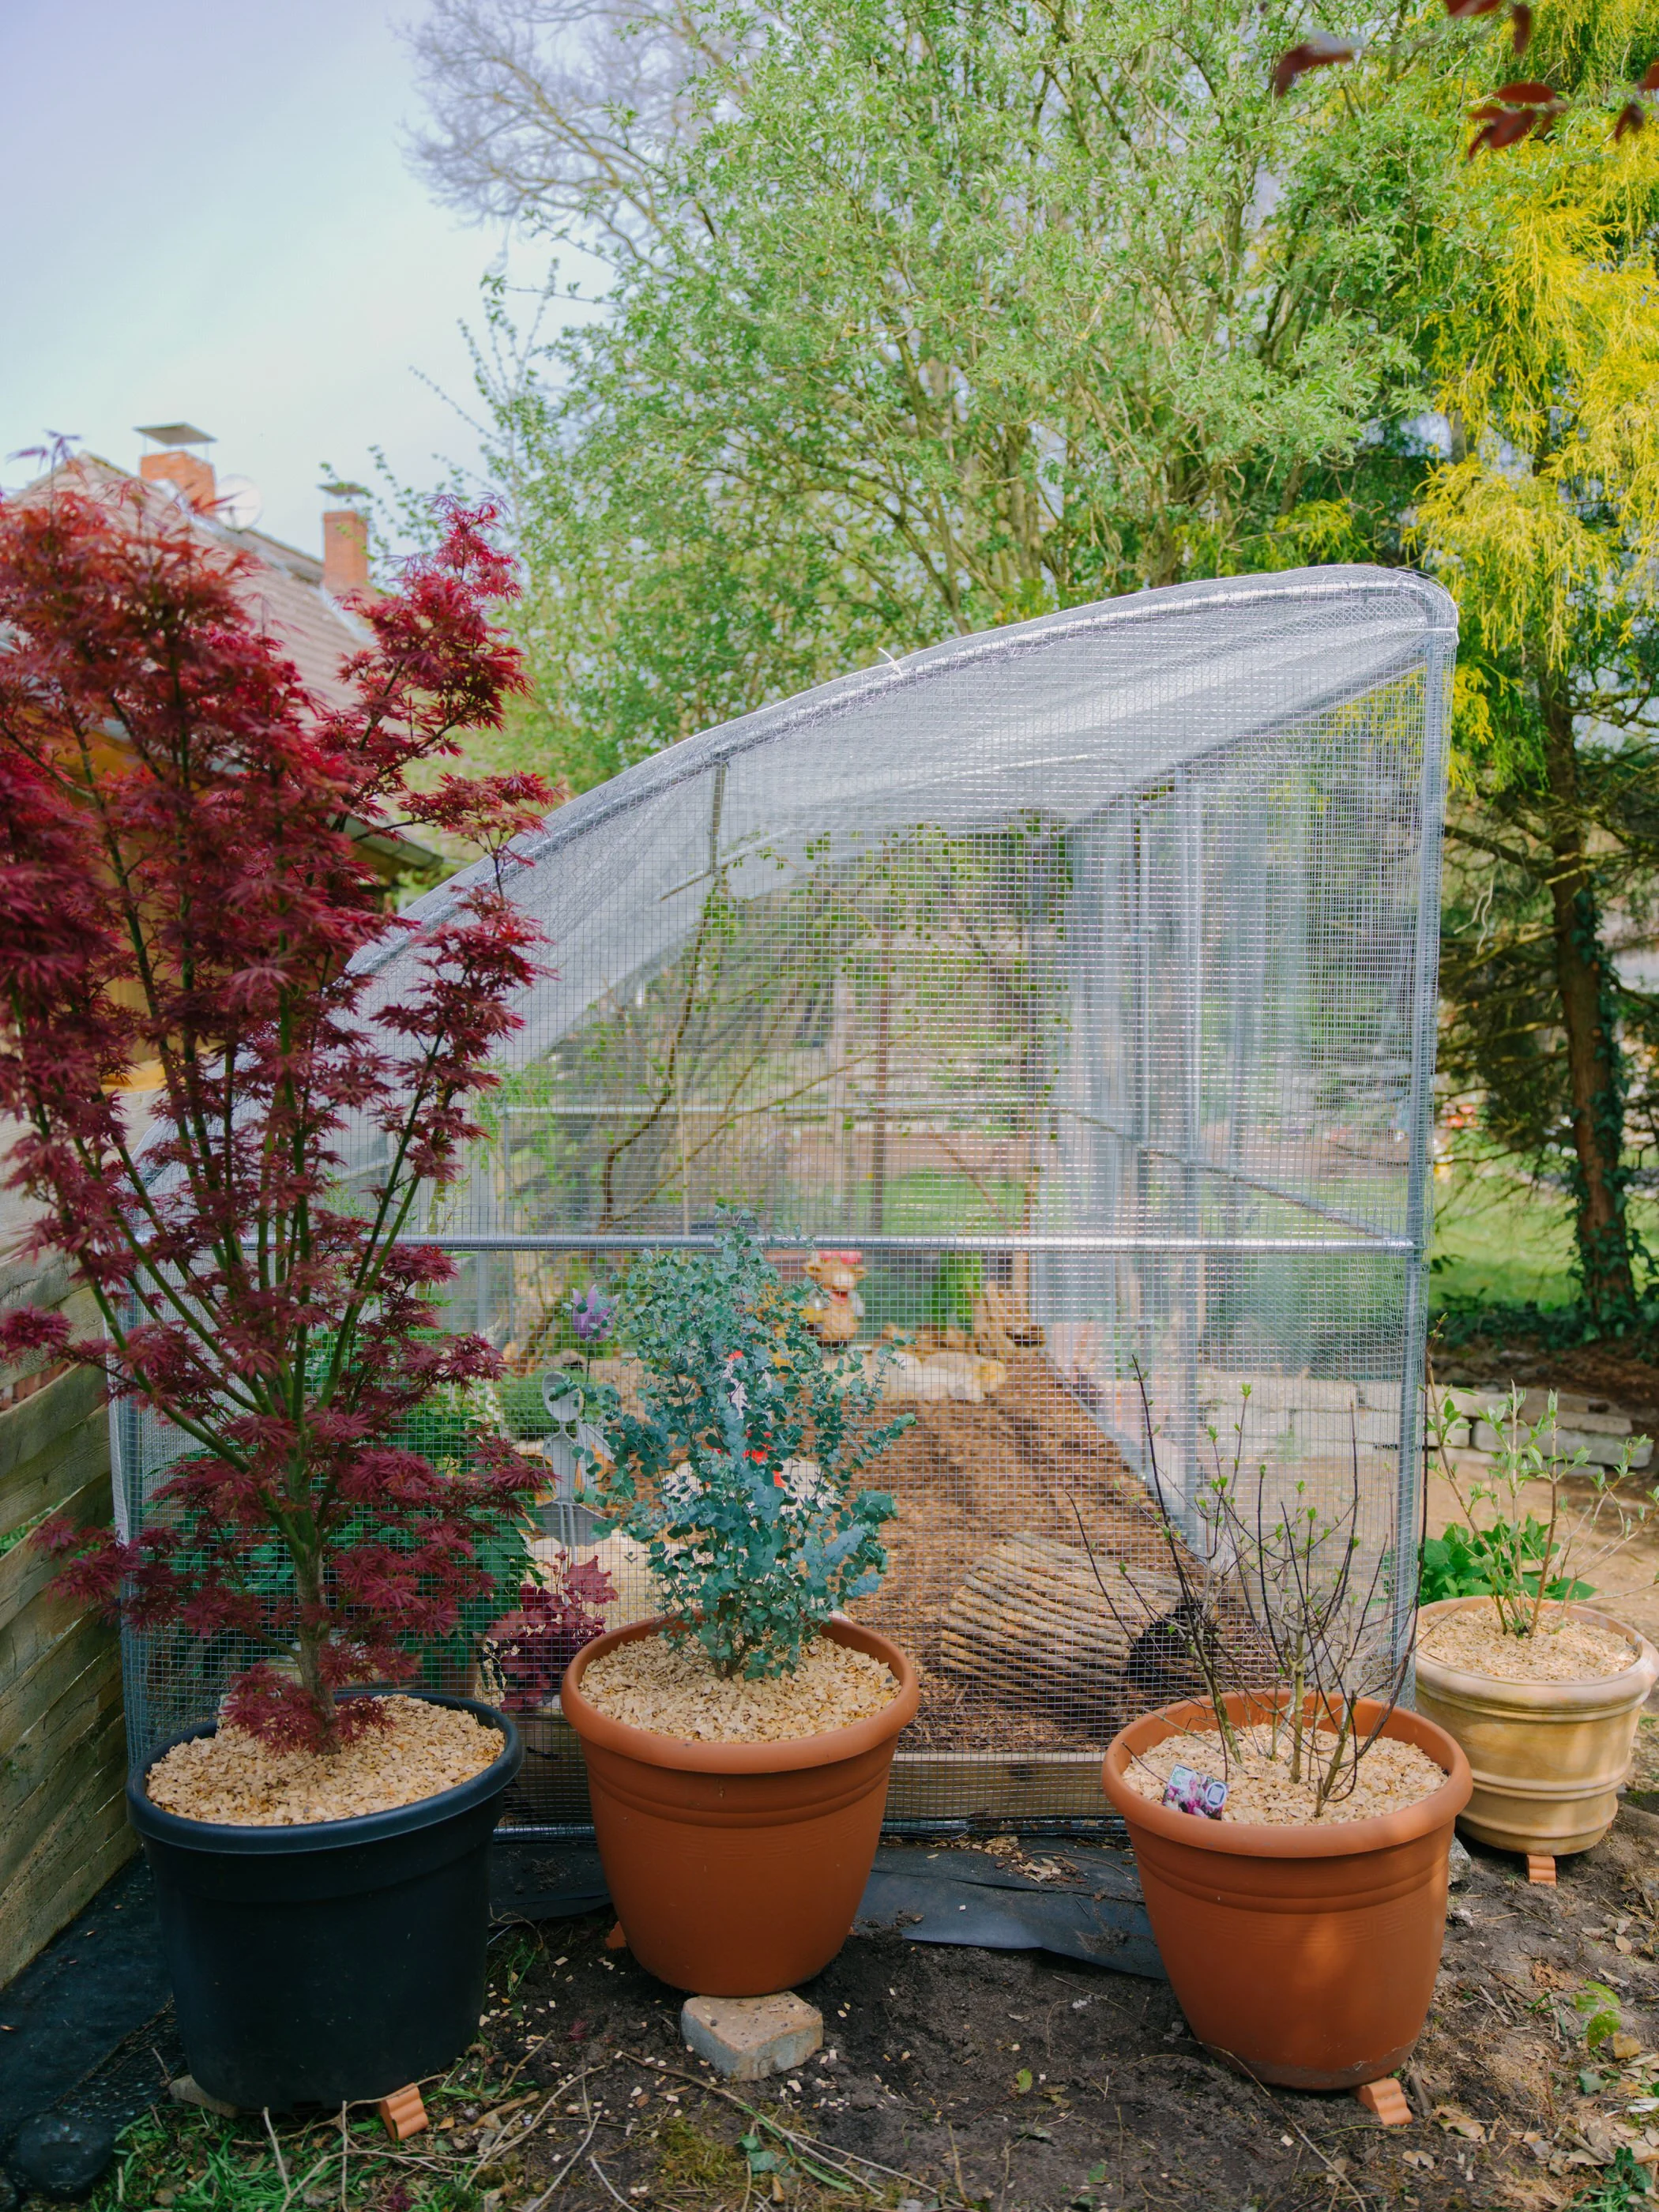
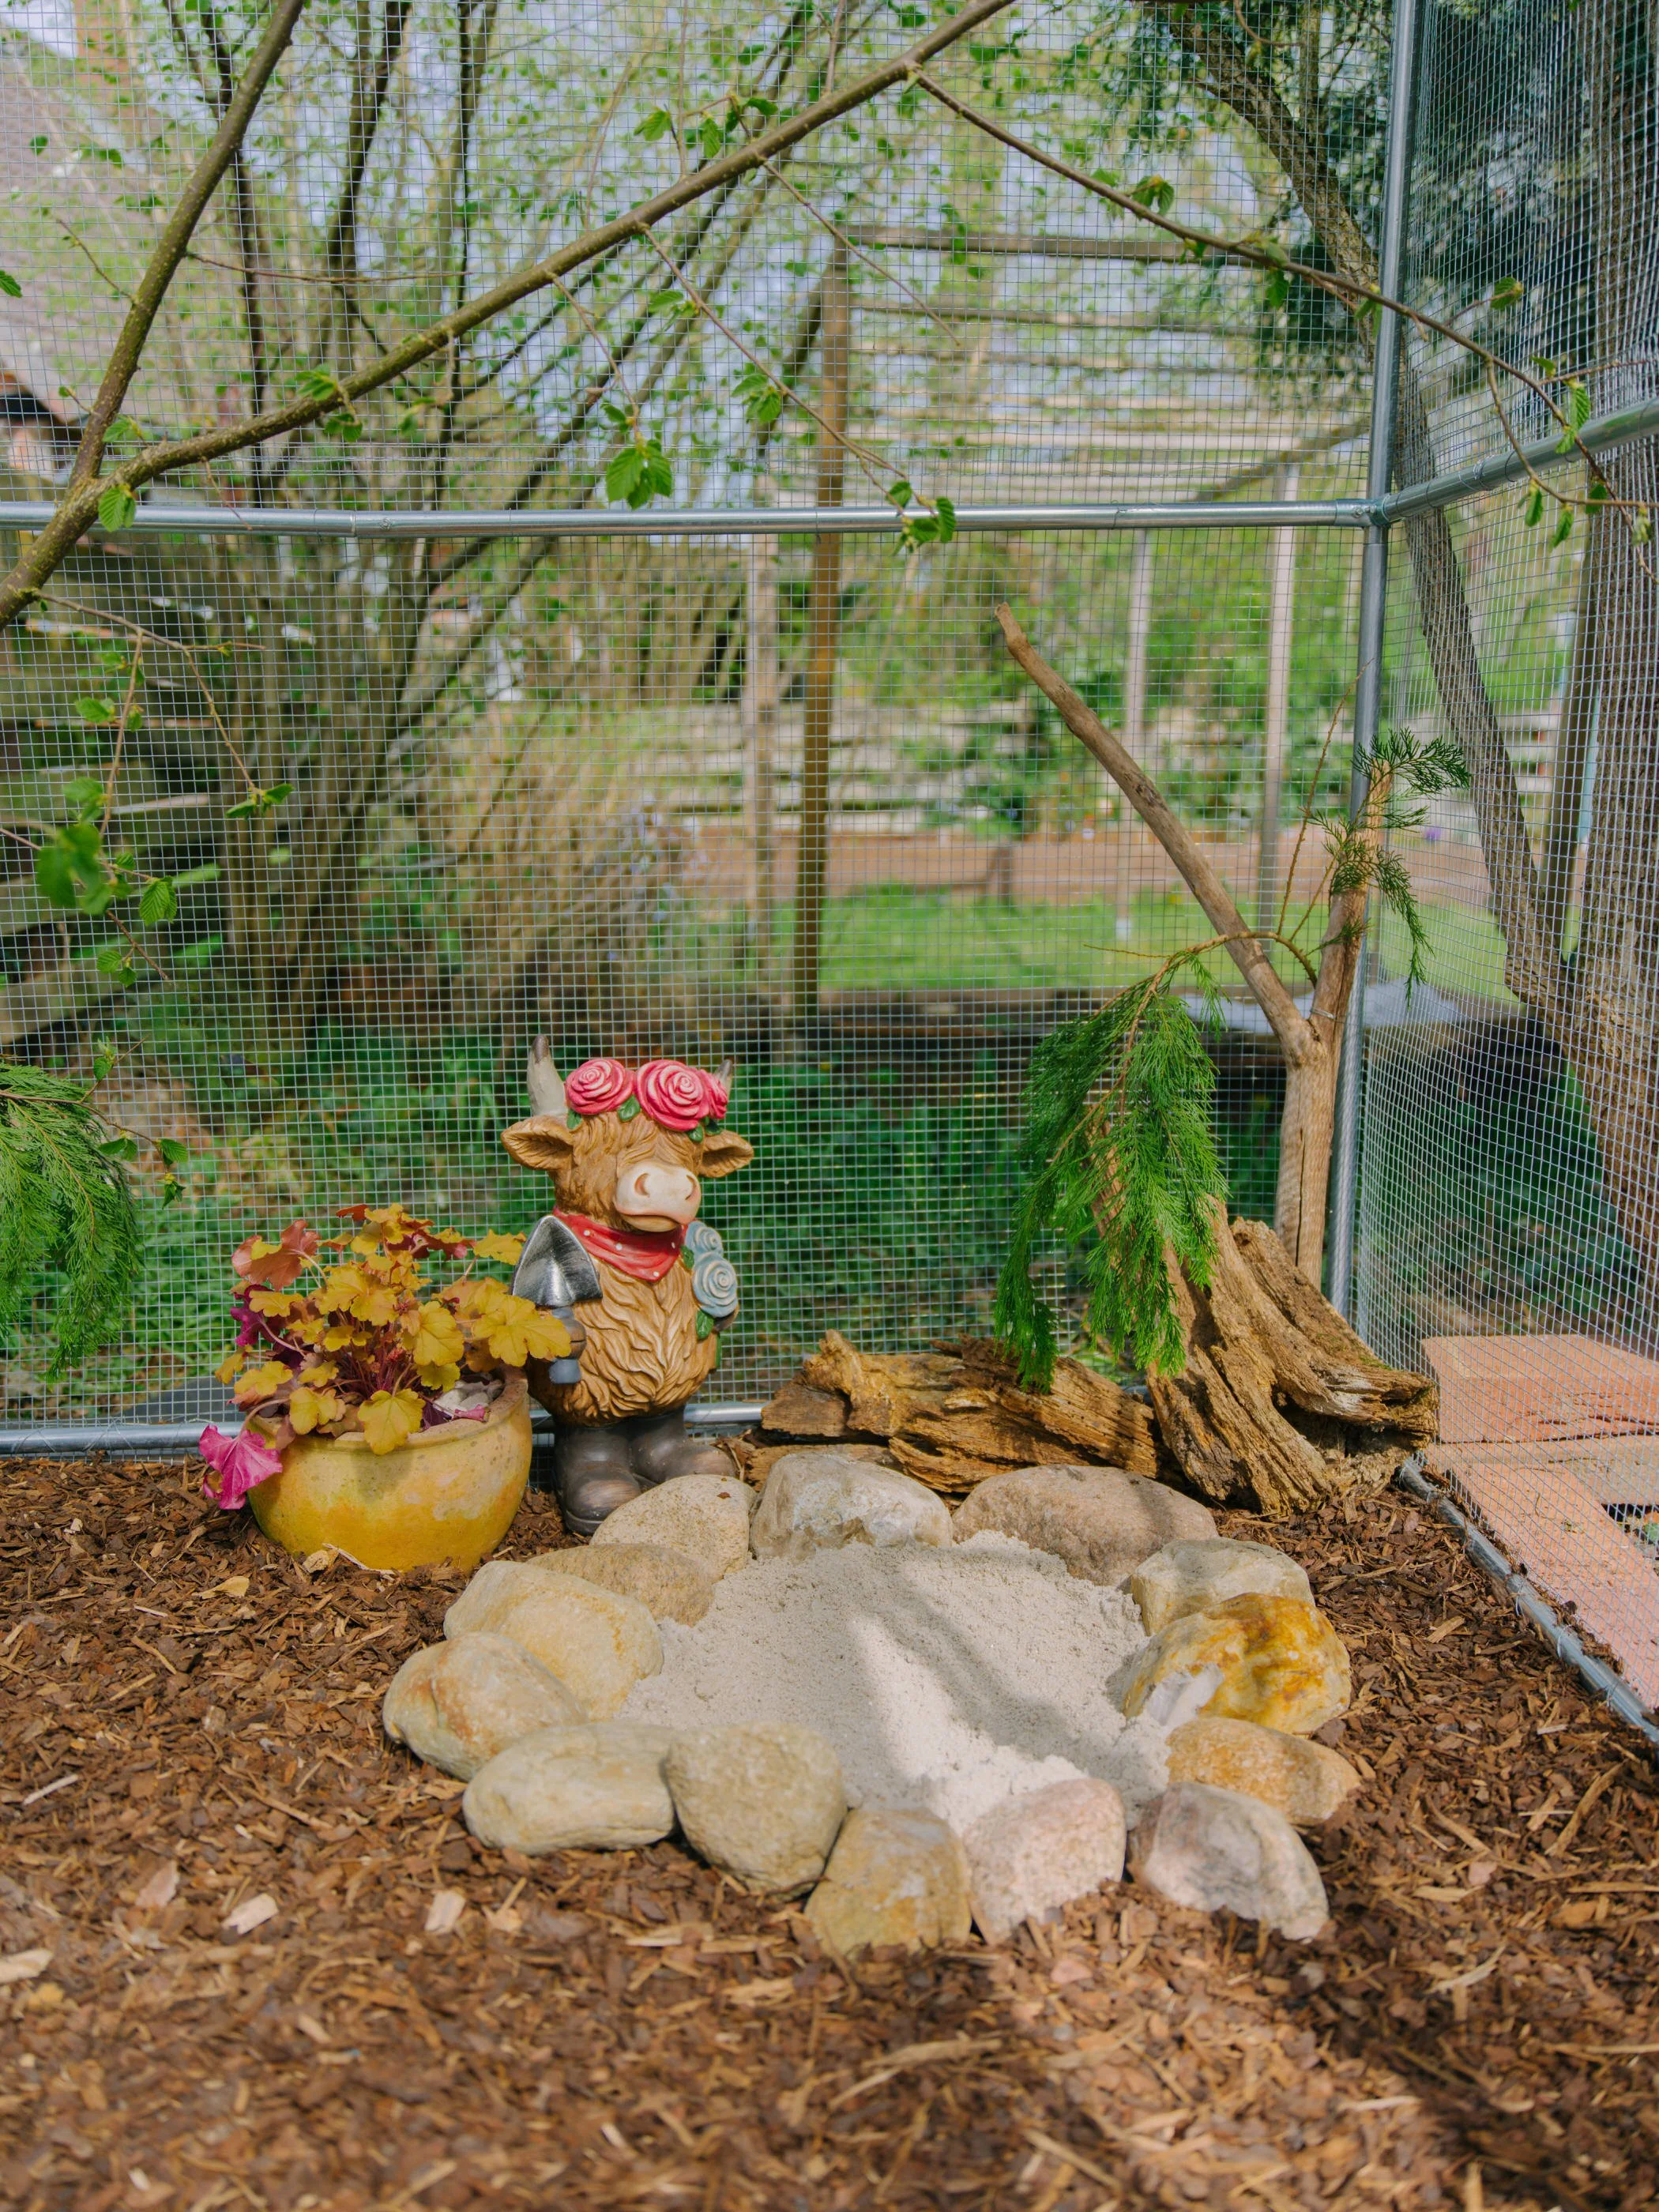
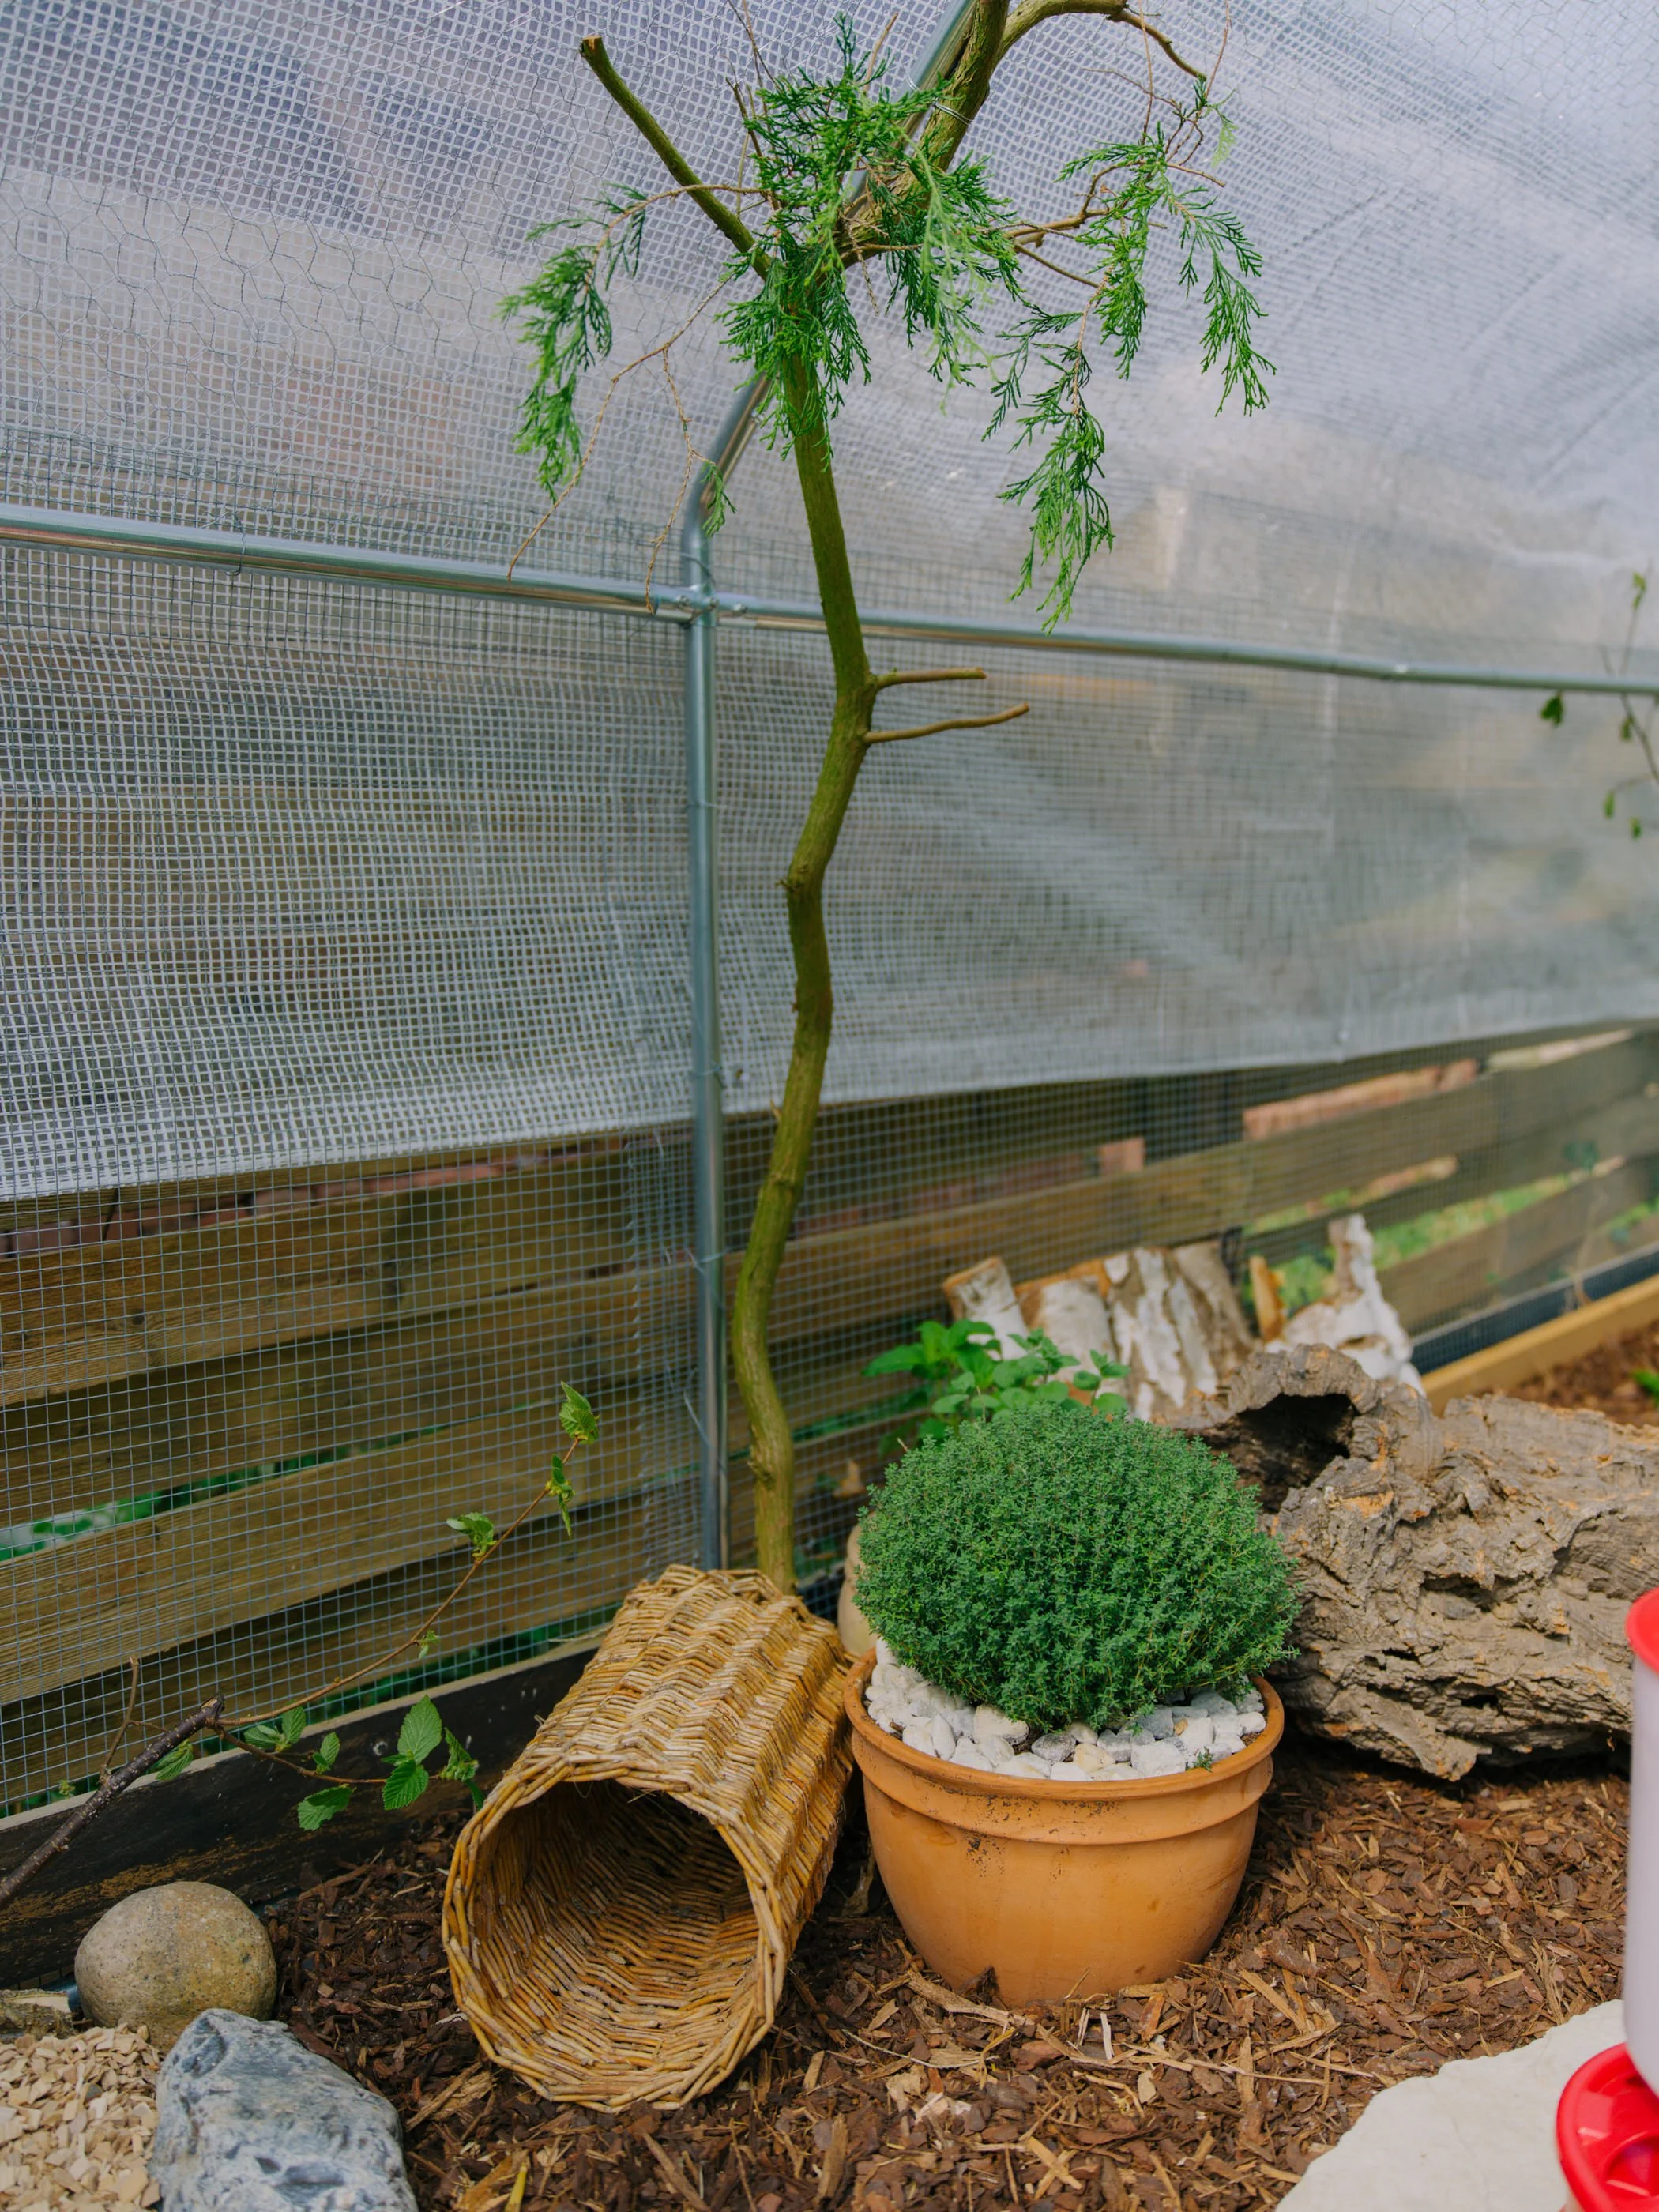
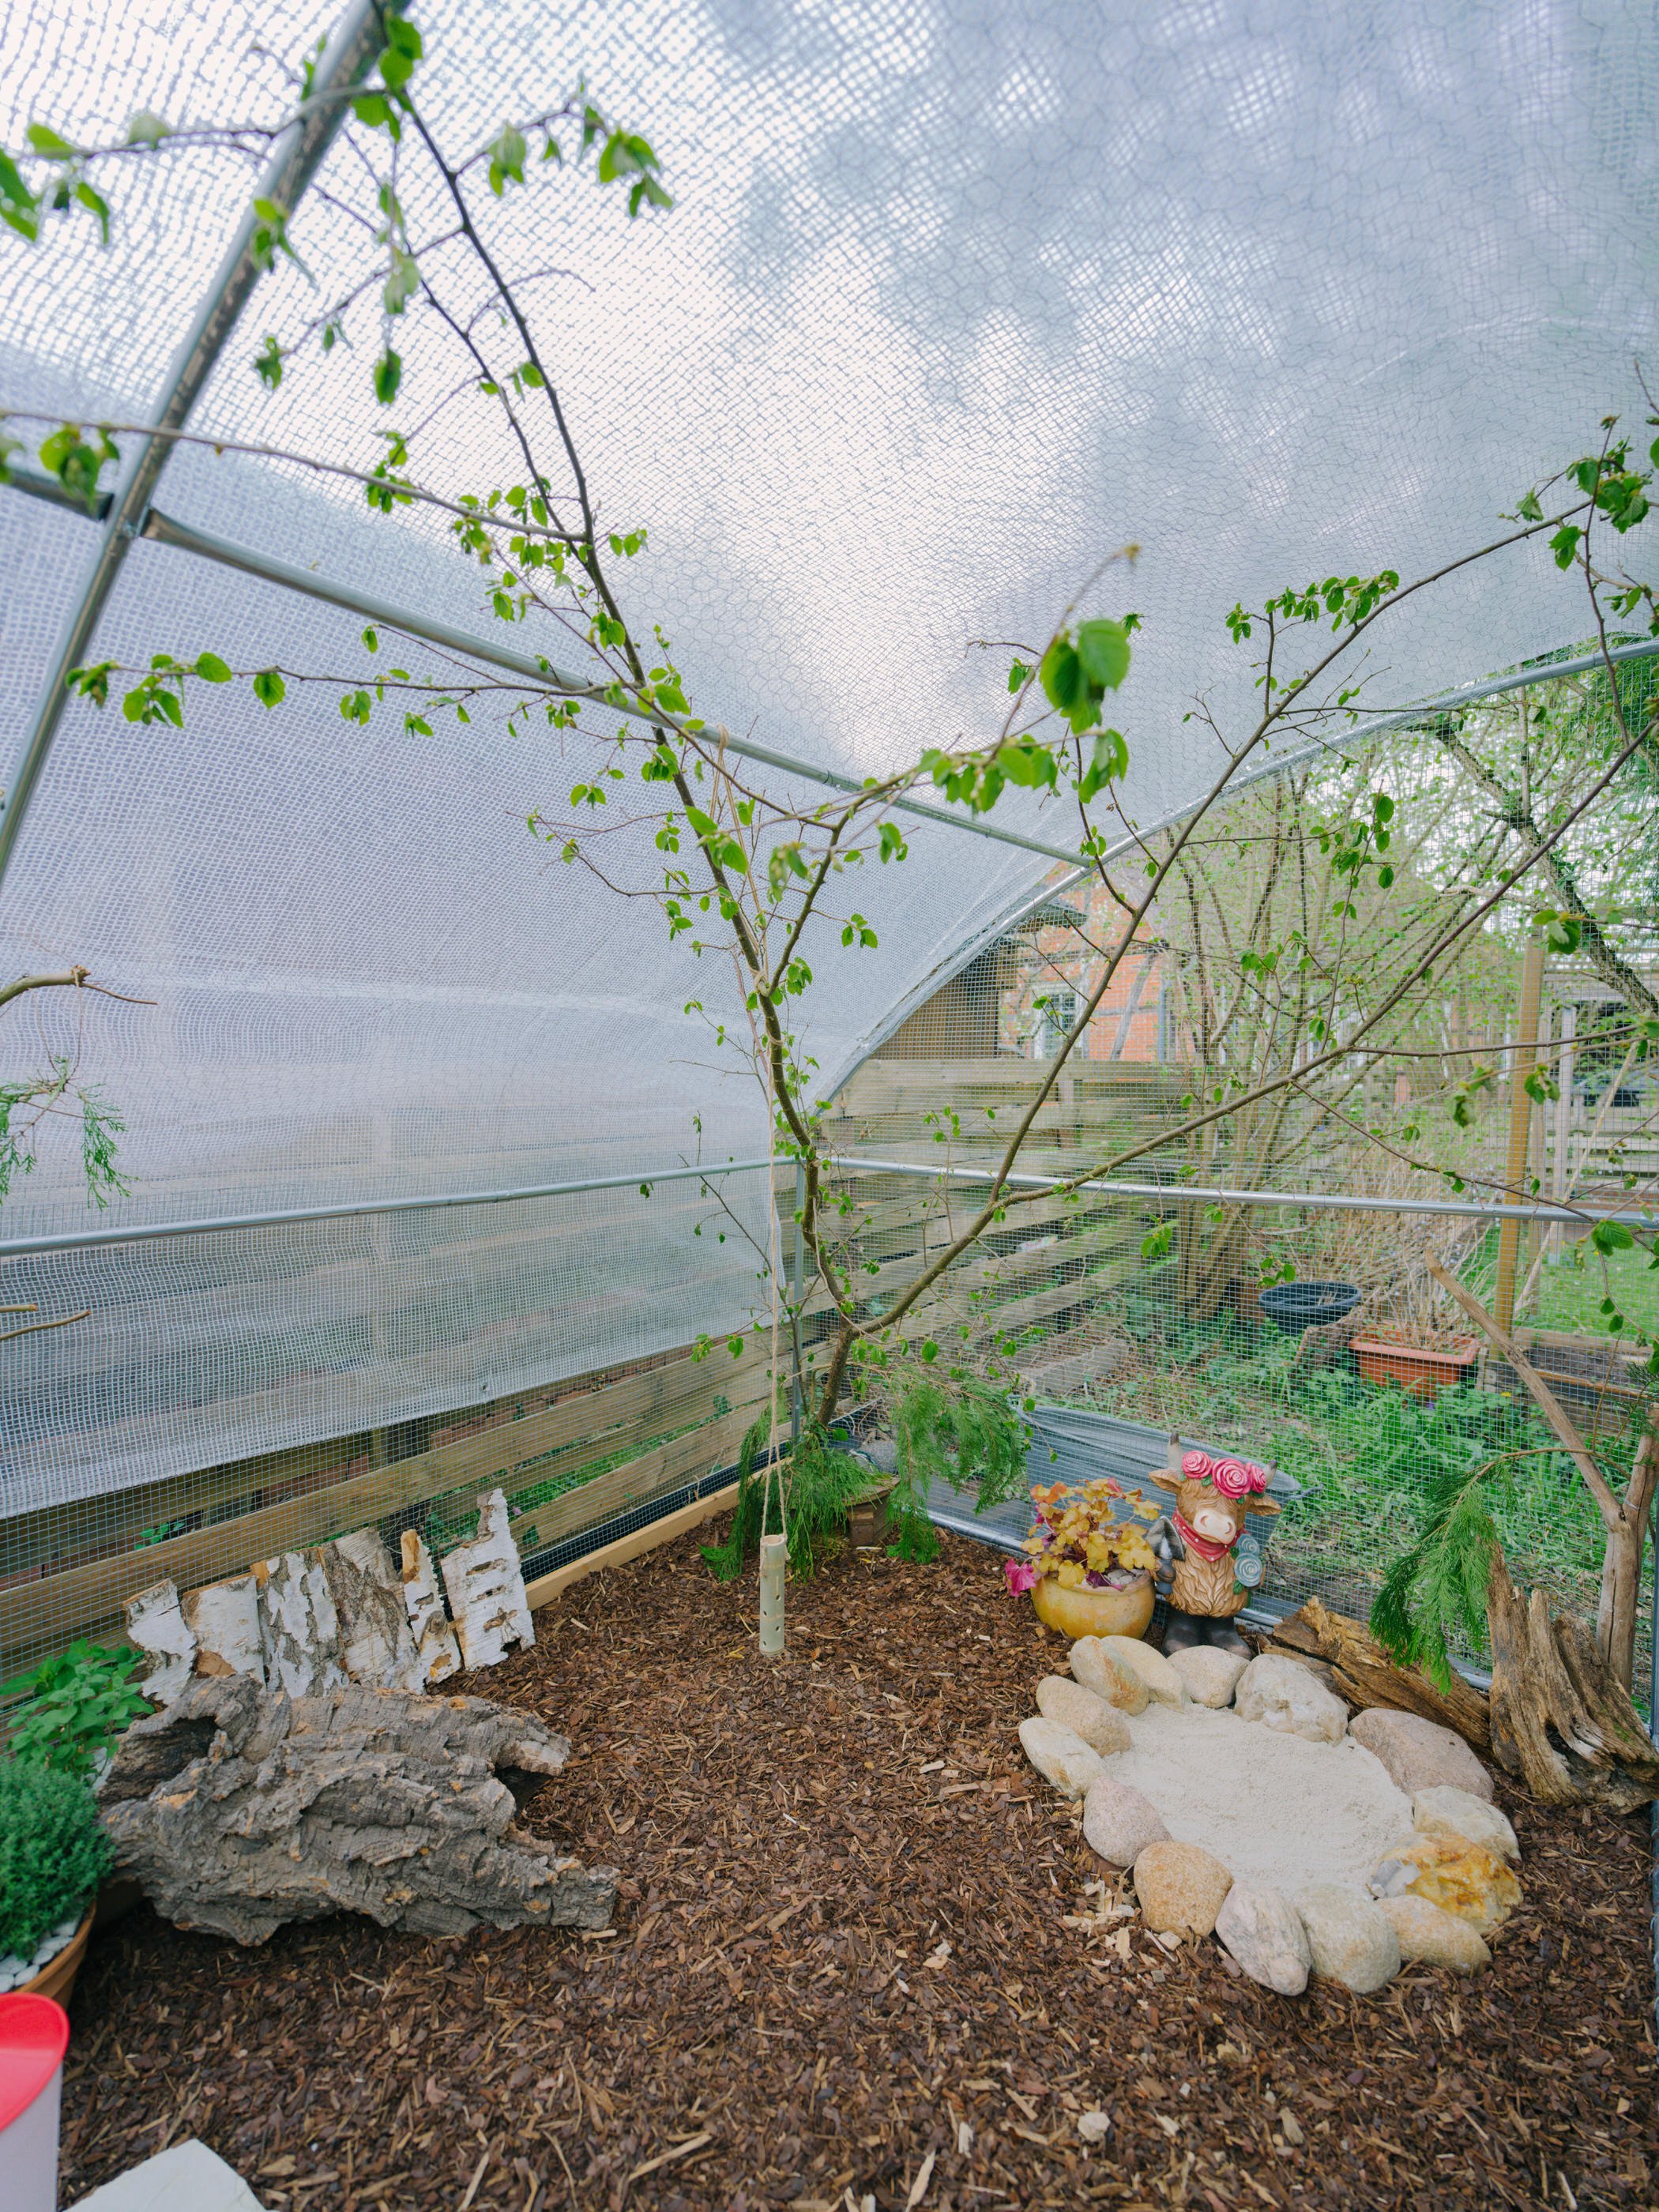
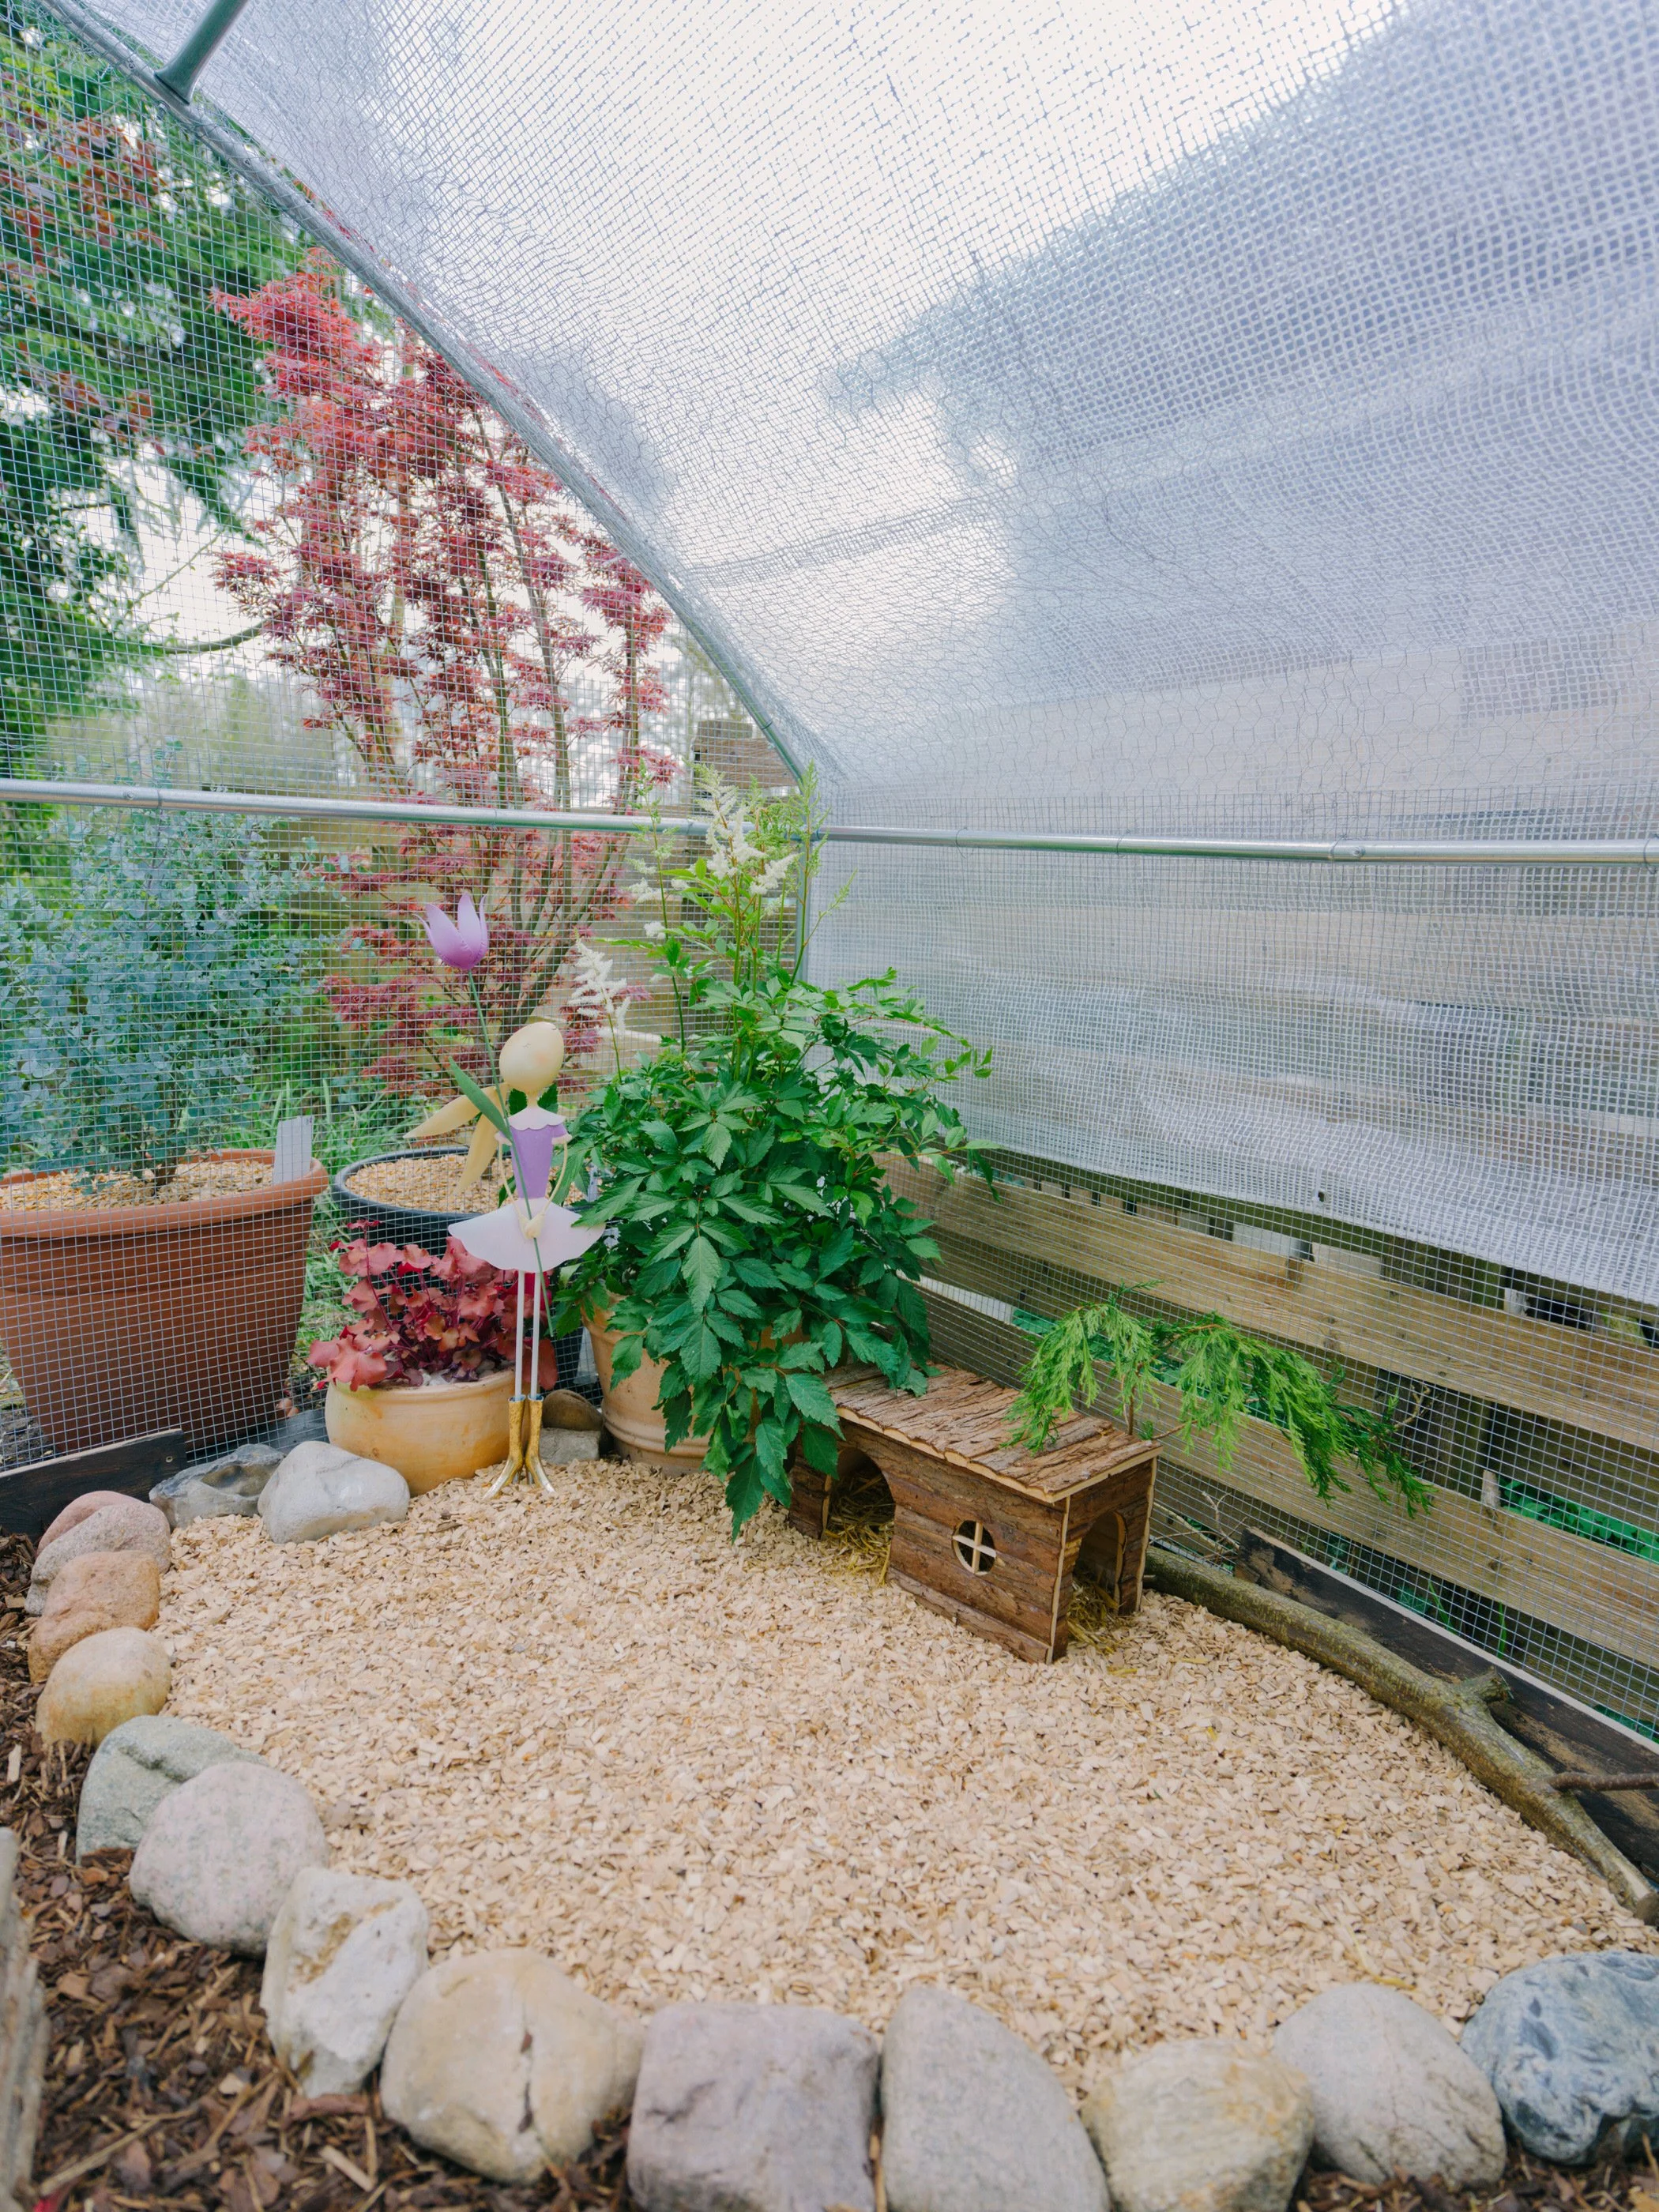
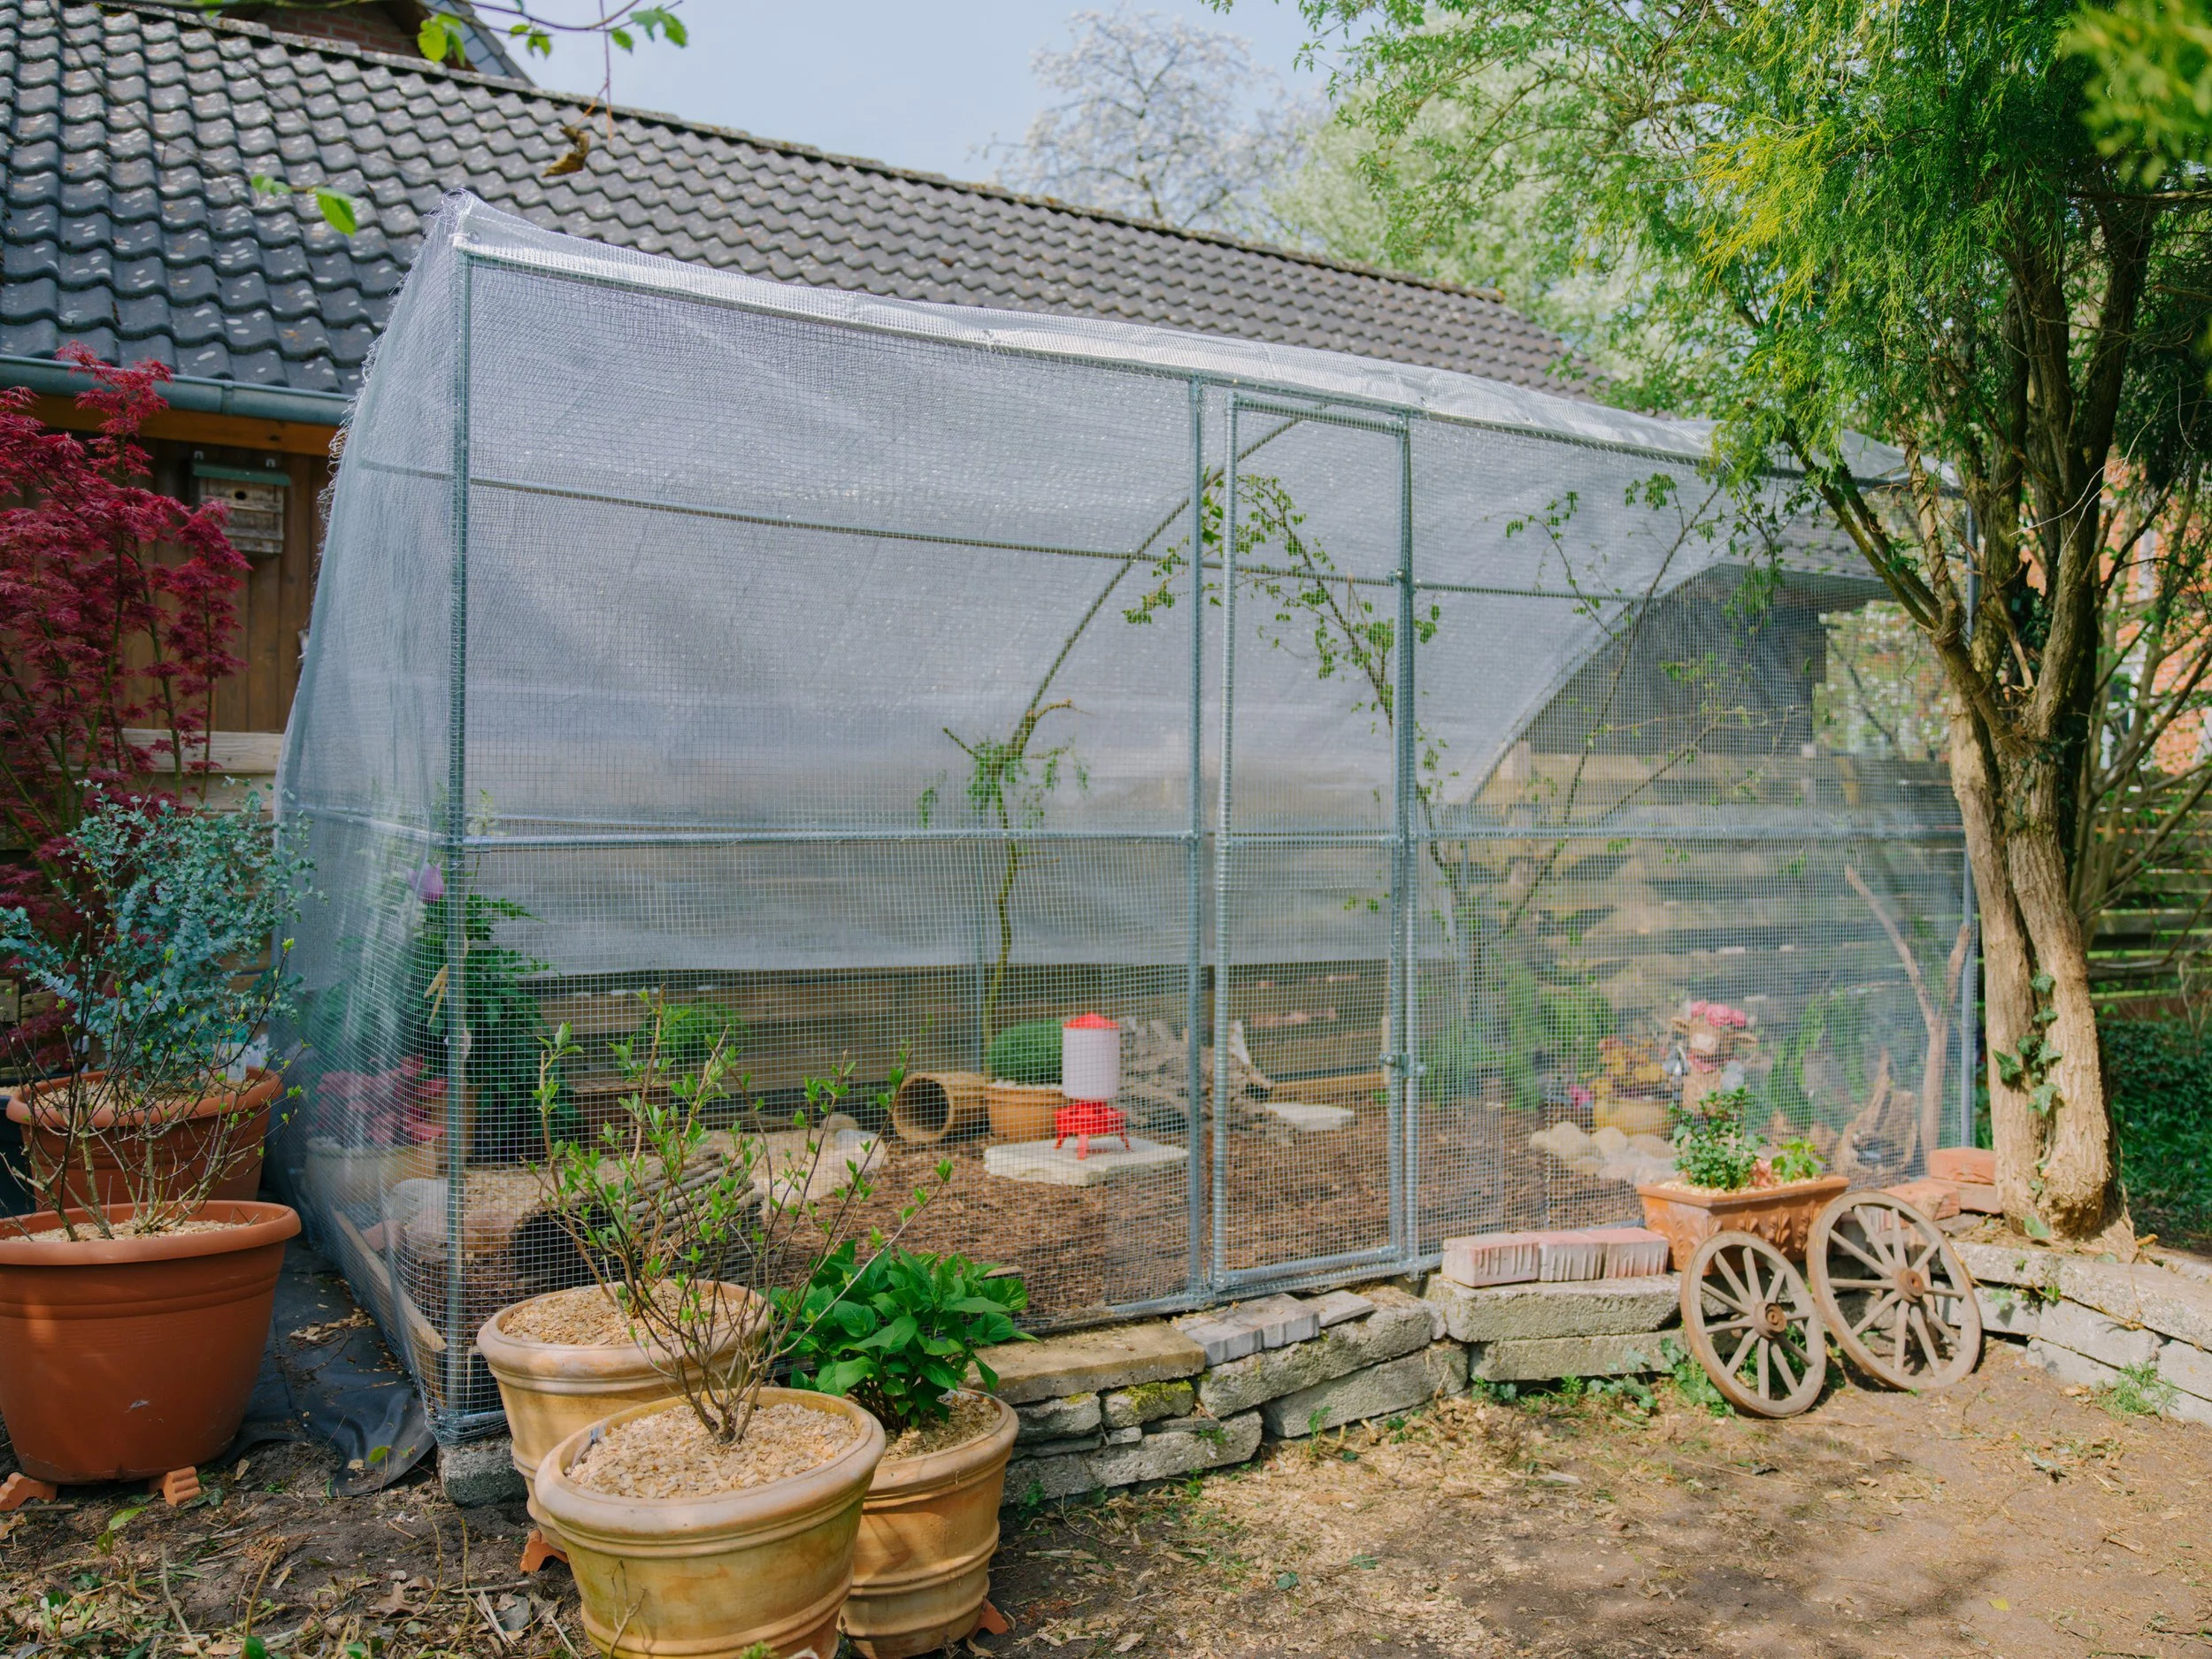
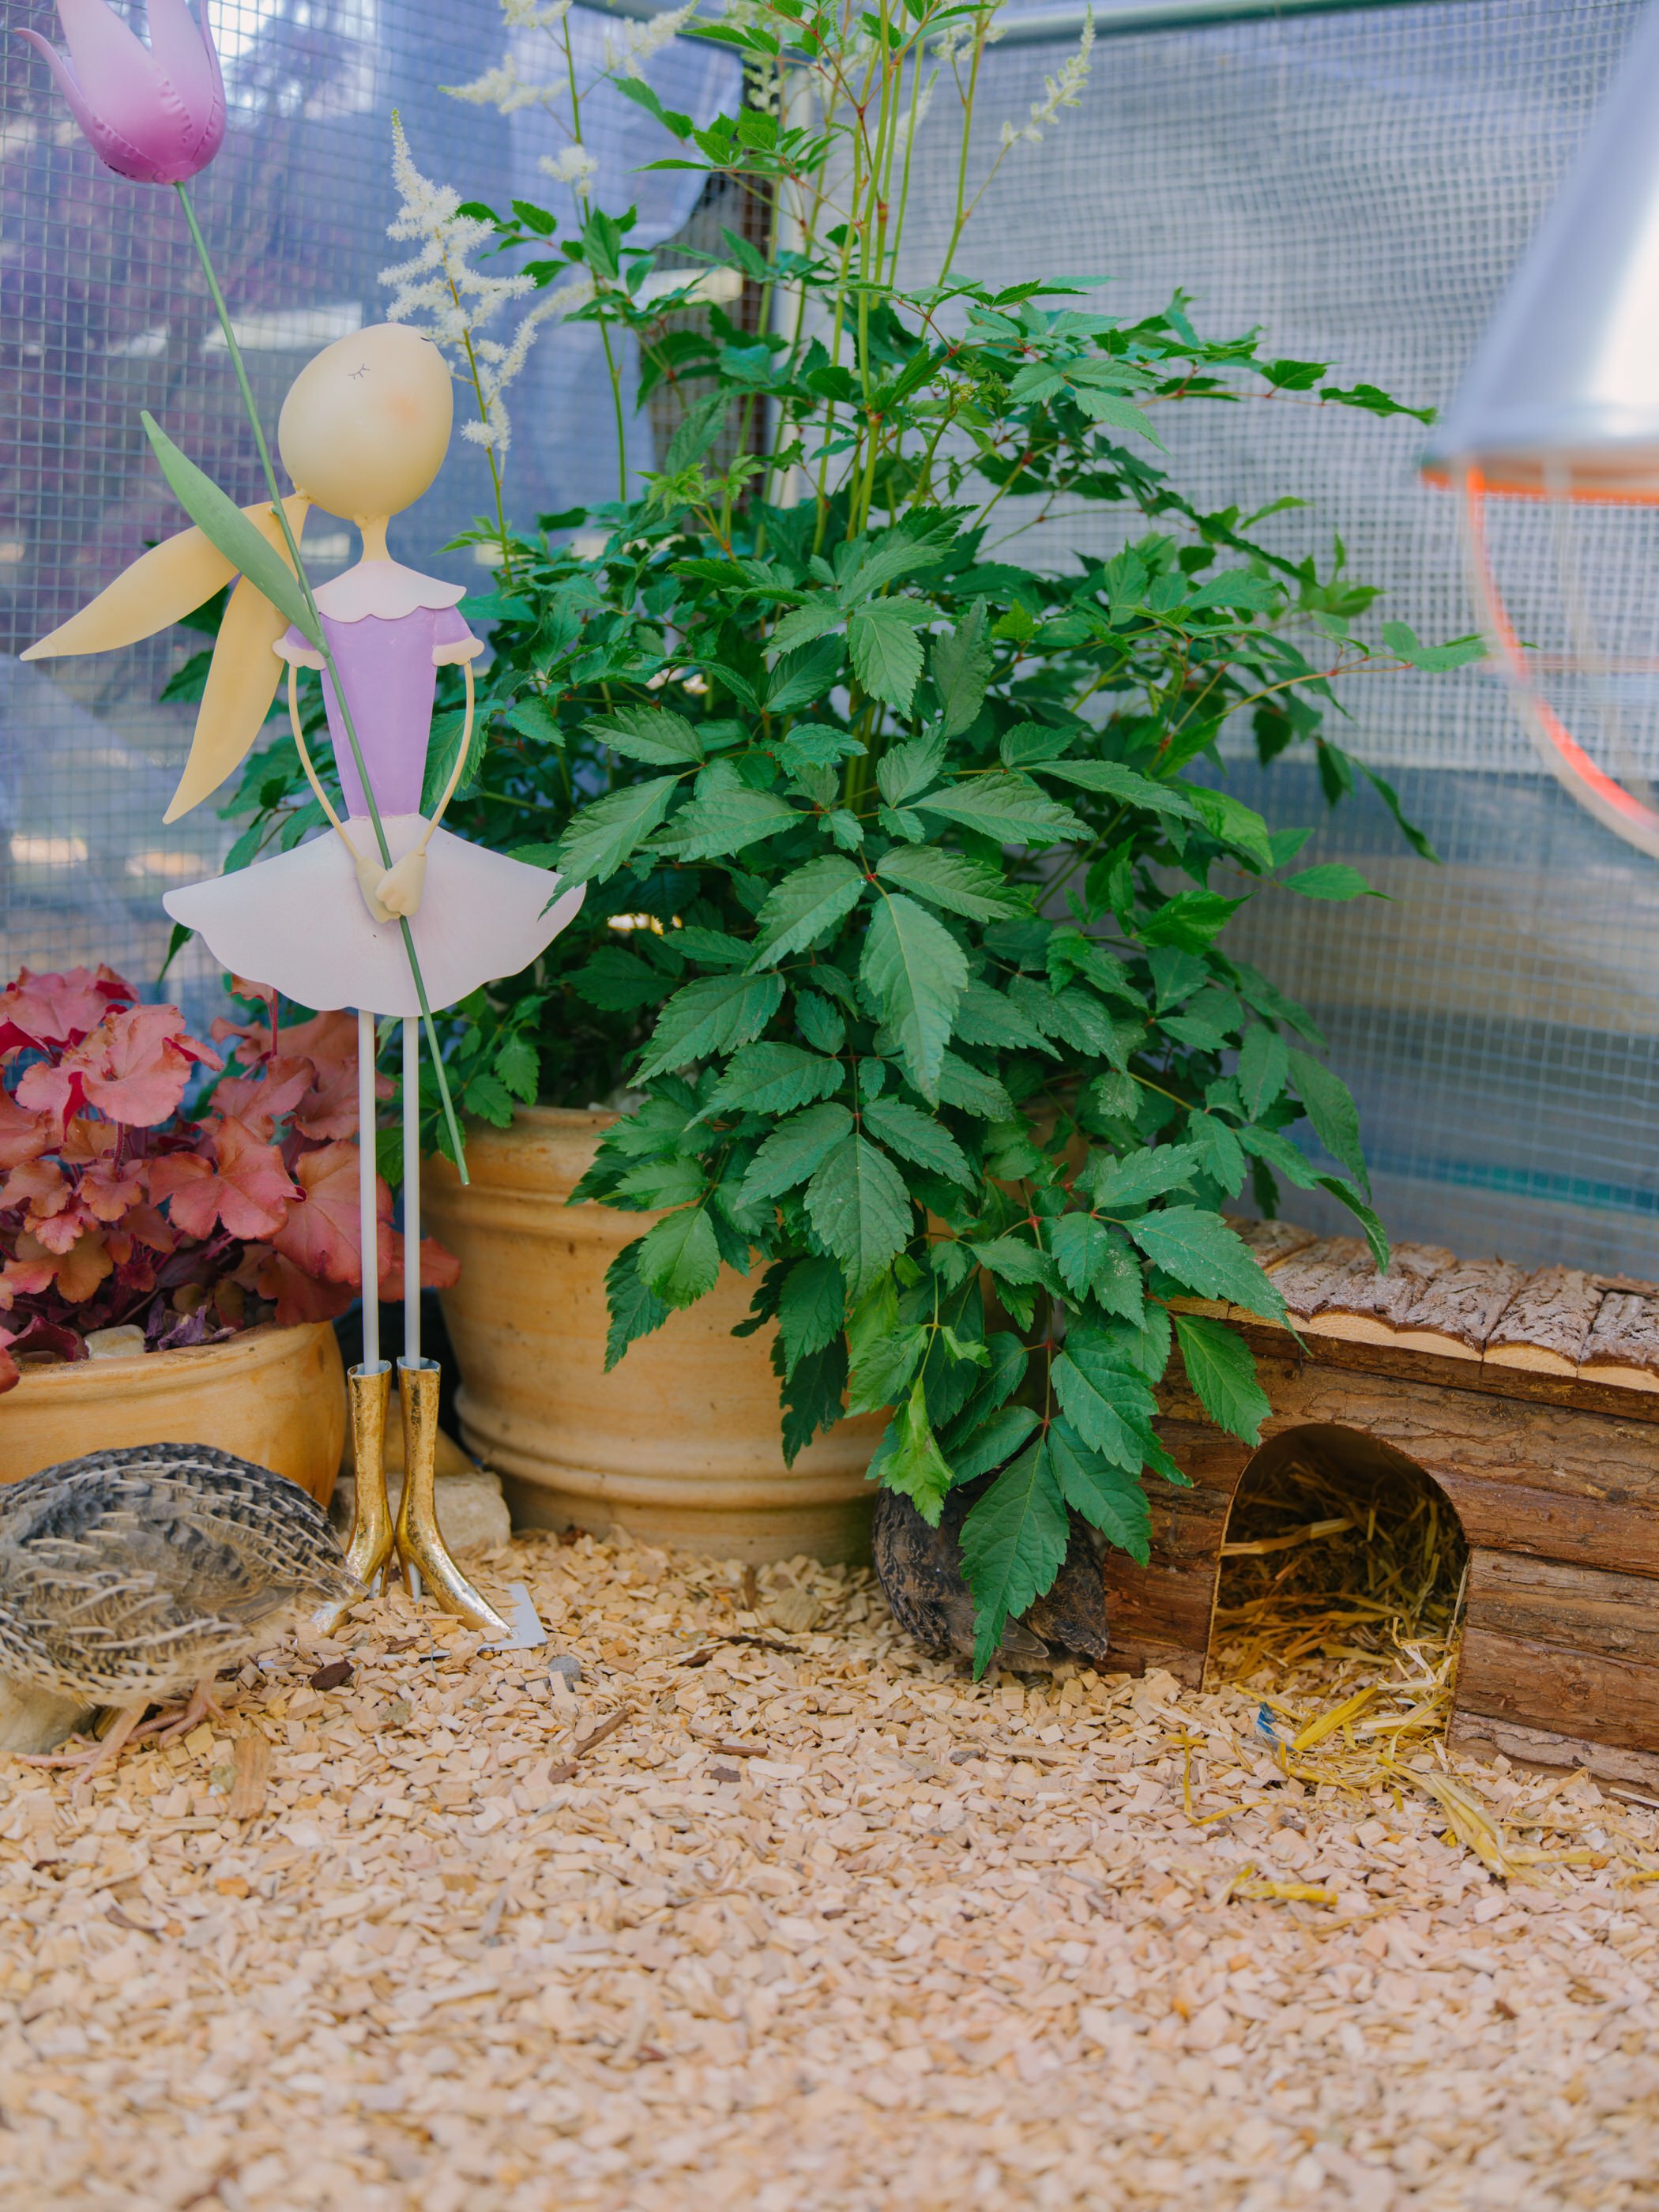
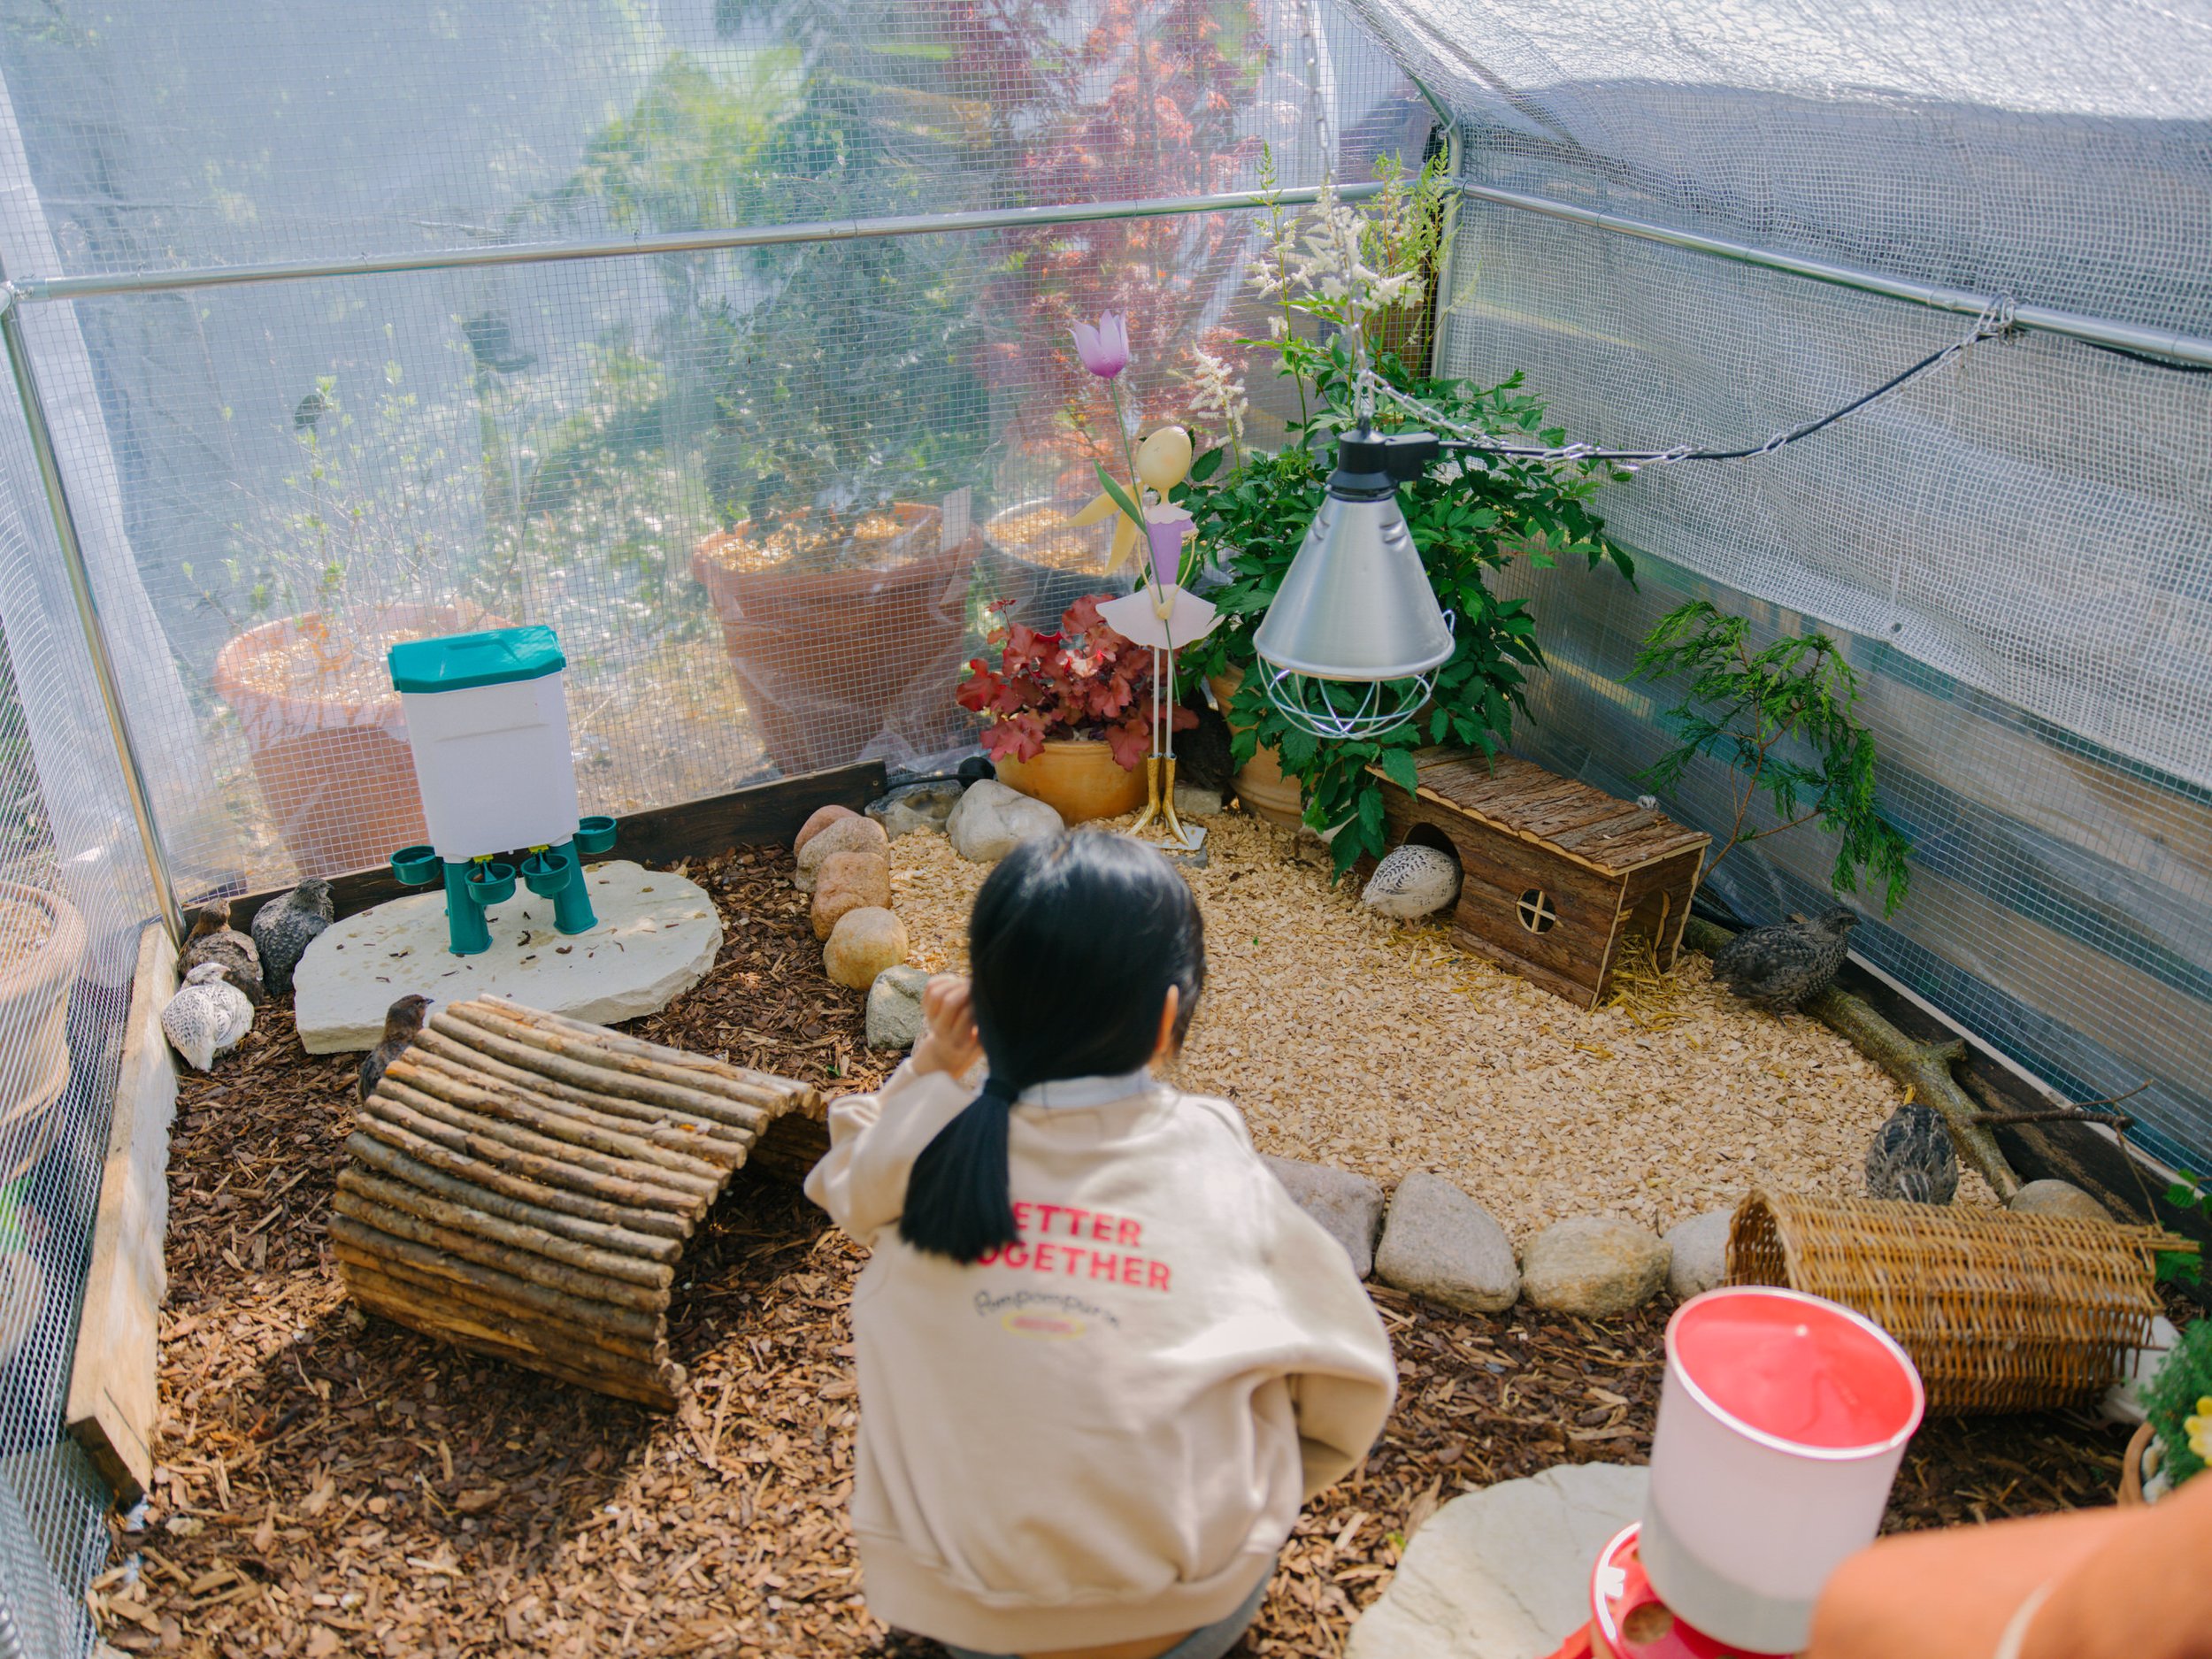
Unlike last time when I only had a small coop, this time I really want to do it properly and build something much bigger and more practical. I’m planning around 8 square meters with about 2 meters height, so I can actually walk inside, move around, and interact with the quails instead of just observing them from outside like before.
For me, that’s a big change because I don’t just want them to live in a box - I want them to get used to human presence in a calm way. If I can go inside the space regularly, just doing normal things like feeding, cleaning, or sitting with them, they’ll slowly stop seeing humans as something stressful. I think that makes a huge difference in how tame and relaxed they become over time.
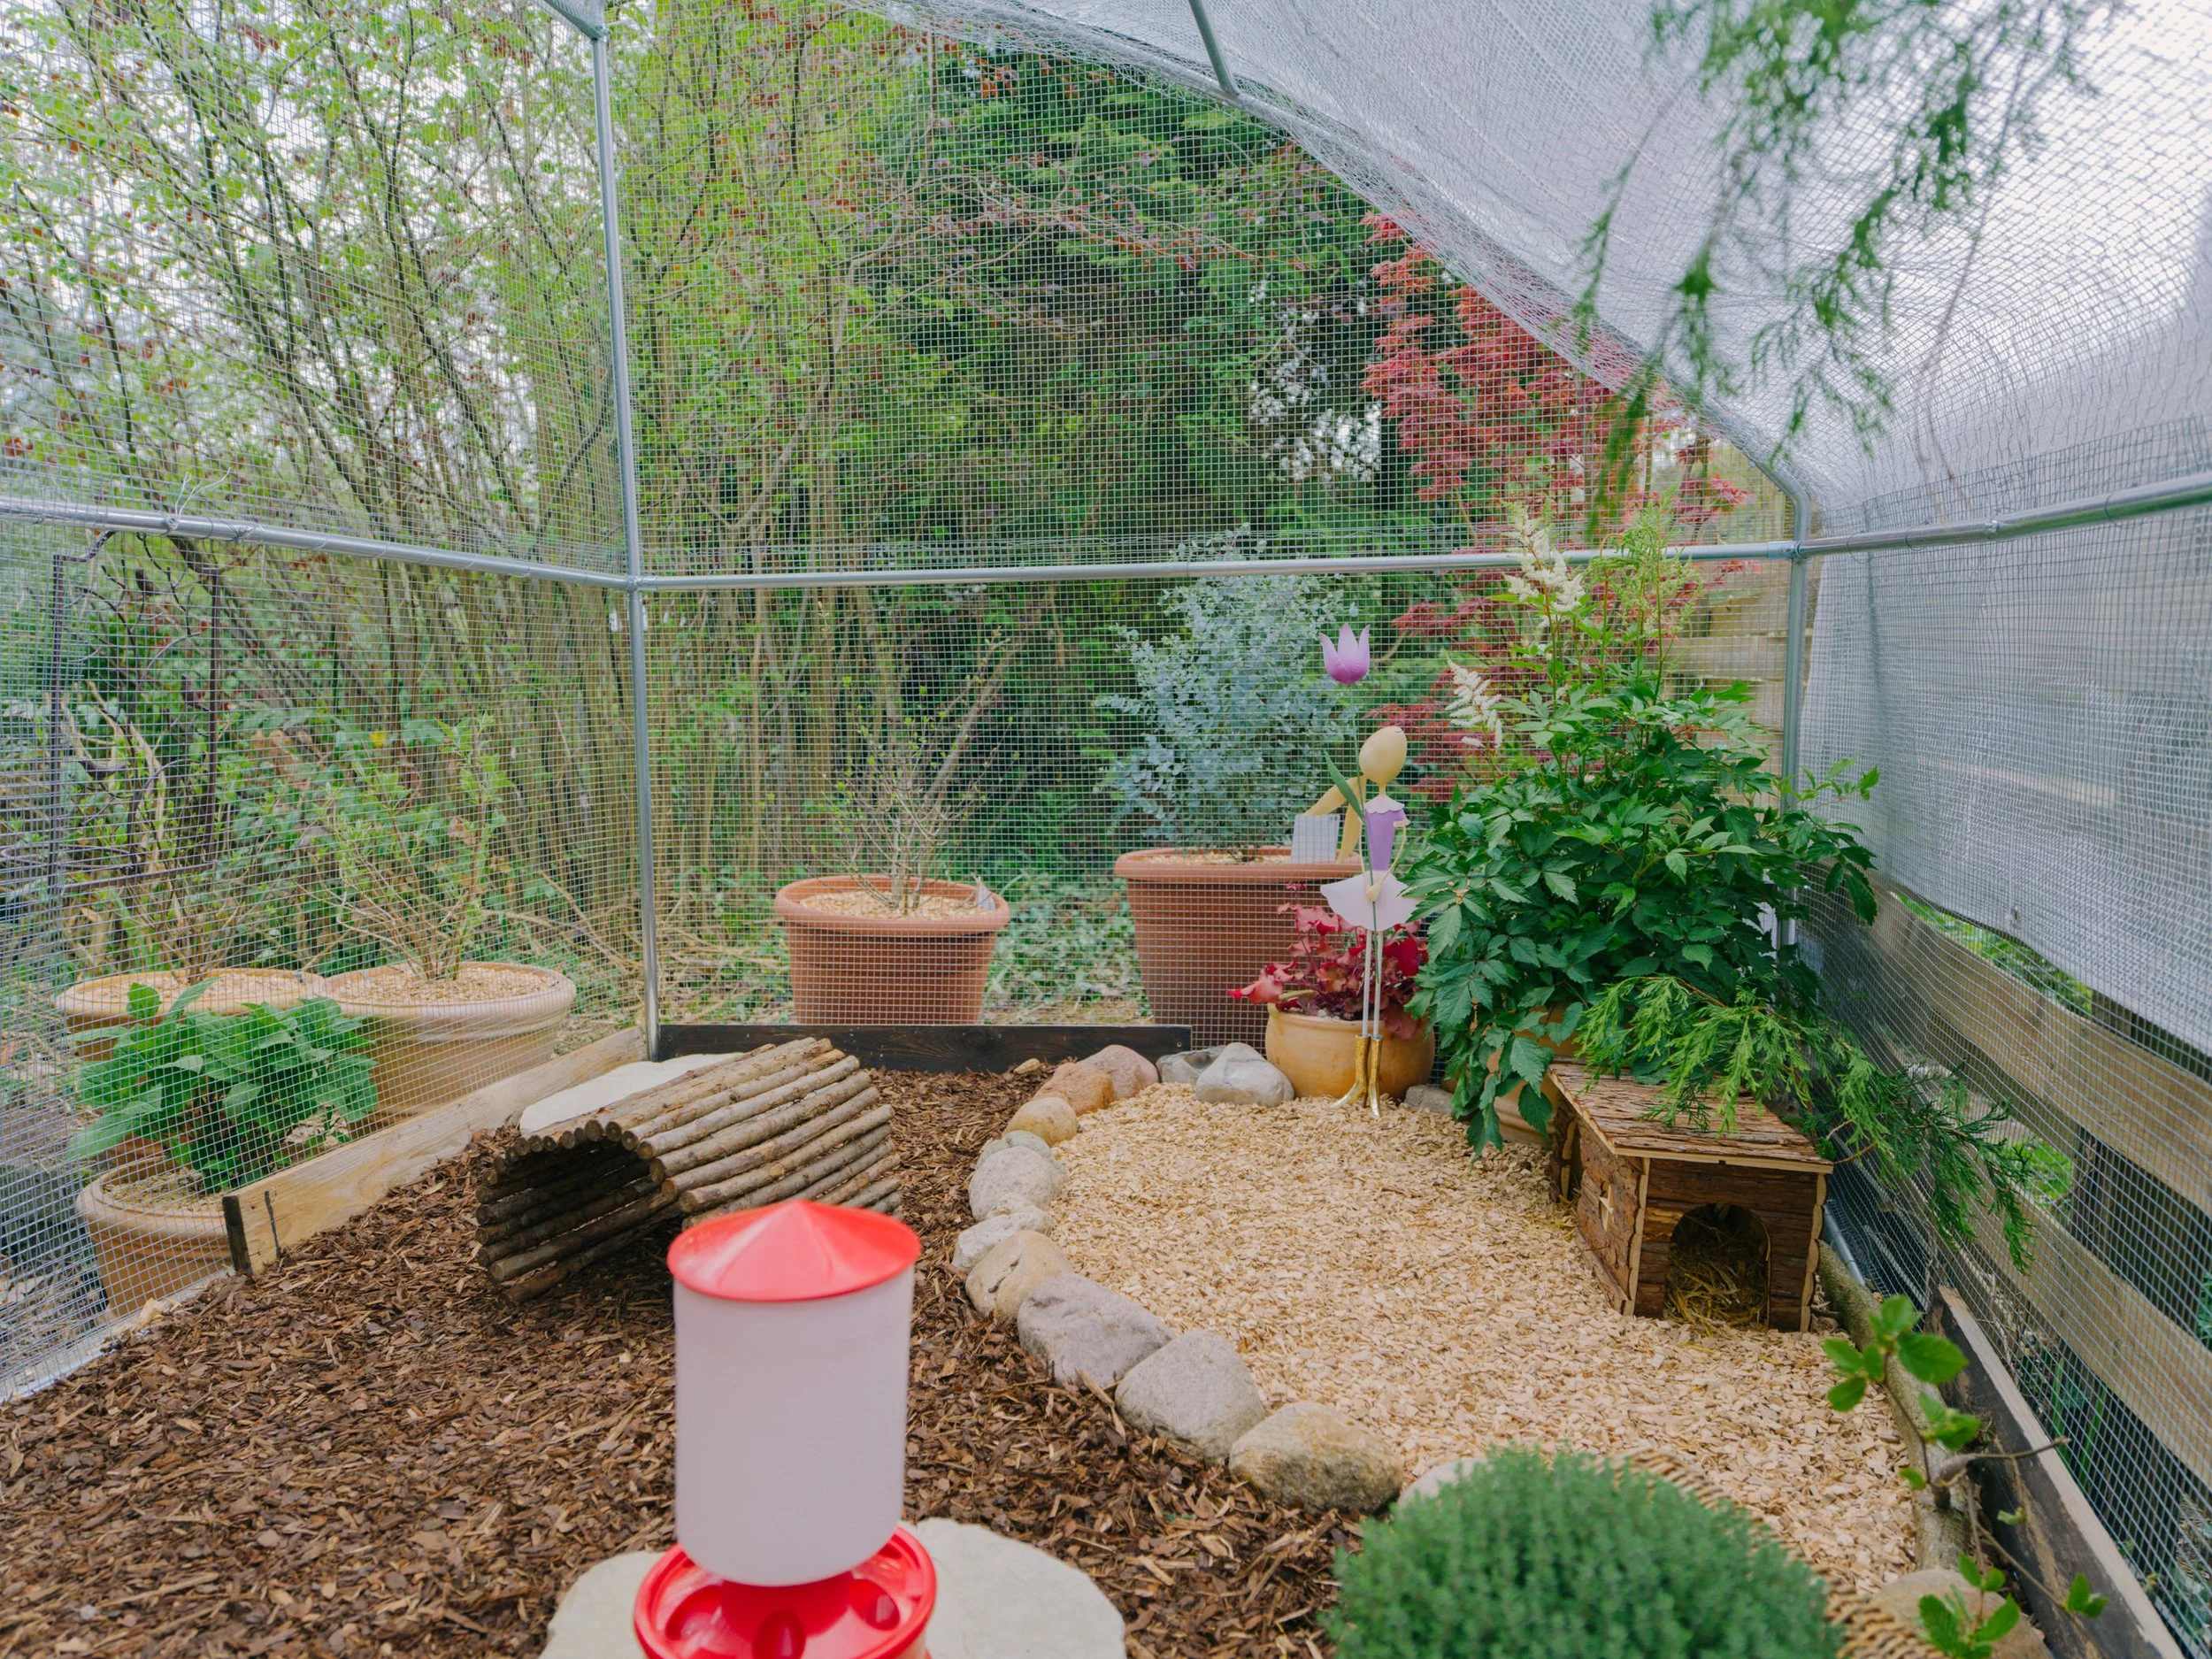
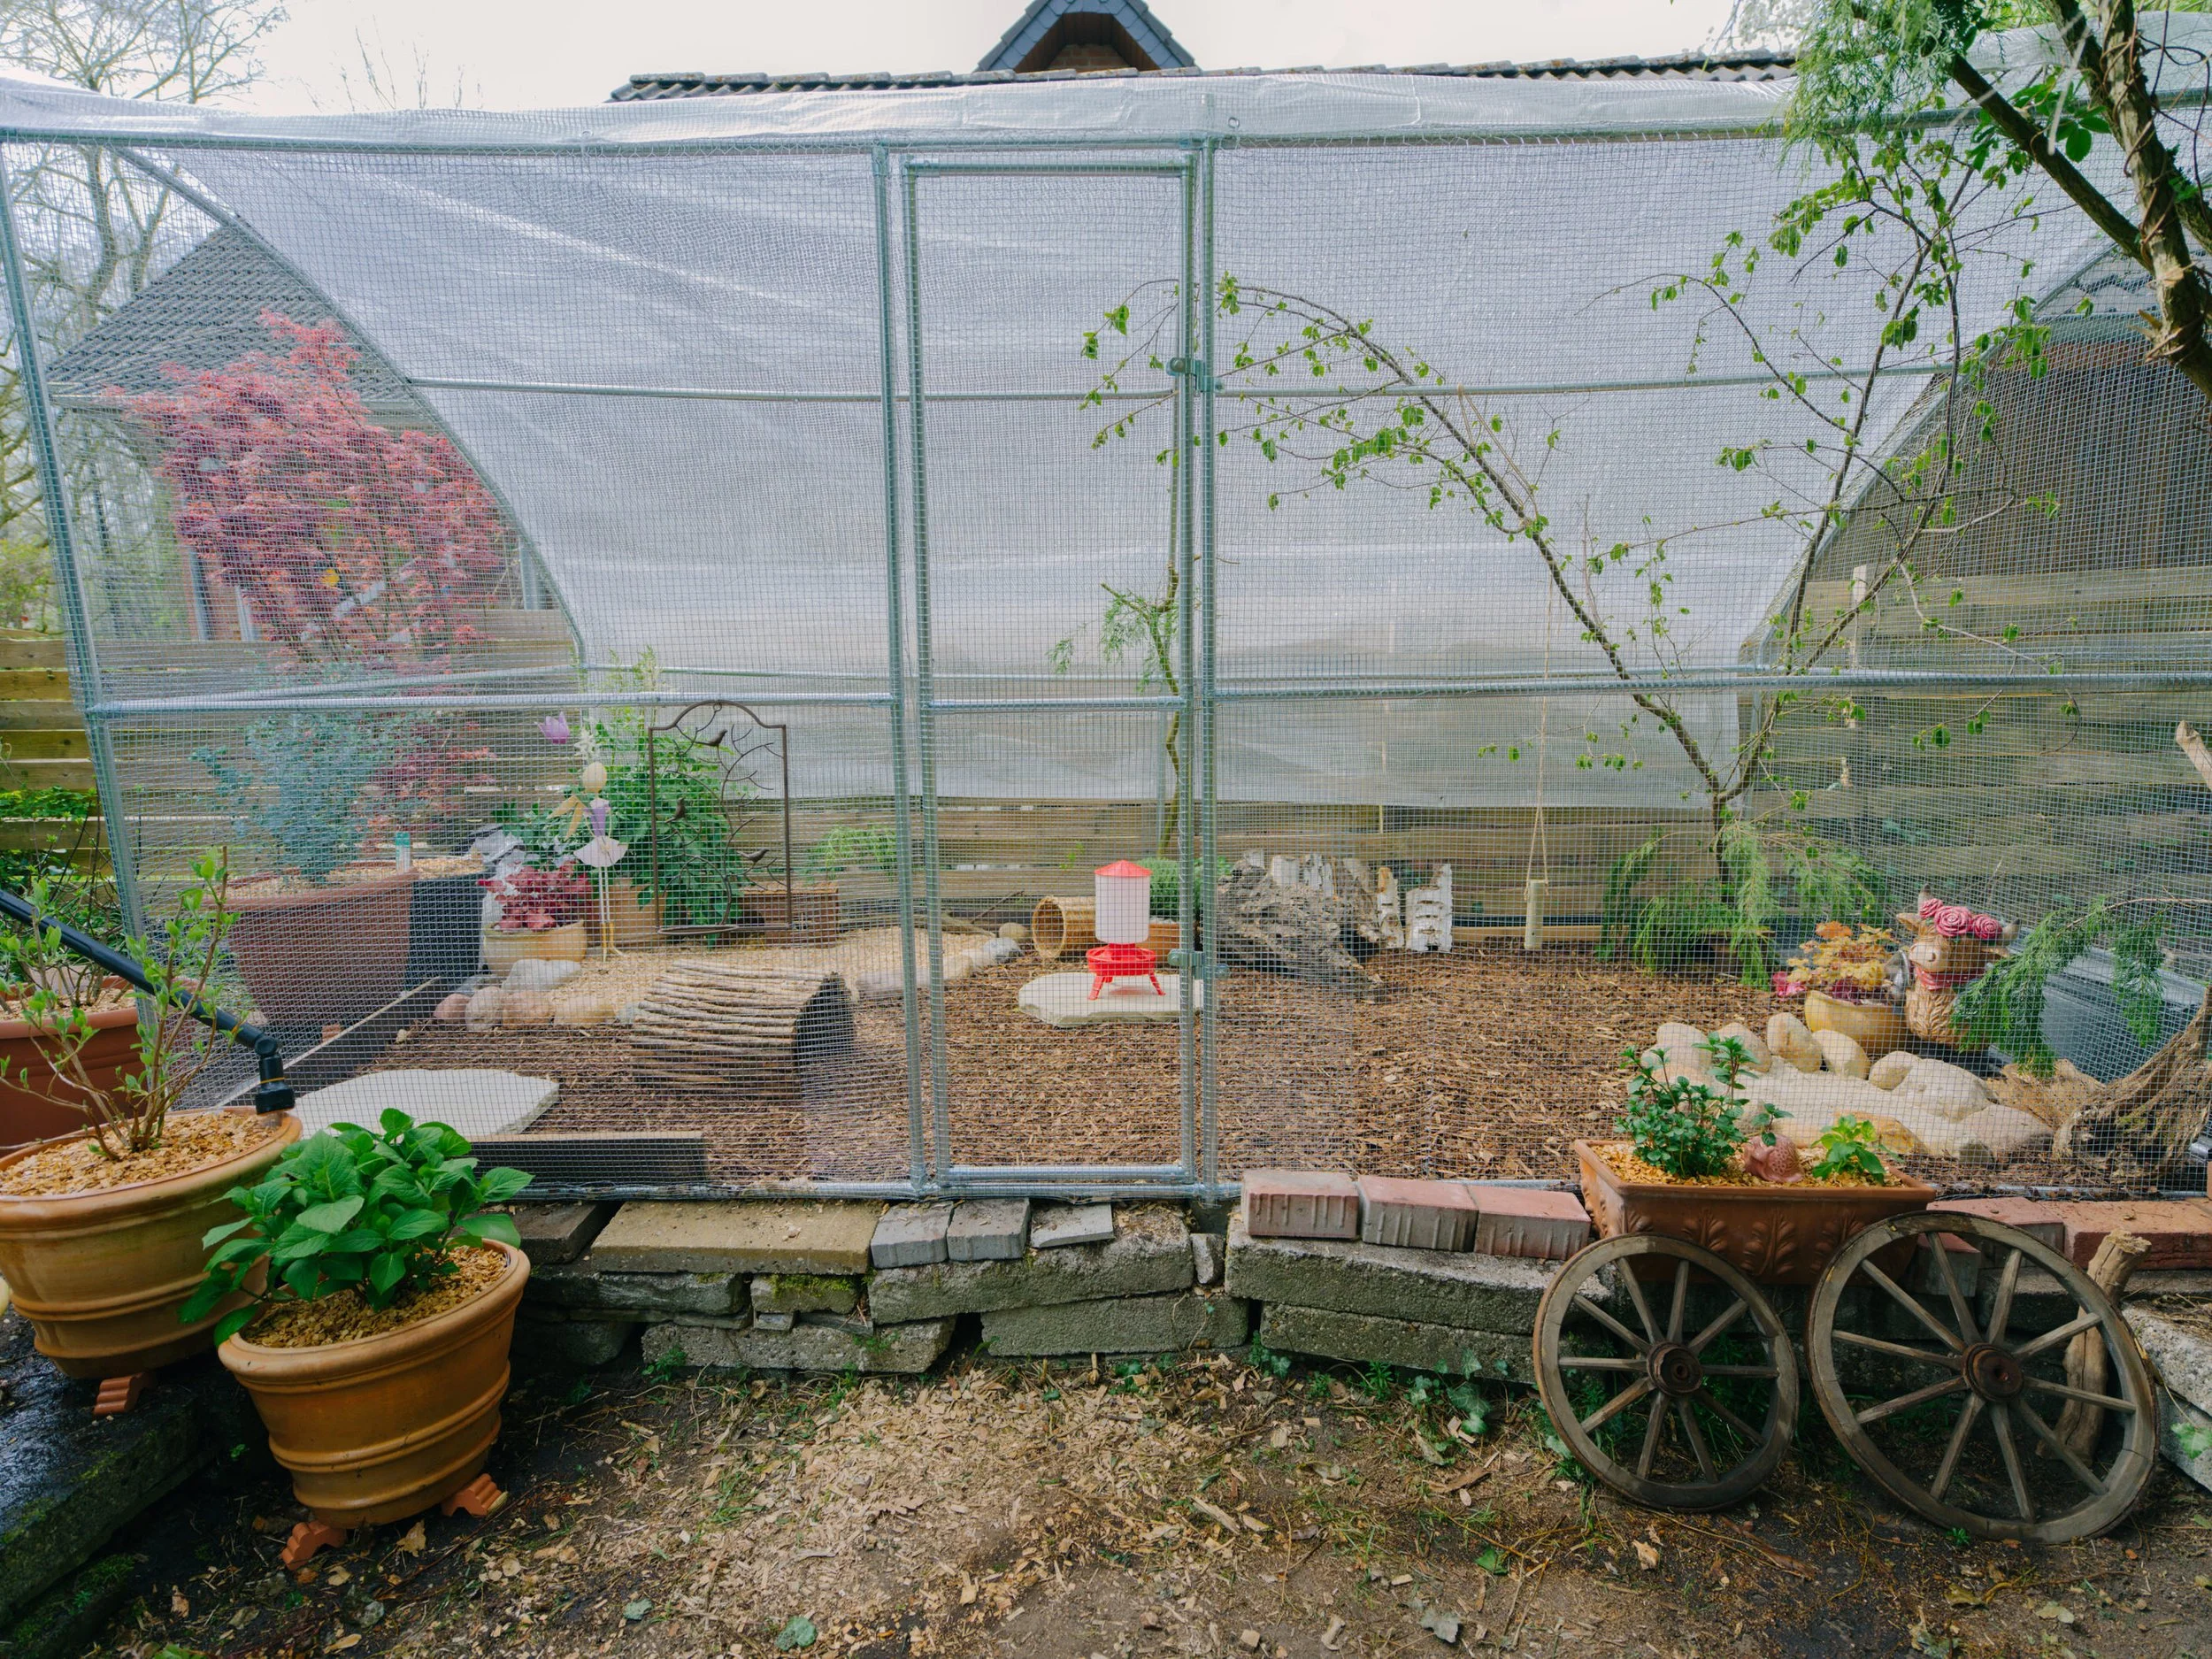
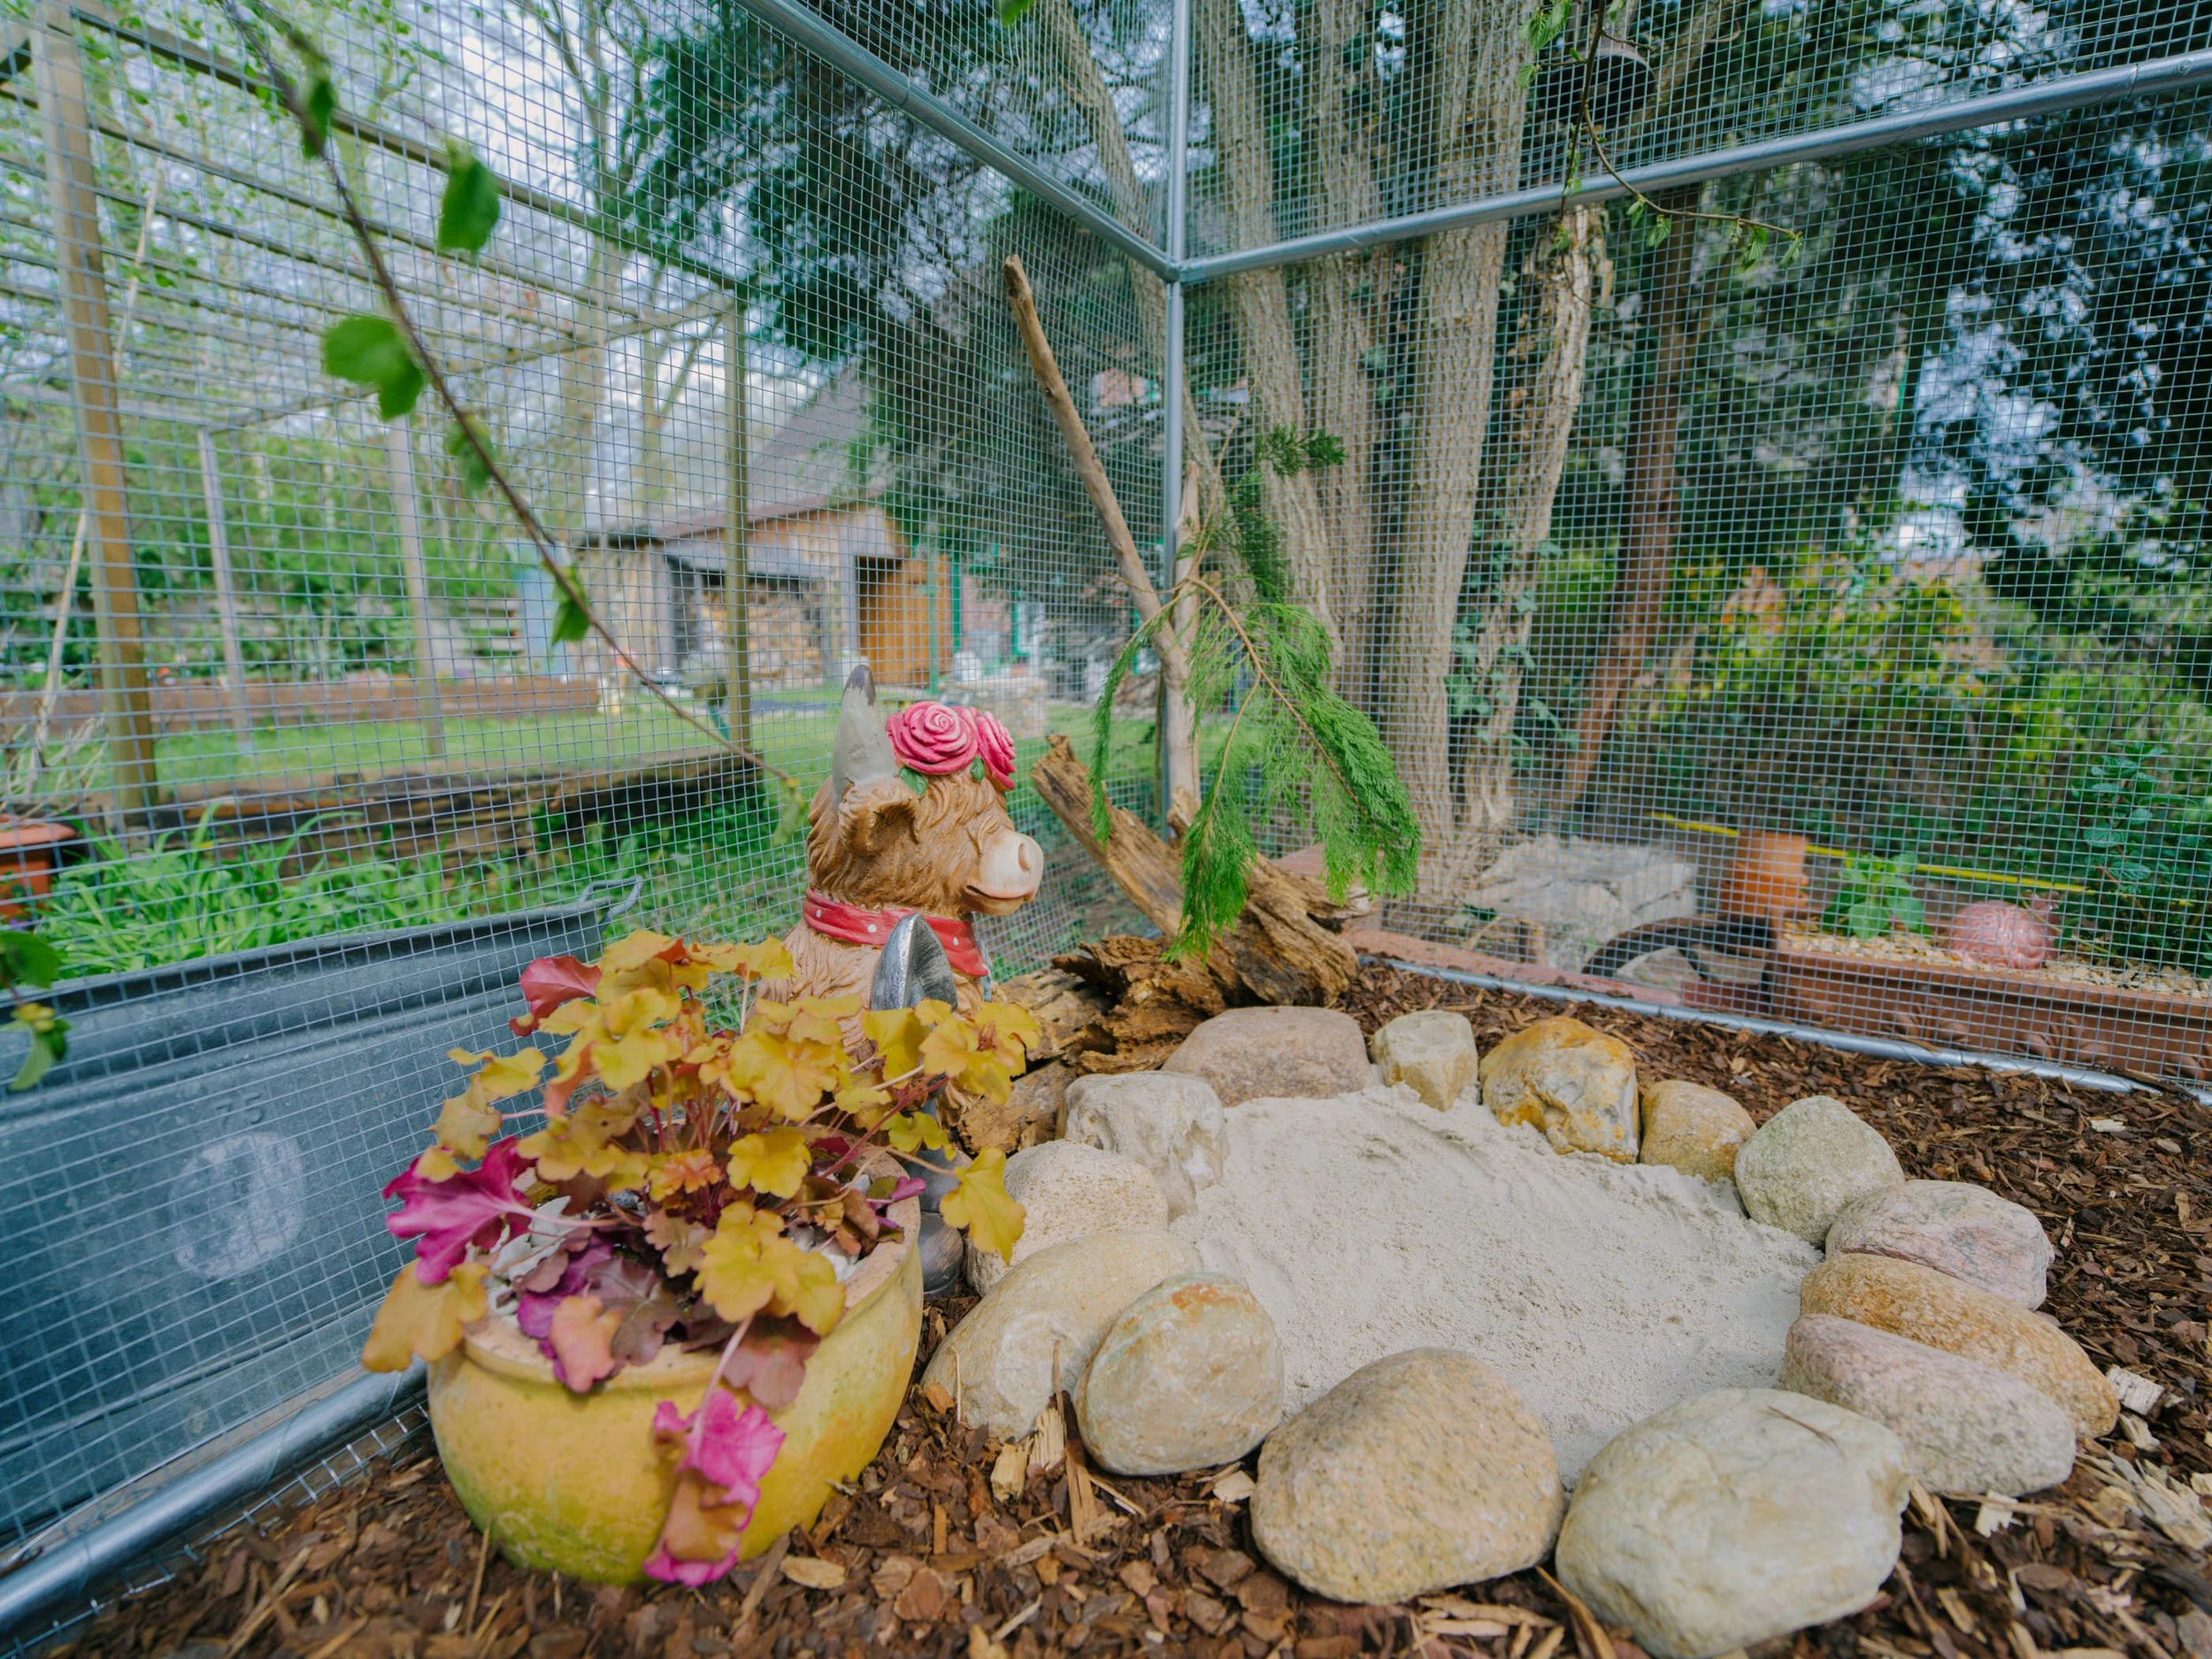
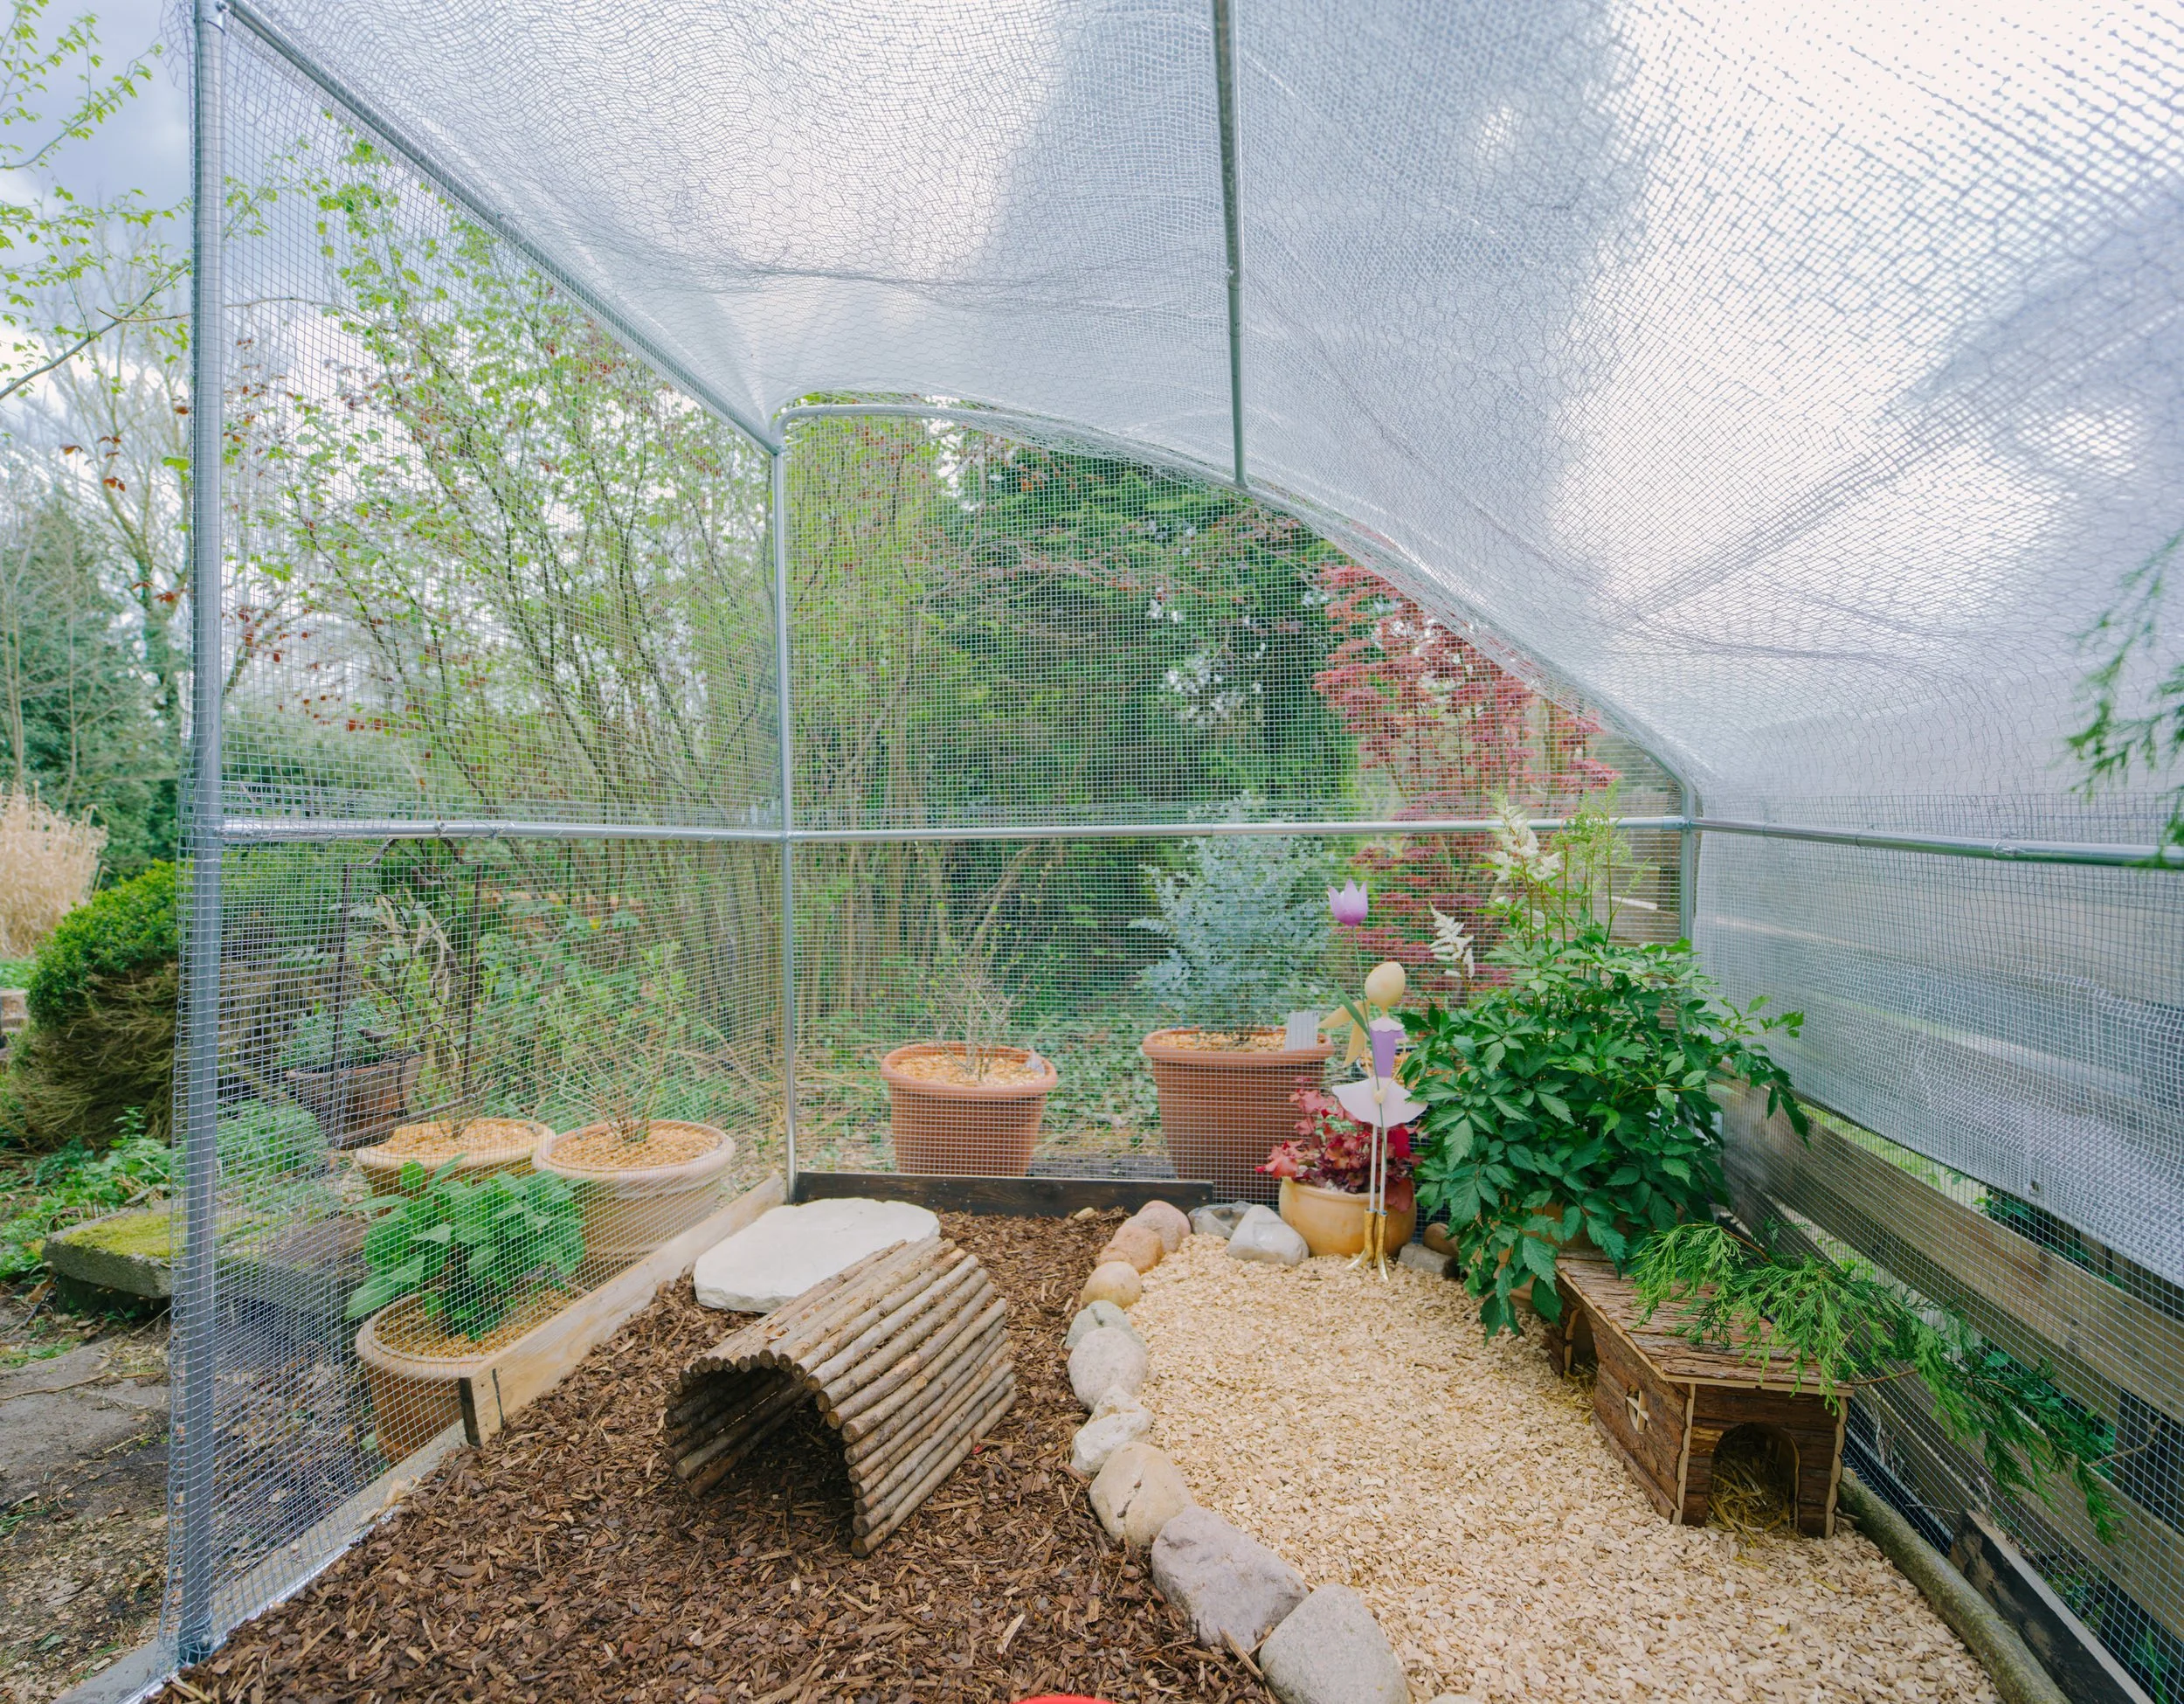
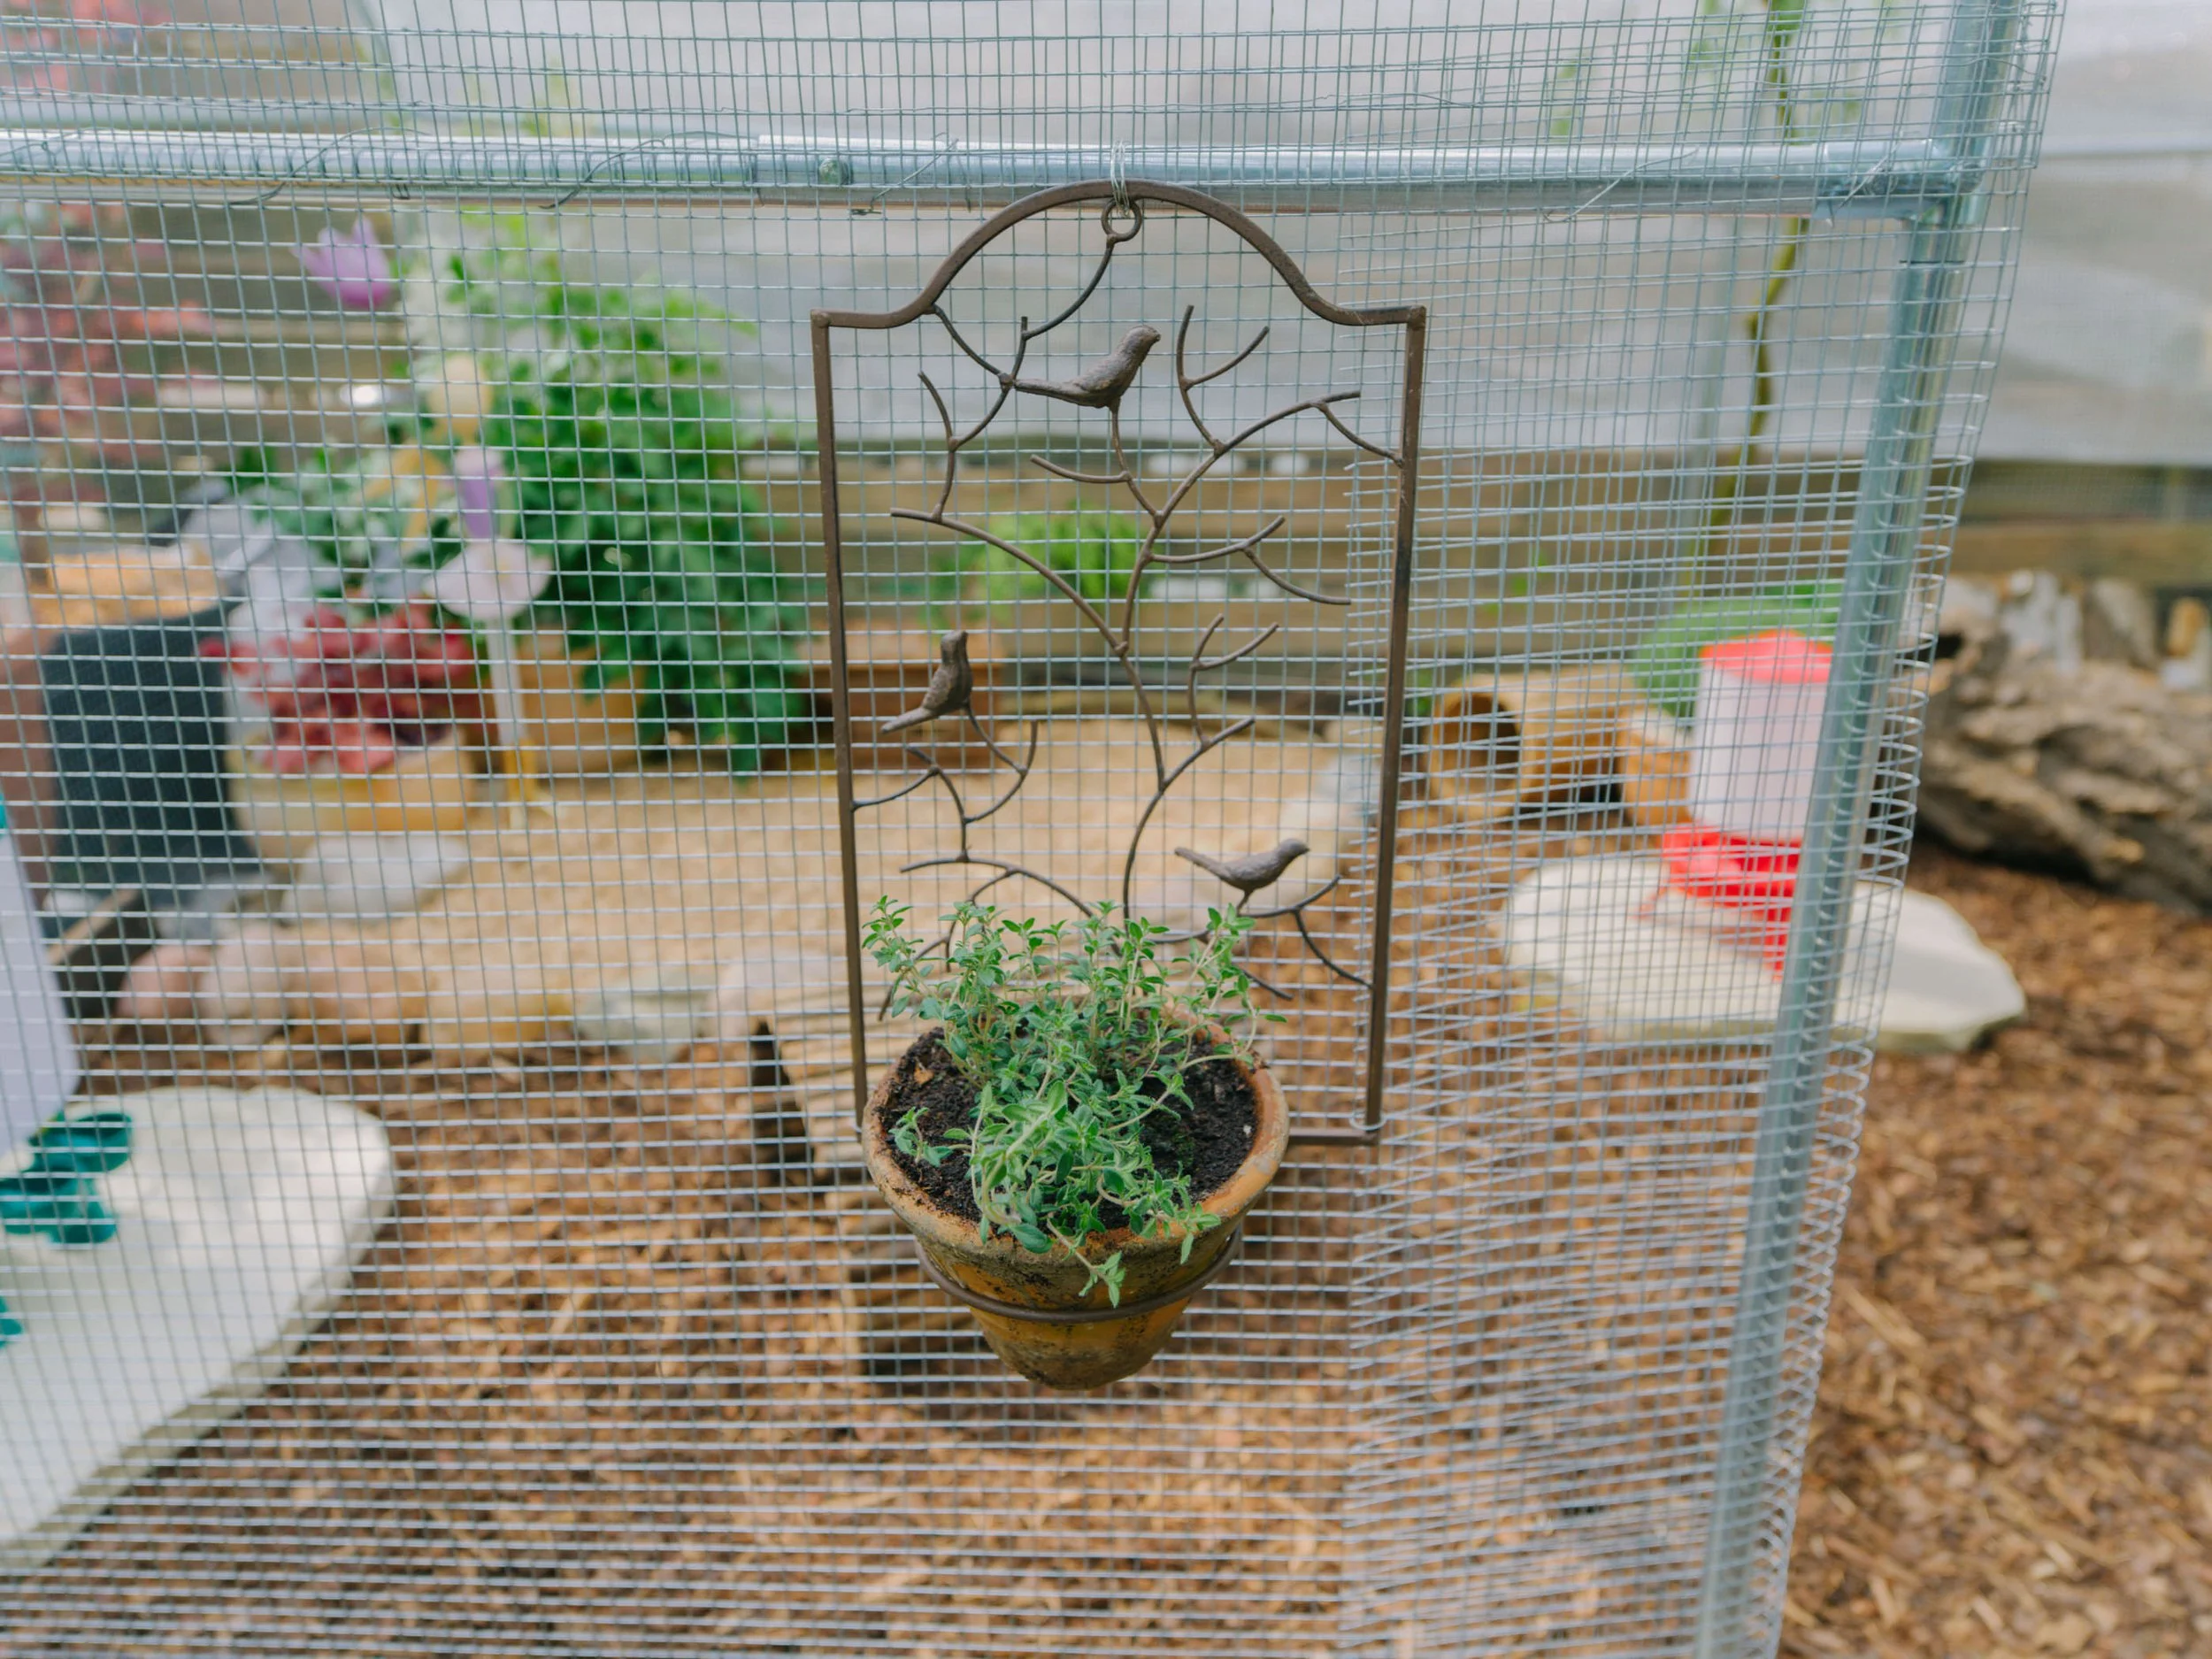
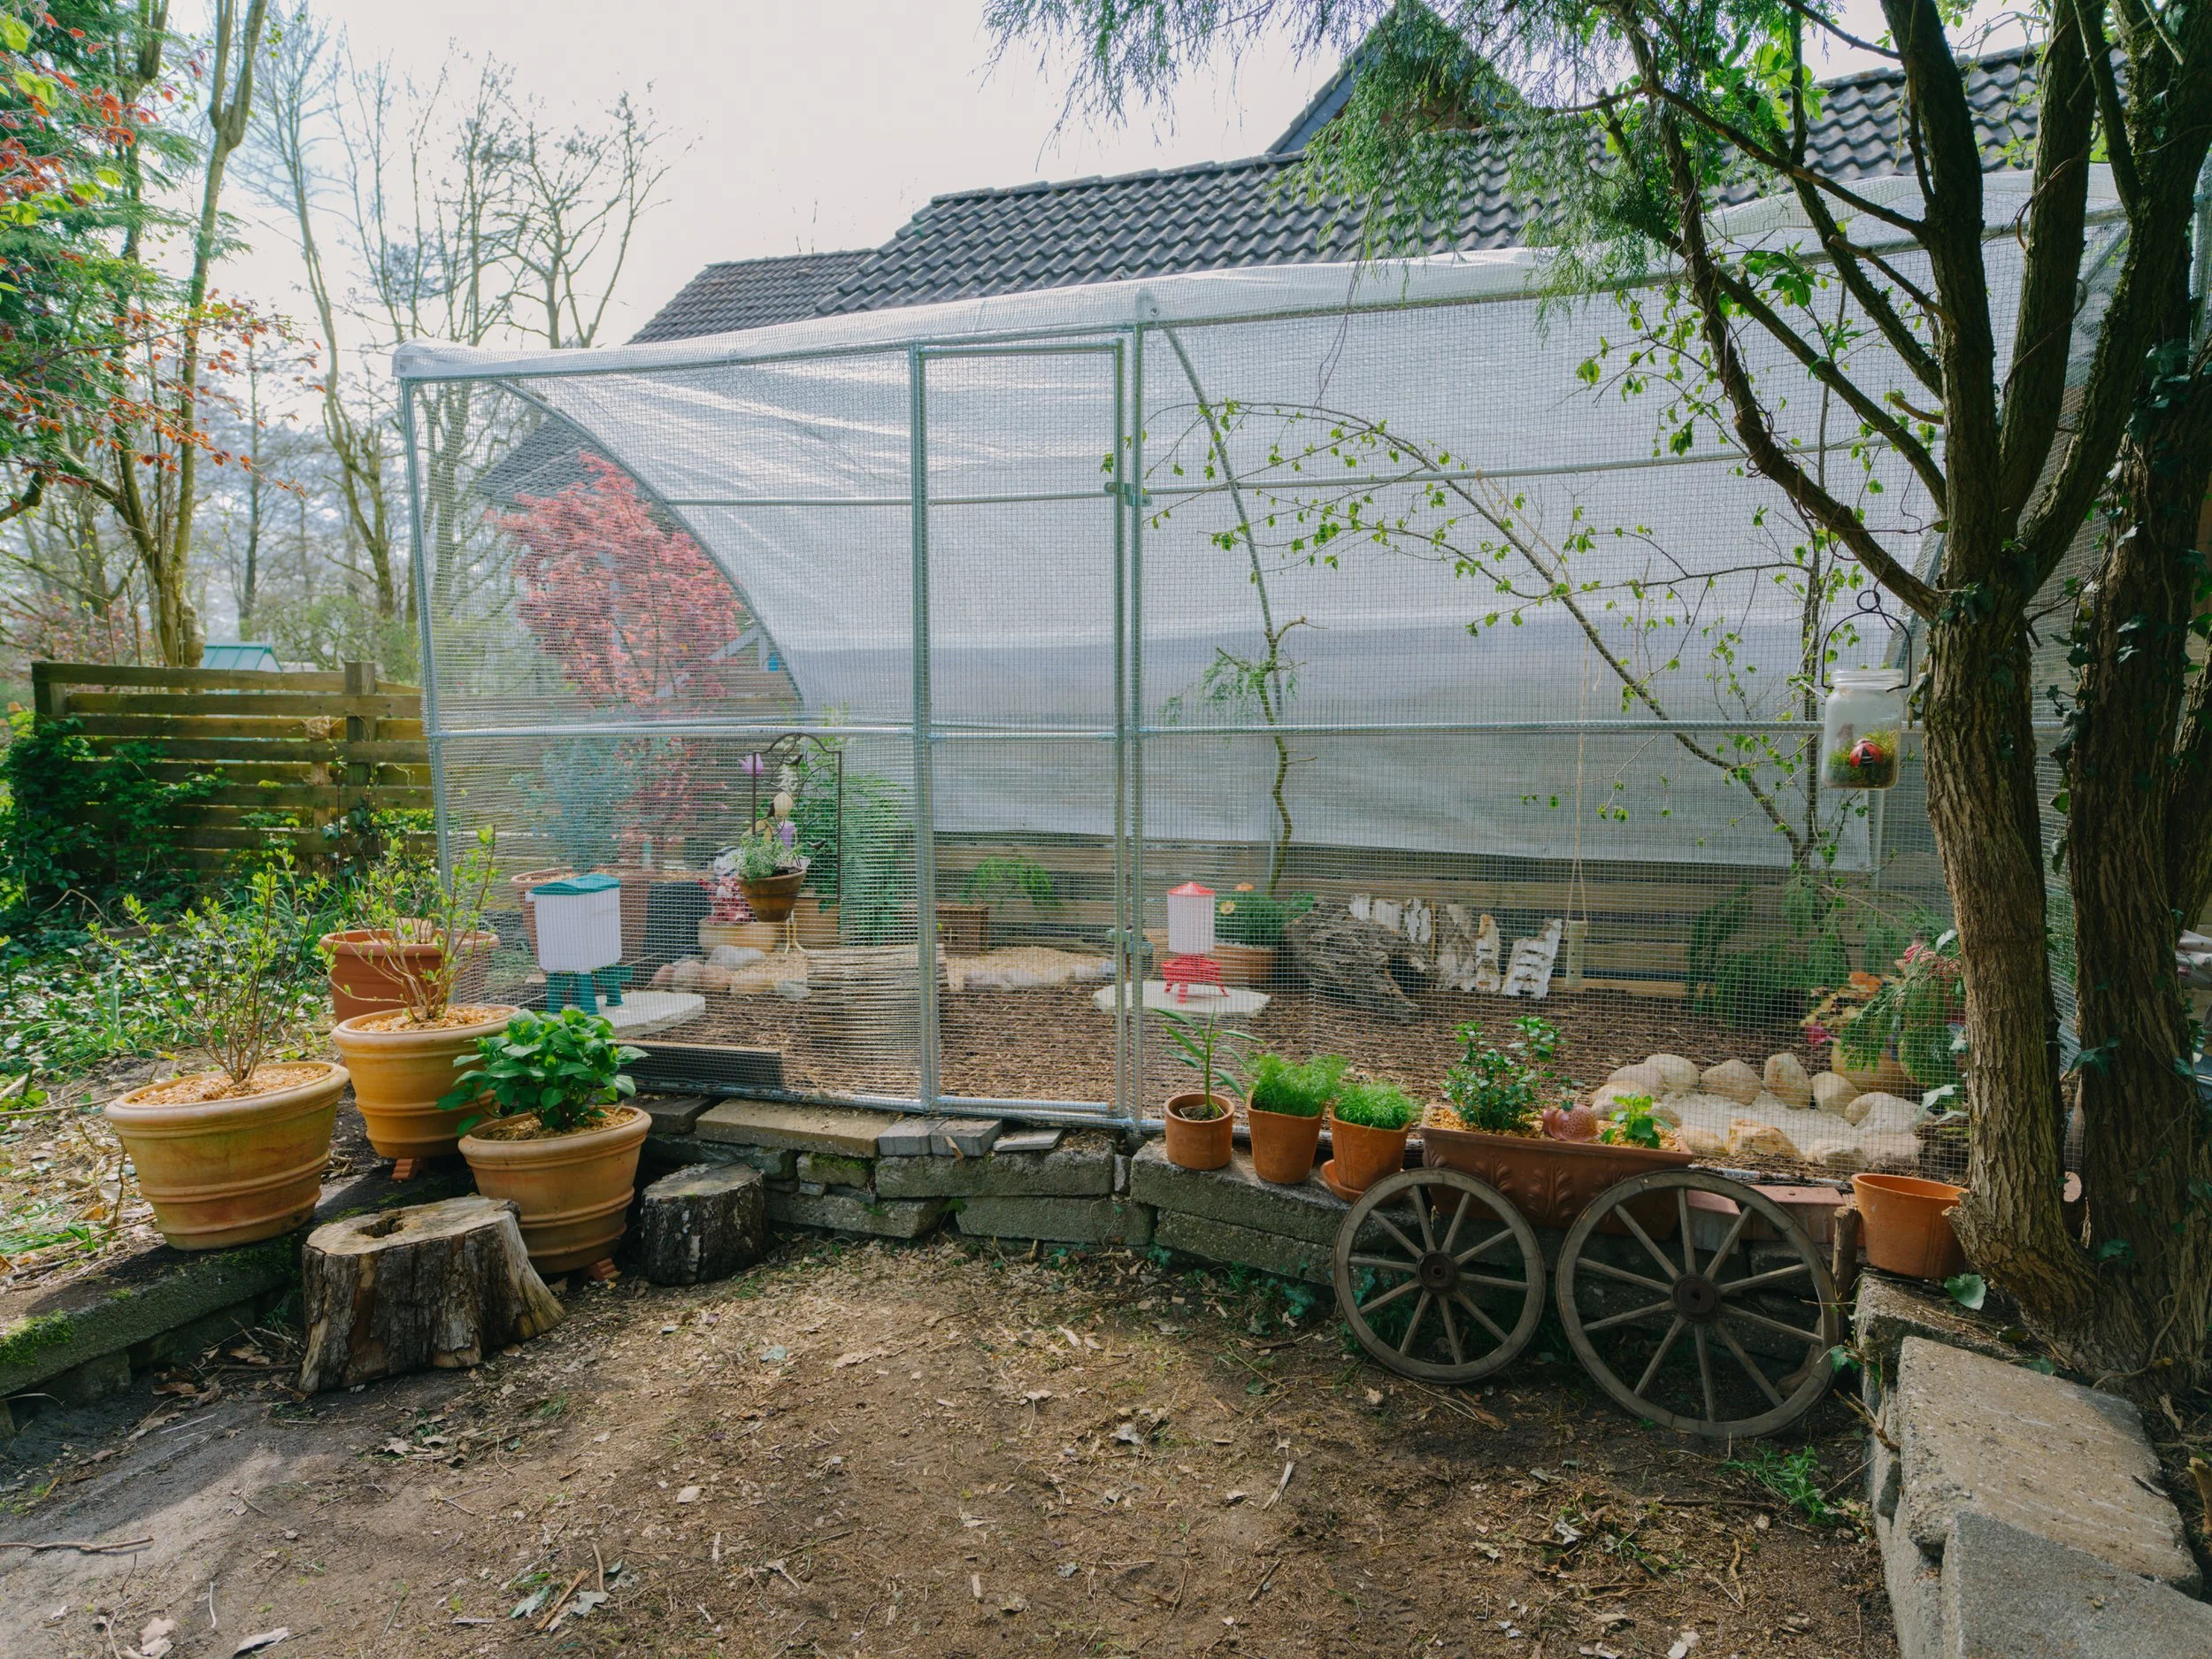
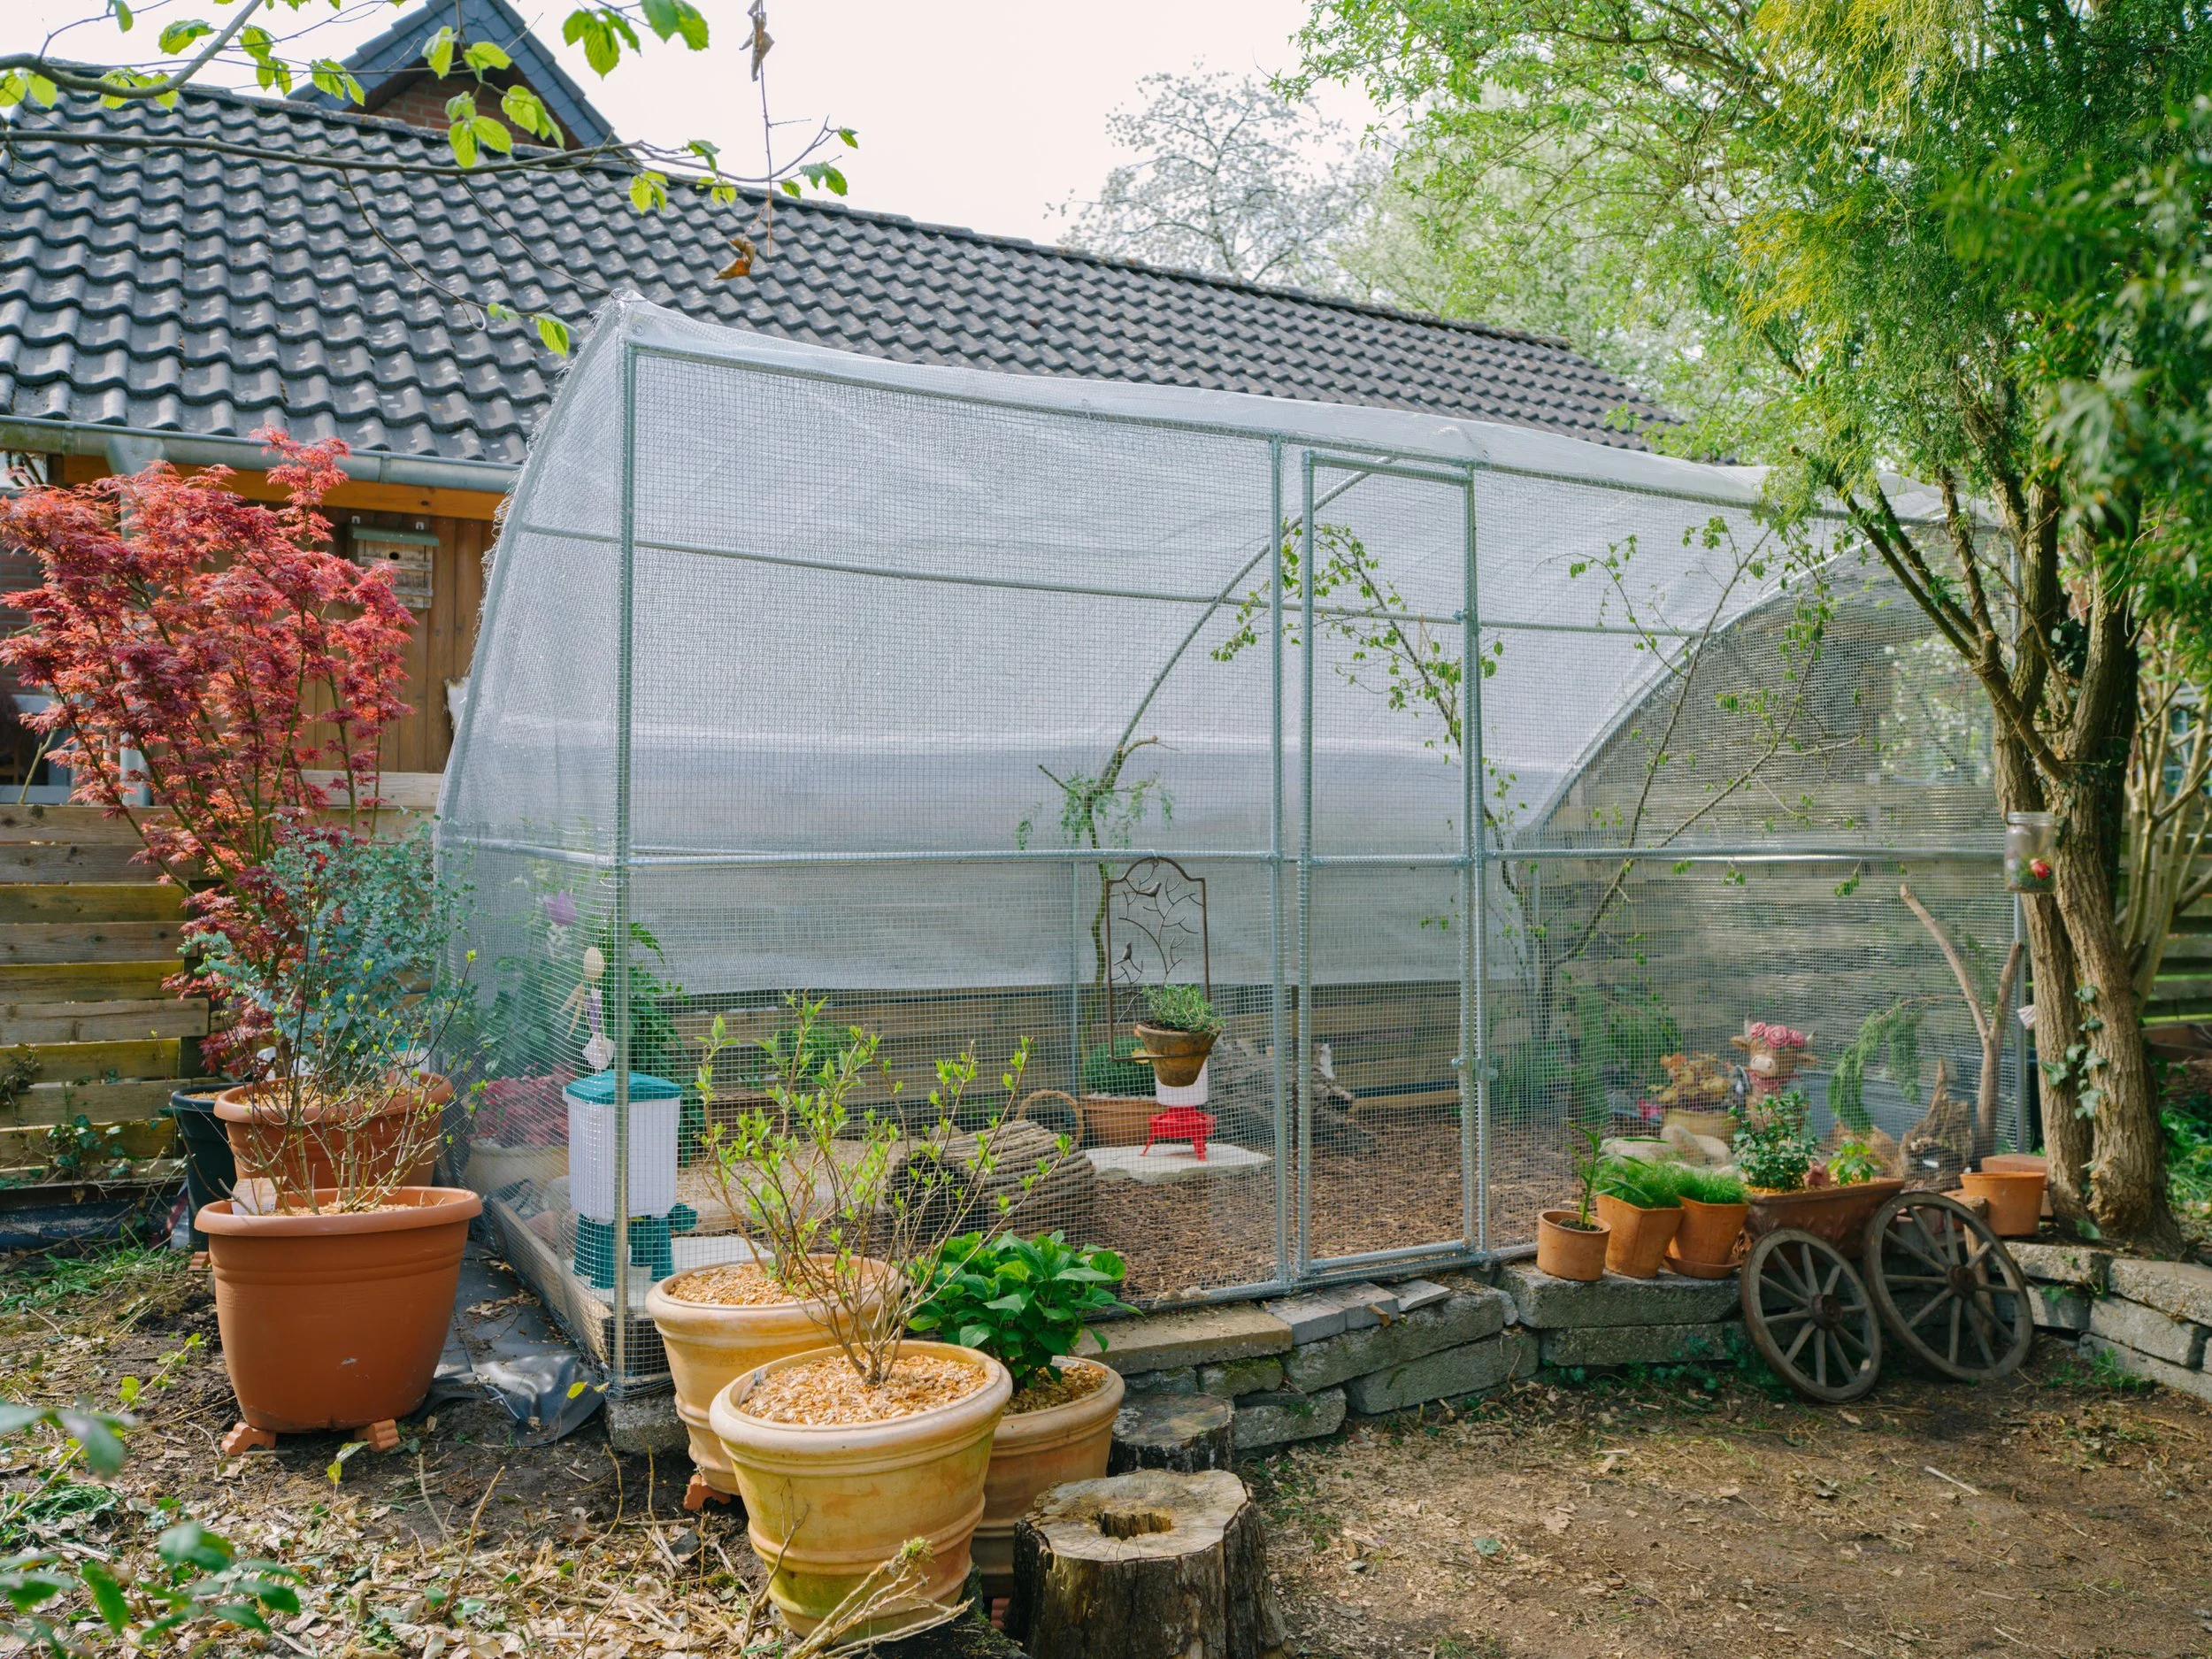
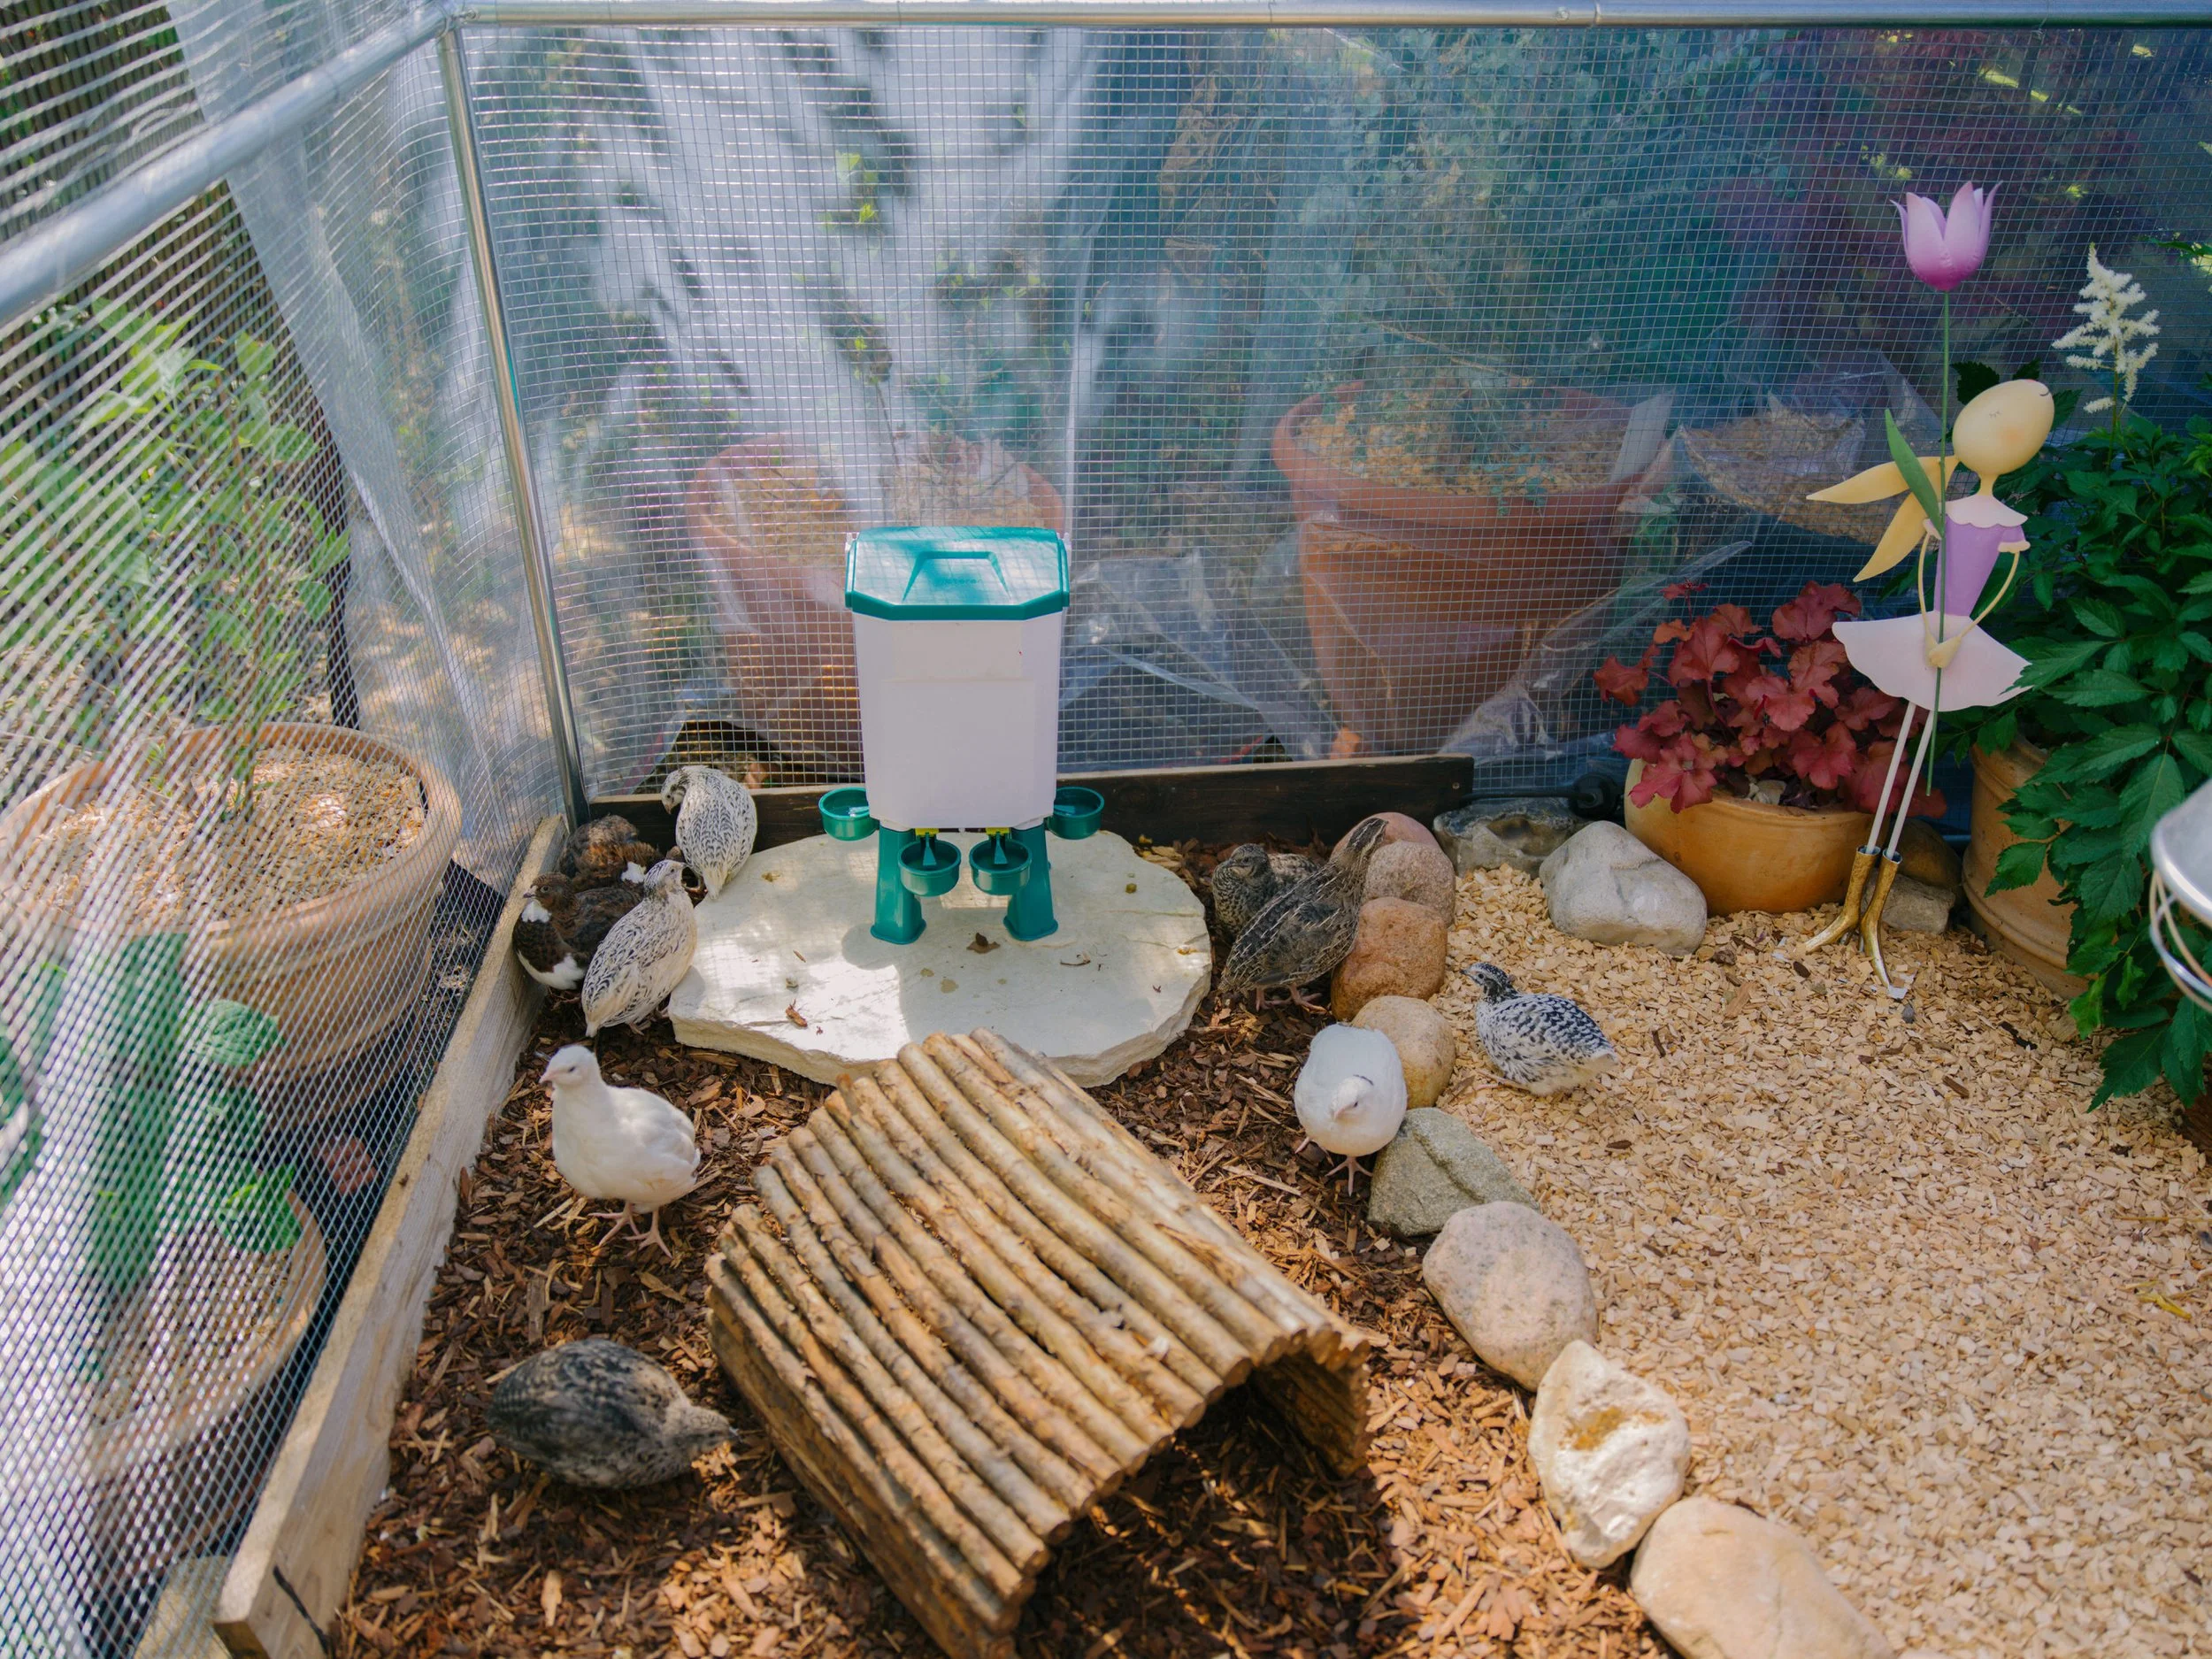
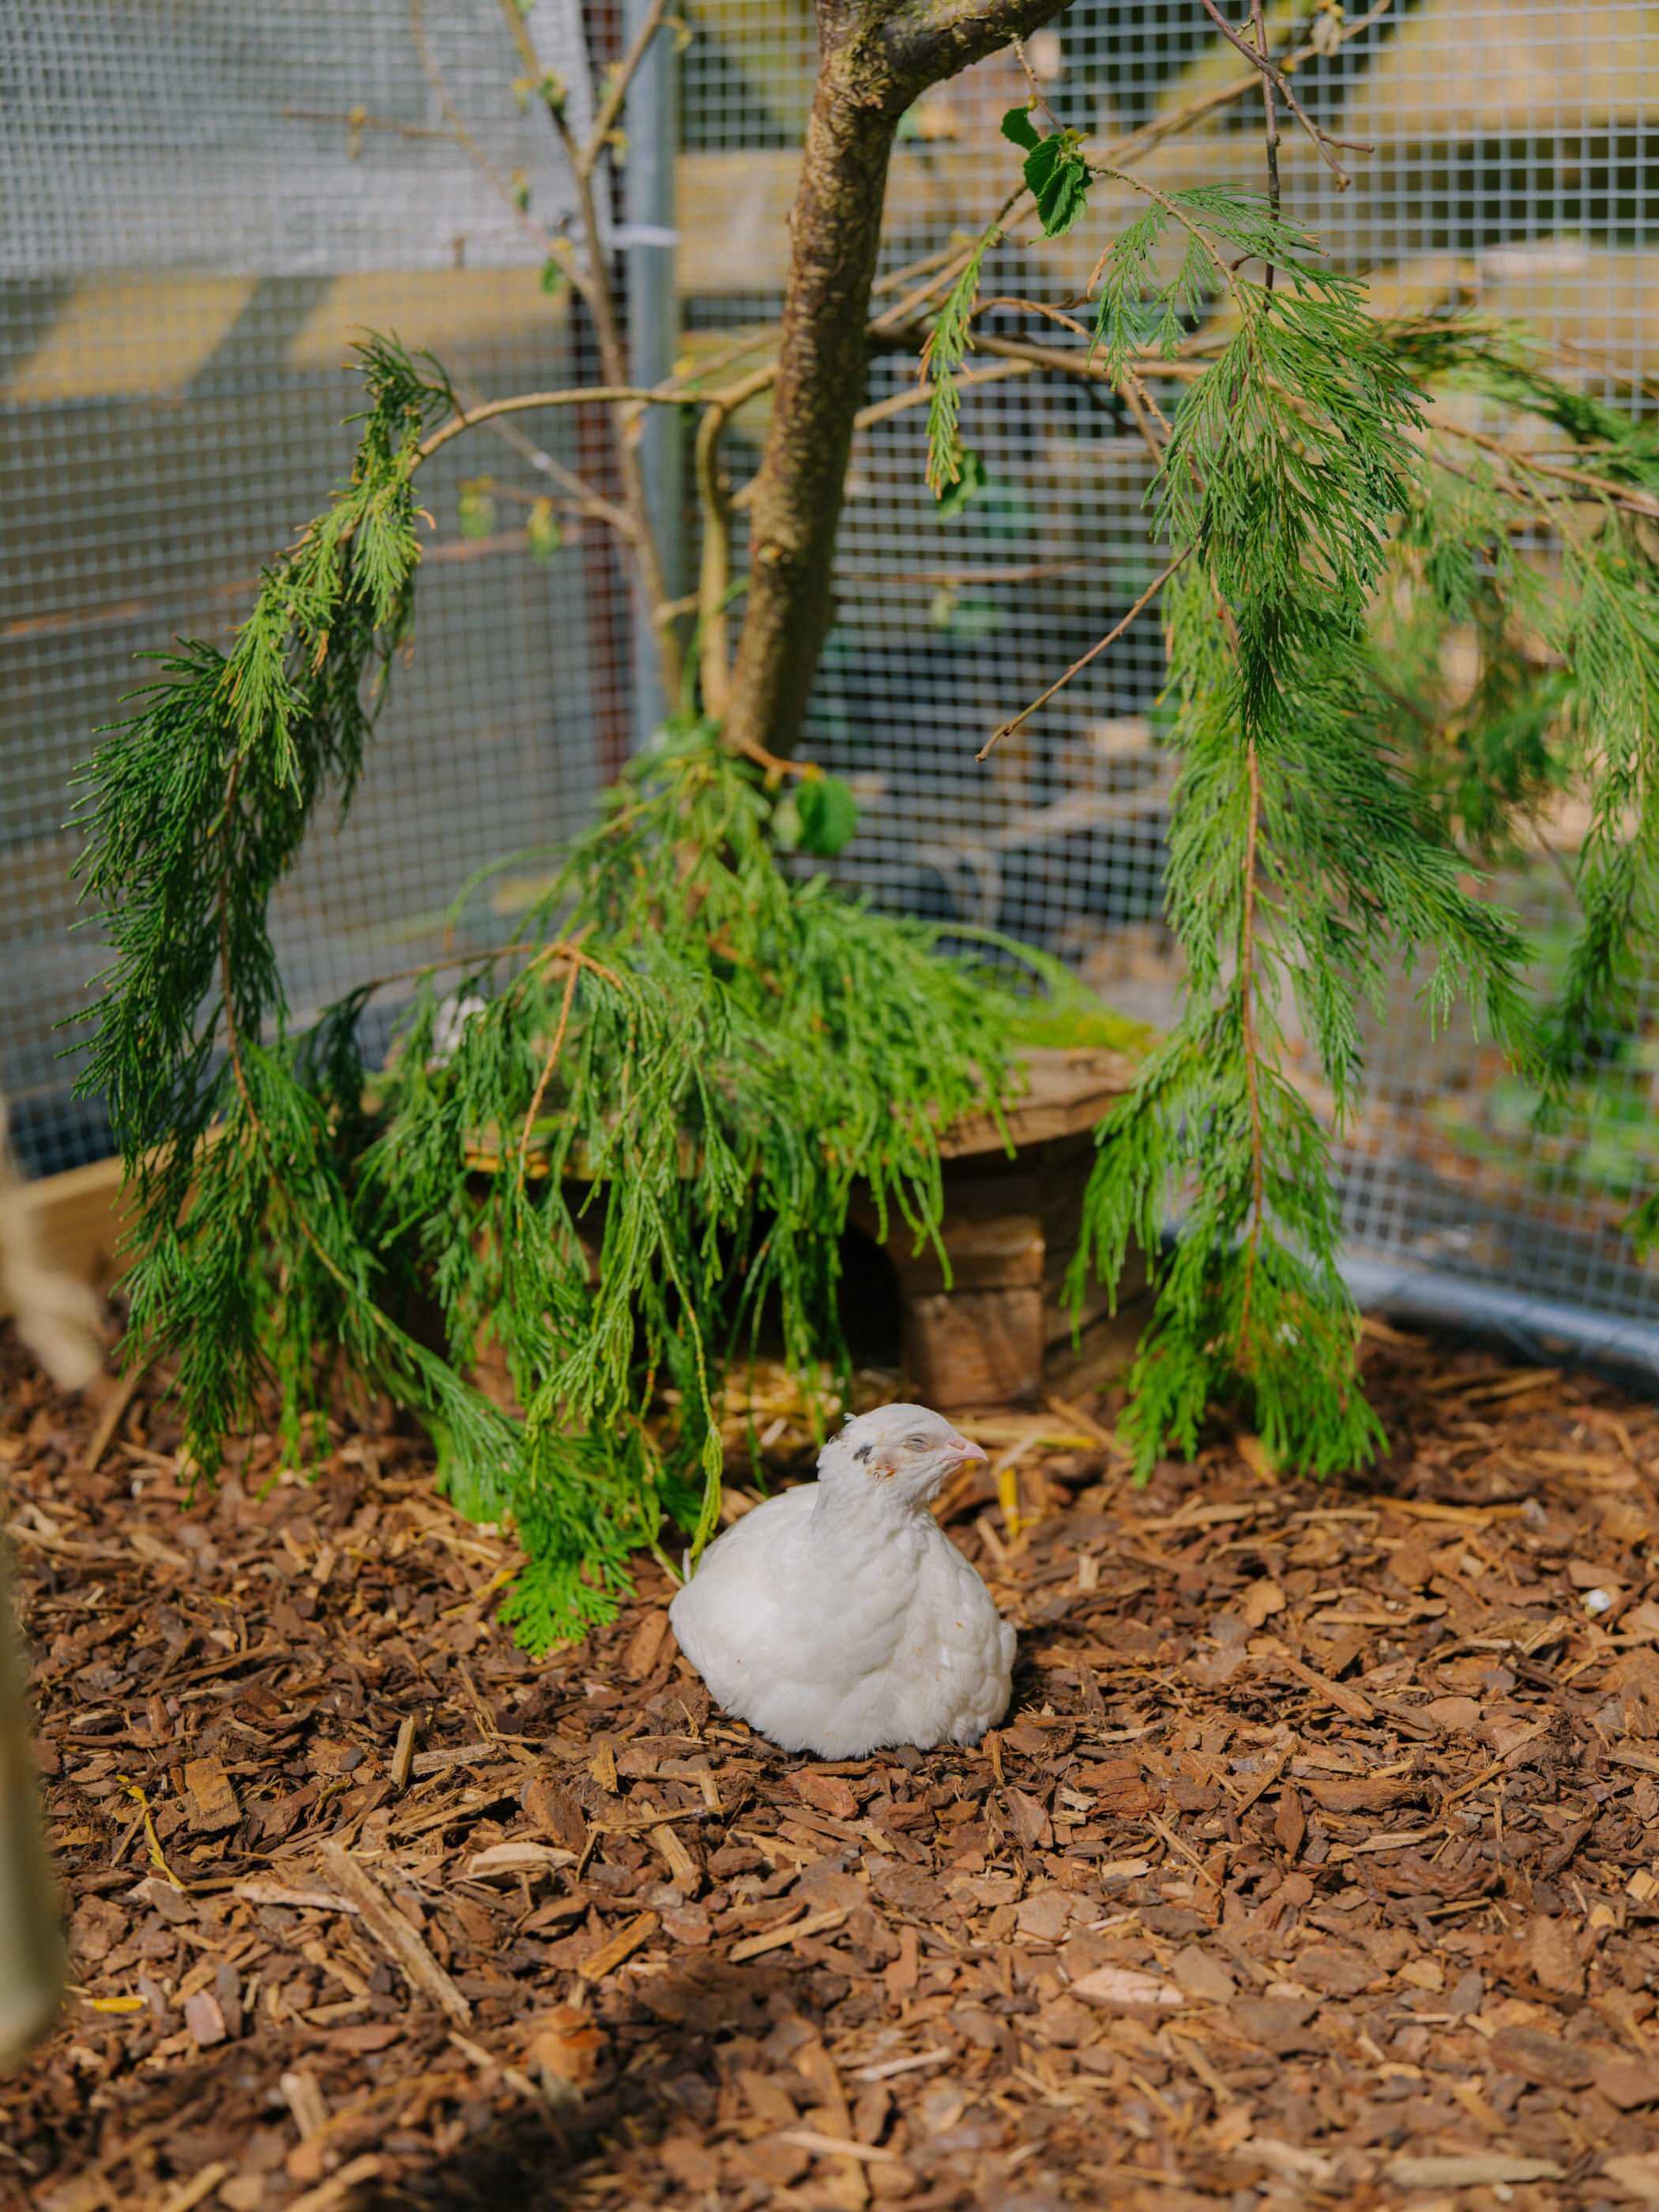
First of all, the structure itself has to be fully secure and predator-proof. That means no gaps where rats, racoons or even birds can get in, and a solid frame that can’t be easily damaged. The roof is especially important because quails are very sensitive to rain and moisture. Even a small amount of constant dampness can quickly lead to health problems, so the coop should always stay dry inside no matter the weather outside.
Inside the coop, ventilation is just as important as protection. You don’t want it sealed like a box, because ammonia from droppings builds up very quickly. But at the same time, the airflow must not create direct drafts at ground level, because quails are small and get cold easily. So it’s more about controlled ventilation - fresh air coming in, but no strong wind blowing directly on them.
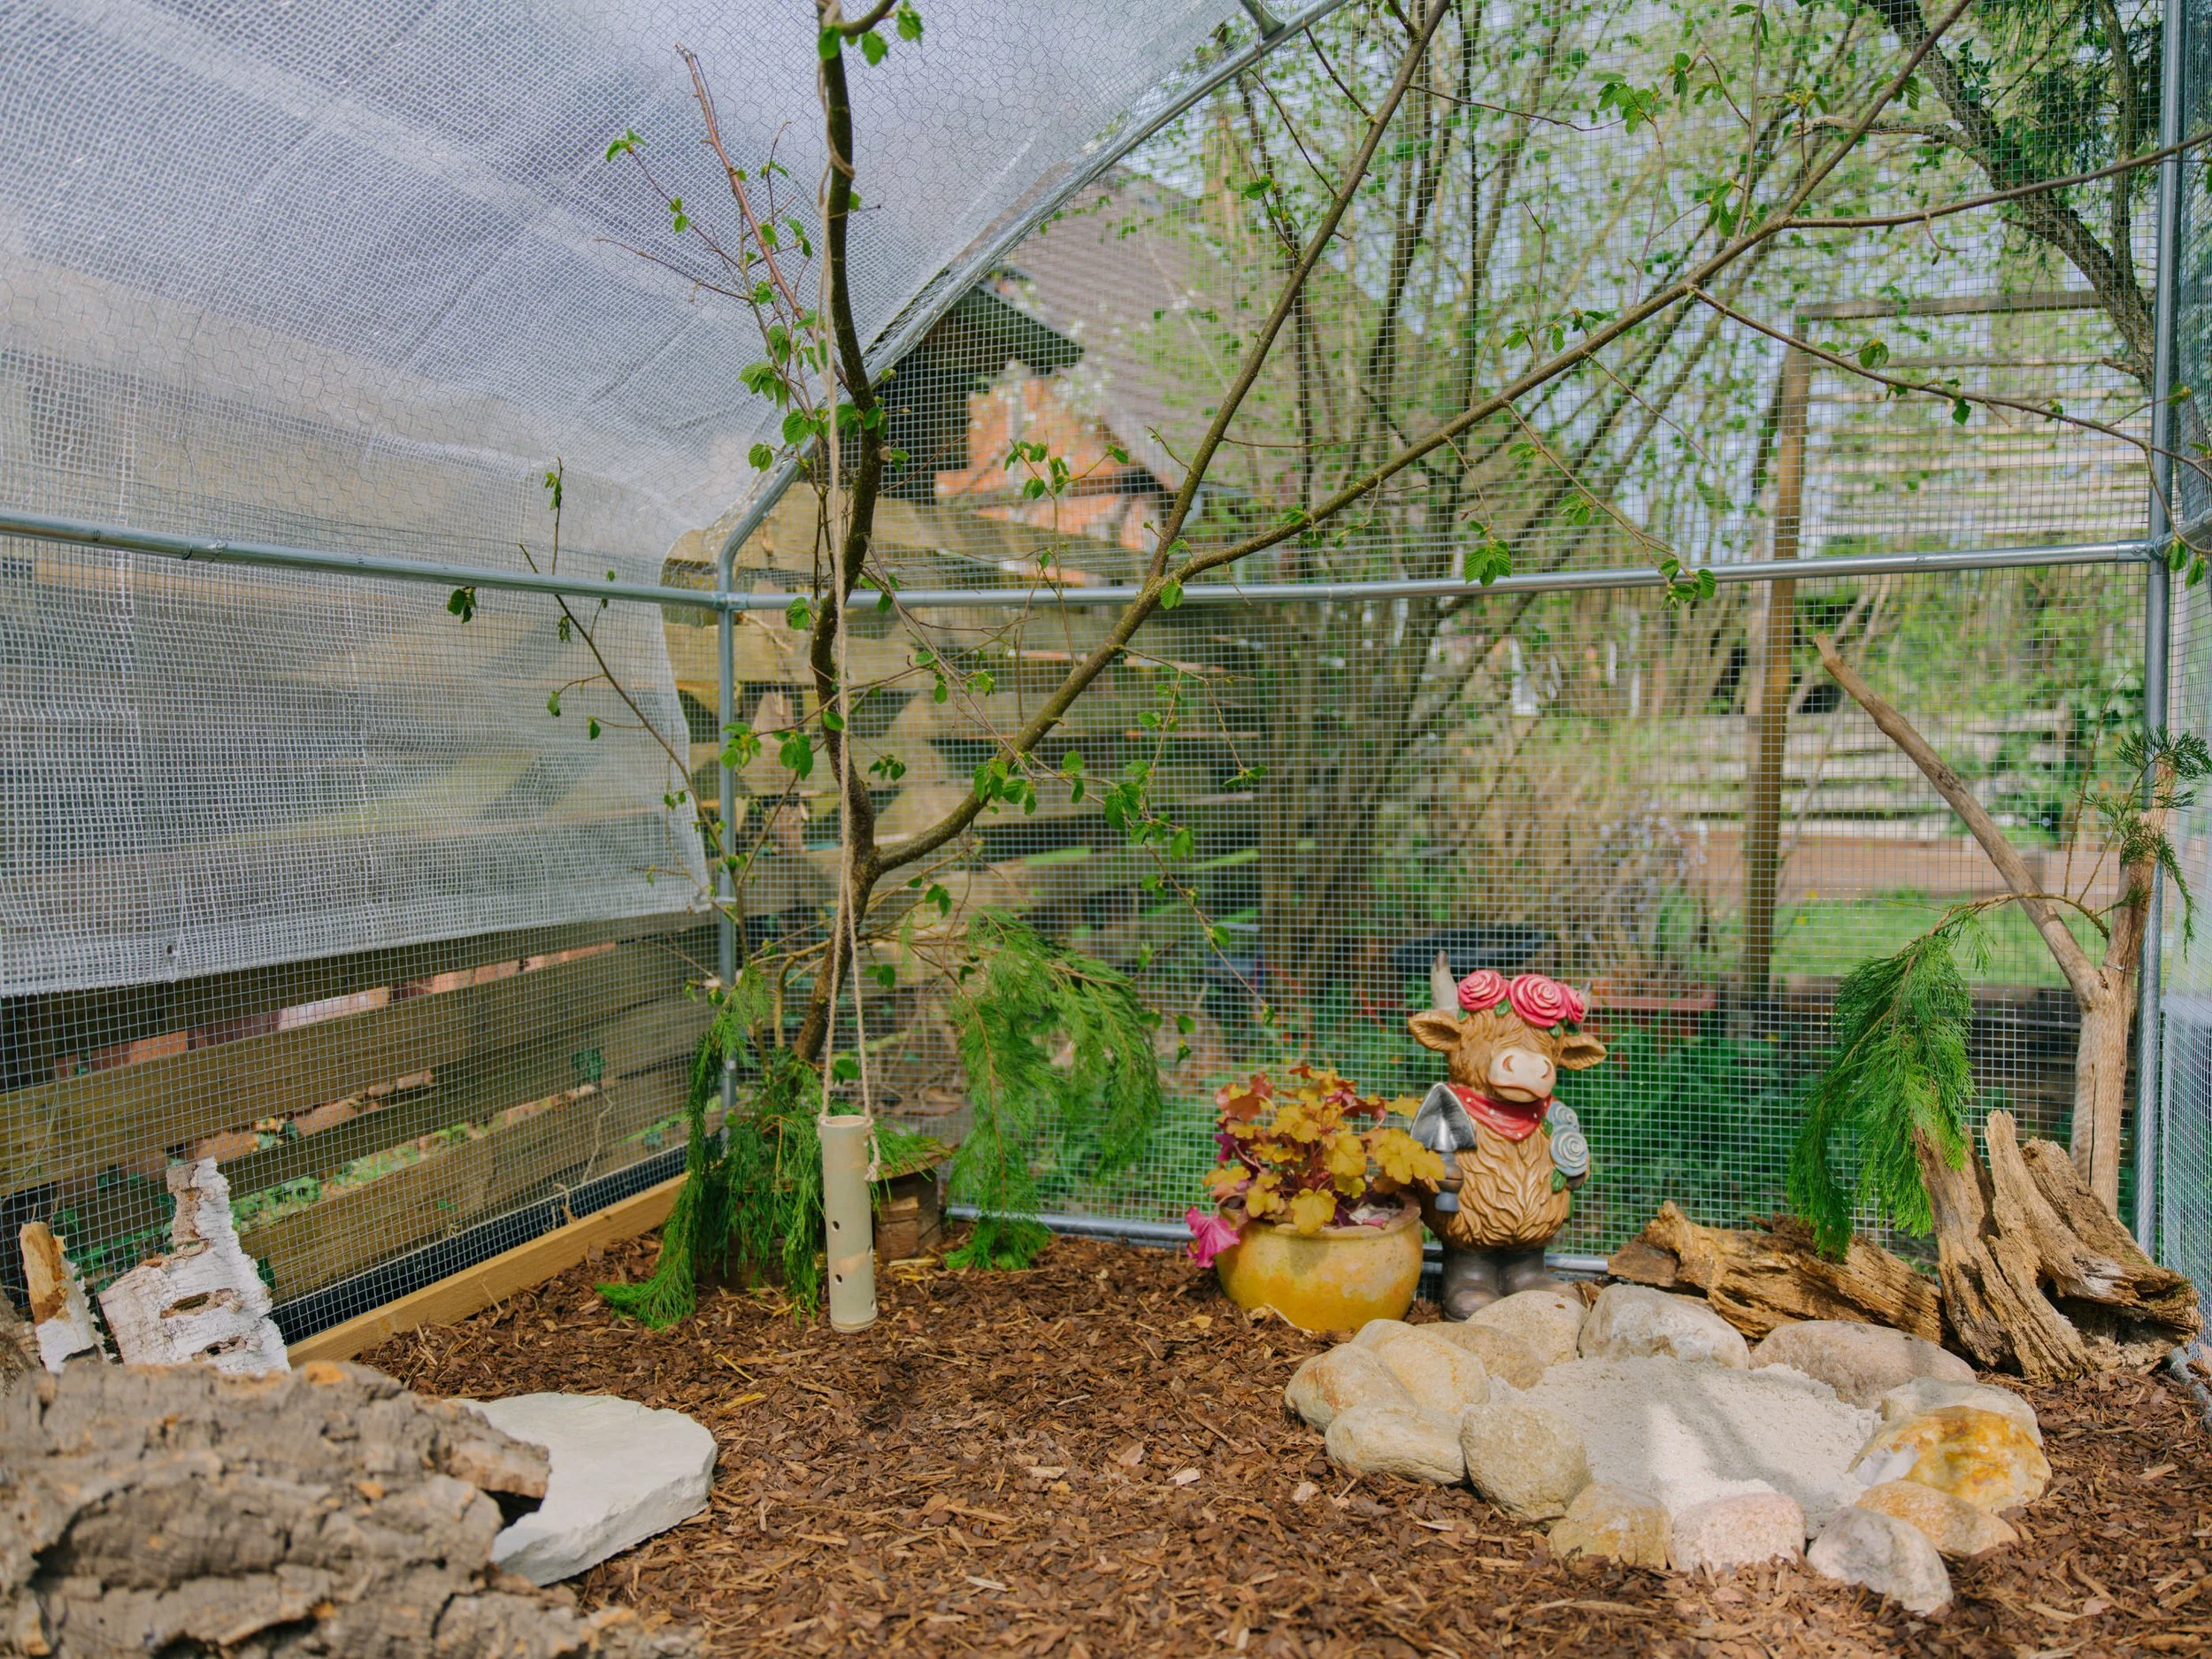
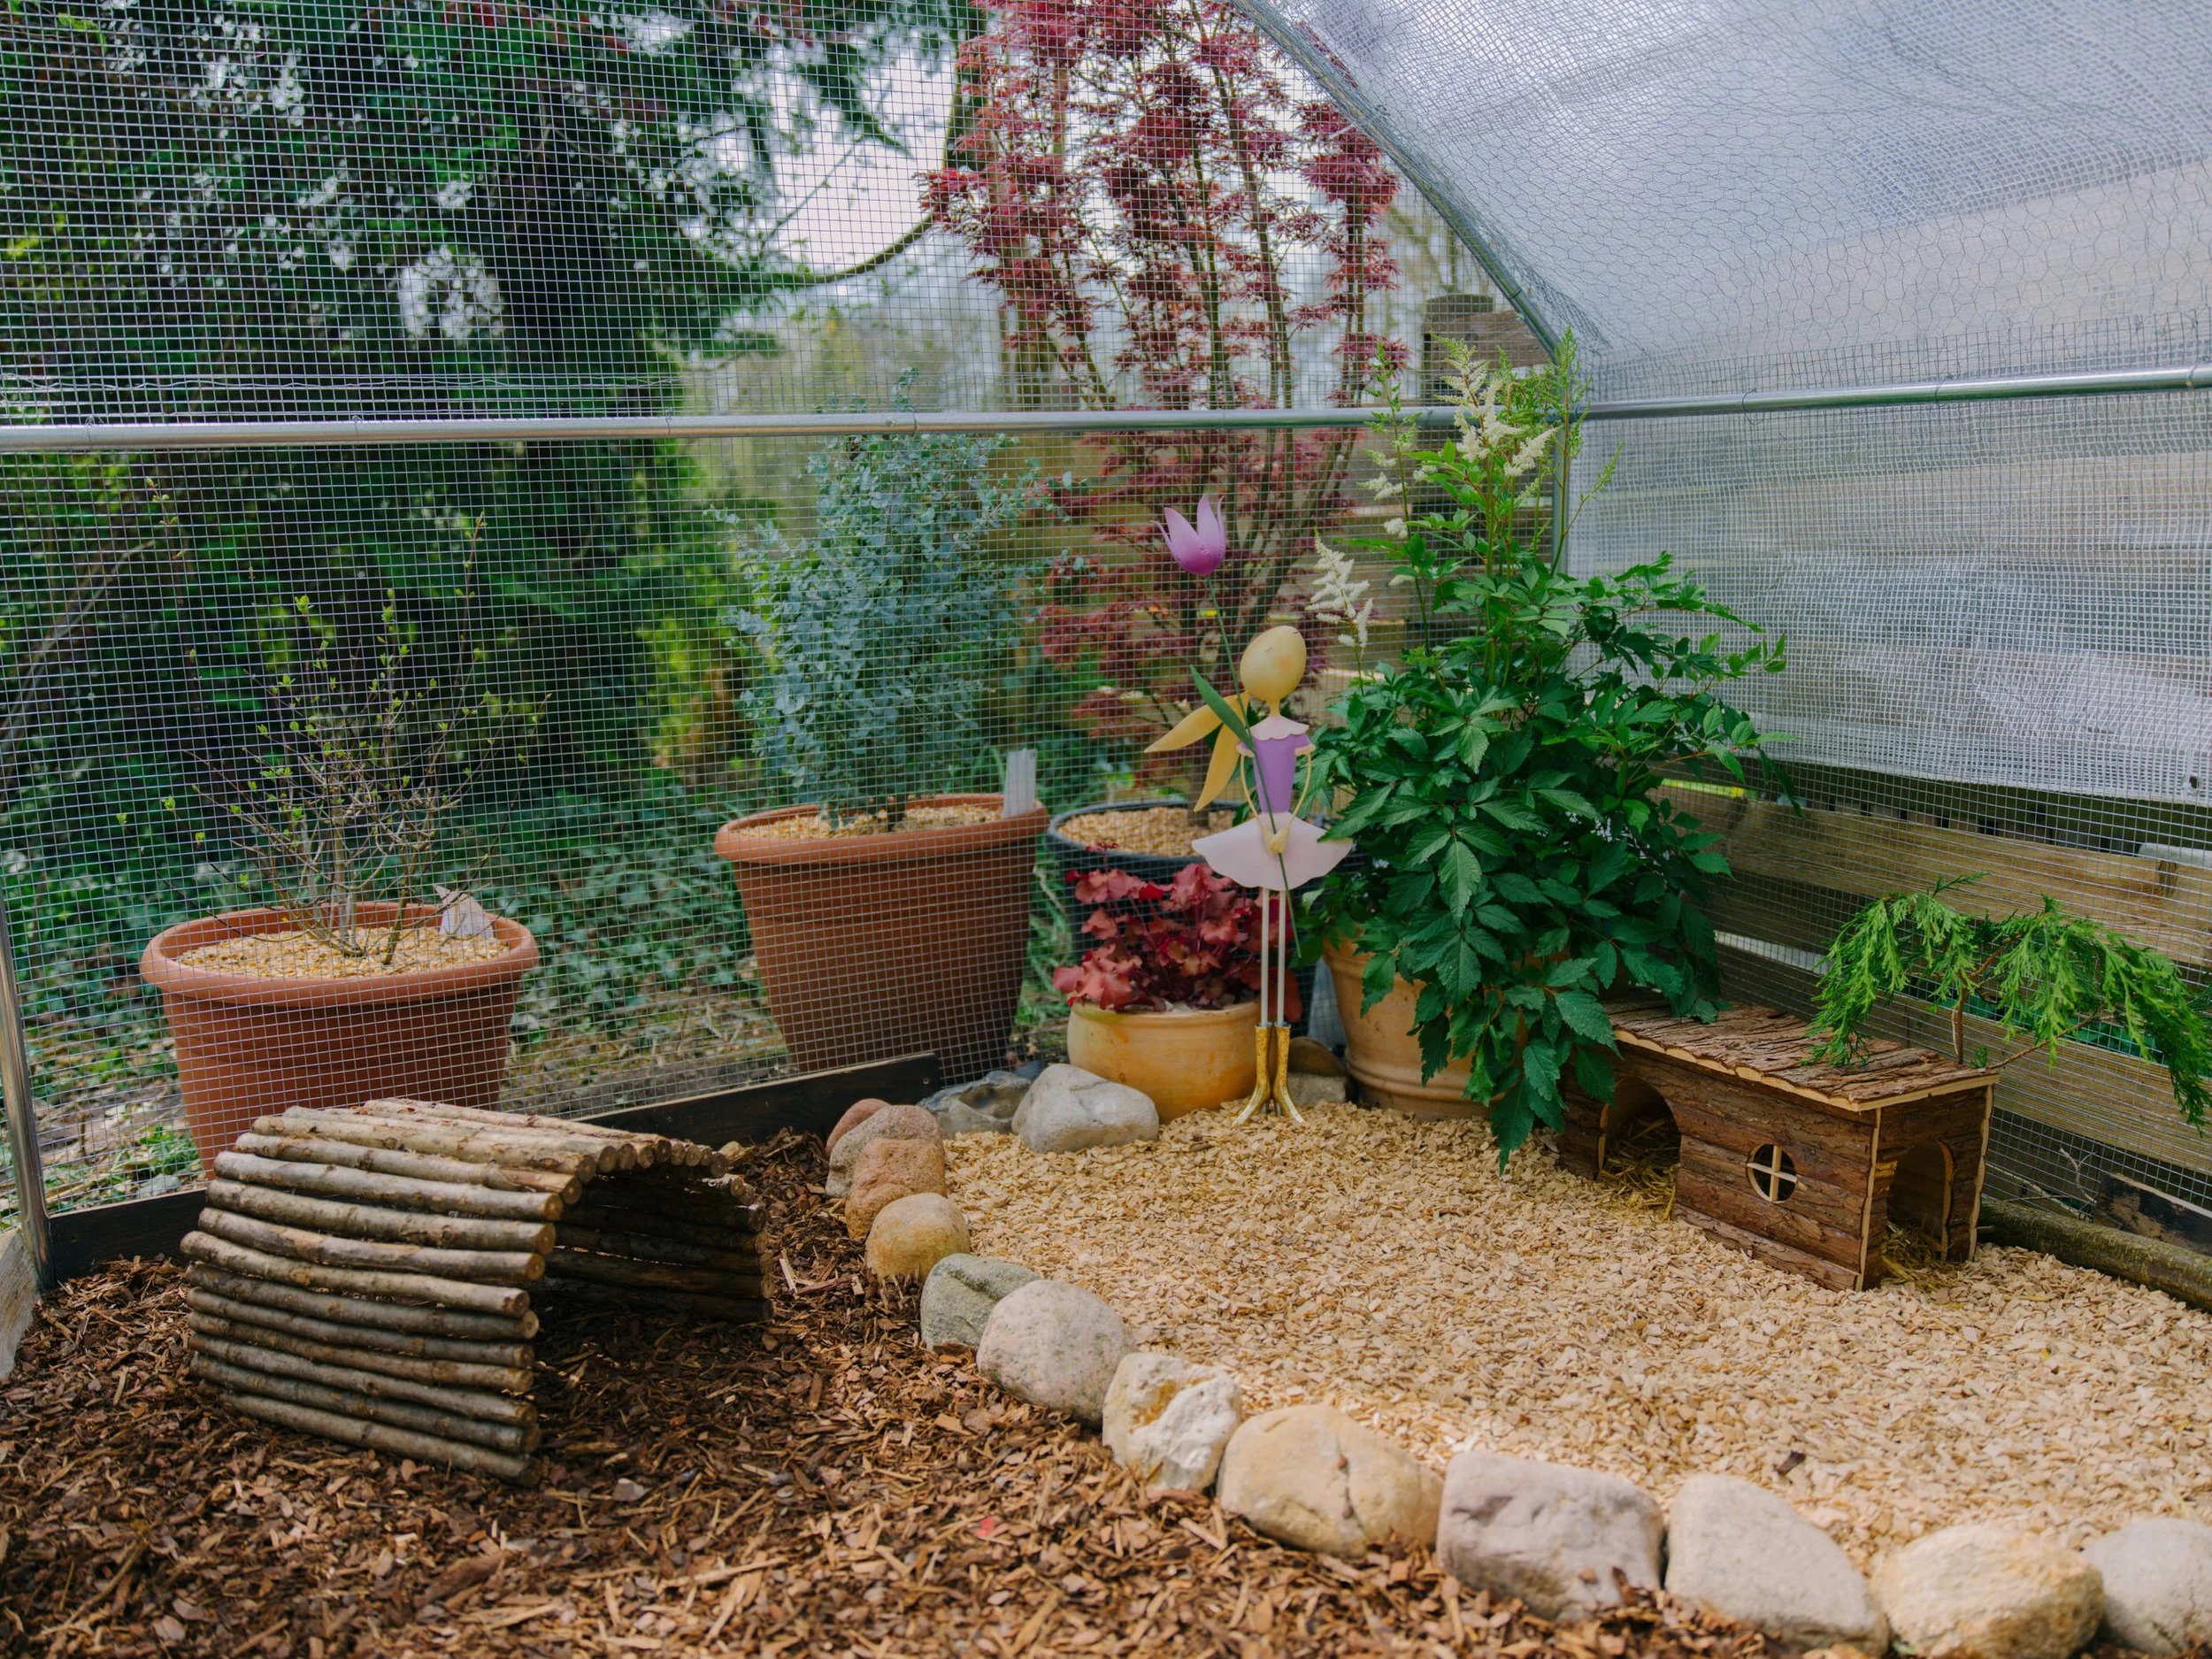
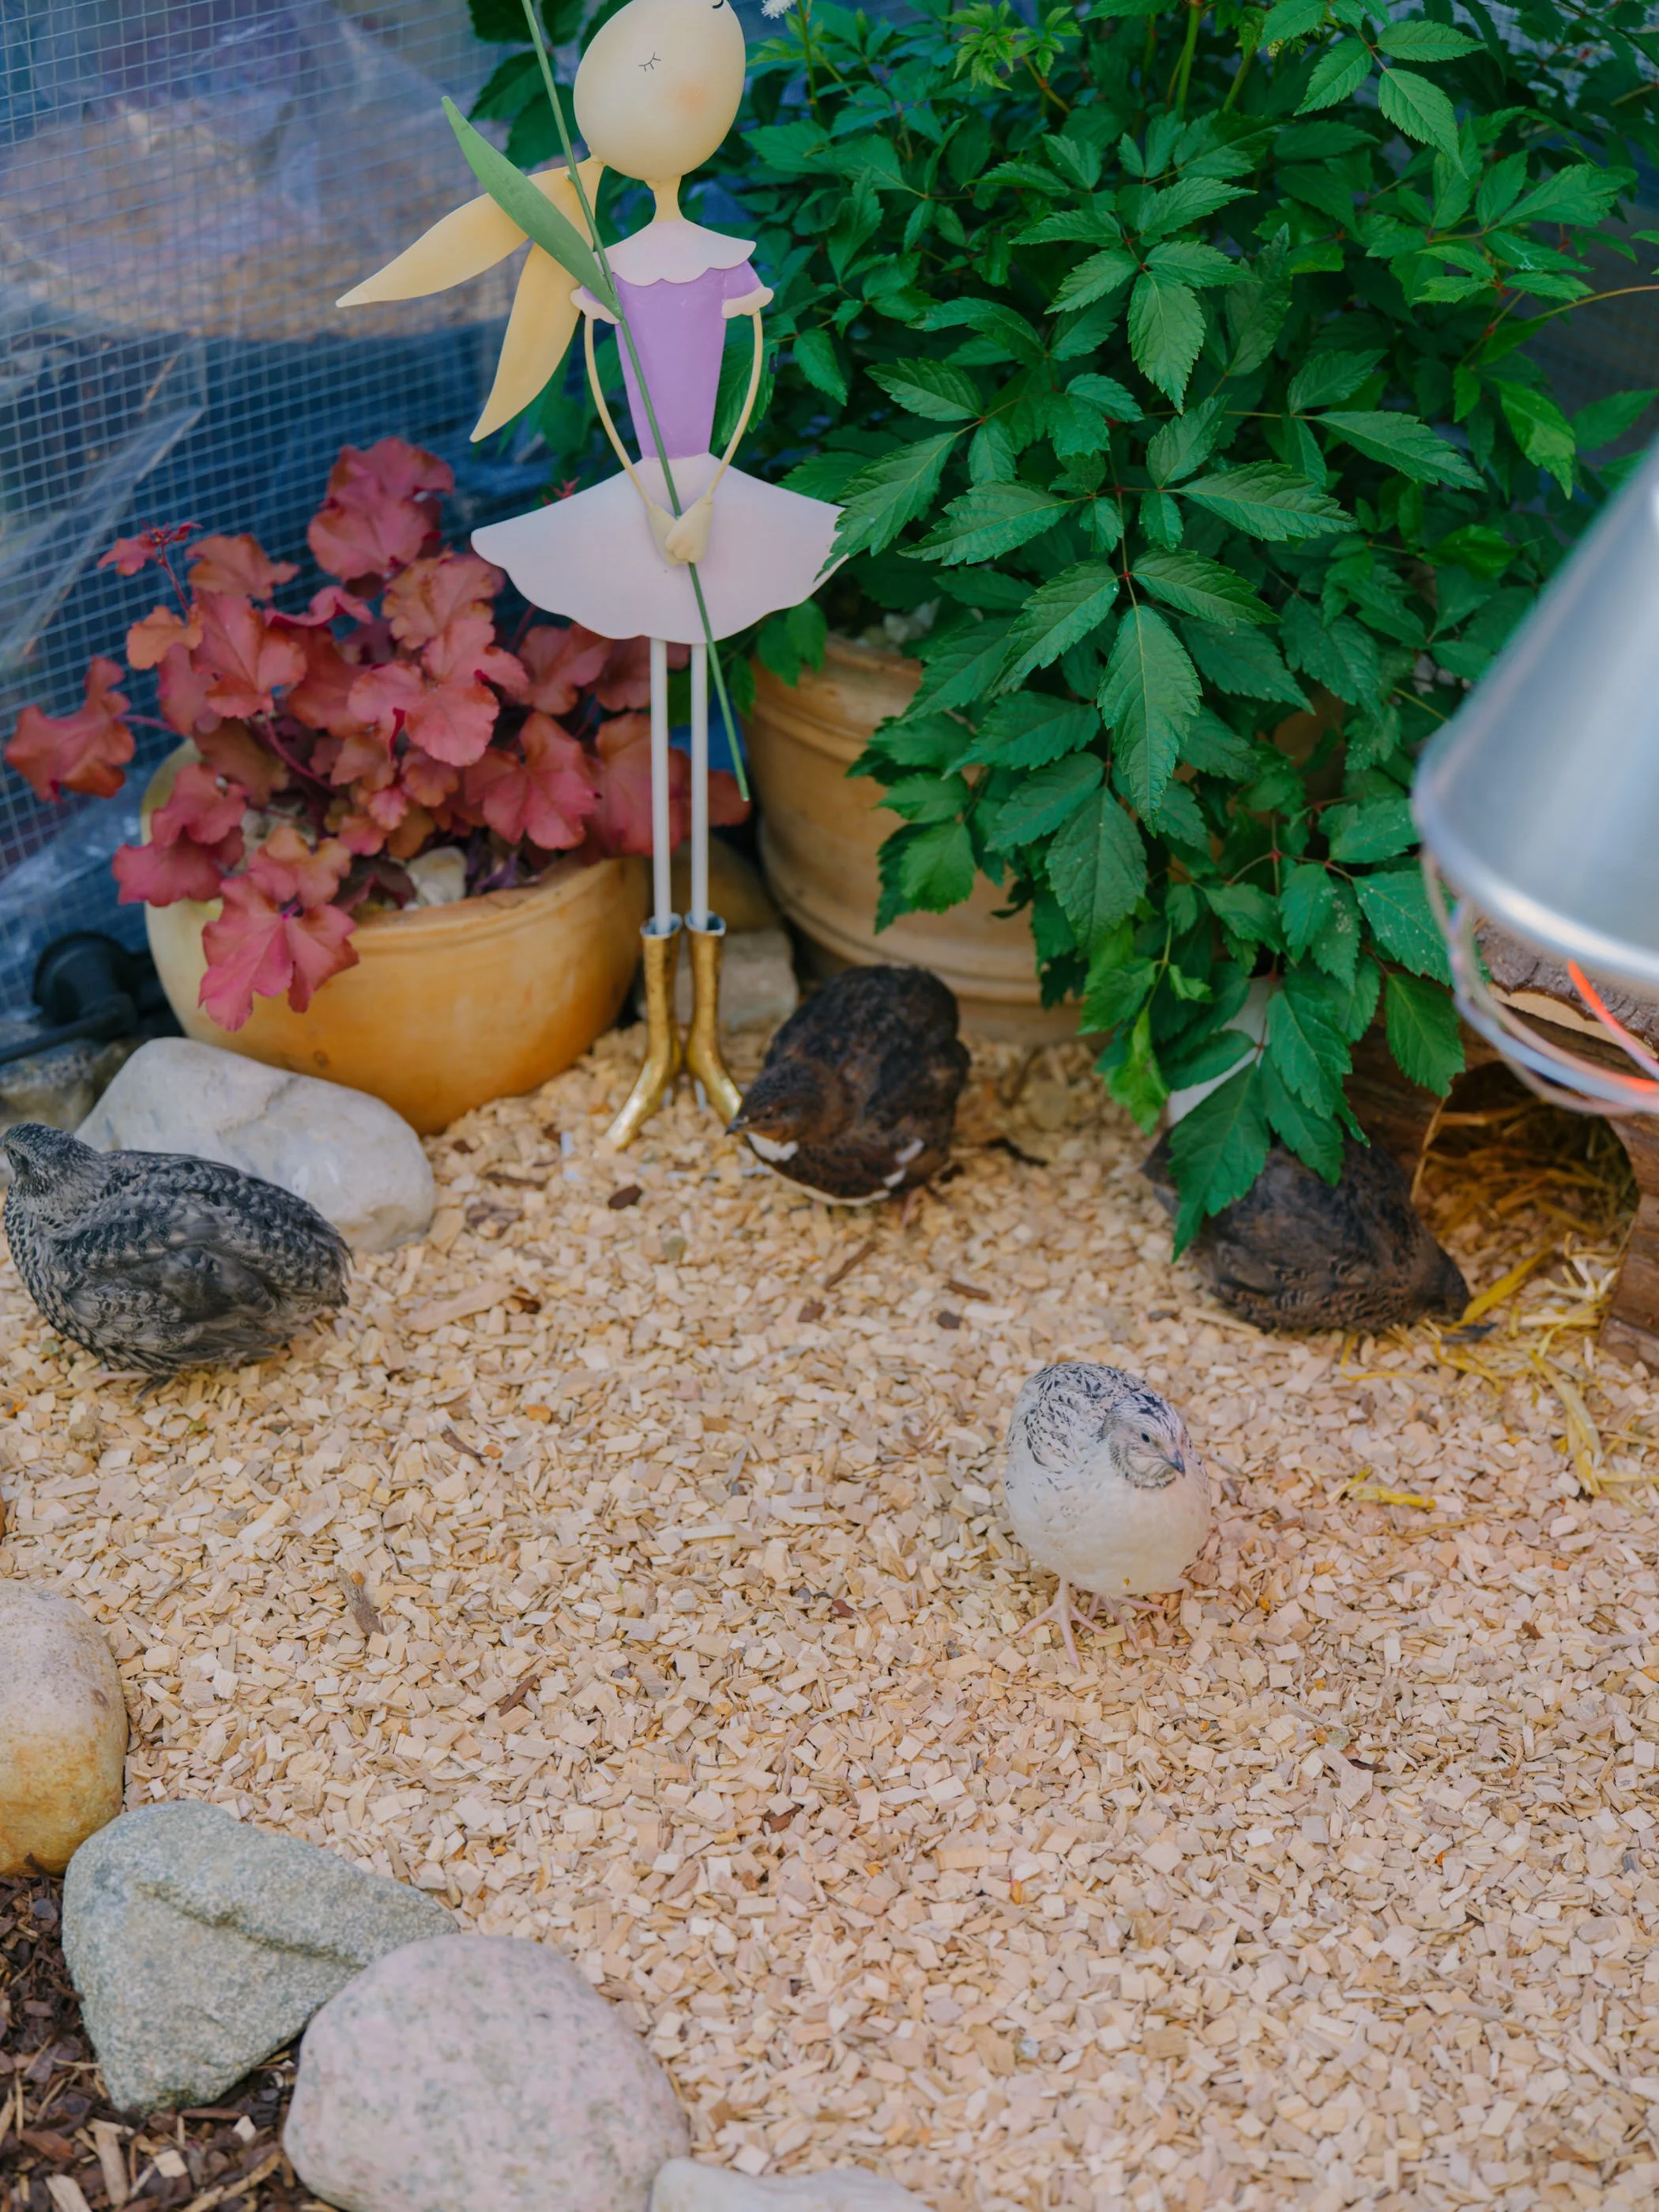
The flooring and bedding also make a huge difference for their comfort. A deep layer of dry wood shavings or similar mulch works best because it keeps the area soft for their feet, absorbs moisture, and helps control smell. But it’s not just about putting it down once - you need to maintain it, rotate dirty spots, and fully replace it regularly so it stays clean and dry. A wet or dirty floor is one of the fastest ways quails become stressed or sick.
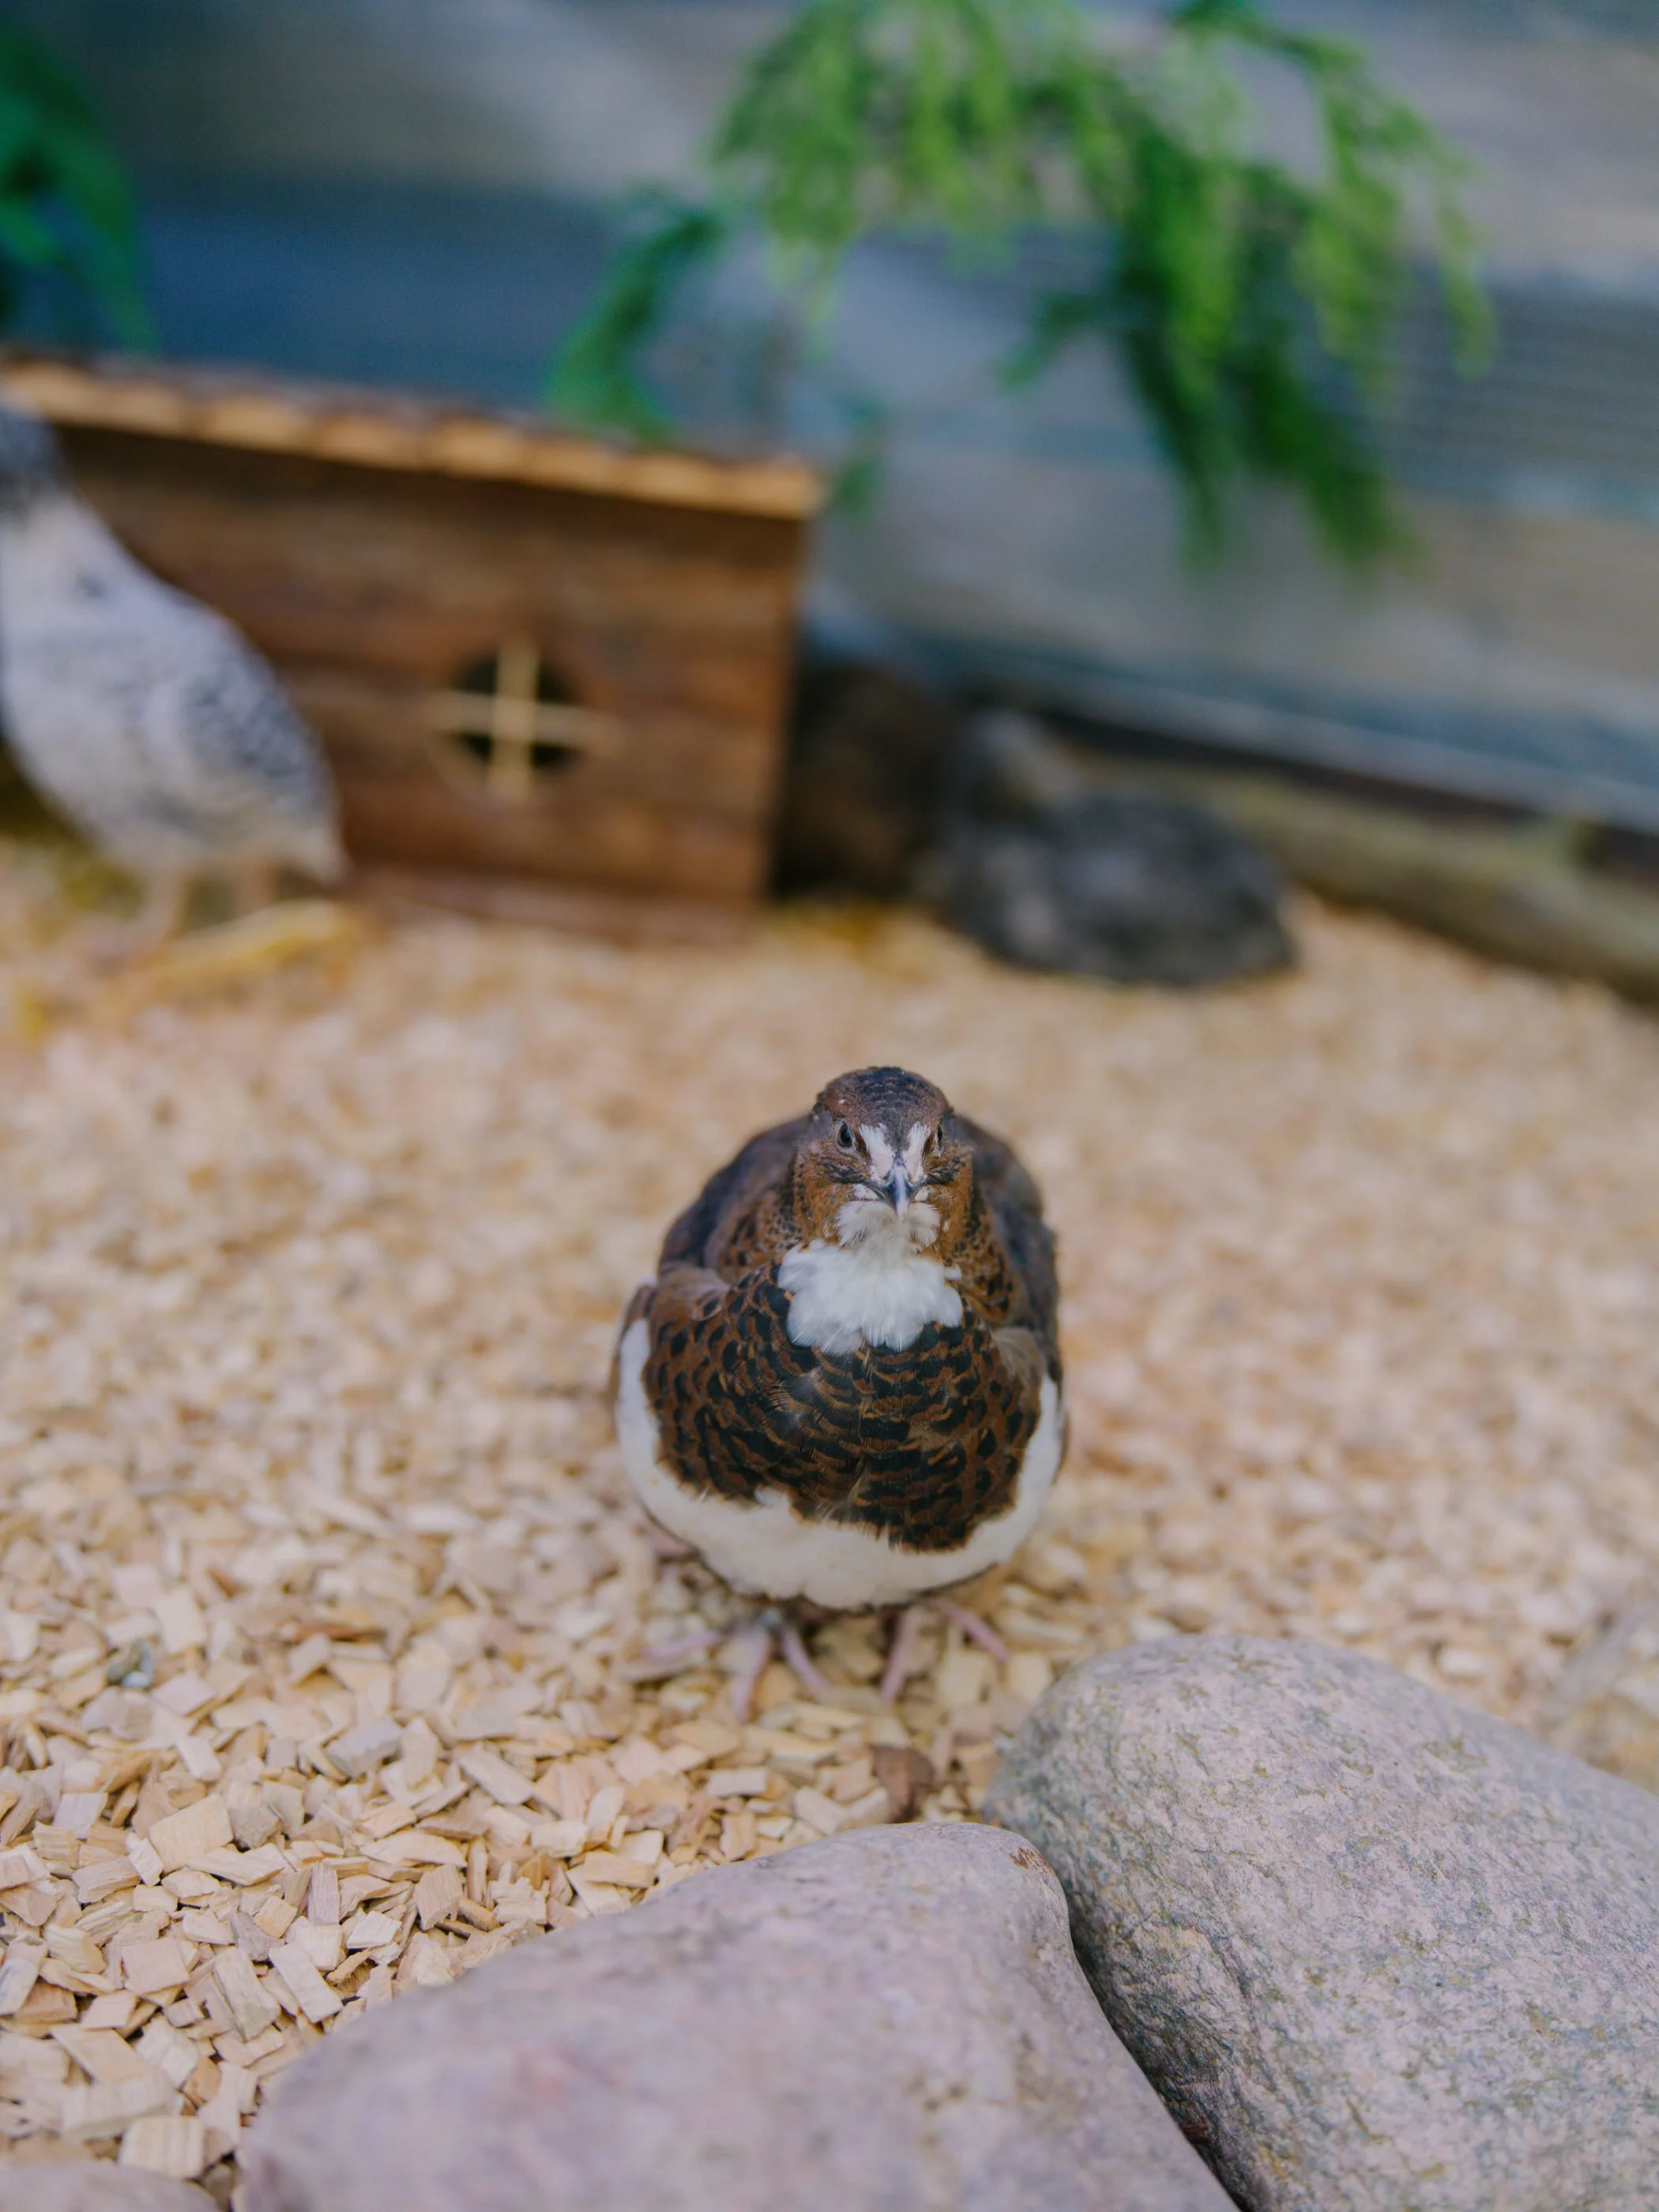
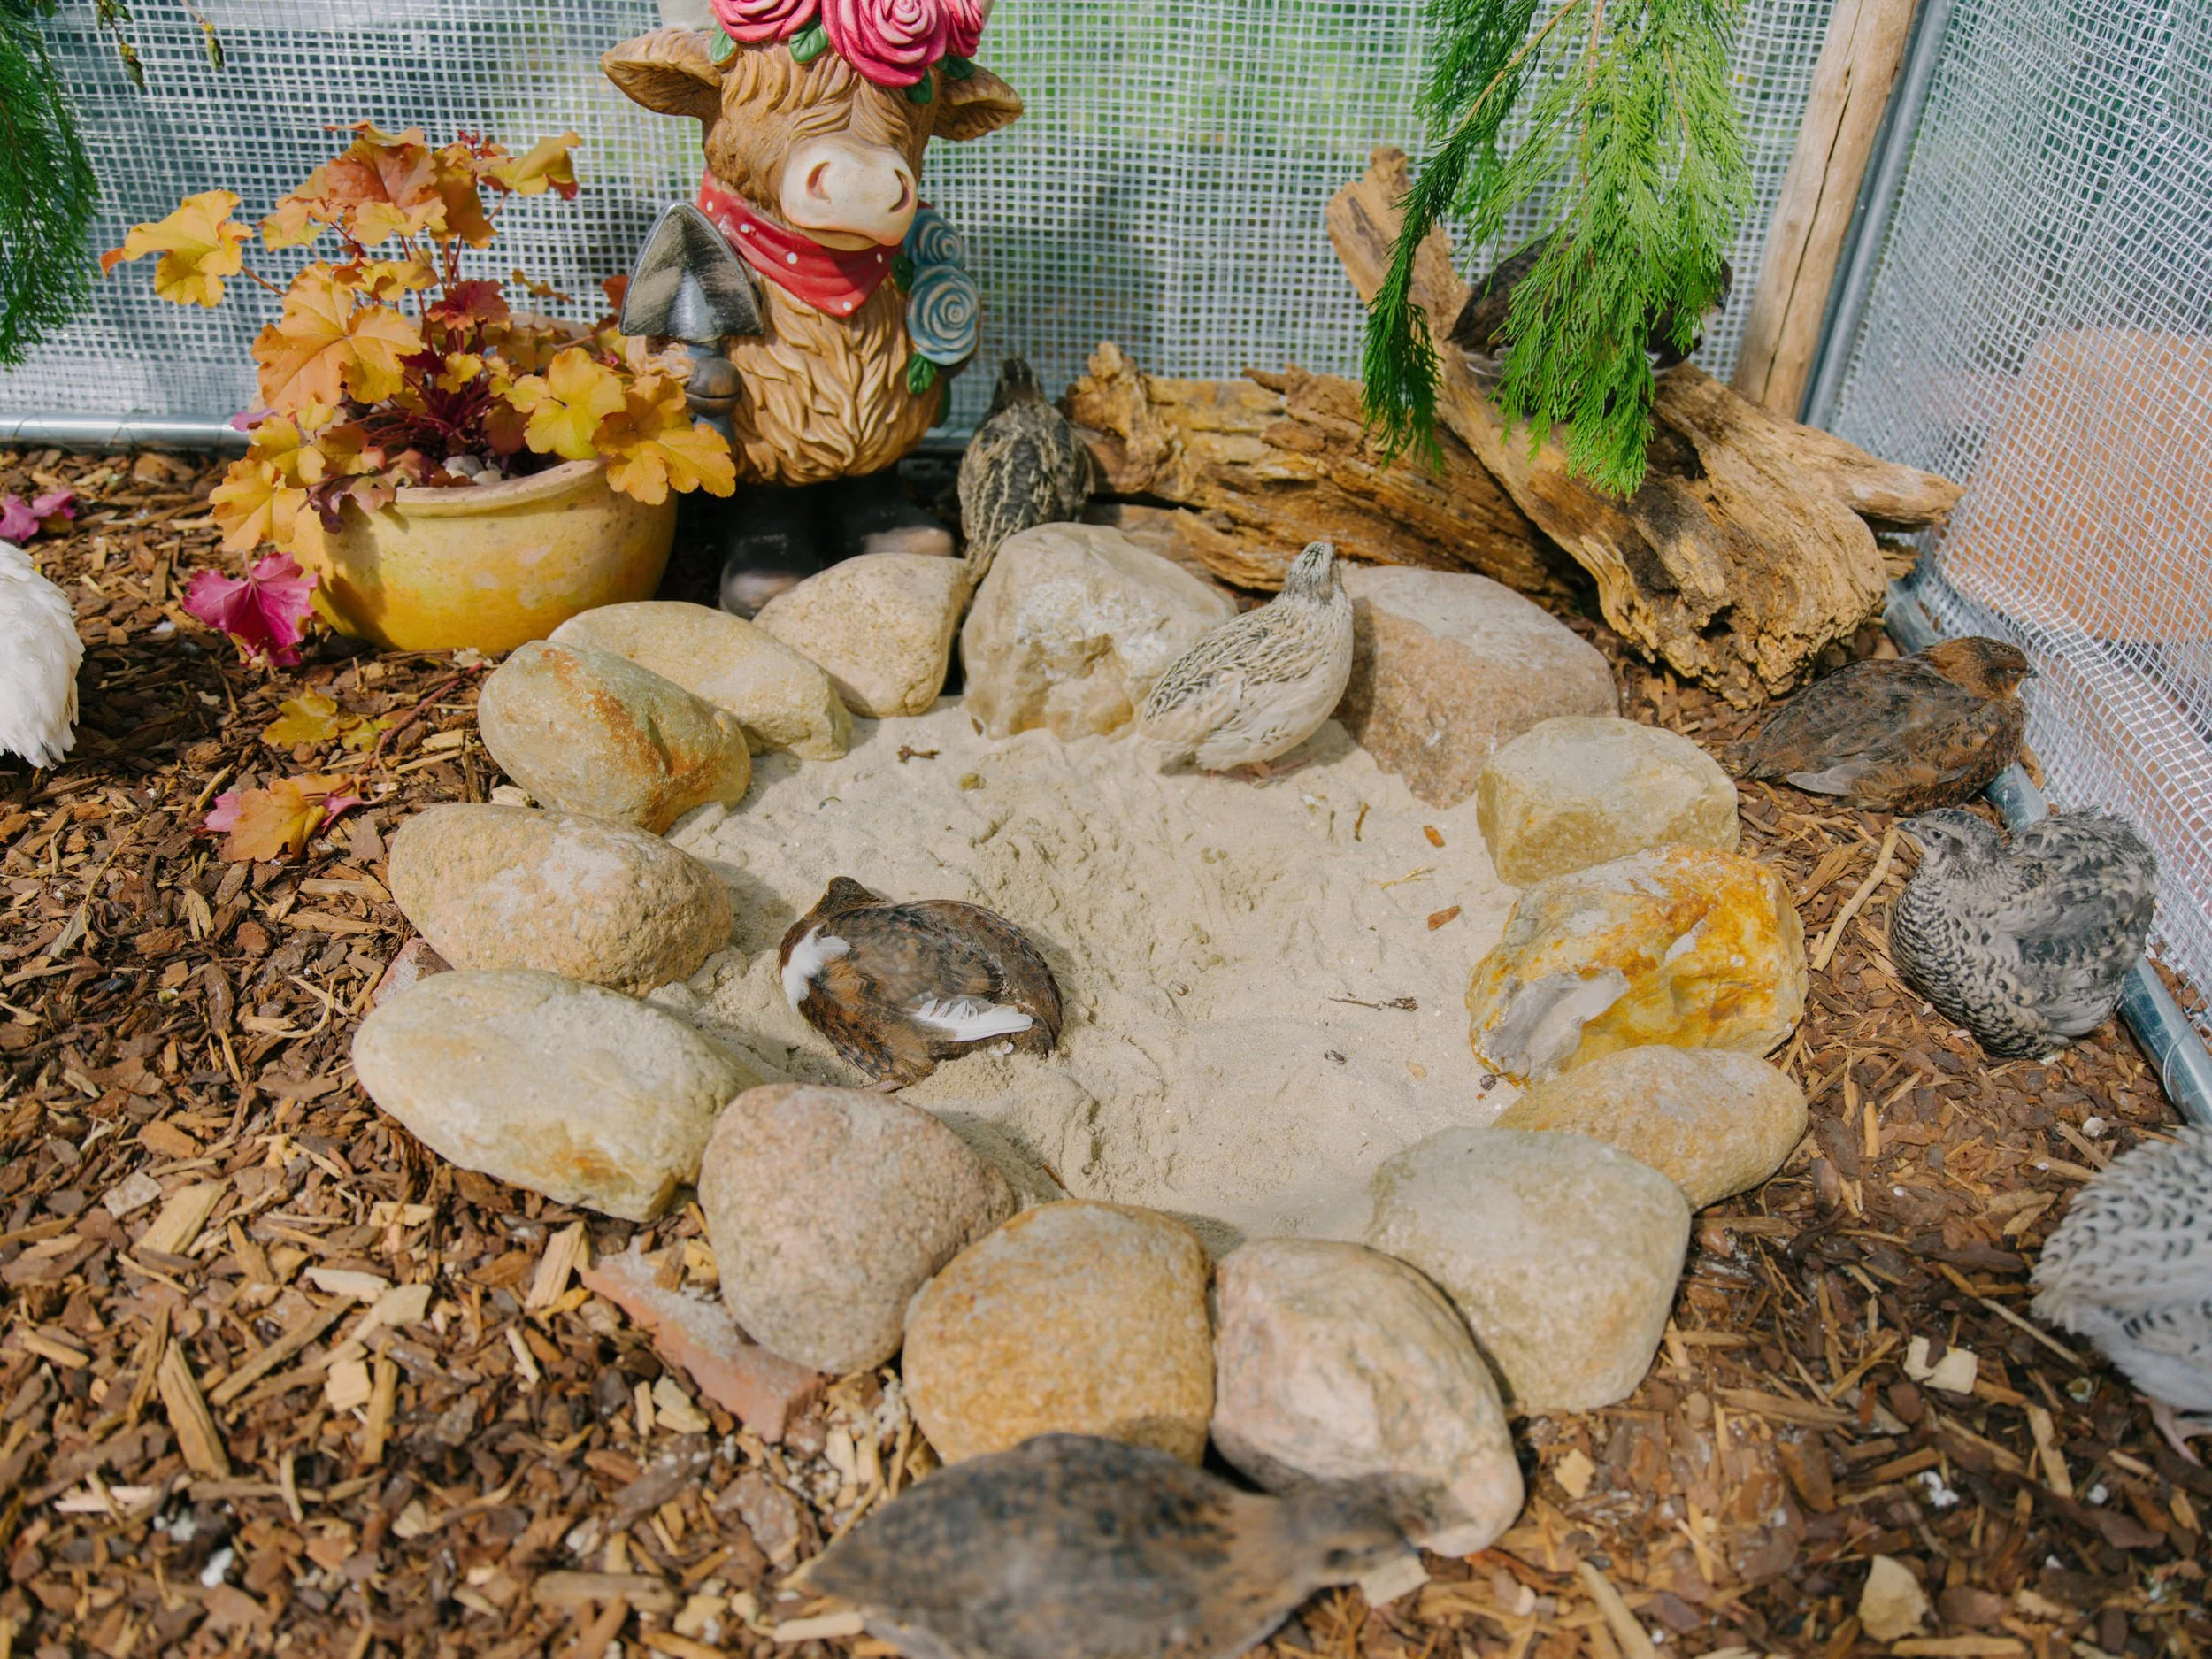
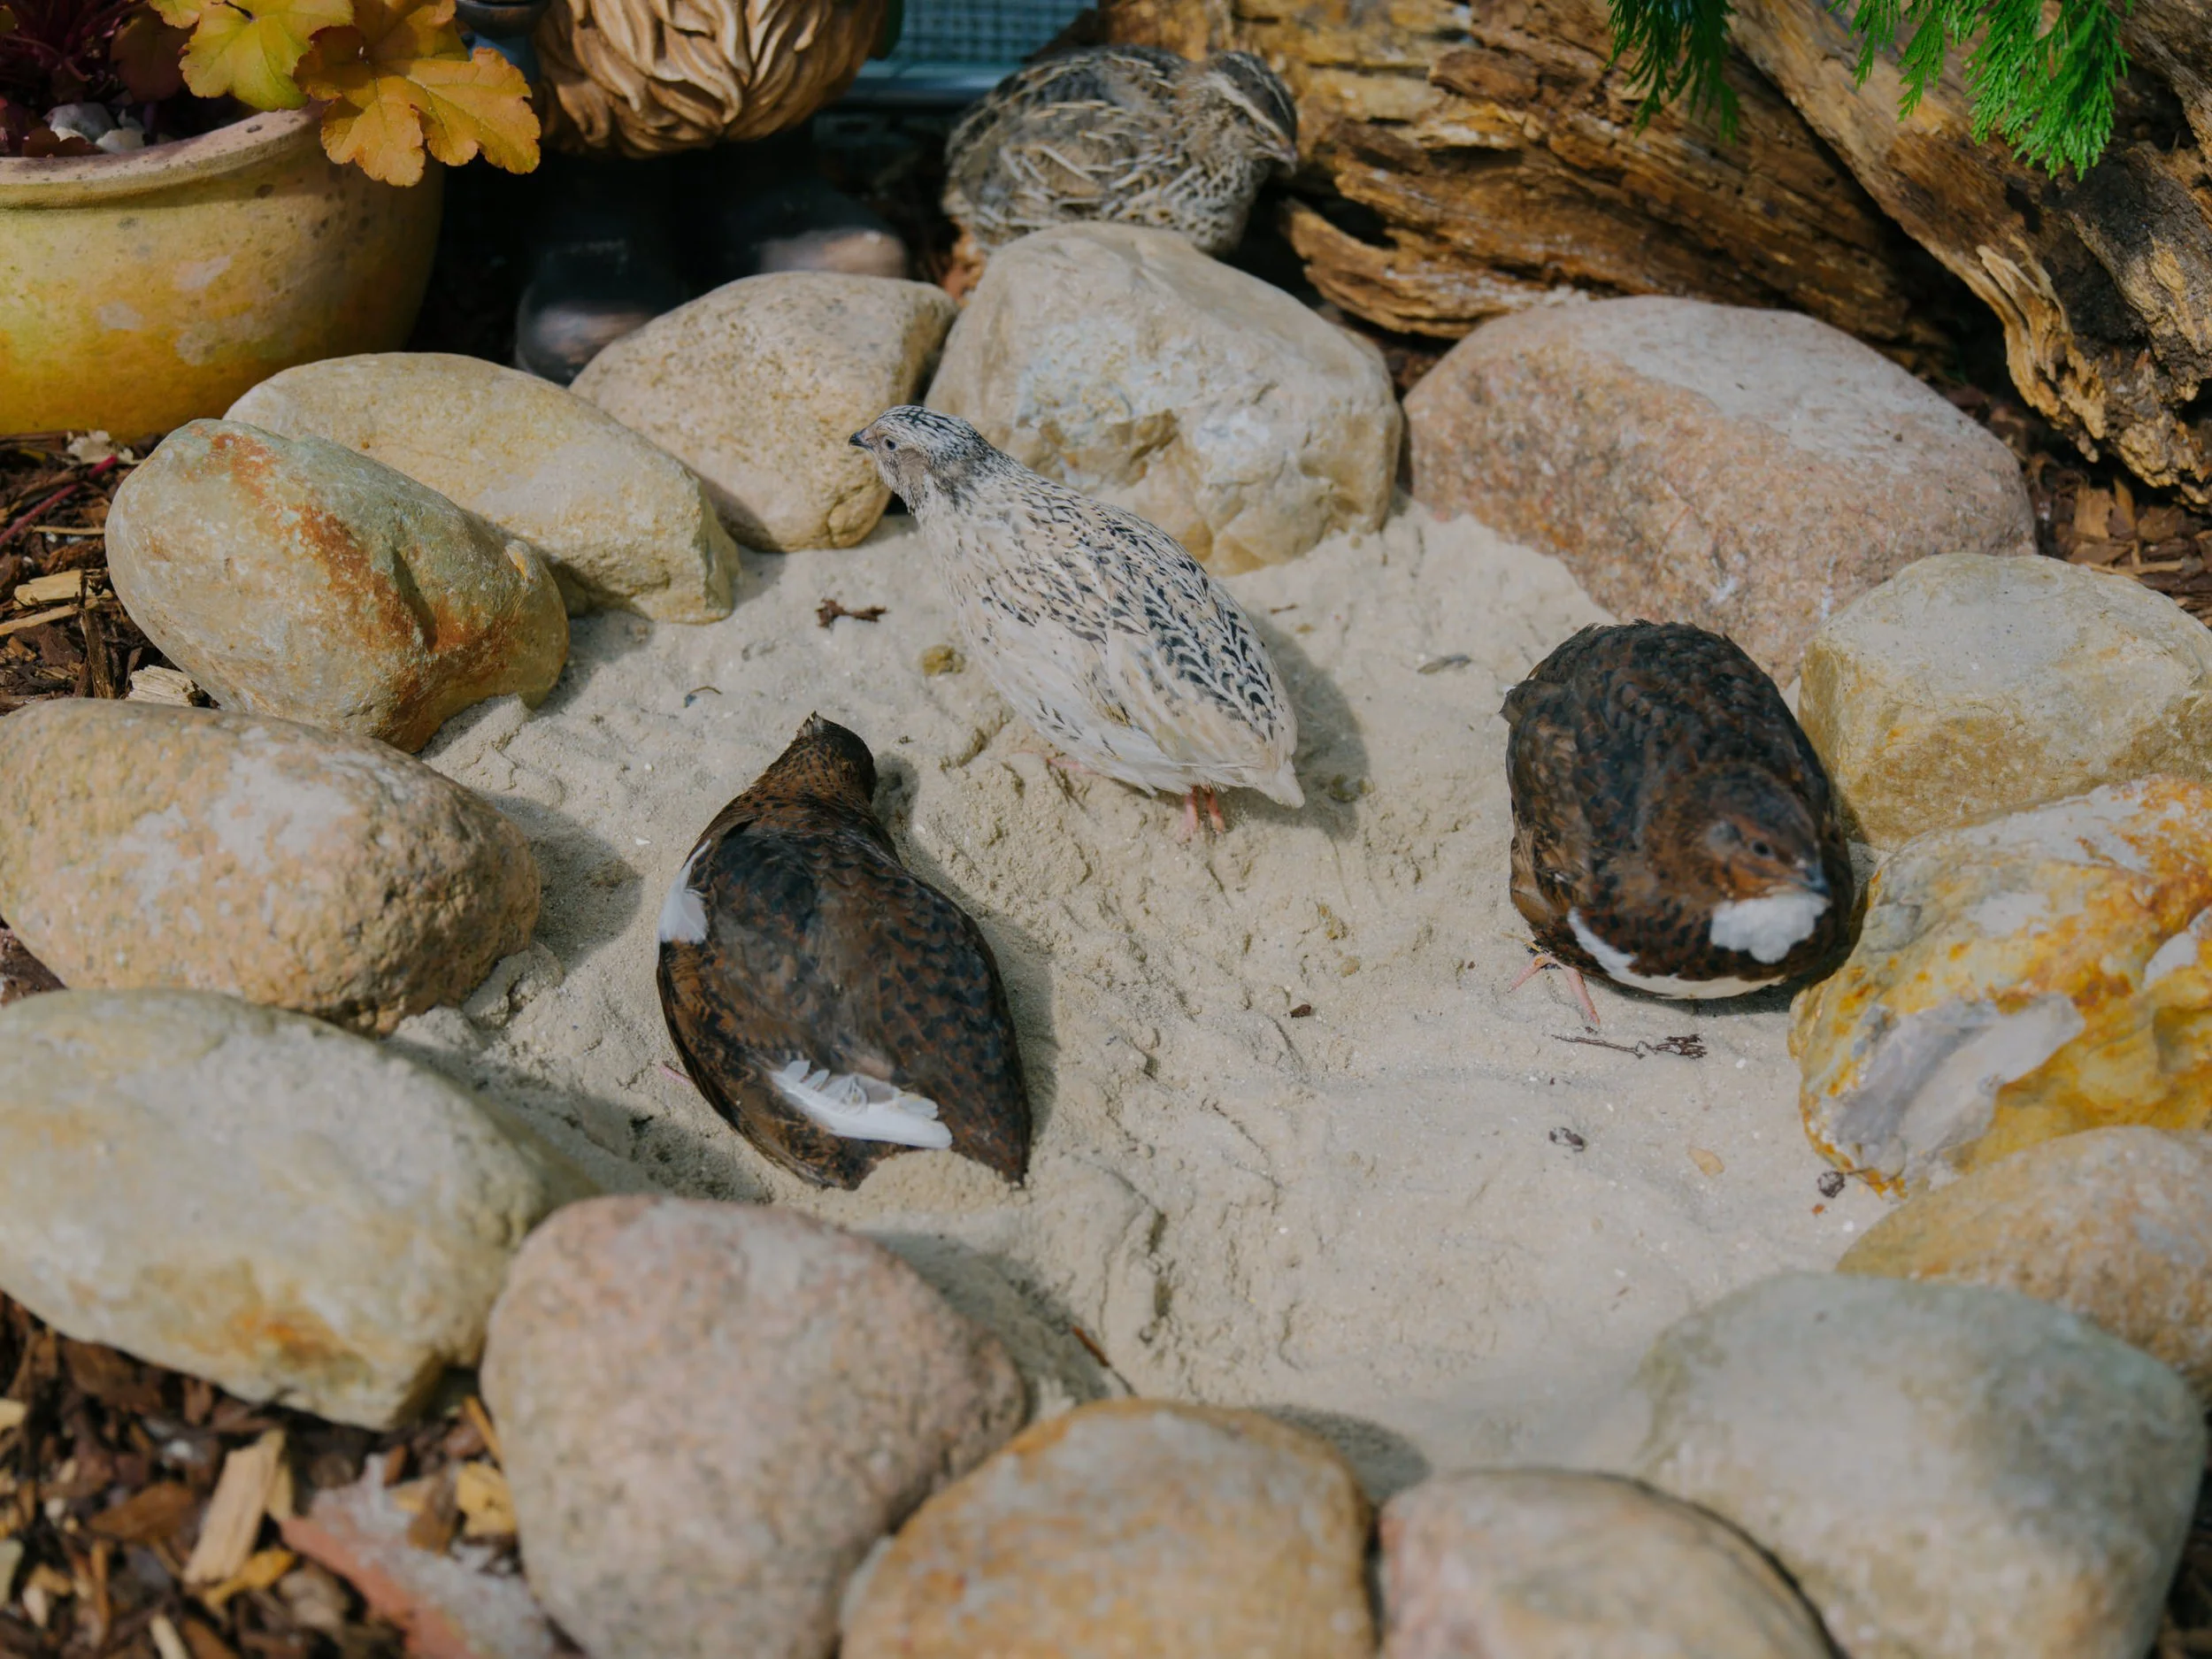
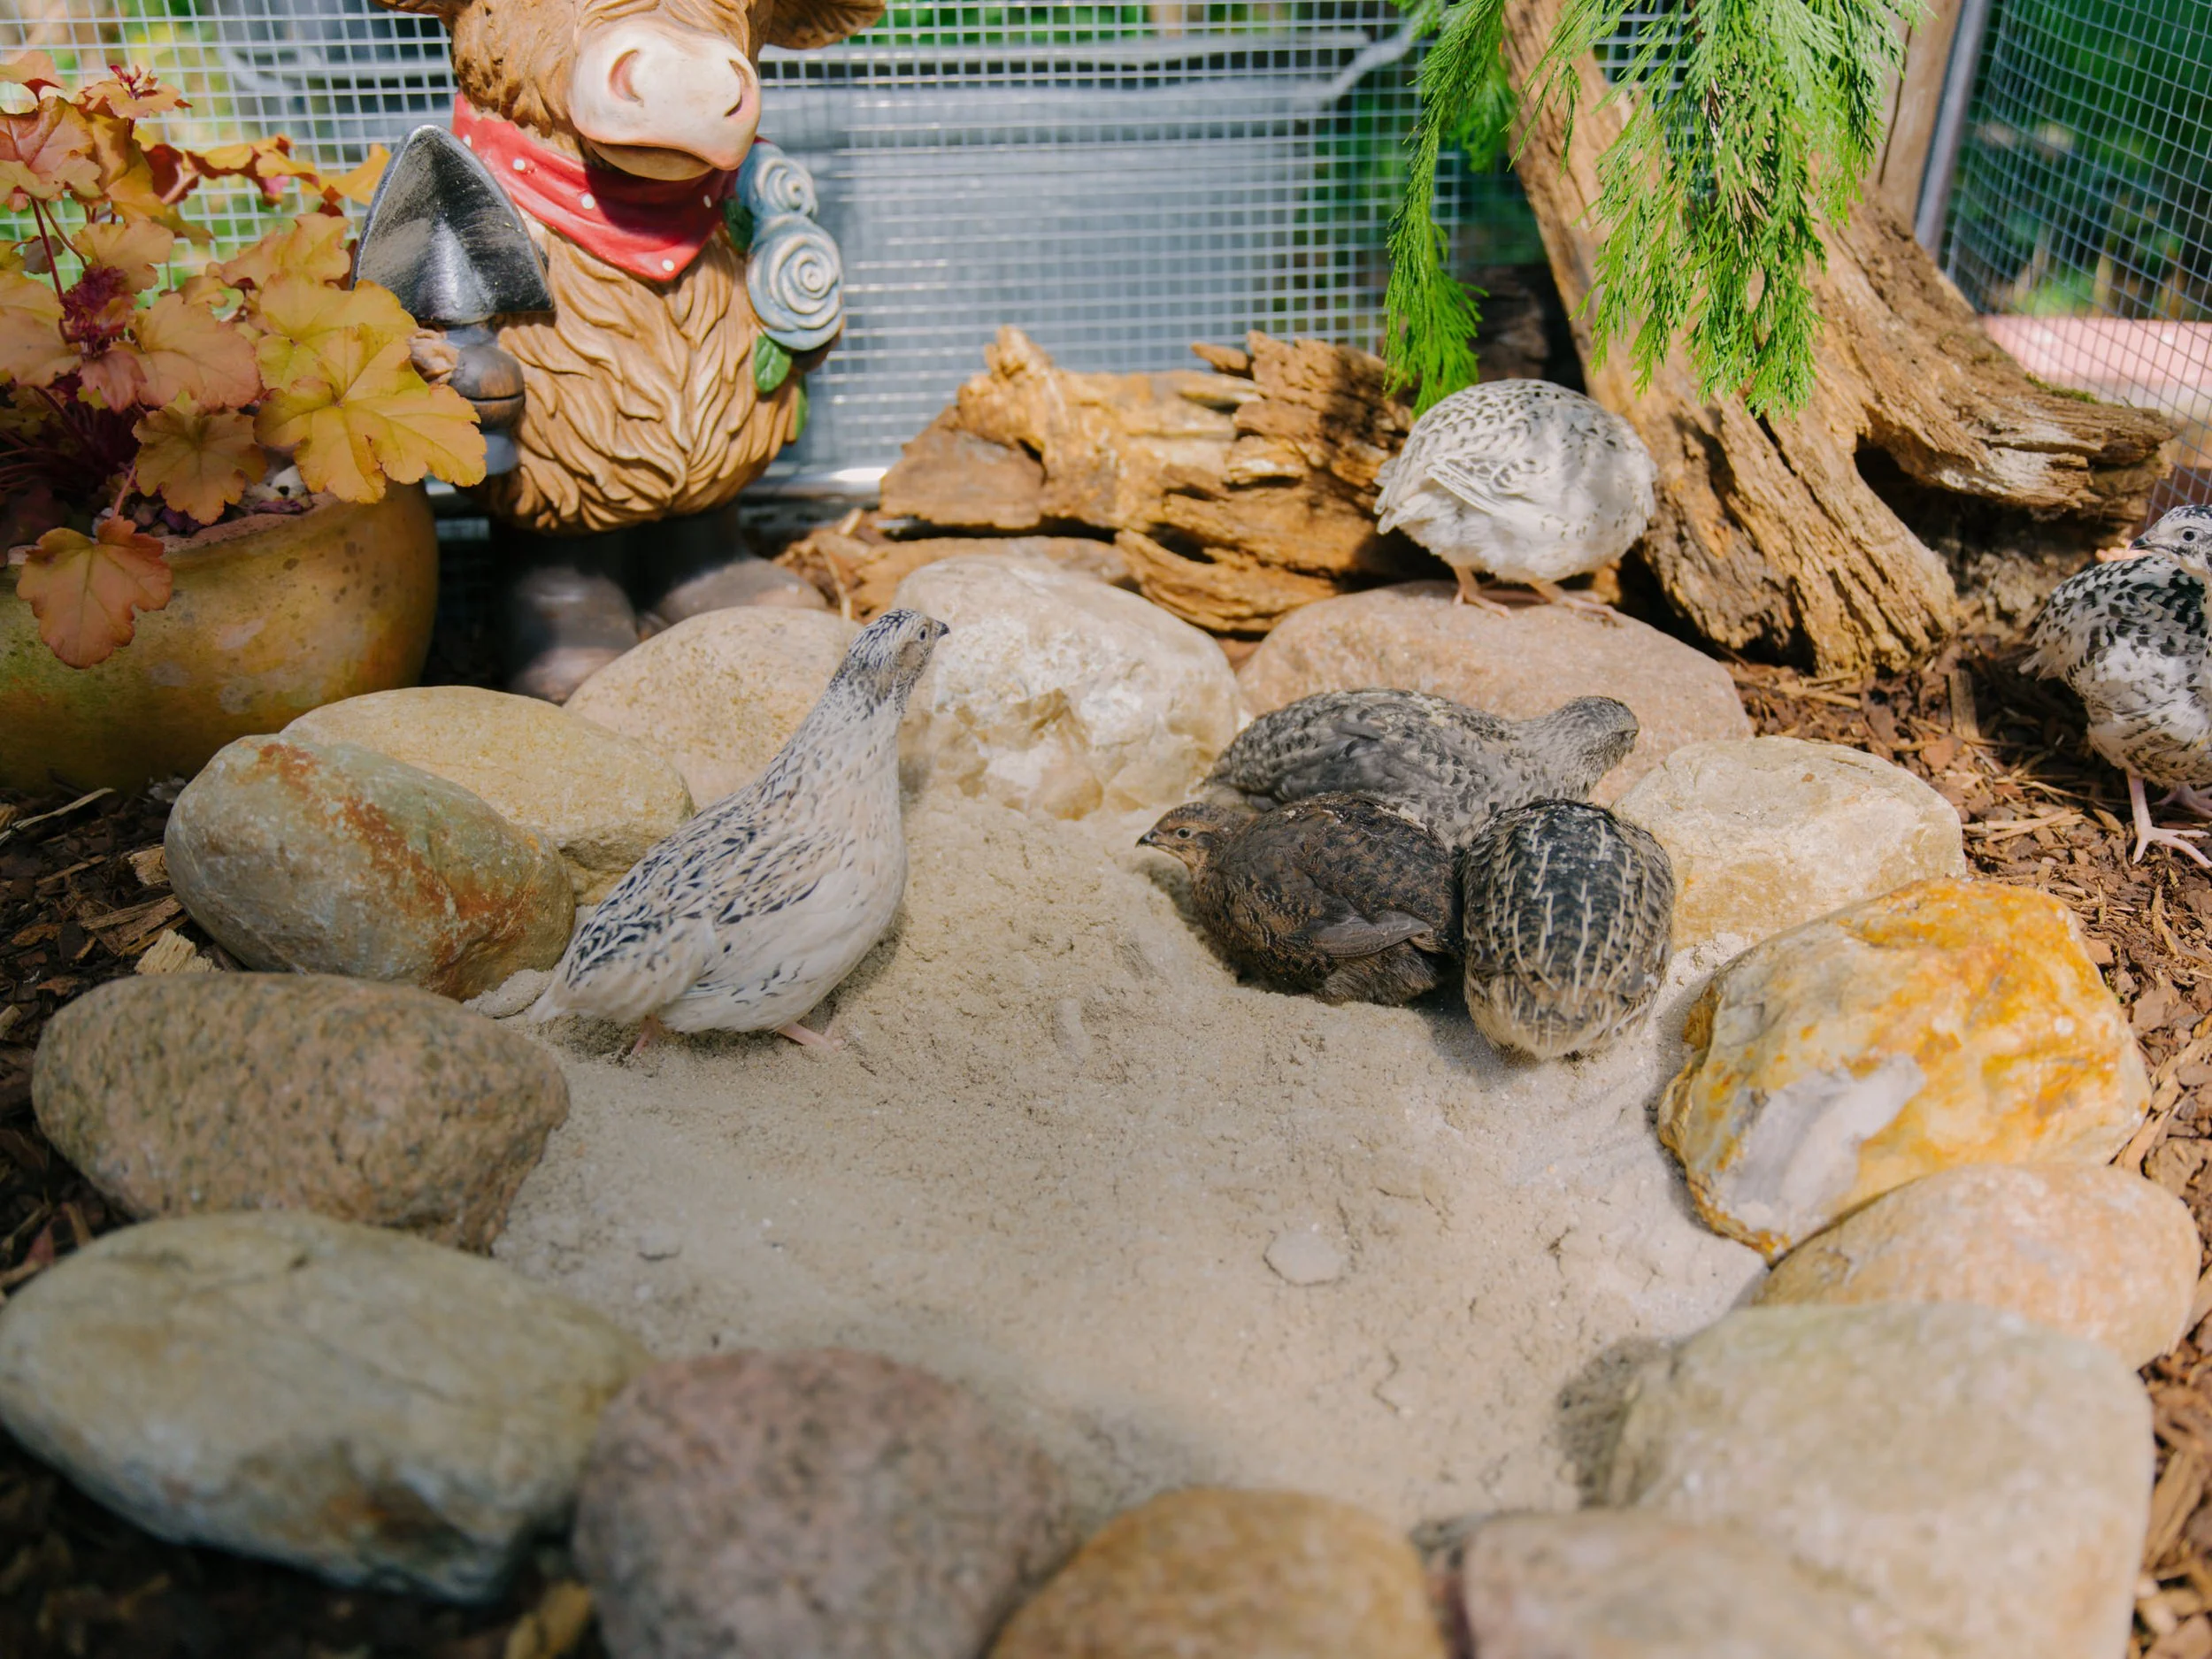
Space is another key factor, especially in a larger setup like yours. Quails don’t need huge vertical space, but they do need enough horizontal space to move, run, dust-bathe, and avoid each other when needed. When they’re too crowded, stress increases, aggression starts, and egg production drops. But at the same time, the space shouldn’t feel empty or exposed, because quails are flock animals and feel safer when they can stay visually connected and close to each other. That’s why gradual expansion and good layout design matters.
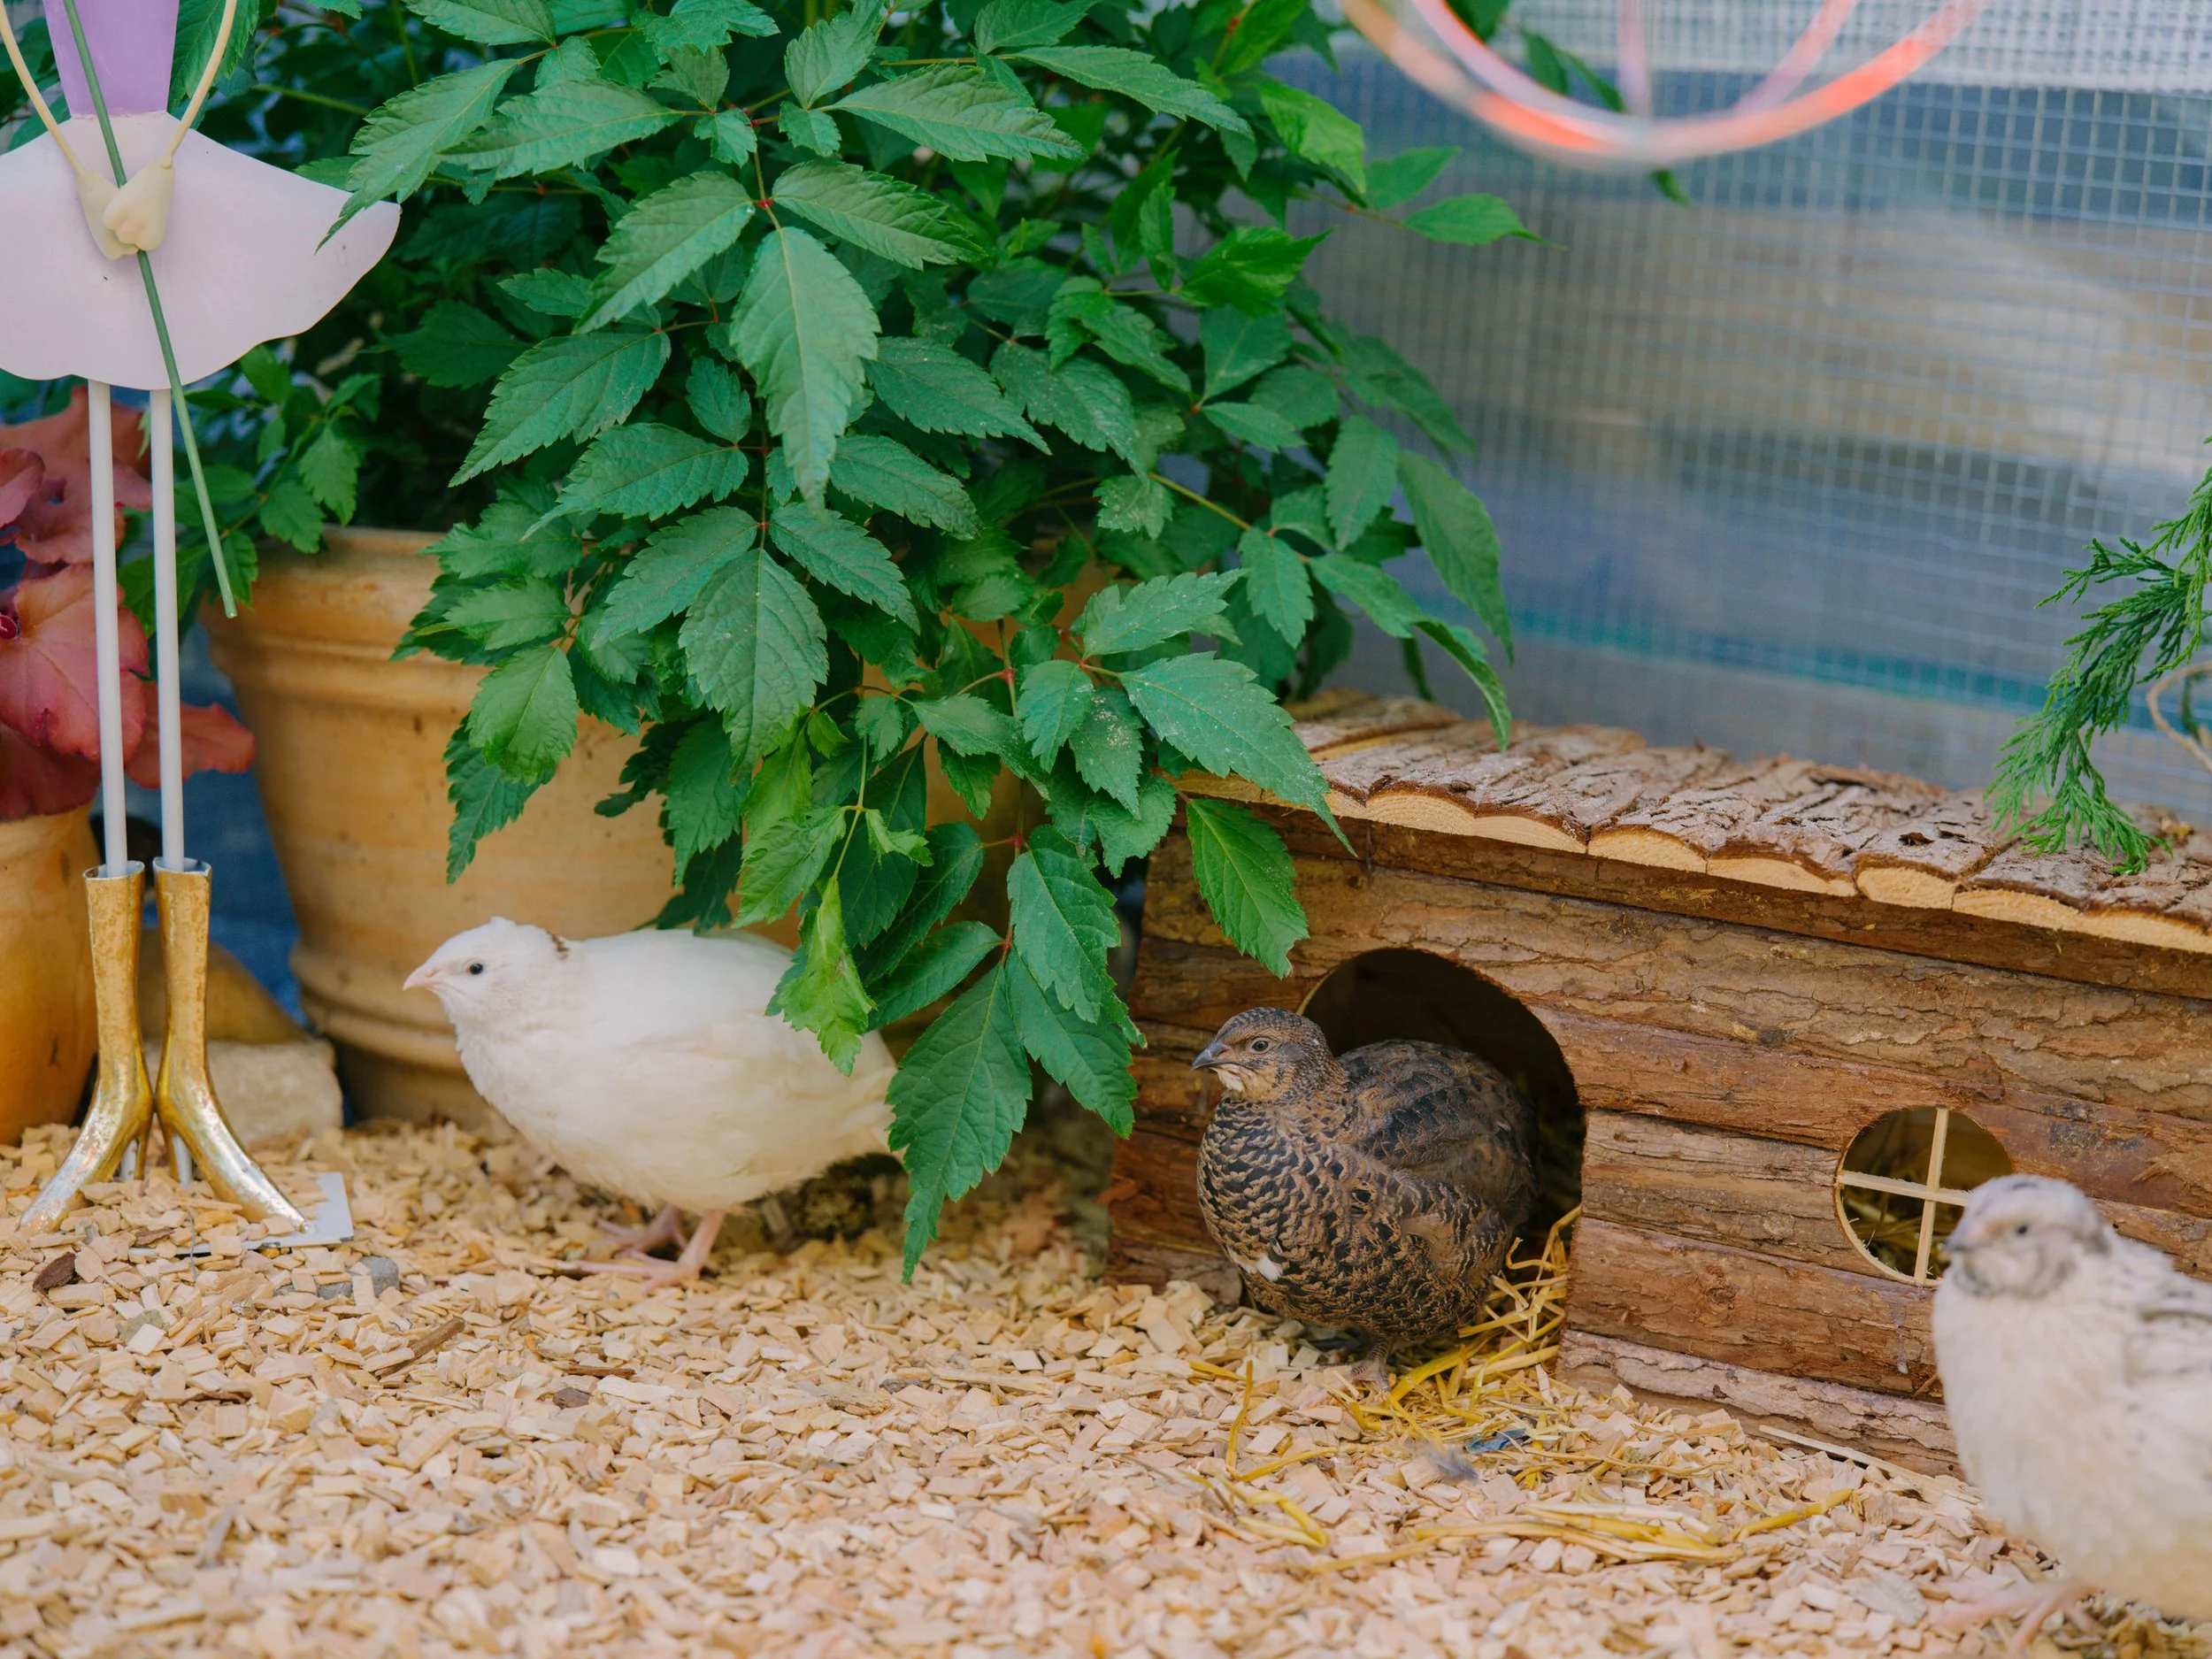
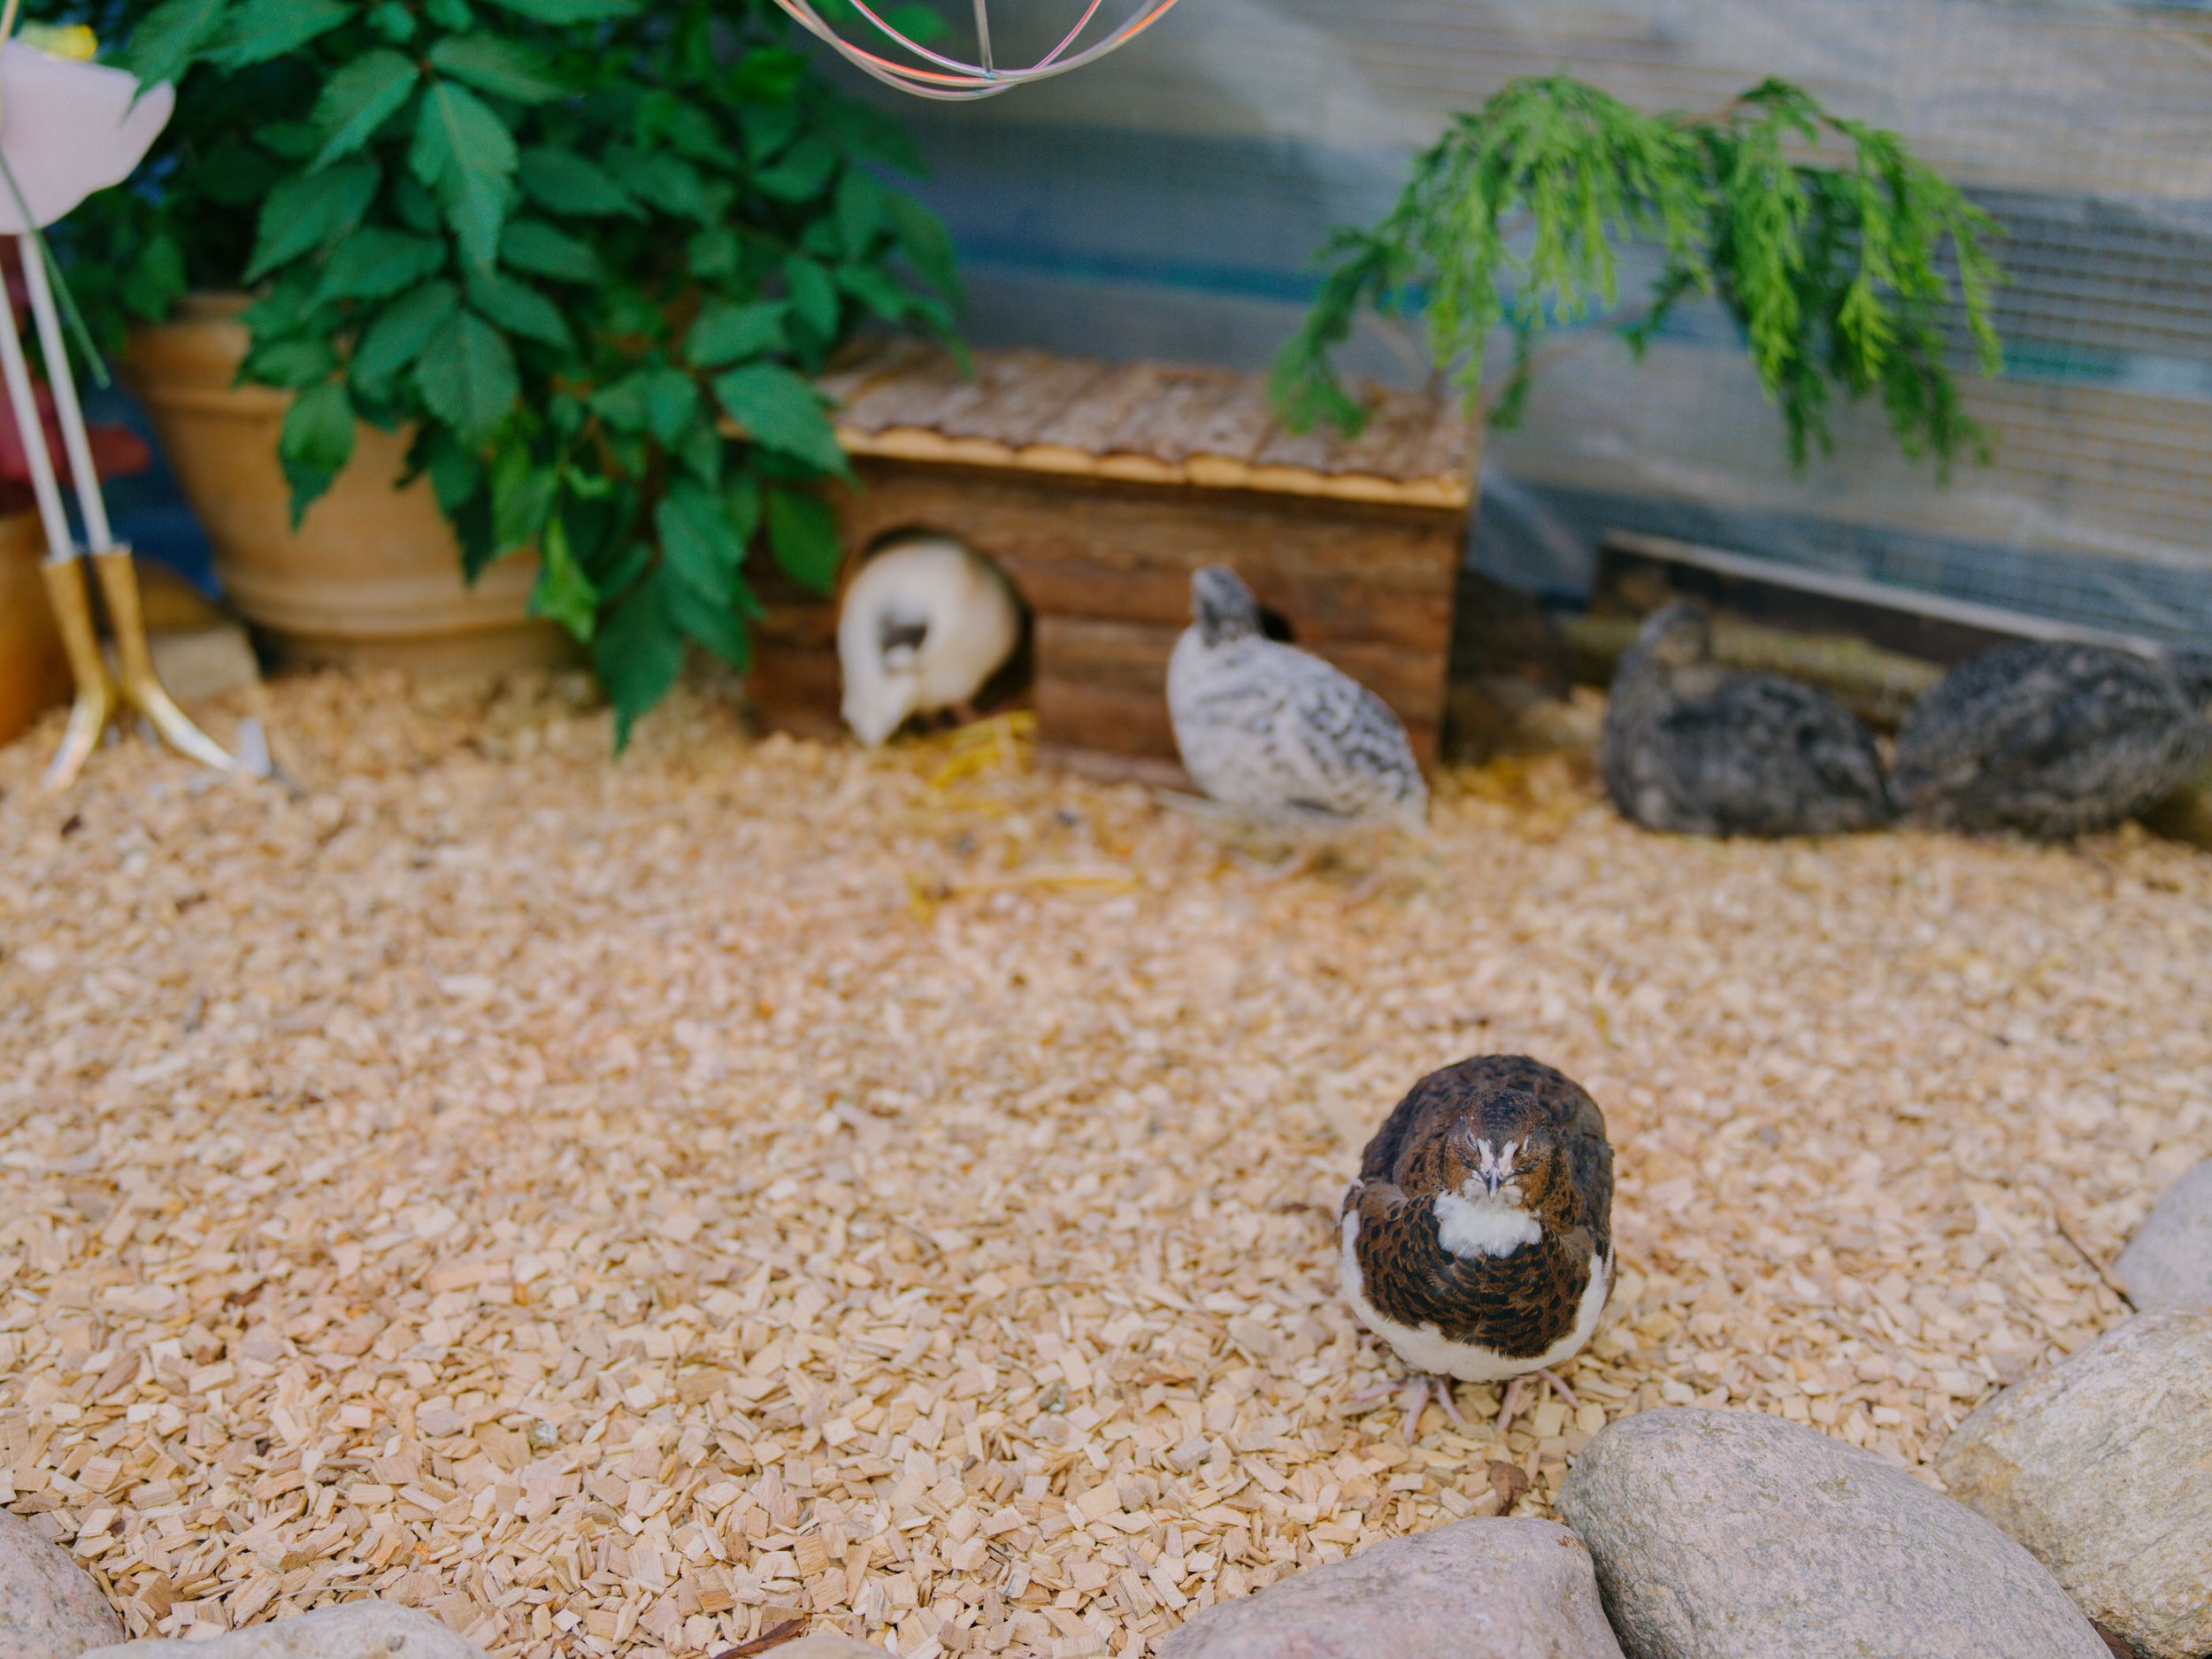
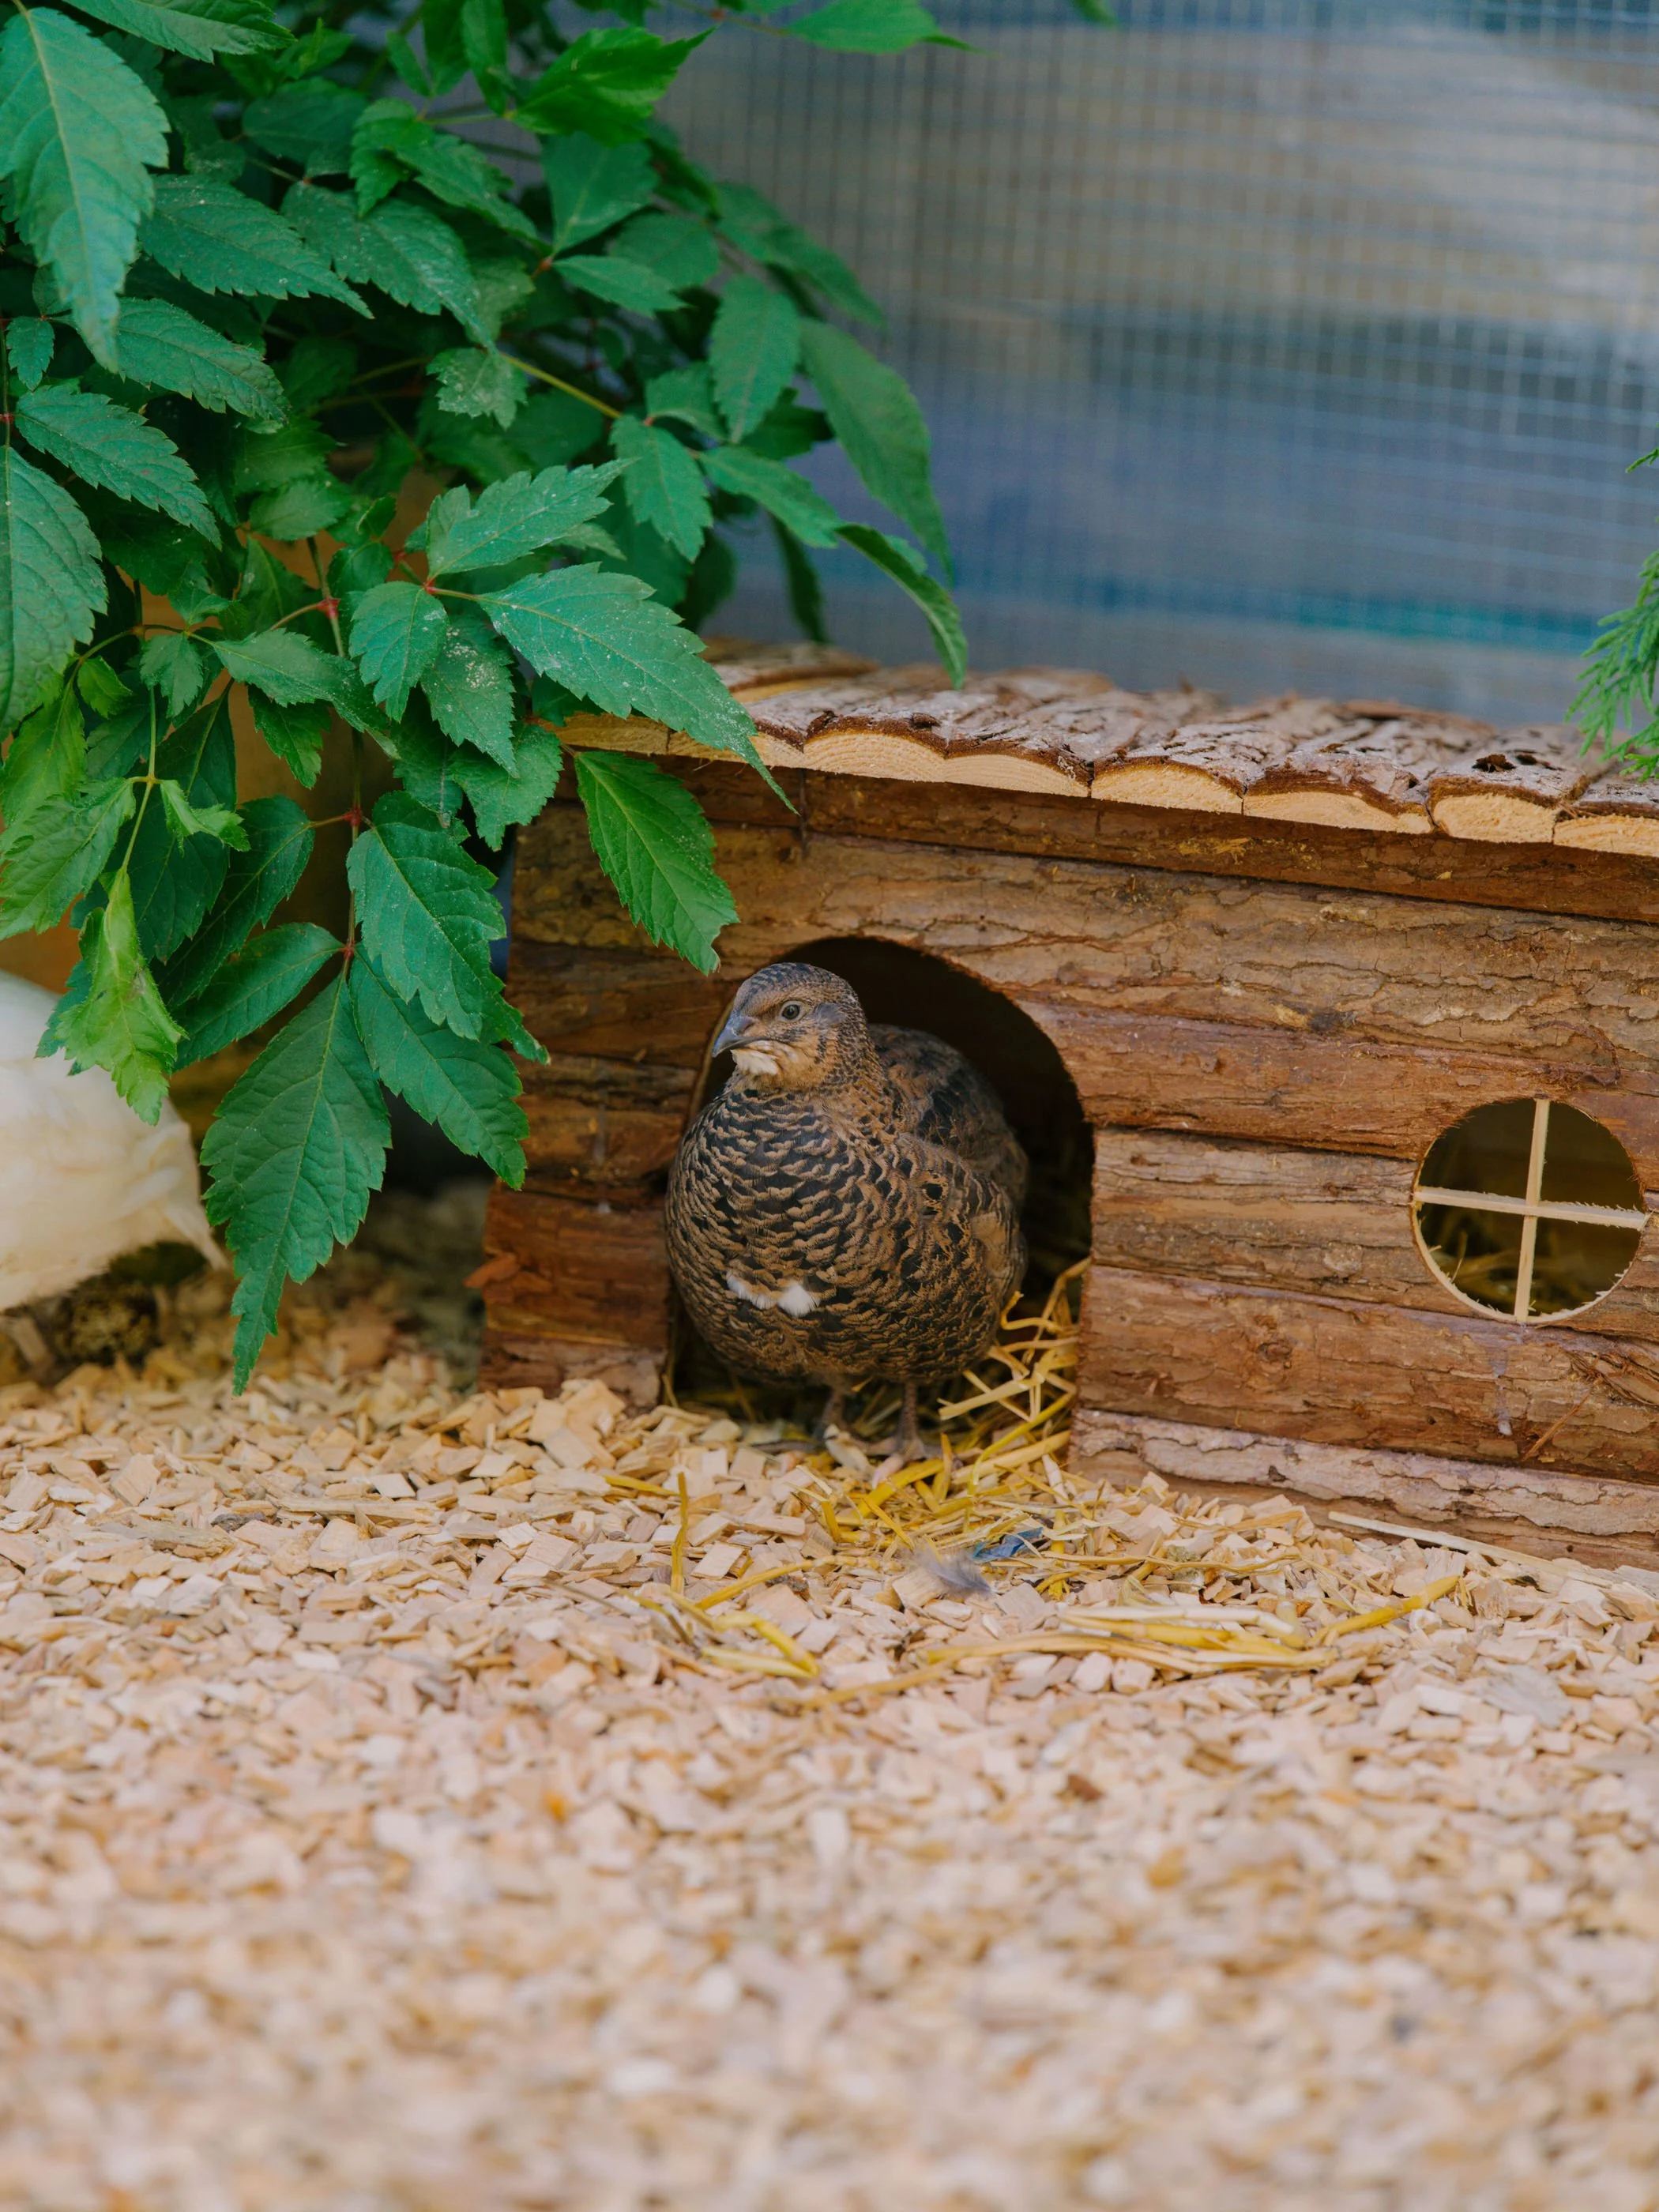
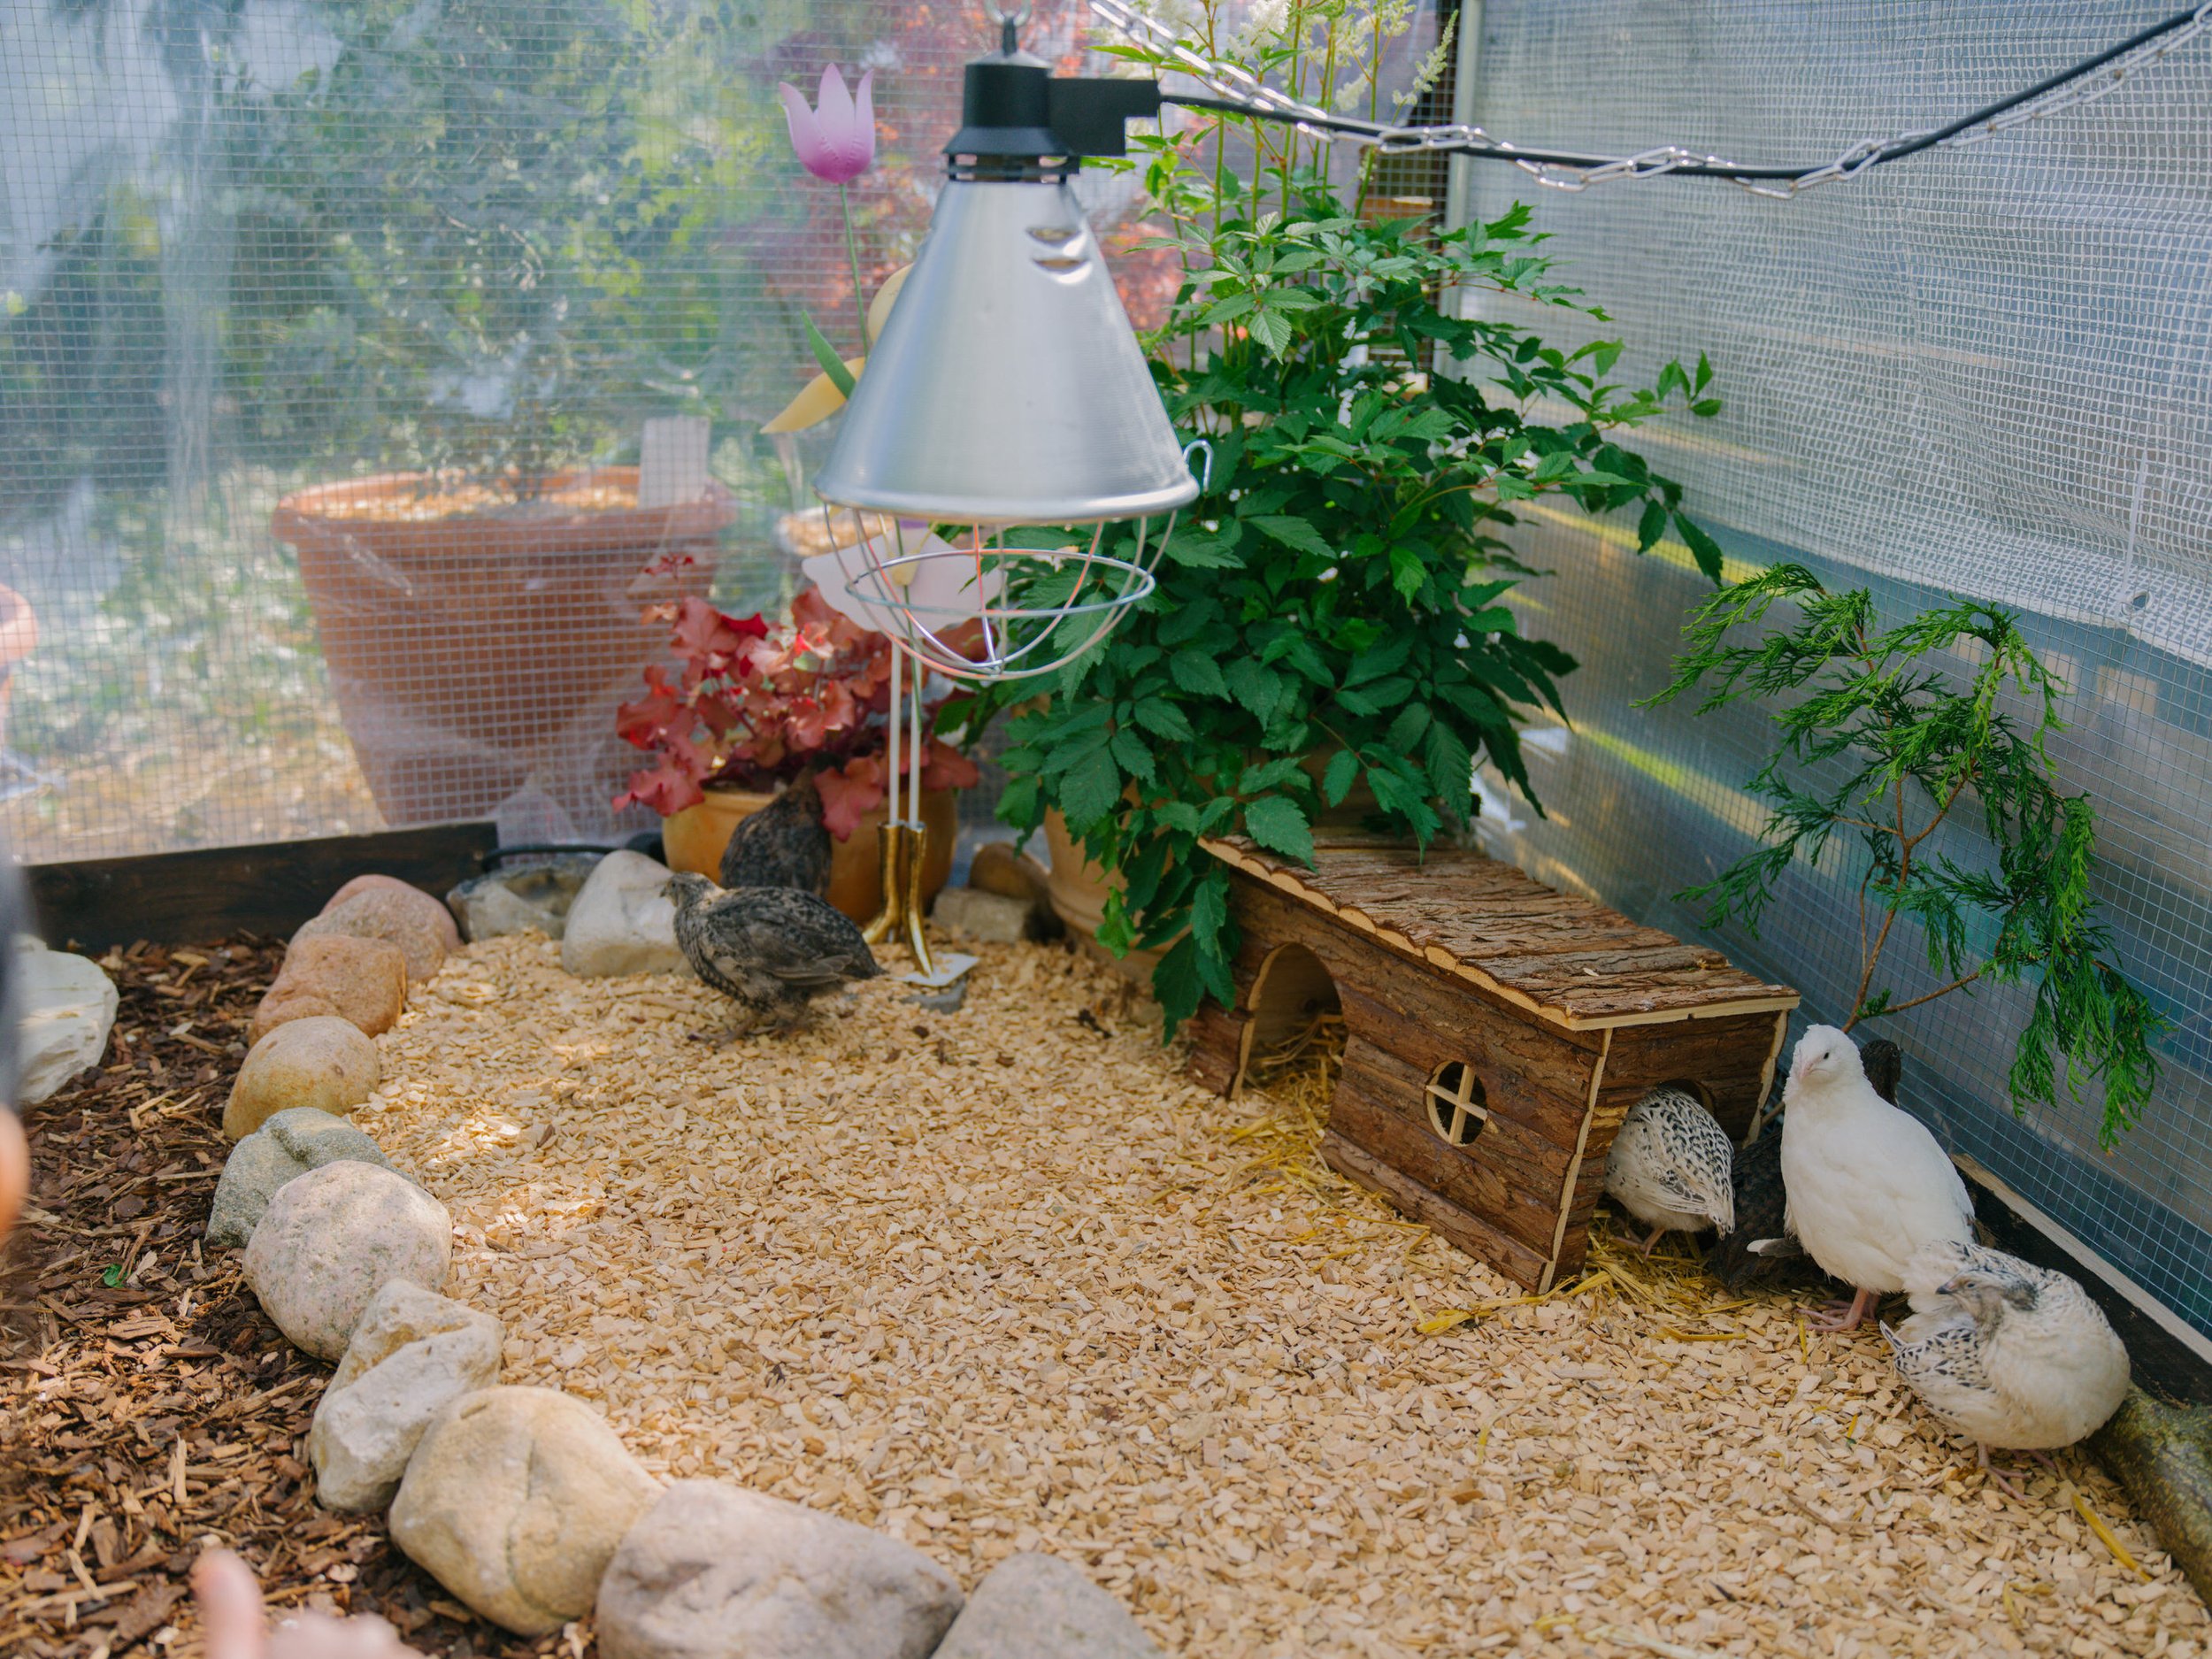
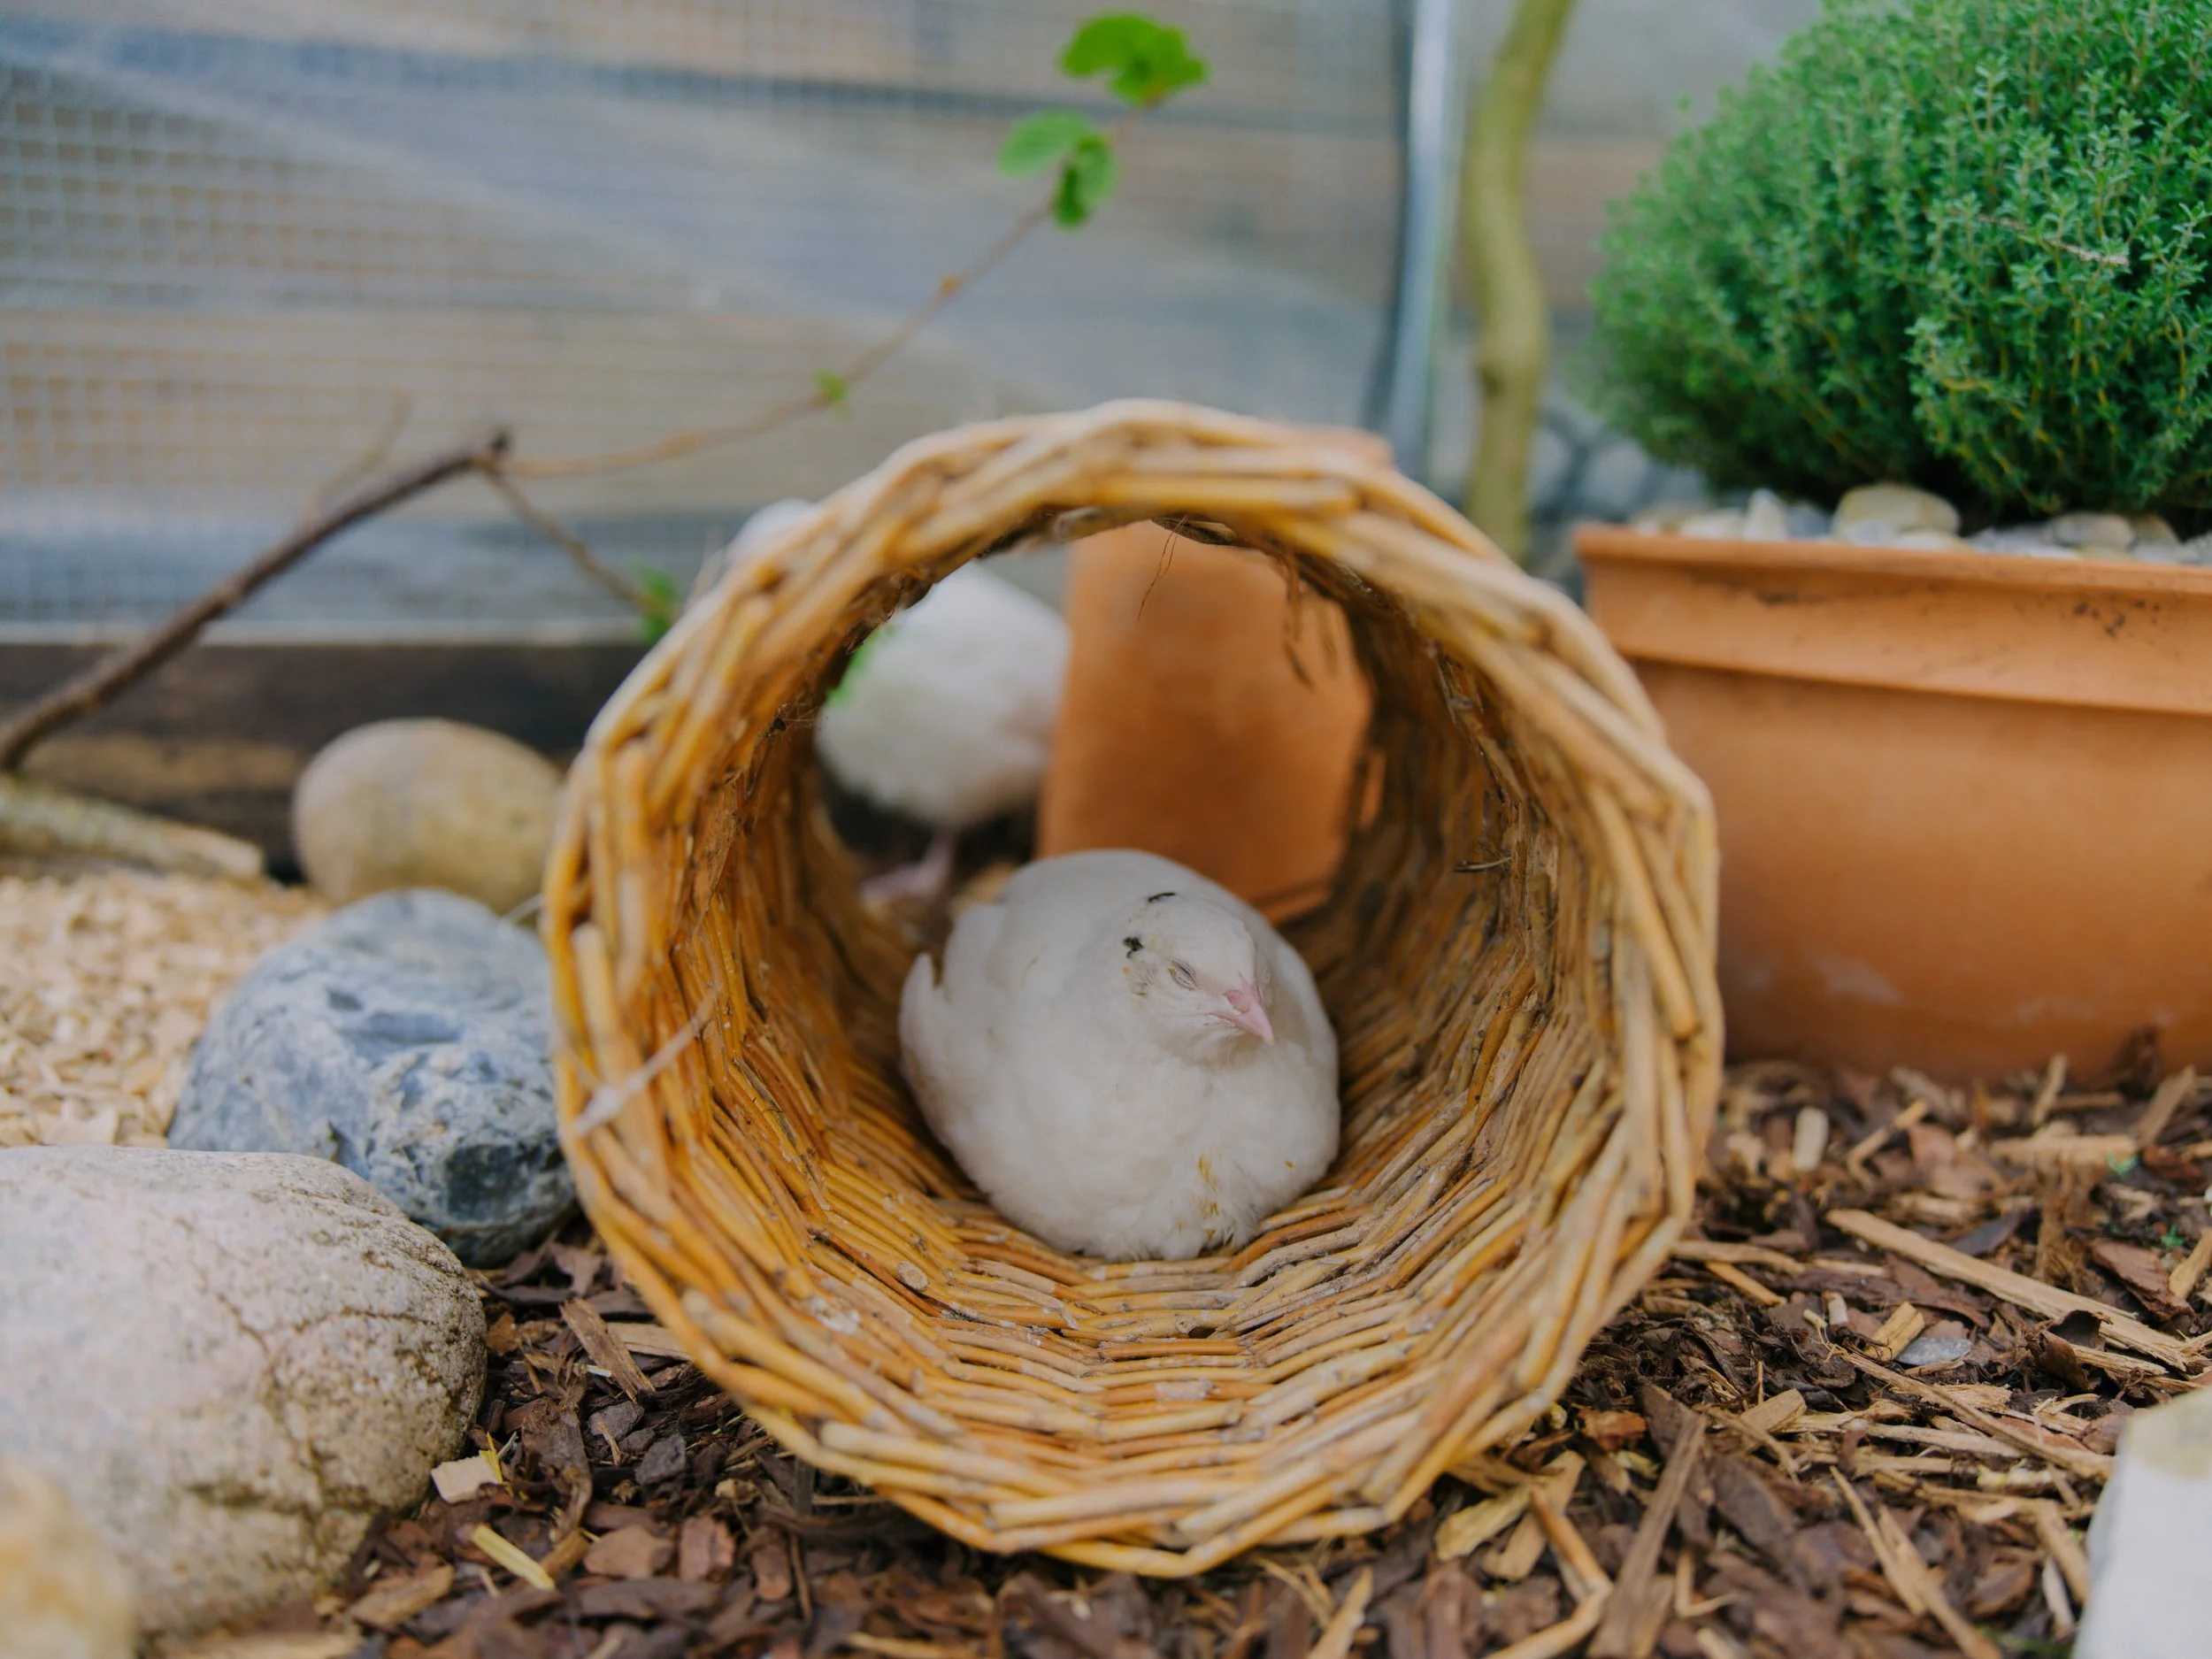
You also need proper zones inside the coop. They naturally benefit from having different areas - one for feeding, one for water, one for dust bathing, and quieter corners where they can hide or rest. Hiding spots are very important because they reduce stress and give weaker birds a place to escape from dominant ones. Even something simple like wooden shelters or partitions can completely change the group dynamics.
Lighting is another detail people often overlook. Quails do best with a stable day-night rhythm, not constant bright light. Too much light all the time can increase stress and aggression, while a normal natural cycle keeps them calmer and improves laying consistency.
And finally, everything in the coop should support low stress and predictability. Quails don’t like sudden changes. That’s why consistent routines, gradual adjustments, and a calm environment matter more than fancy equipment.
So overall, a comfortable quail coop isn’t about making it complicated - it’s about making it dry, well-ventilated, secure, not overcrowded, and mentally calm for a flock animal that depends heavily on routine and safety.
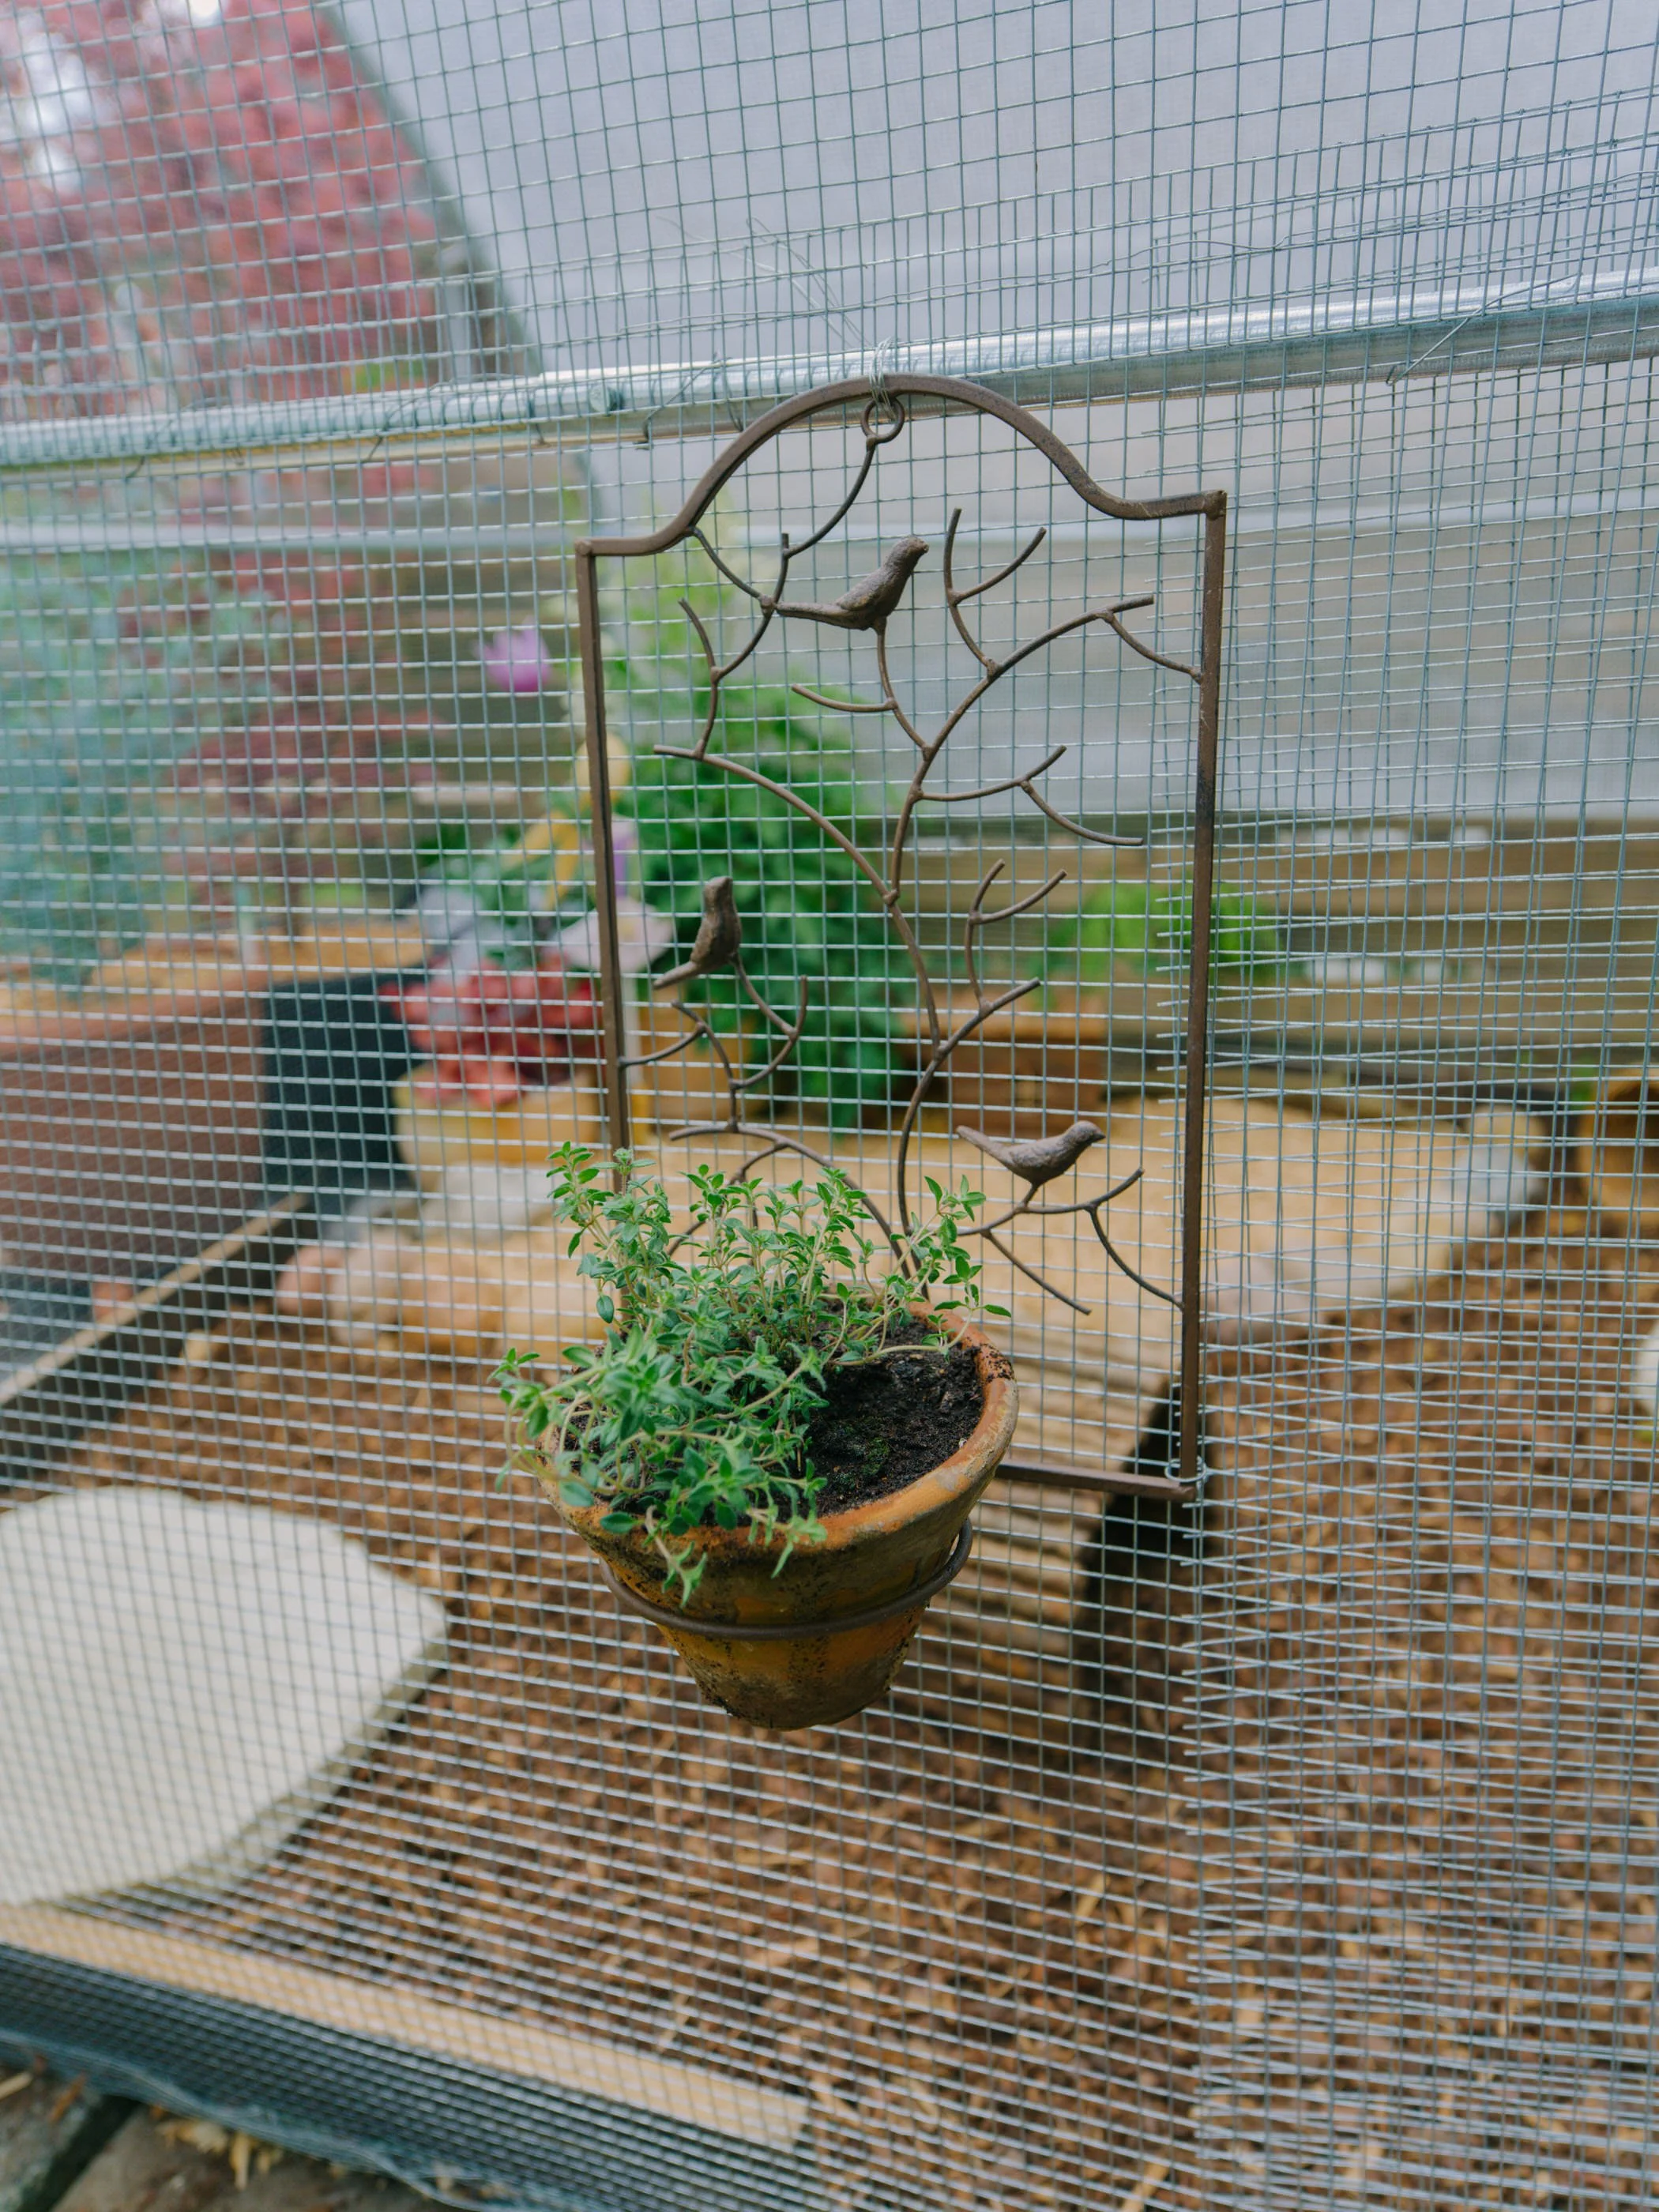
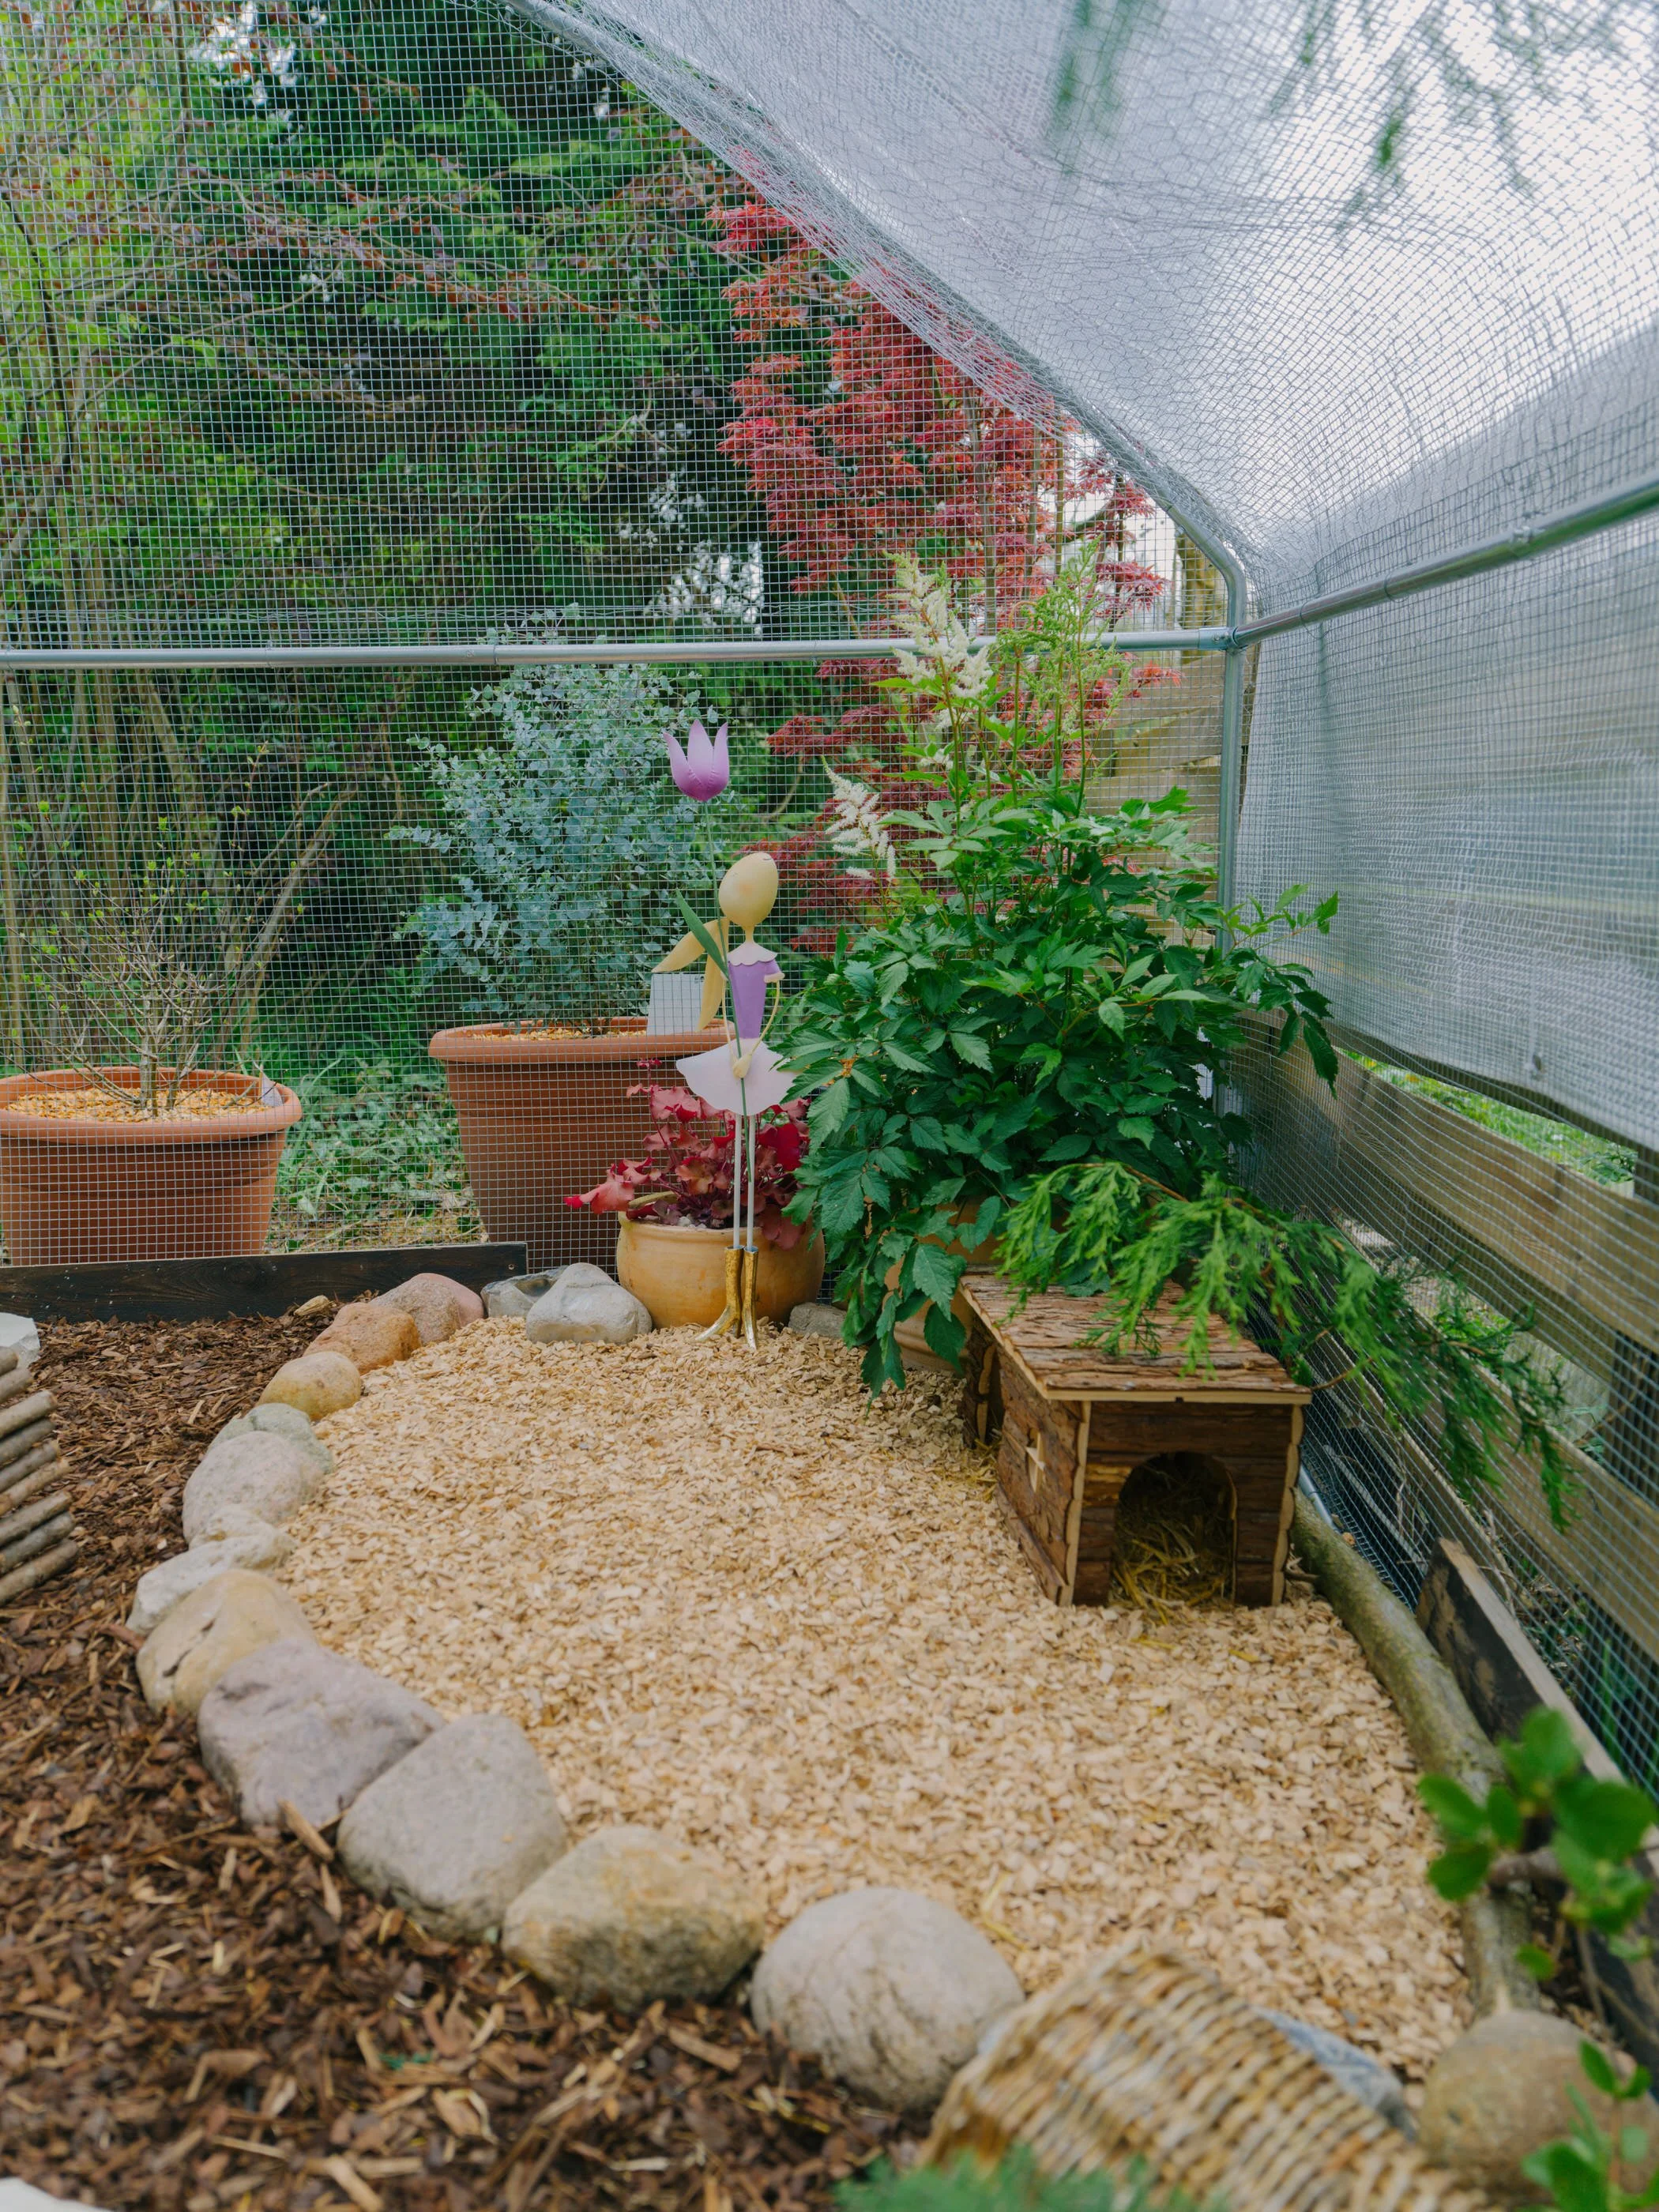
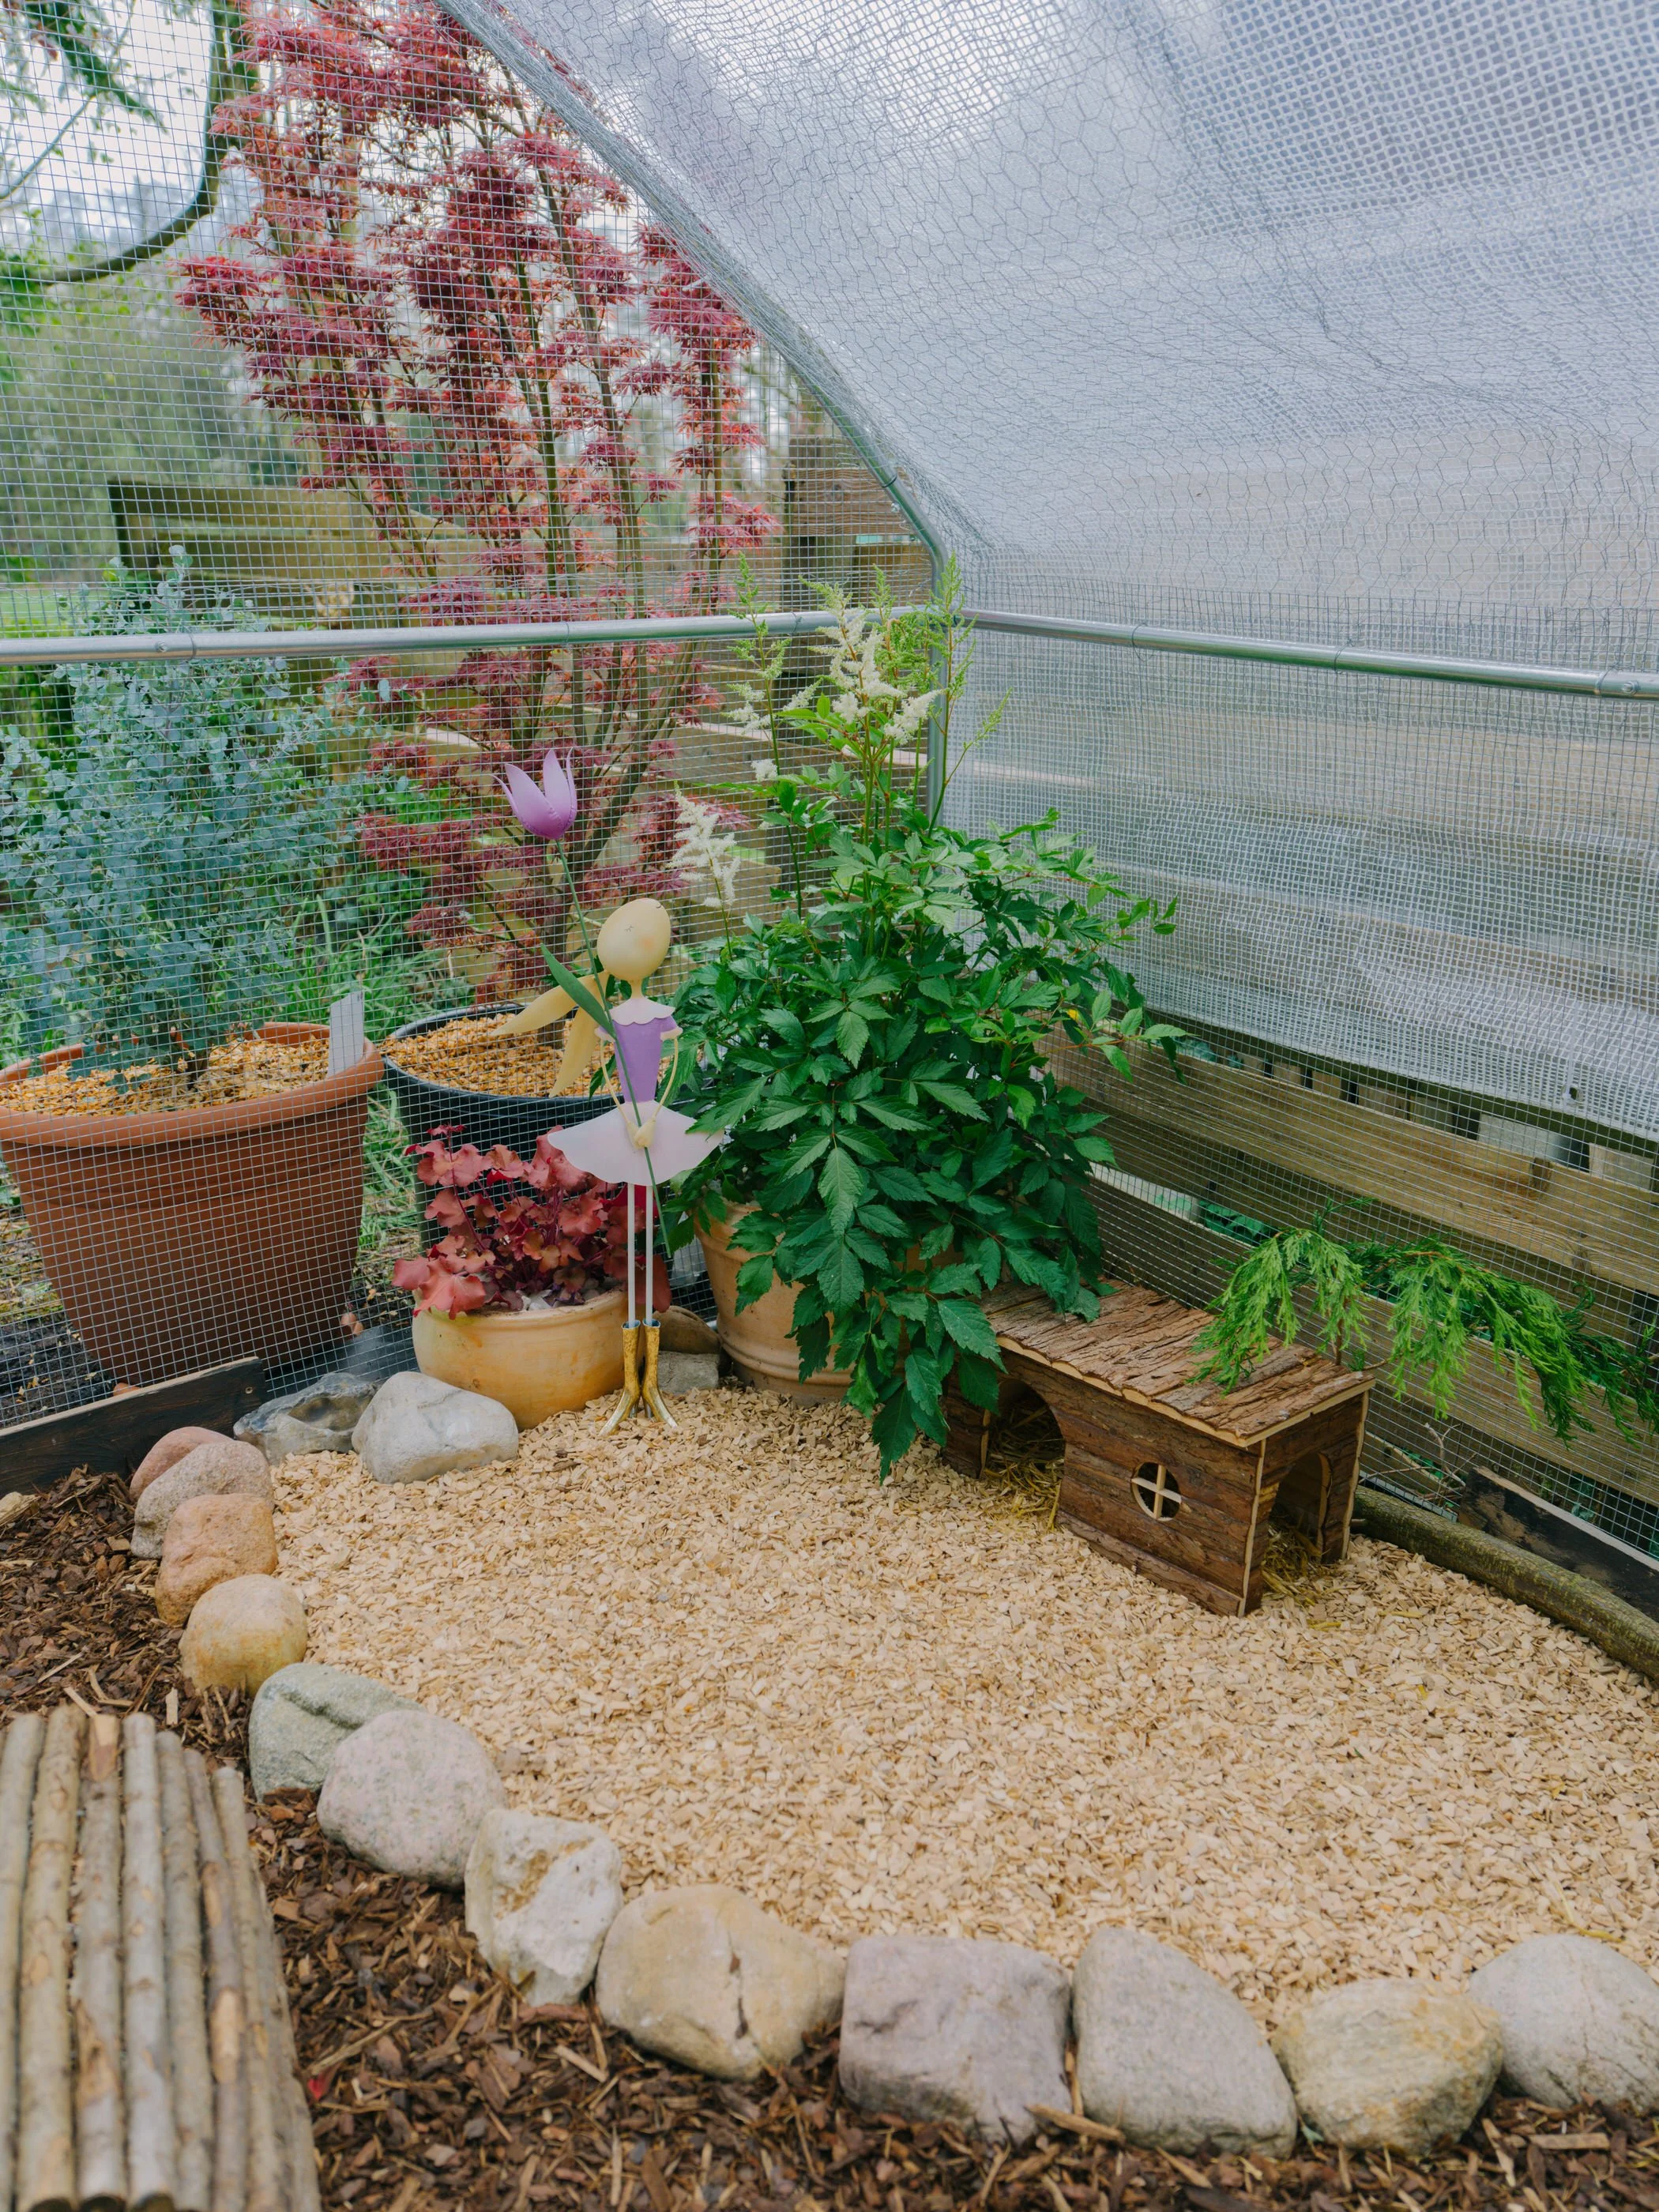
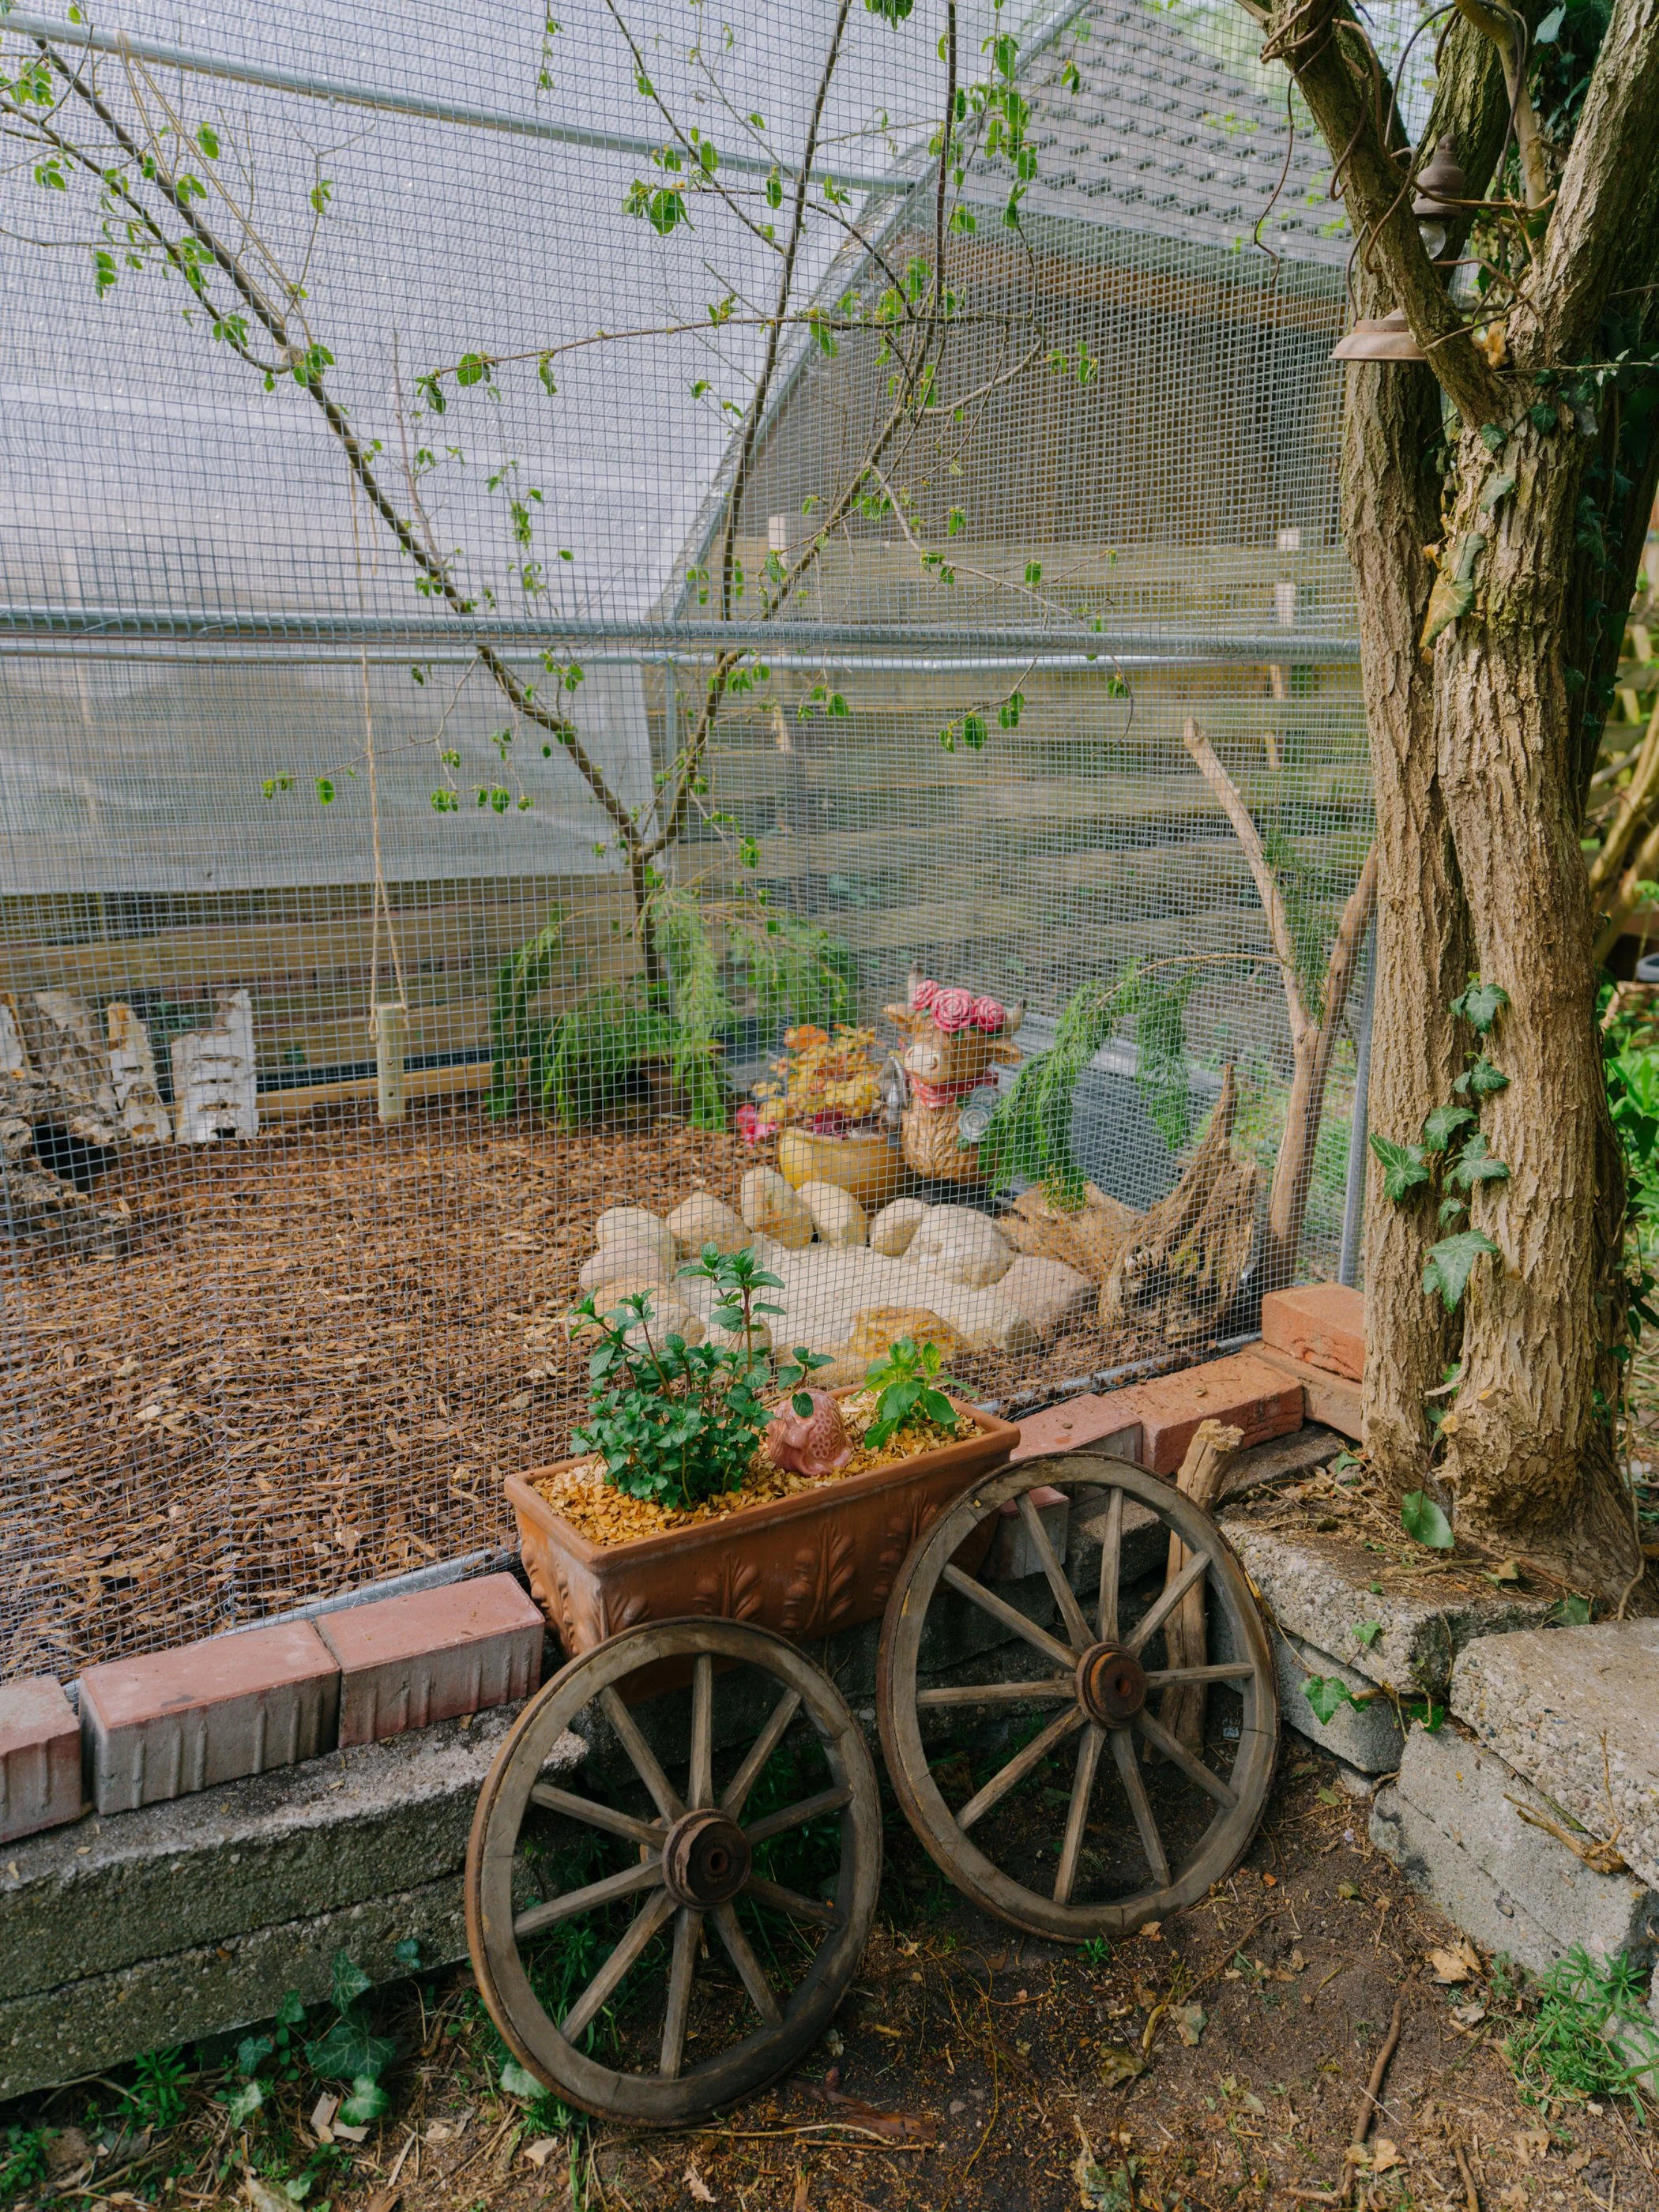
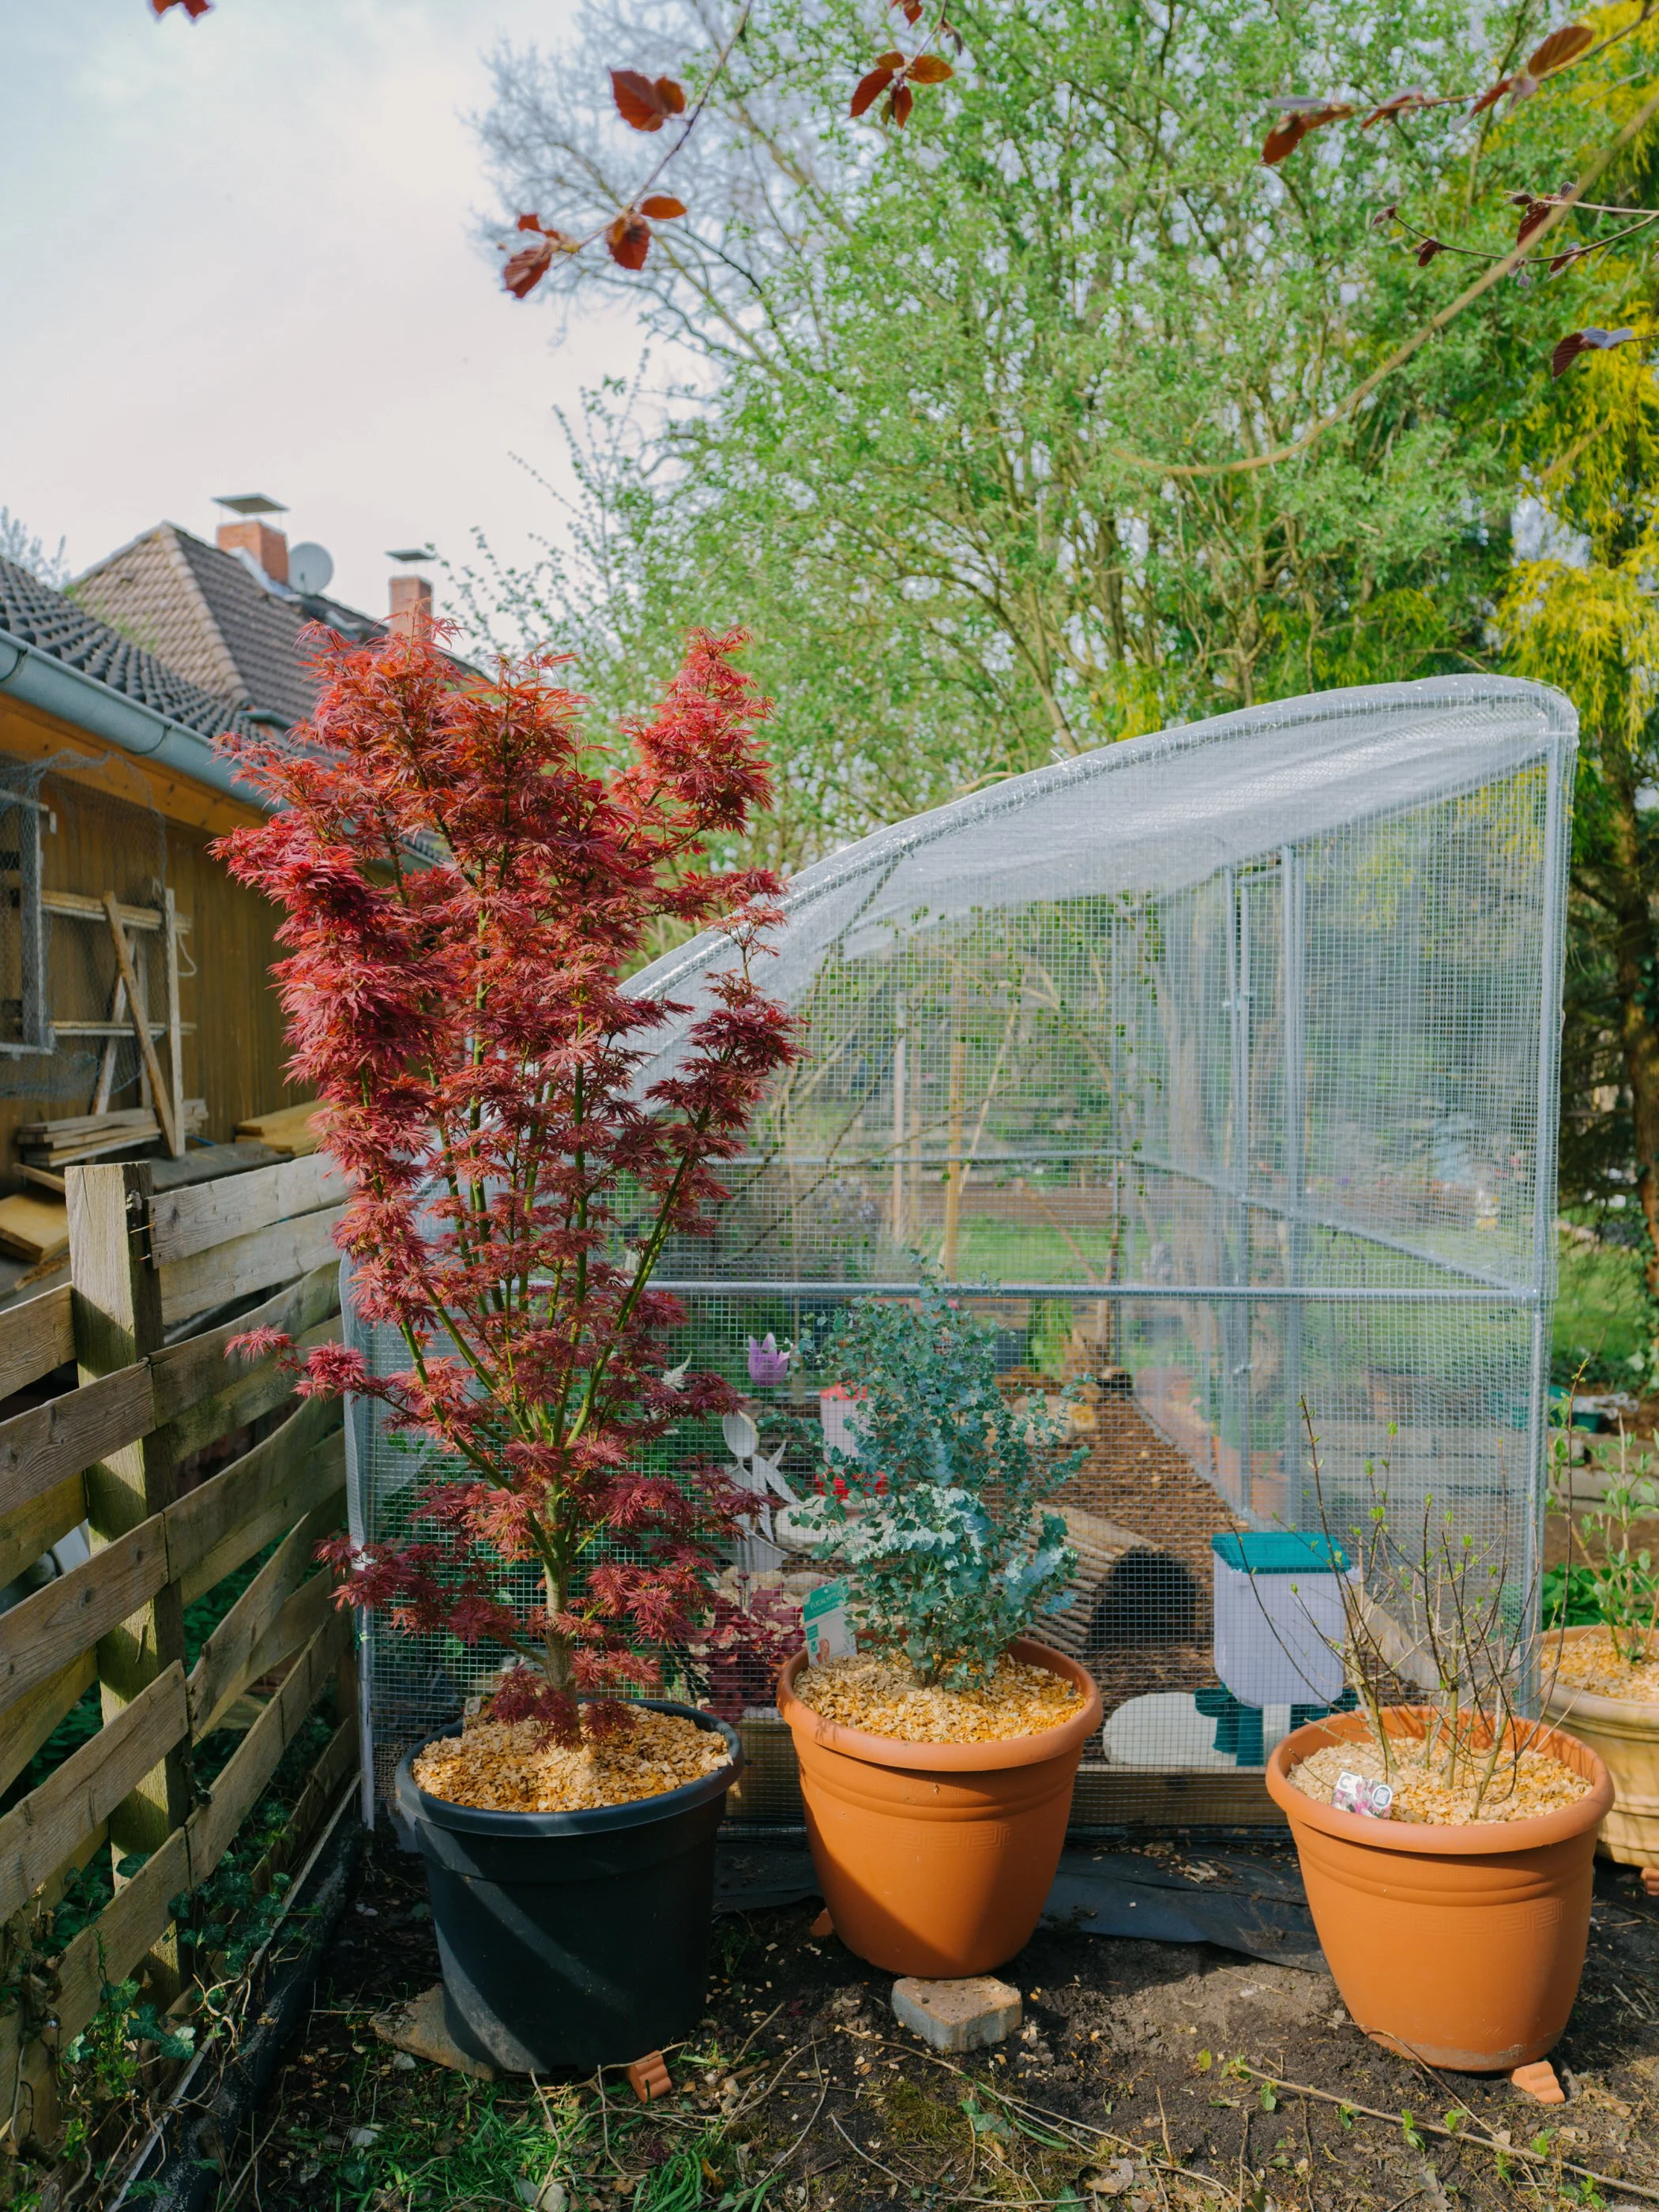
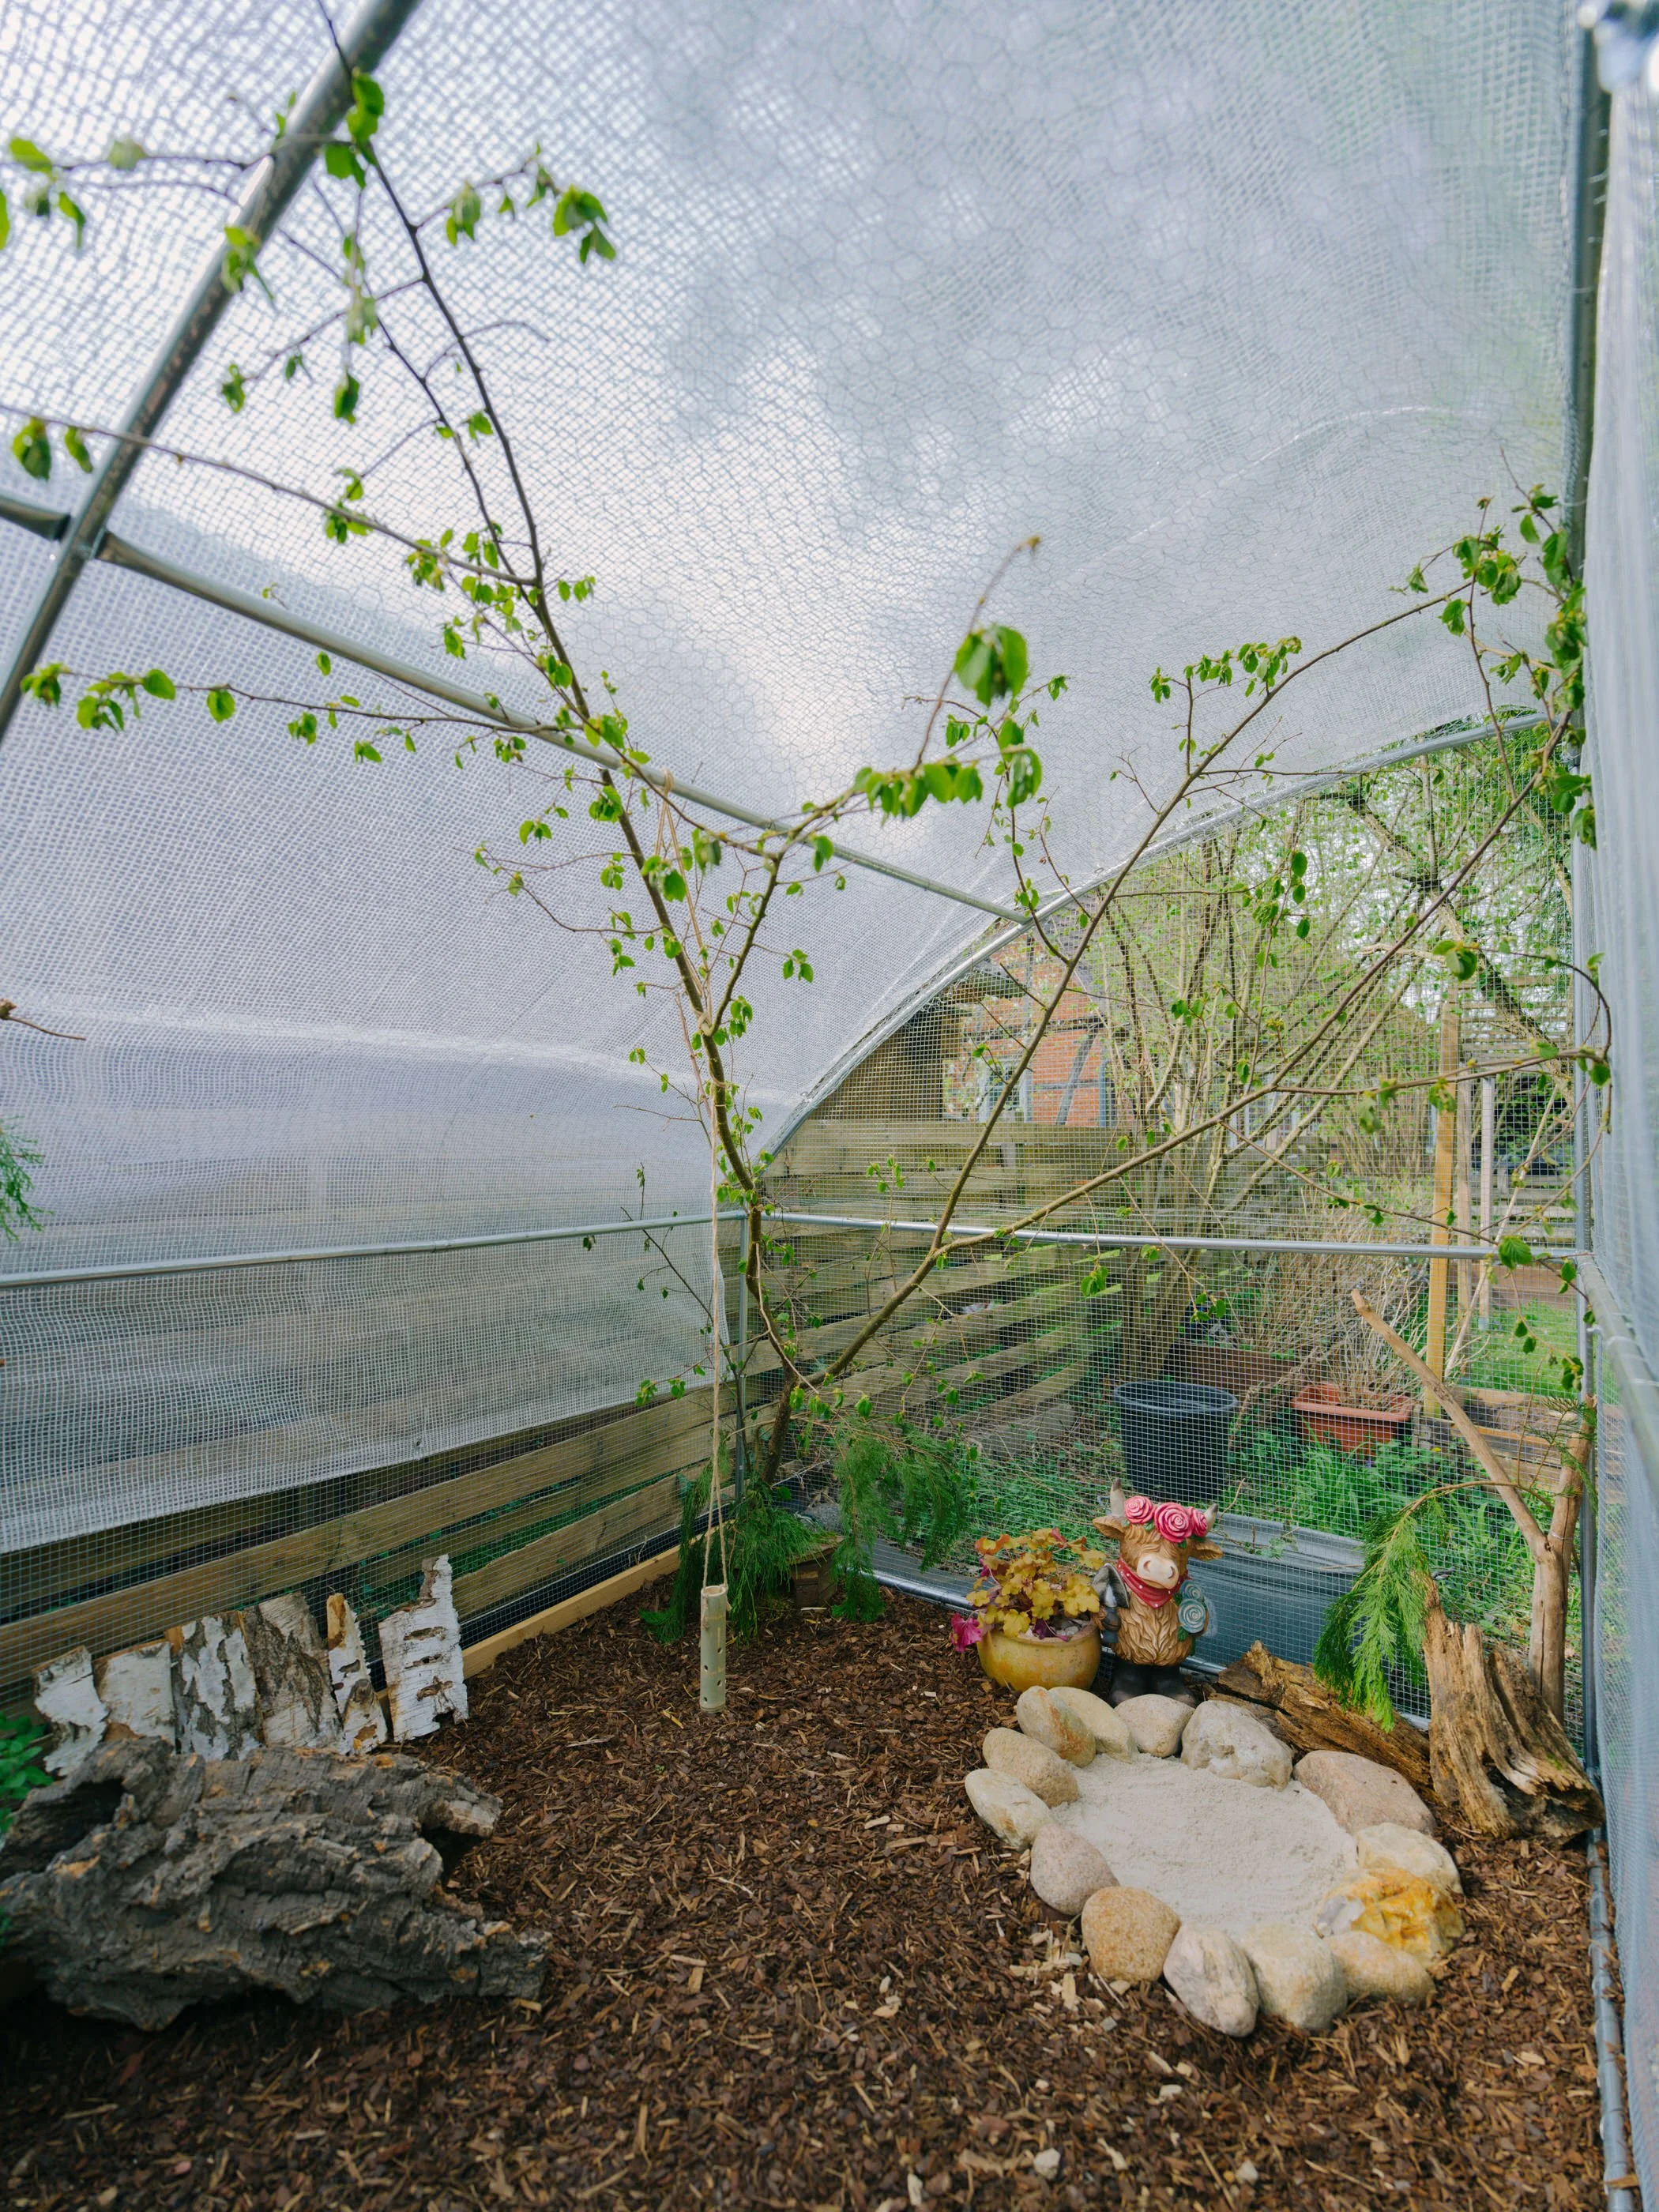
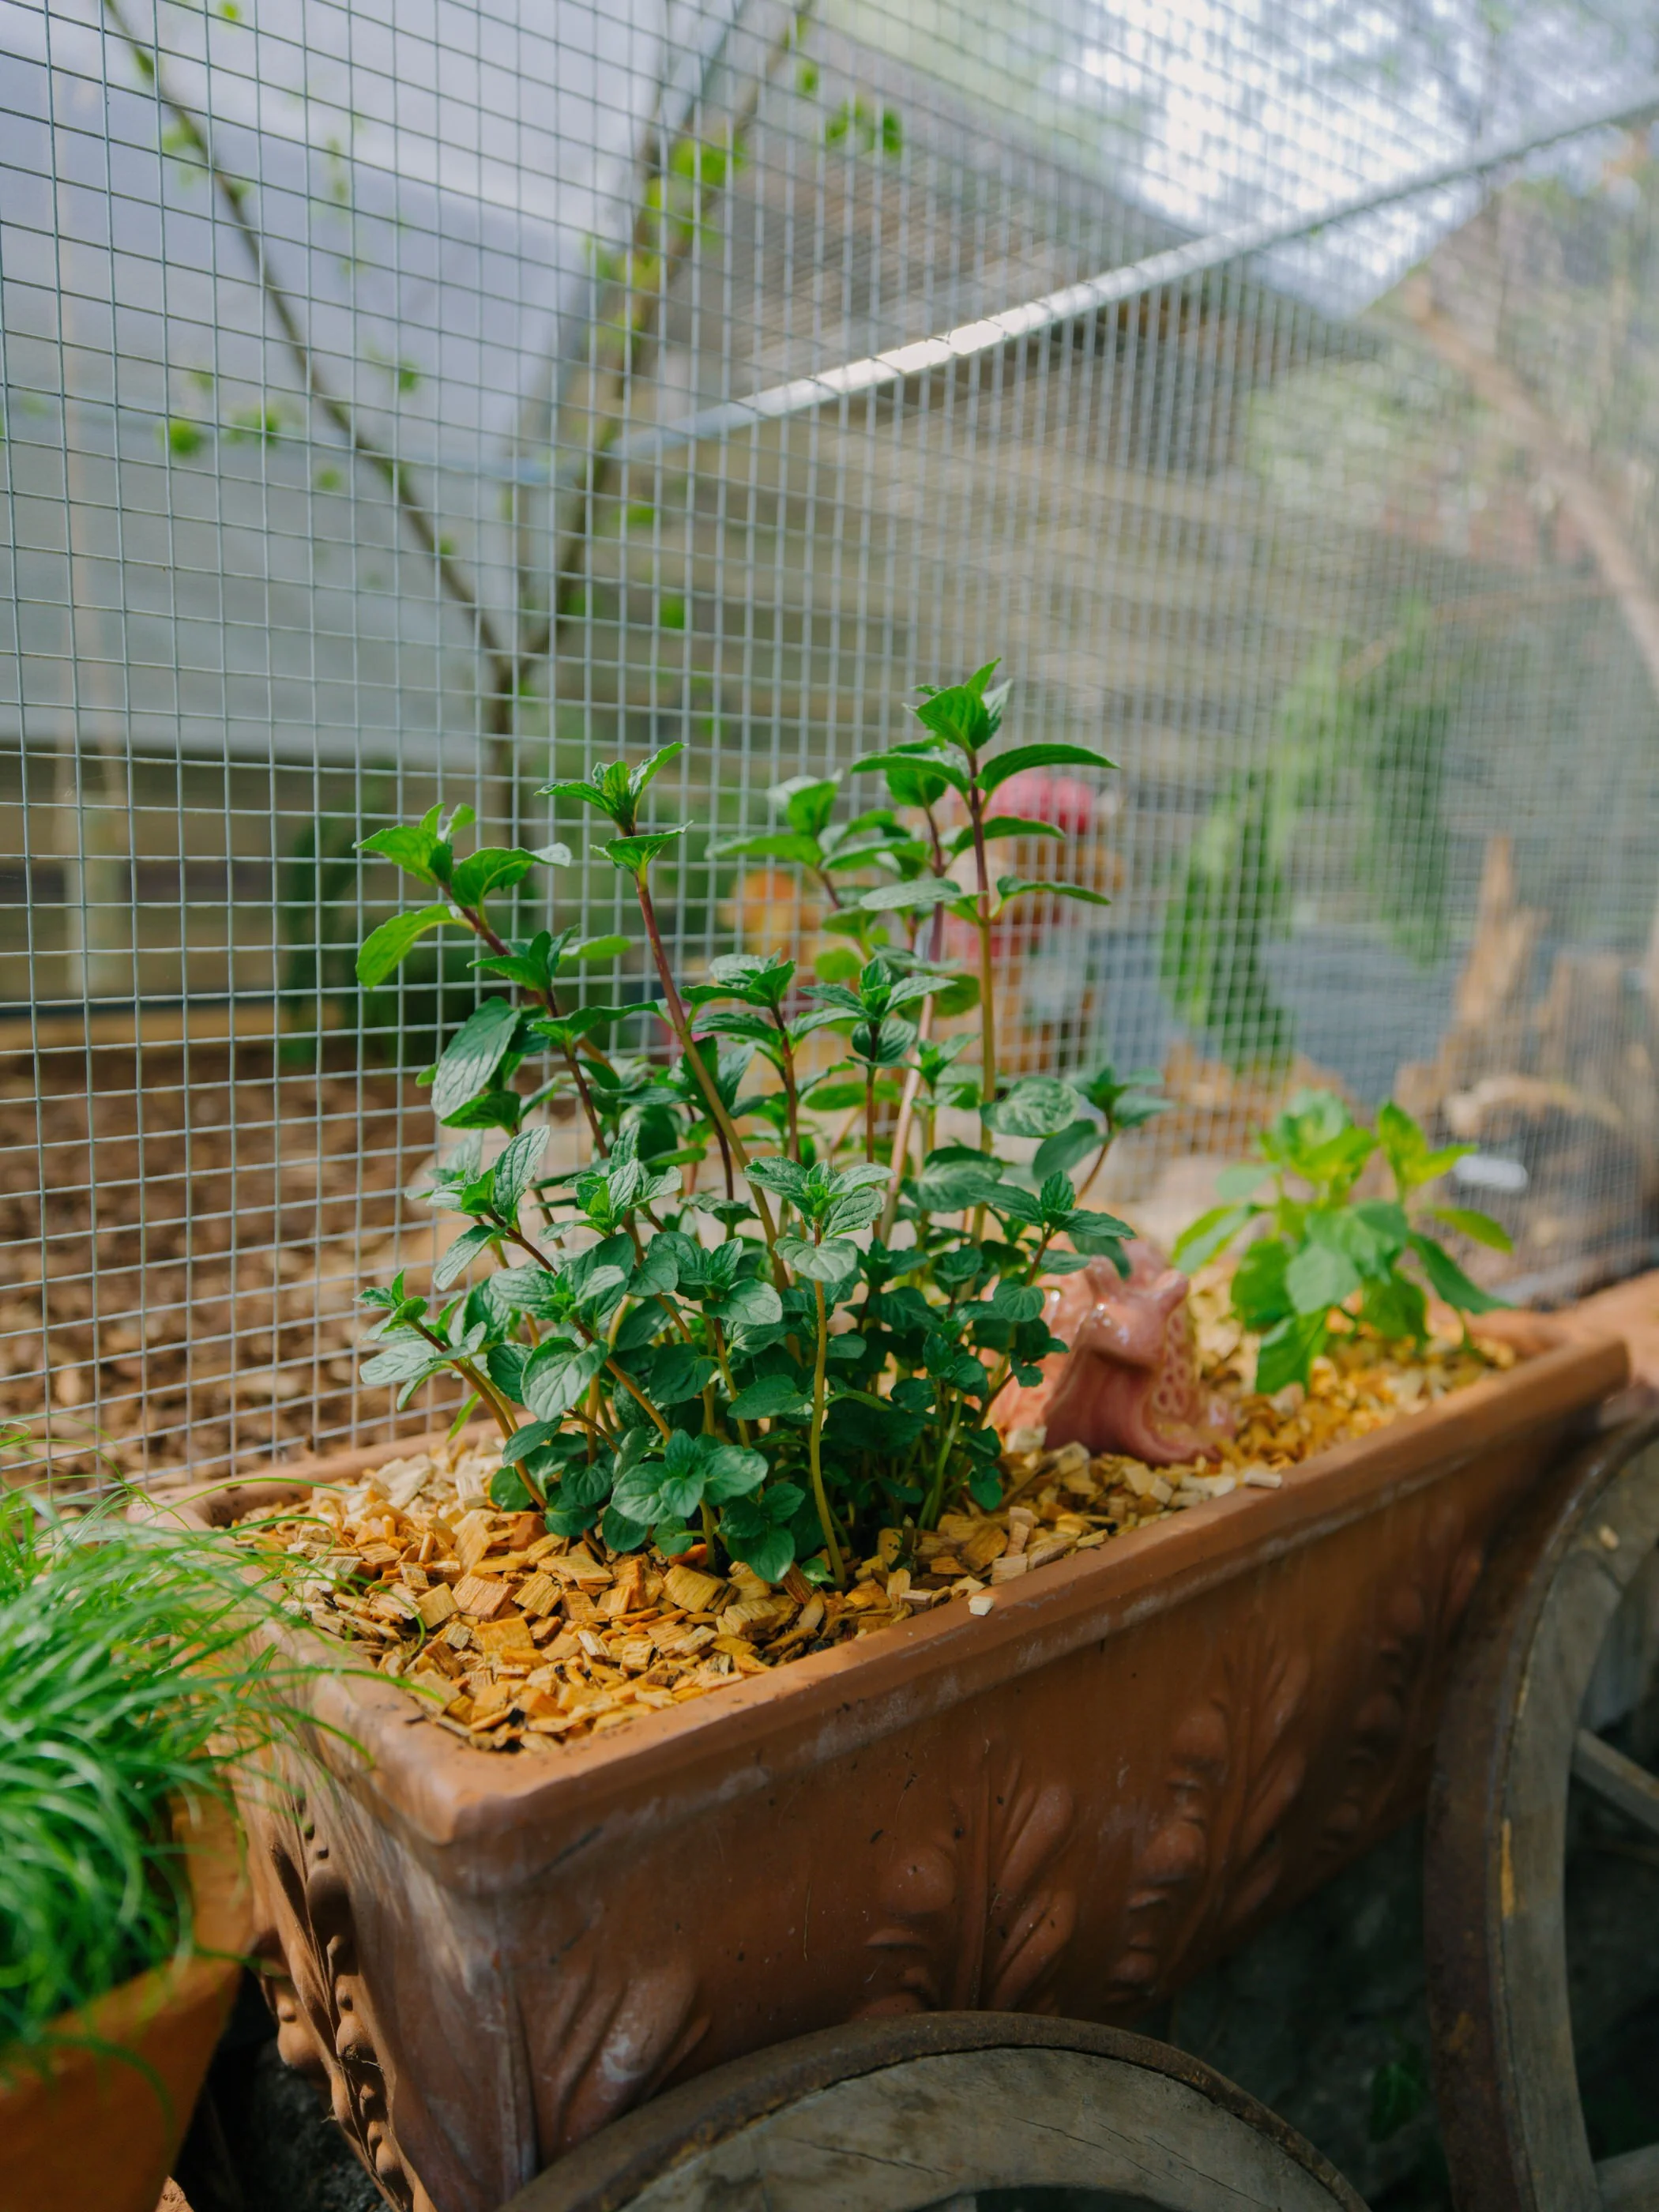
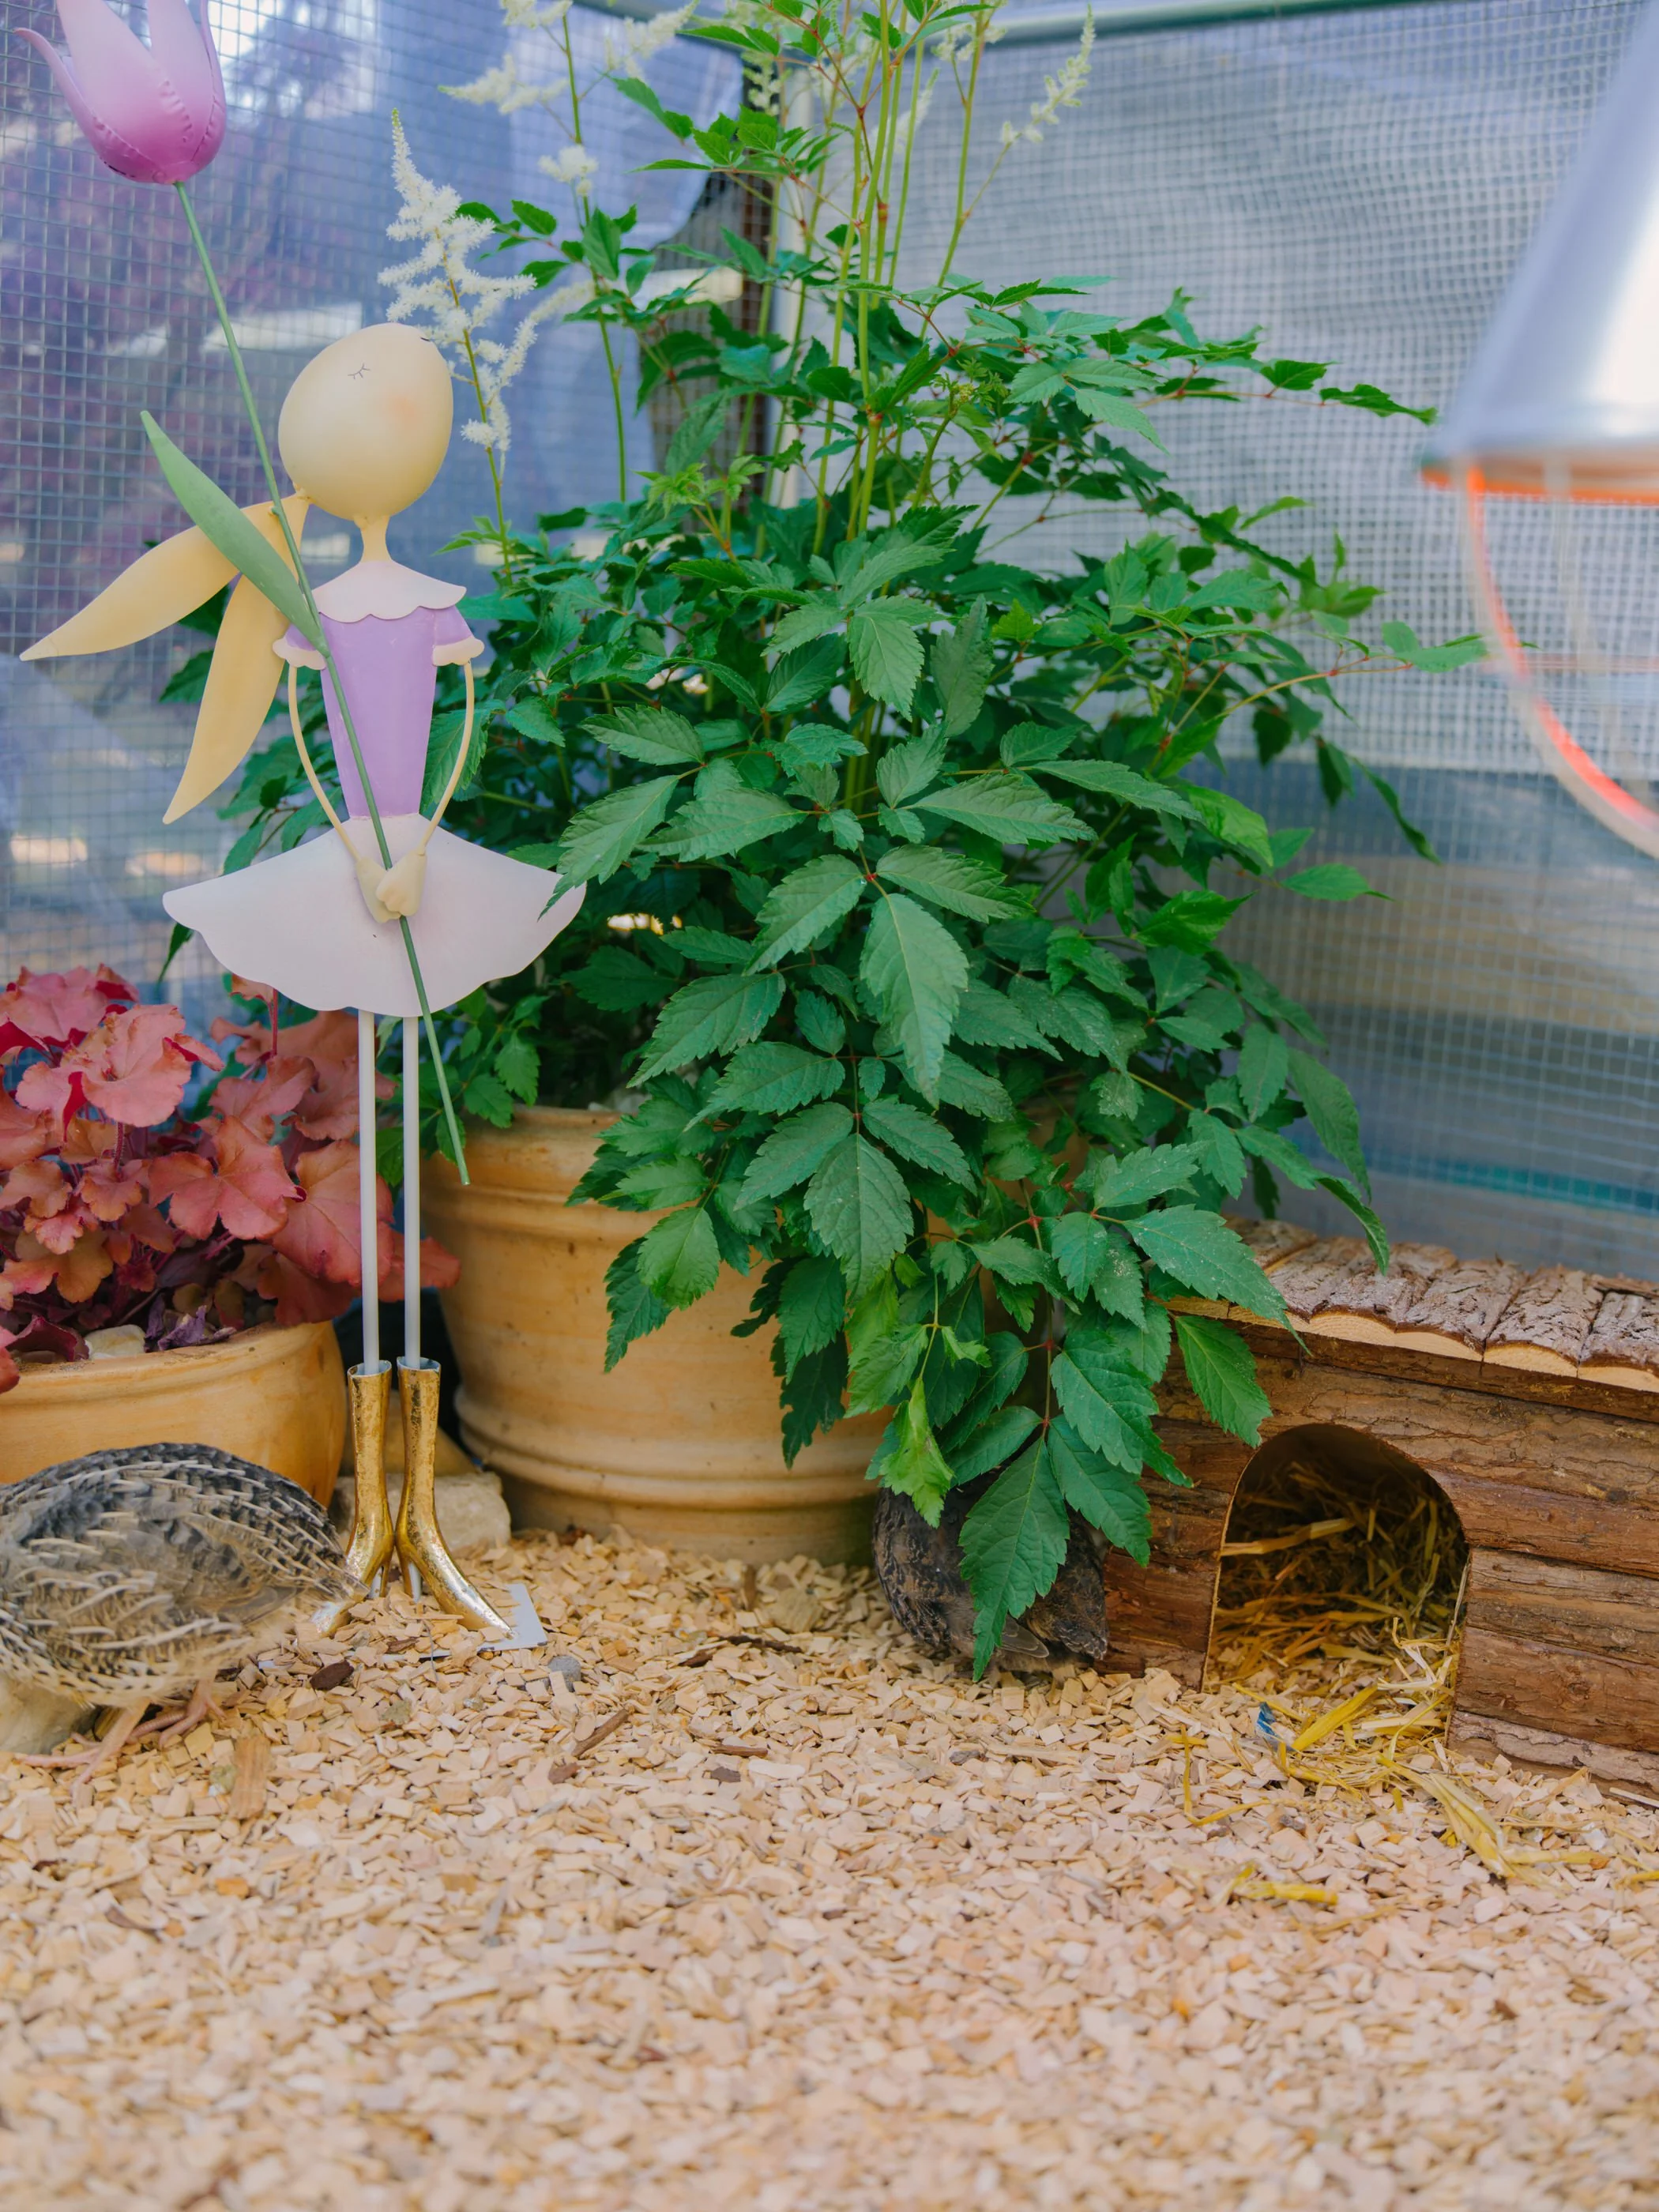
Another thing that’s different this time is that I’m not going to buy ready-grown quails from a farm anymore. Instead, I want to hatch them myself from eggs. That means I’ll be there from day one, literally from the incubation stage all the way until they grow up. So instead of them already being used to a farm environment, they’ll grow up in my setup from the beginning, which I hope will make them even more familiar and comfortable around me.
Overall, it feels like a completely new approach compared to before. It’s more intentional, more controlled, and I’ve learned a lot from the mistakes I made last time.
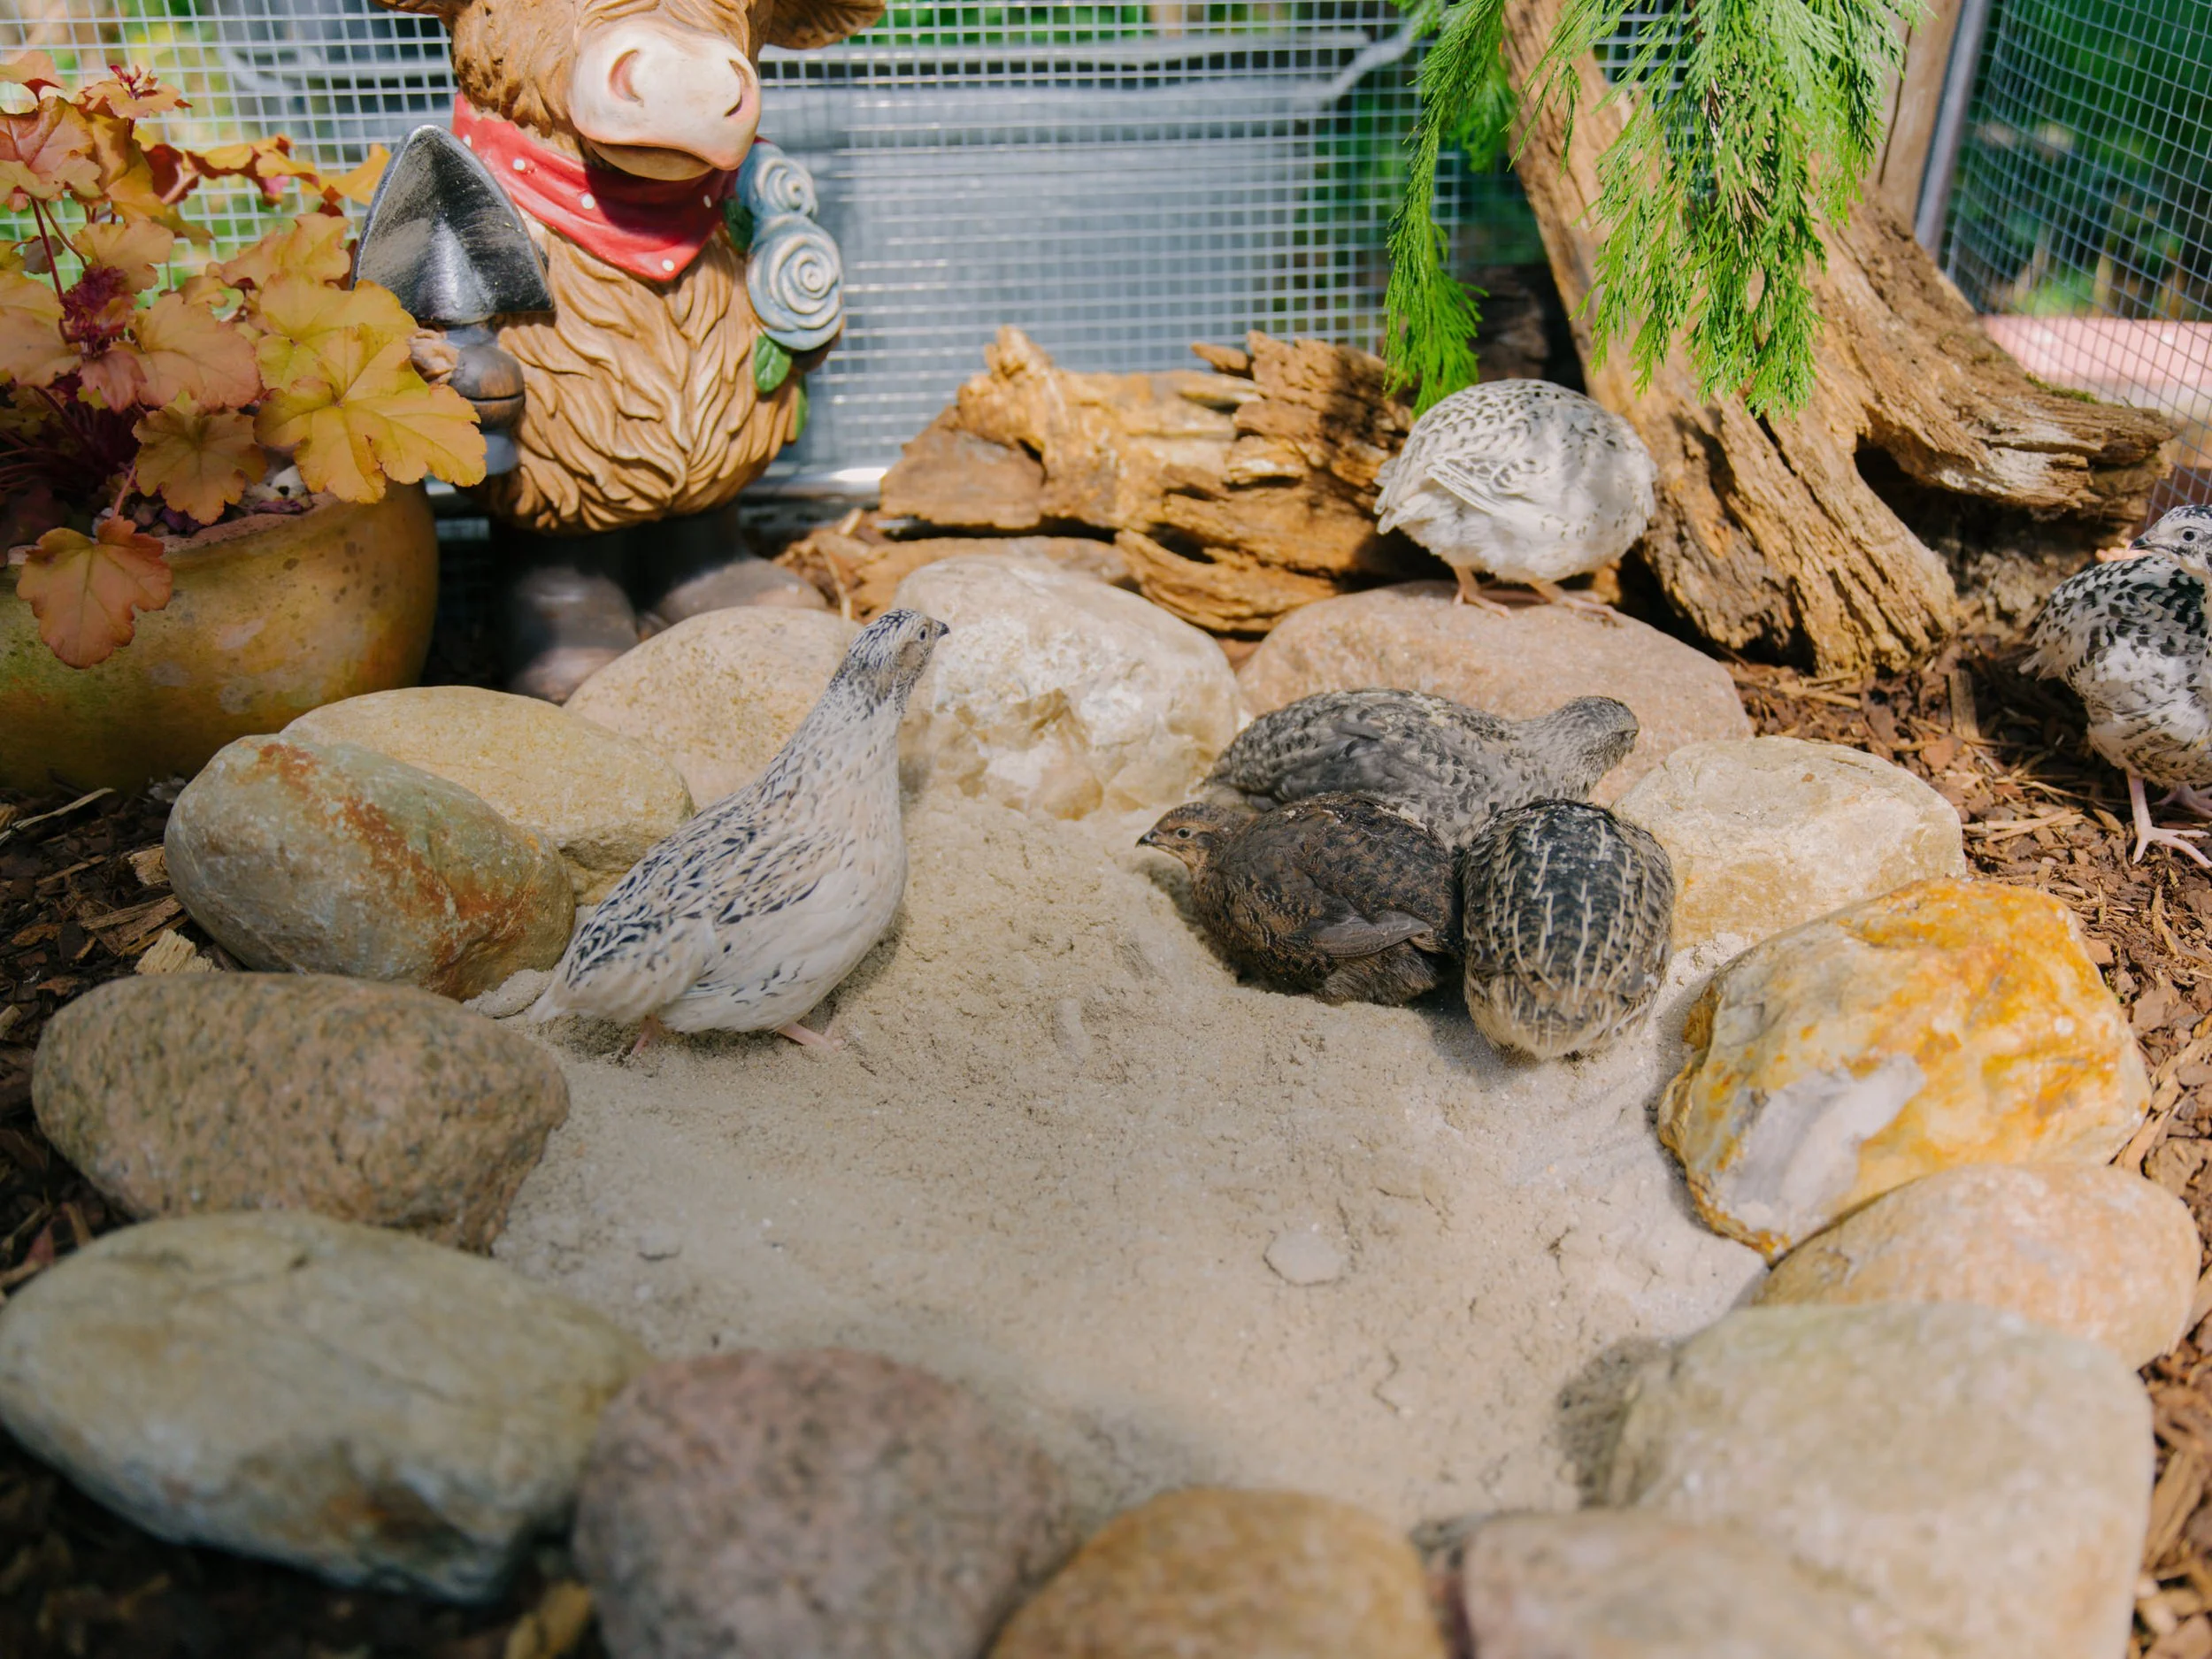
Quails don’t just benefit from plants around their coop visually - some plants and herbs can actually be a nice part of their environment because they naturally like pecking at greenery. It’s not a main food source for them, but more of an enrichment thing that keeps them active and curious.
They tend to enjoy soft, edible greens like things such as clover, dandelion leaves, chickweed, and grass shoots. These are all very natural for them to forage, and they’ll usually peck at them instinctively when they have access. It gives them something to do, which is important because quails can get bored quite easily in a confined space.
Herbs are also interesting because many of them are not just safe but can support general wellbeing. Plants like parsley, basil, oregano, thyme, and mint are often used in small amounts. Some people believe they may even help with digestion or act as mild natural support for immunity, although the main benefit is really enrichment and variety rather than nutrition.
That said, moderation is important. Even though they like greens, quails still need a proper formulated feed as their main diet. Plants and herbs should always be something they nibble on alongside their main food, not something that replaces it.
Another interesting thing is that quails often don’t just eat the leaves -they’ll also peck at small seeds, flowers, and even insects that might be on the plants. So having a bit of vegetation around the coop naturally creates a more stimulating environment for them, closer to what they would experience in nature.
From a practical point of view, planting herbs and grasses around the coop also helps you. It makes the area feel more alive and less like a closed animal pen, and at the same time it gives the quails safe, natural enrichment right where they live.
So overall, plants in a quail area are less about feeding them and more about creating a small, natural ecosystem where they can forage, explore, and behave a bit more like they would in the wild.



Store eggs at around 18-22°C before incubation.
If you receive eggs from a professional farm during cold weather, whether shipped or freshly collected in winter, don’t place them directly into the incubator.
Instead:
Let them sit indoors overnight to up to 24 hours so they slowly warm up to room temperature.
This prevents thermal shock, which can reduce hatch rates.
Stage 1: Incubation (Day 1–14)
Temperature: 37.5–37.8°C
Humidity: 50–60%
Ideally use an incubator with automatic egg turning.
If not, manually turn eggs 3–4 times per day
Stage 2: Late incubation (Day 15)
Stop turning eggs completely
Temperature: 37.2–37.5°C
Humidity: 65–75%
(Higher humidity helps chicks hatch more easily)
Important tip
Use a separate thermometer and humidity meter inside the incubator.
Do not rely 100% on the incubator’s built-in display—especially with small hobby or home incubators, as they are often inaccurate.
Even small temperature or humidity errors can significantly reduce hatch success.
Hatching
Quails usually hatch around day 16–19
The chick will first create a small crack, then slowly rotate inside the egg to “zip” it open
This process can take 3 to 12 hours
After hatching
Leave the chicks inside the incubator until:
Their feathers are completely dry
They can stand steadily
They become active and start calling
This usually takes 8–12 hours after hatching
Very important
Do NOT open the incubator during hatching.
Opening it causes:
Heat and humidity loss
Other eggs may stop hatching properly
Low humidity at this stage can cause:
“Sticky chicks”
• Dried membranes trapping chicks inside the shell
Feeding after hatch
Baby quails do NOT need food or water for the first 24 hours, because they still absorb nutrients from the remaining yolk inside their body.
Week 1 (0–7 days)
Temperature: 35–37°C under heat lamp
Food: Sprinkle feed directly on the floor for the first 2 days, then switch to a feeder
Water: Shallow water dish with small stones (to prevent drowning)
Bedding: Paper towels (kitchen roll)
Behavior:
Sleep a lot
Eat small amounts frequently throughout the day
Paper towels are highly recommended as bedding for baby quails during their first 1 to 2 weeks of life. They provide a non-slip, grippy surface that prevents leg injuries like splayed leg, while allowing you to easily monitor the chicks' droppings and sprinkle food directly on the ground.
Week 2 (7–14 days)
Temperature: 32–34°C
Switch fully to wood shavings as bedding
Changes in behavior:
Very active, running around constantly
Noticeably increased appetite
Brooder starts to feel too small
When quails hatch, they are extremely small and fragile. A small brooder helps because it:
Keeps them warm more easily (heat doesn’t escape)
Makes food and water easy to find
Reduces stress from too much open space
Helps them stay together as a group
But by week 2, this starts to reverse.
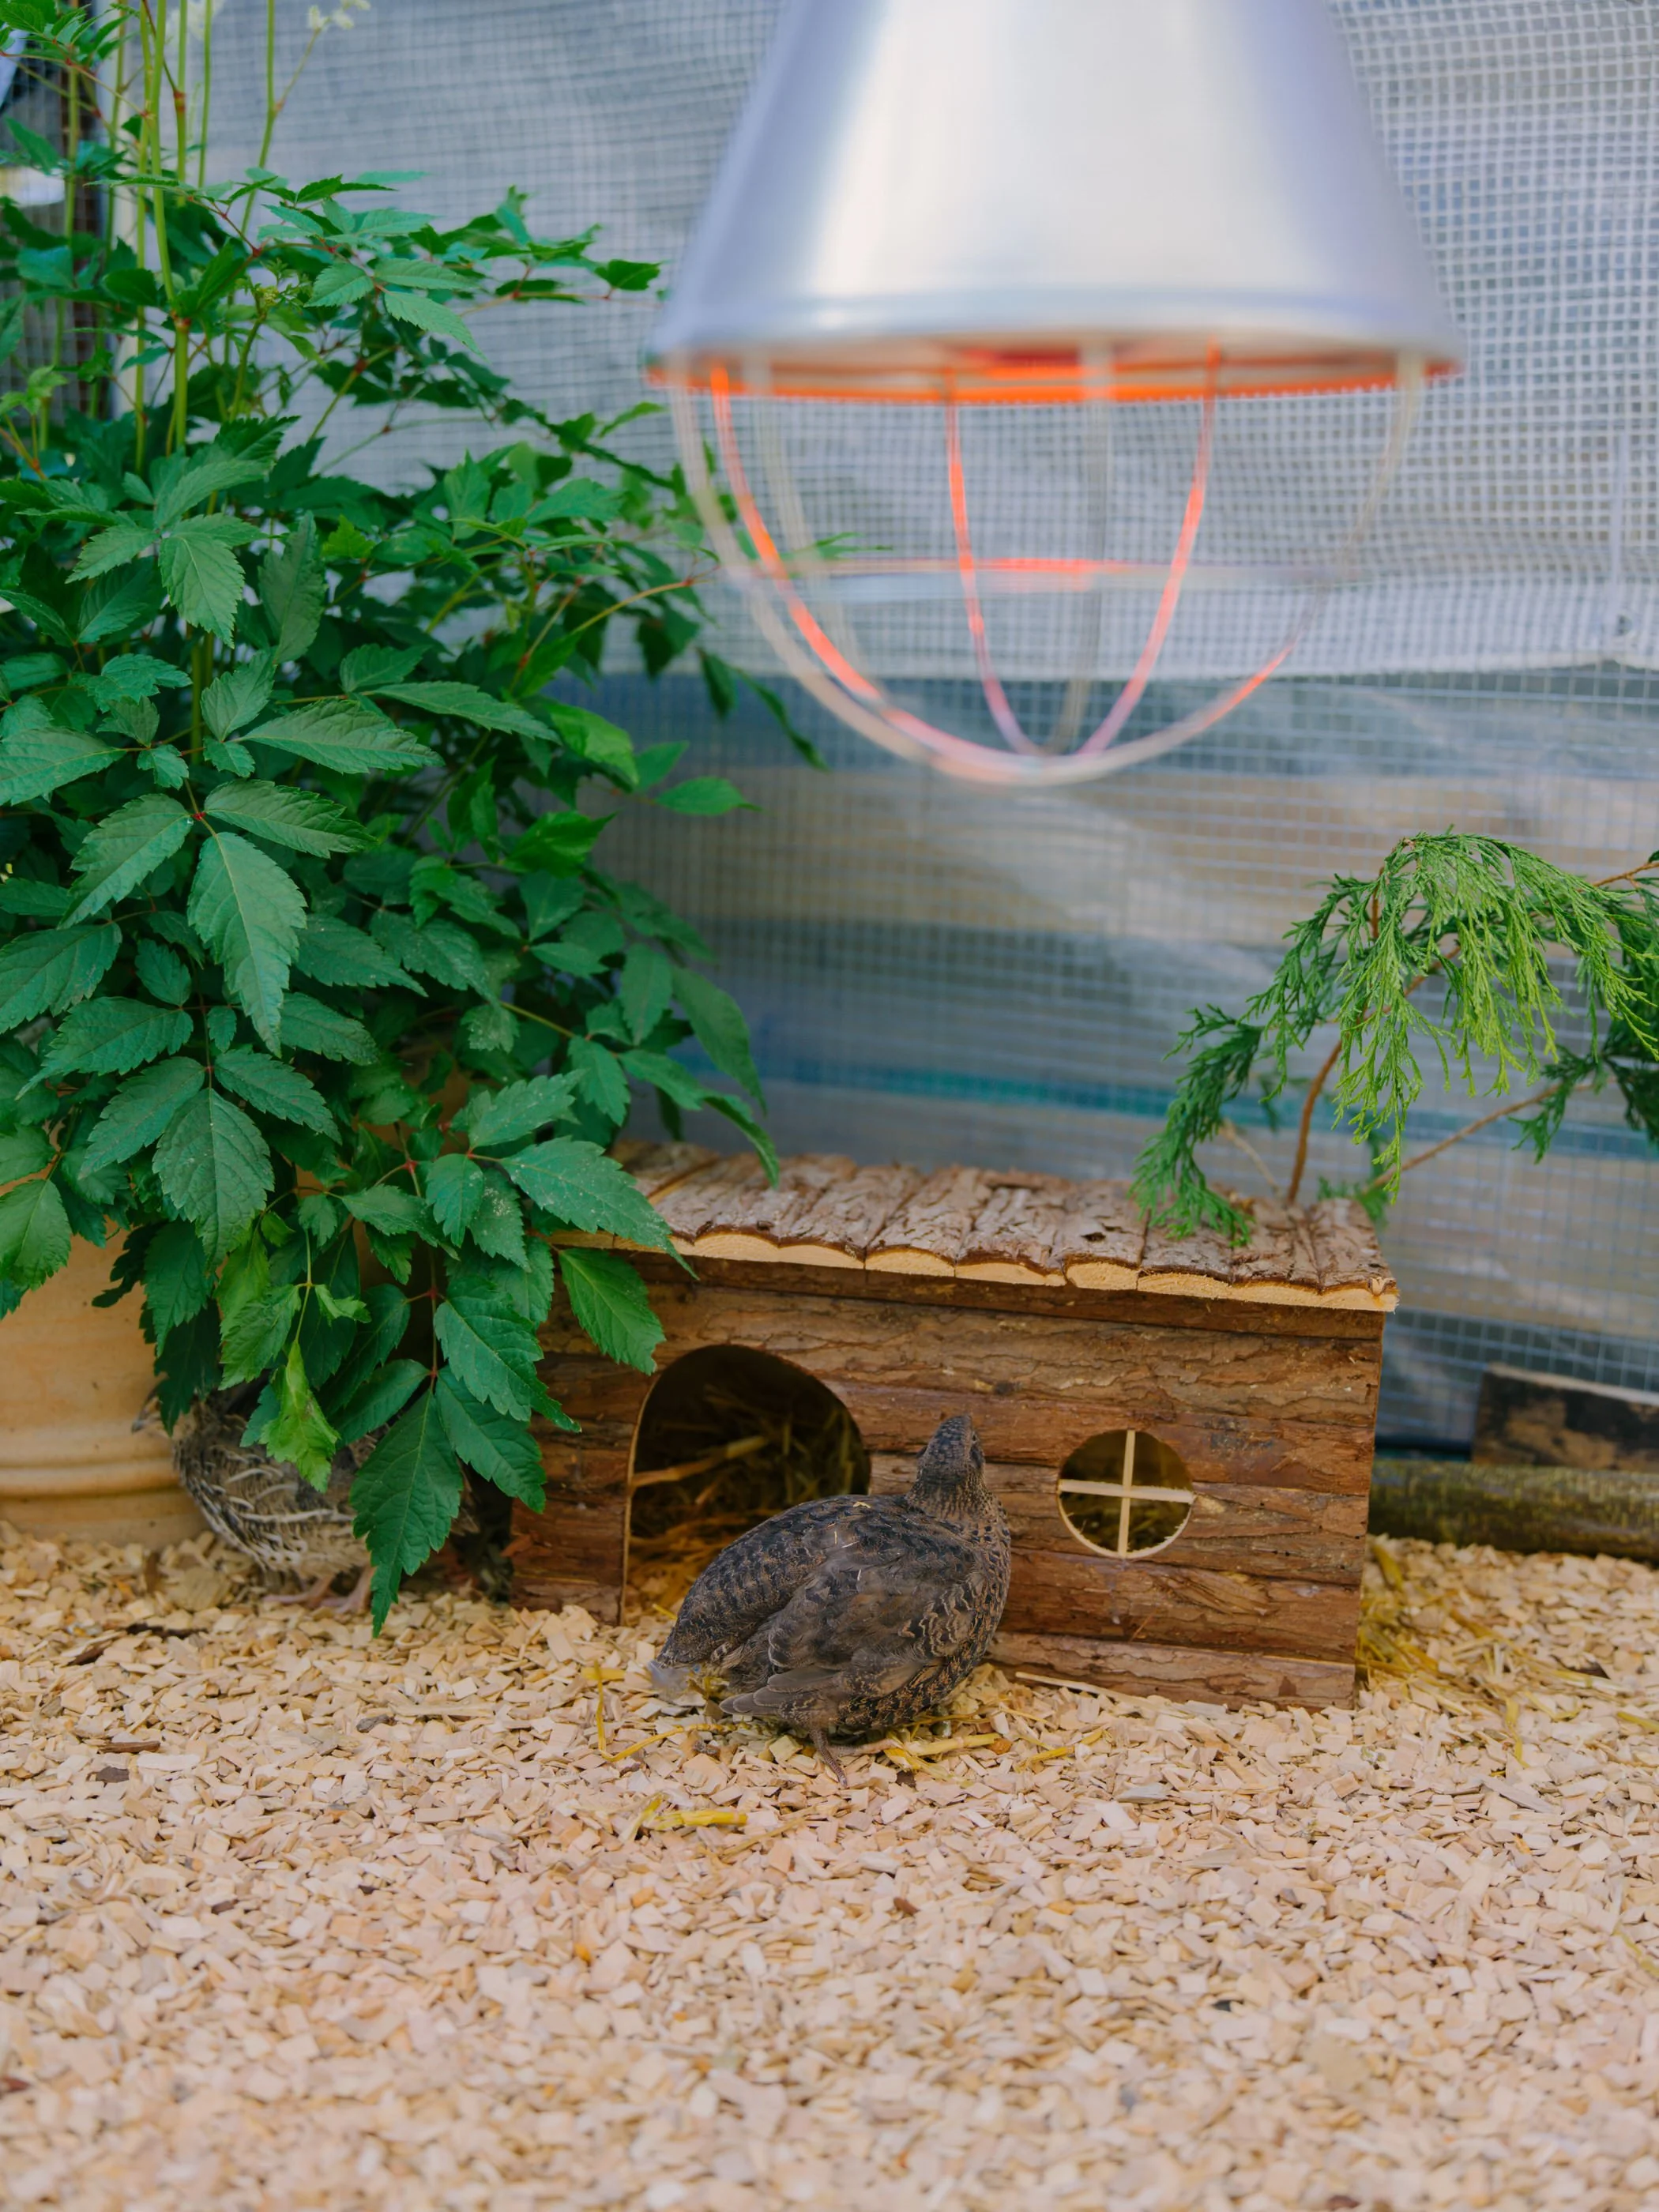
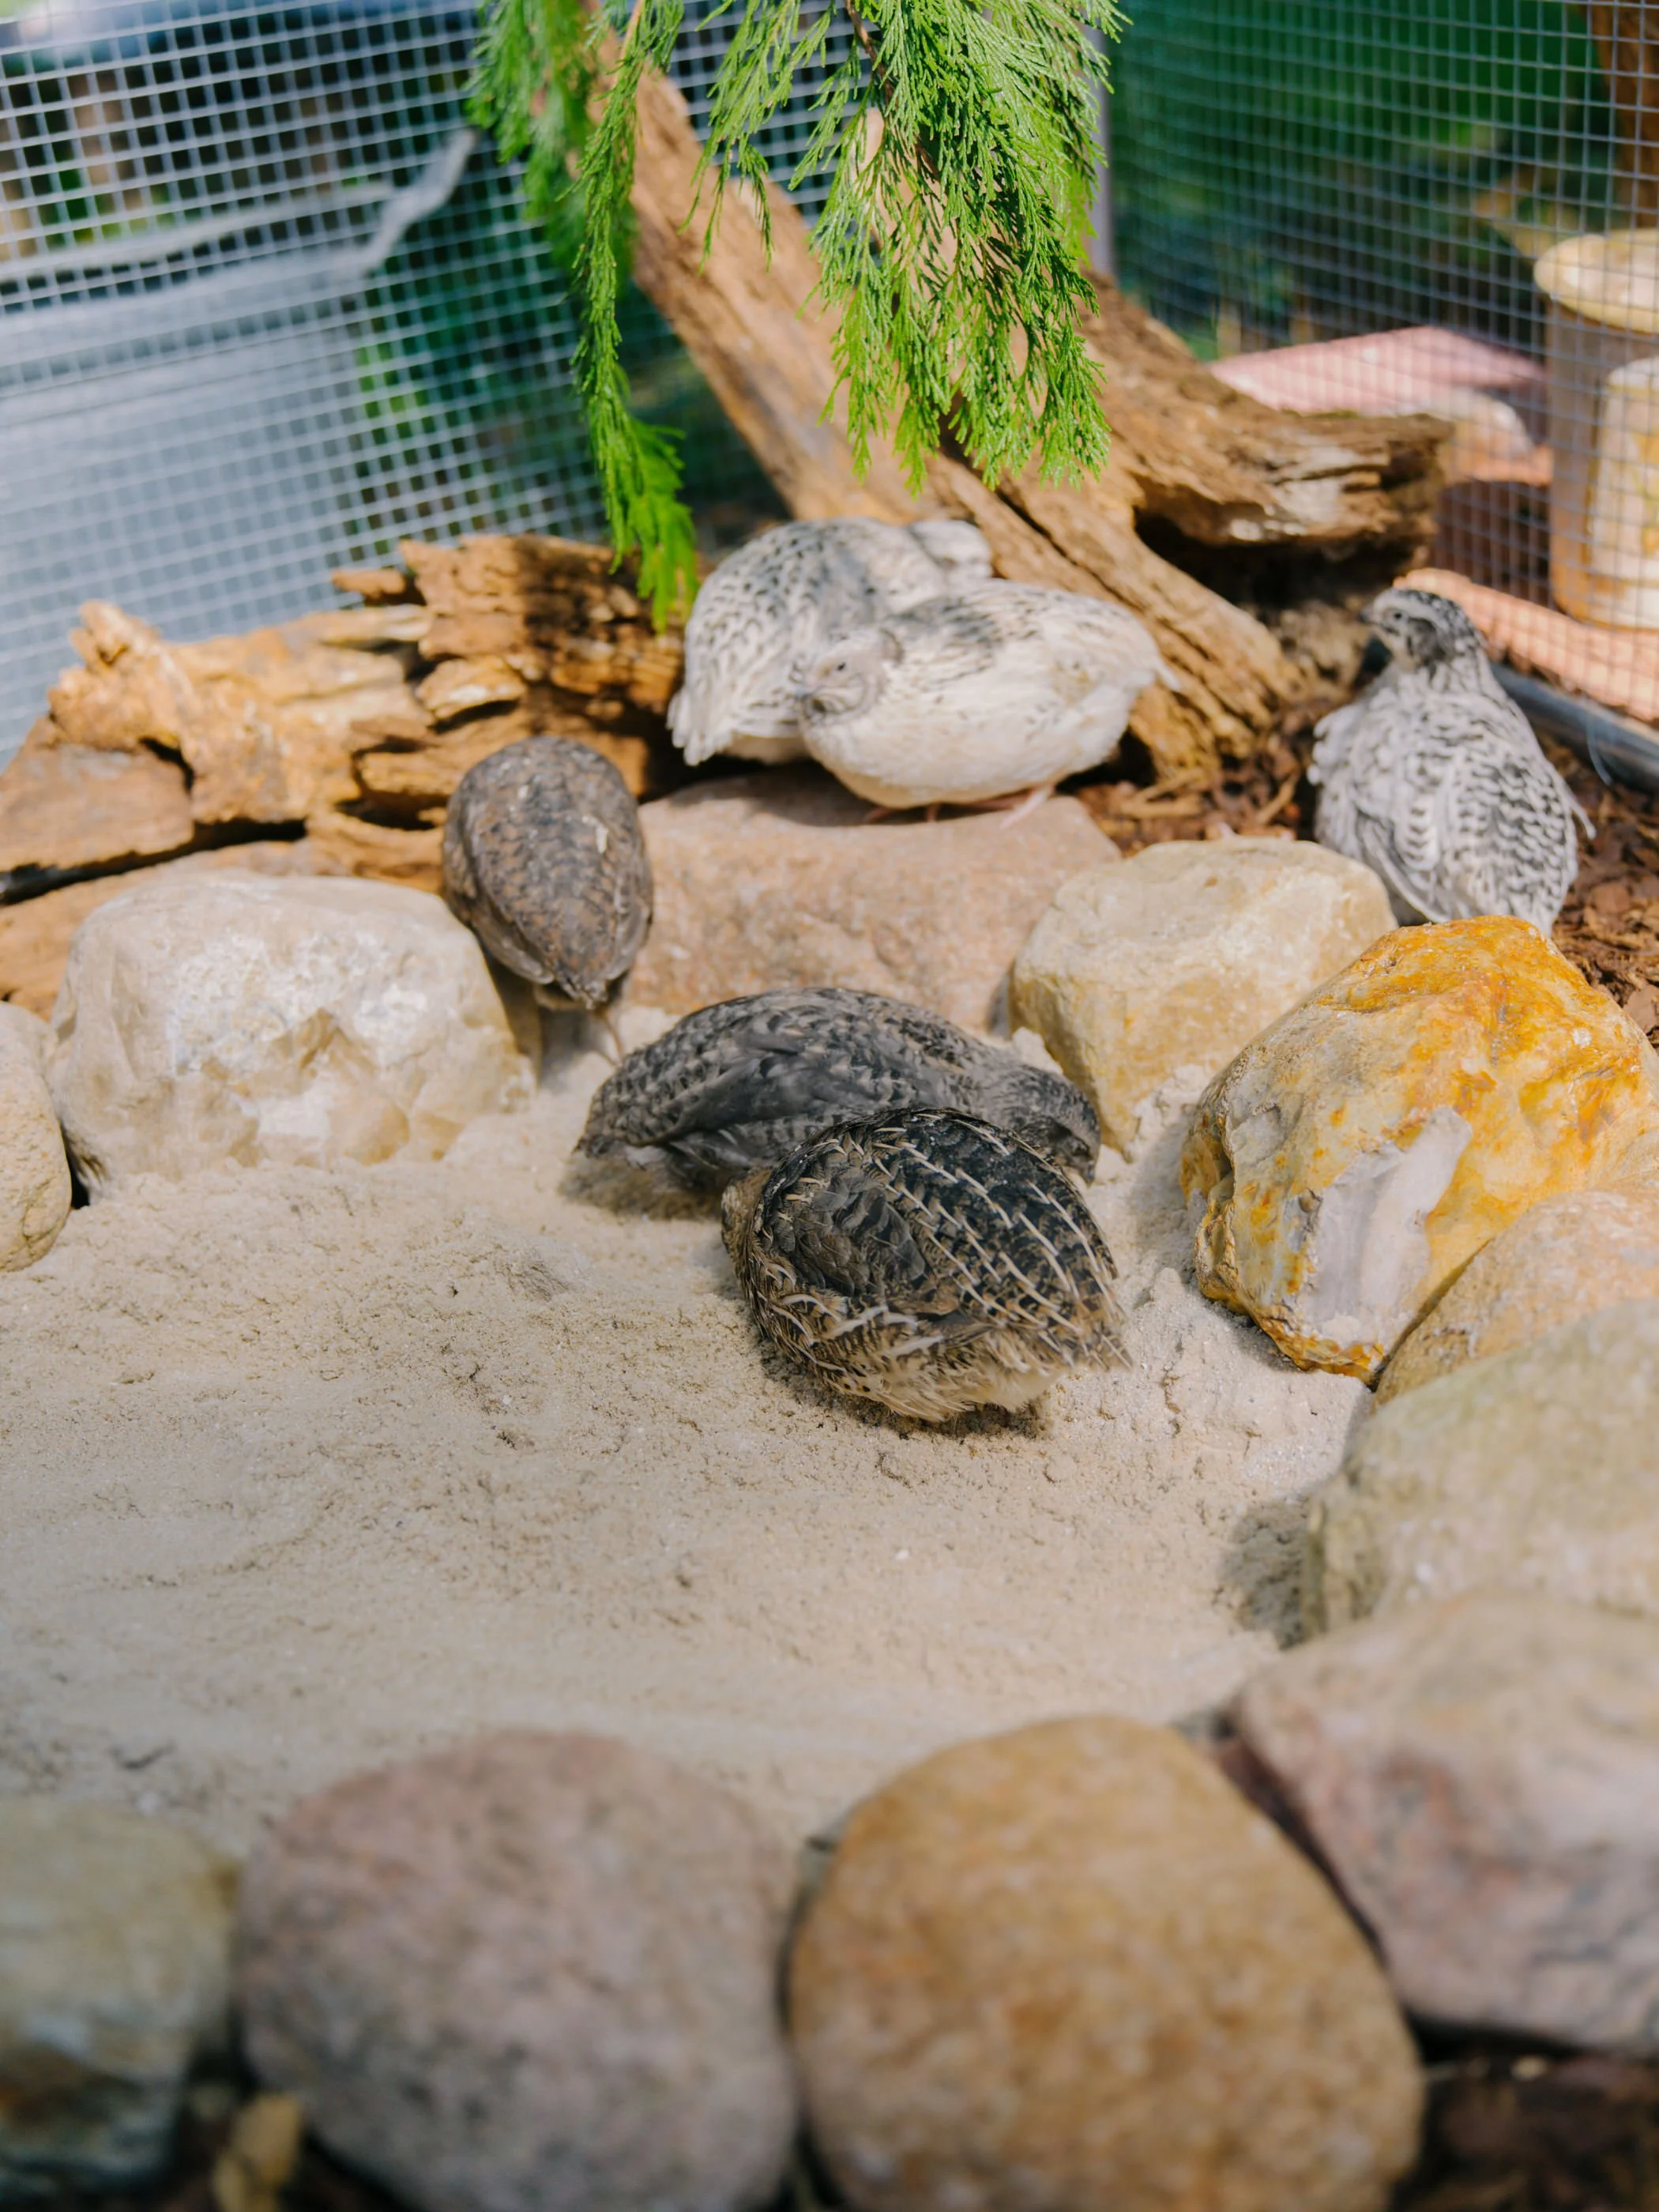
Housing upgrade:
Move them to a larger box (e.g. 60 × 120 cm)
But: Do NOT give them the full space immediately. Expand gradually.
Quails are flock animals and can get stressed if their environment changes too suddenly.
Week 3 (14–21 days)
Temperature: 28–30°C
You may:
Turn off heat during the day
Only use heat at night if needed
Development:
Almost fully feathered
Much less dependent on heat
More independent and active
Week 4 (21–28 days)
Temperature: 24–26°C (room temperature is usually enough)
No heat lamp needed if indoor temperature is stable
Optional:
You can move them to an outdoor coop if:
Night temperature stays around 18–20°C
No rain or cold wind exposure
Heat behavior guide:
All chicks huddled tightly under lamp → too cold
Chicks staying far away from heat → too hot
• Evenly spread out, calm → perfect temperature
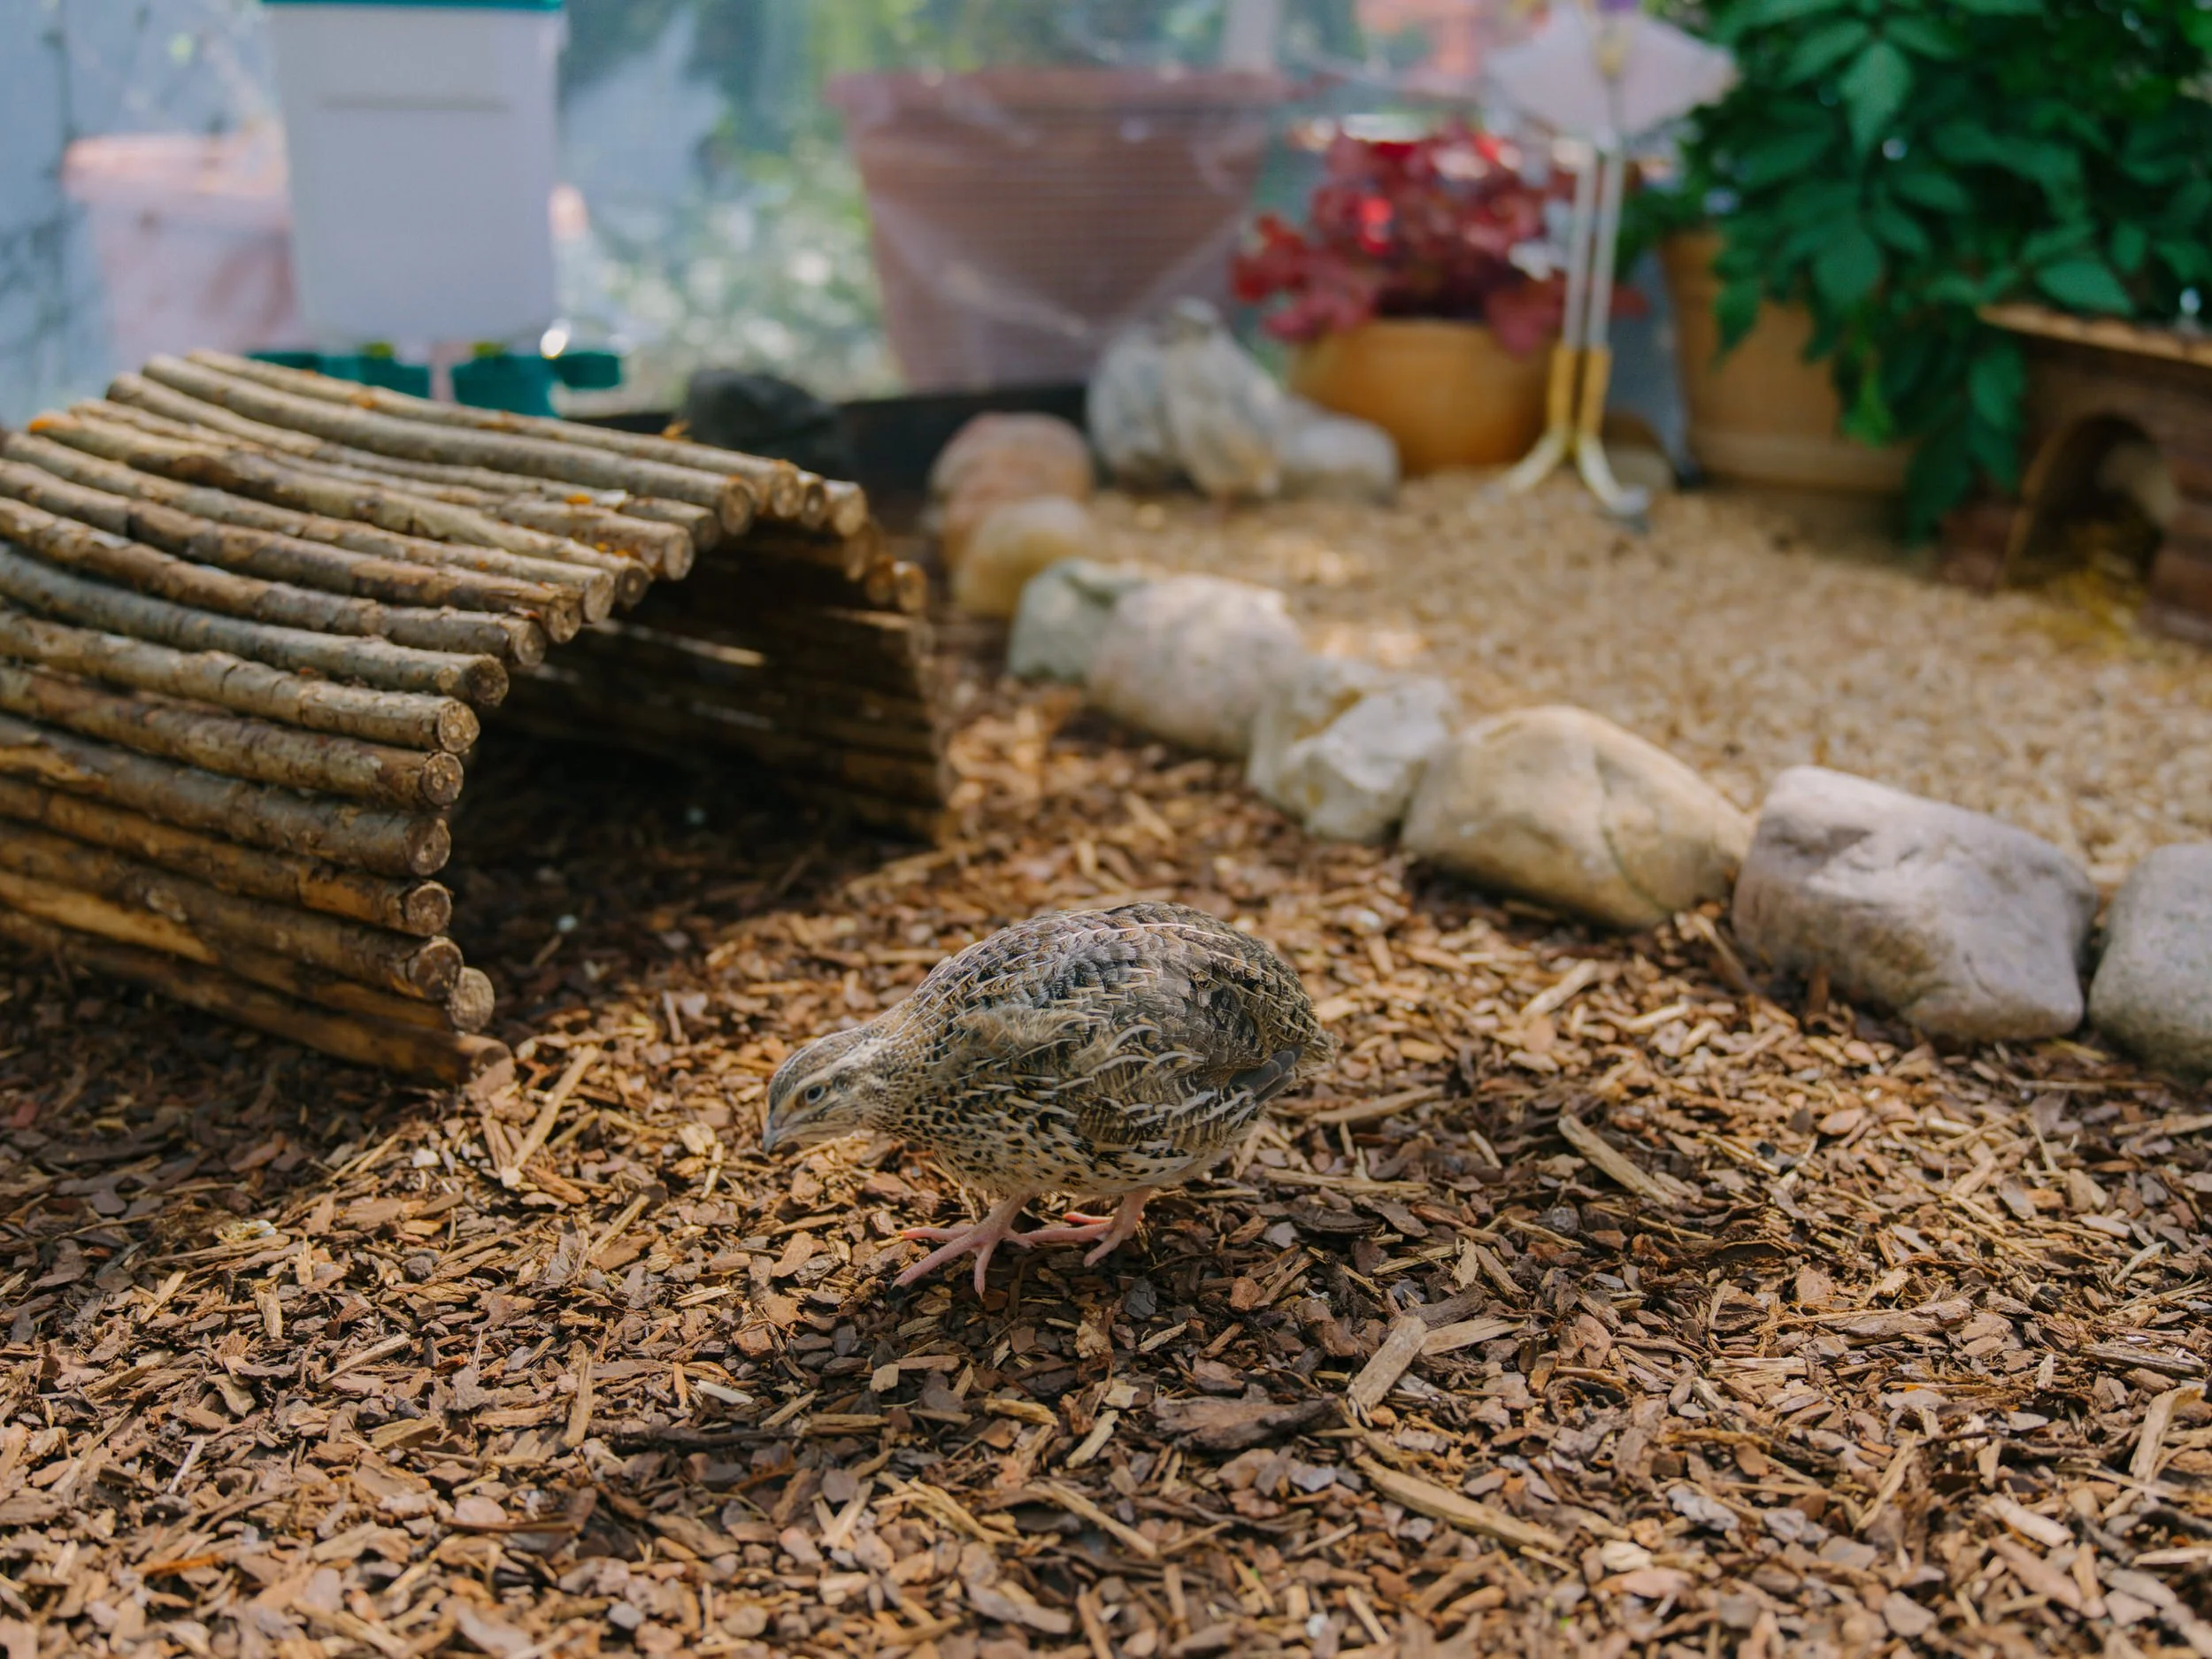
Sexing Quails (Gender Identification)
Method 1: Foam Test (Most Reliable Early Method)
The foam test is the most accurate way to identify male quails at an early age.
You can start checking from around 3 to 4 weeks old, but the results become much more reliable at around 6 weeks.
To perform the test, gently hold the quail in your hand and keep it calm.
Then, use your fingers to press lightly just above the vent, near the cloaca.
If a white, foamy substance appears, the quail is male.
If there is no foam at all, the quail is female.
This foam is produced by a gland that only male quails have, which is why this method is very reliable.
For best accuracy, test a few times on different days, especially if the quail is still young.
Method 2: Voice (Behavior-Based Identification)
You can also start identifying quails by their sounds from around 4 weeks old.
Male quails will begin to make loud, long, and distinctive crowing calls.
Their call is much stronger and more noticeable, often repeated throughout the day.
Female quails, on the other hand, do not crow.
They only make soft, short chirping sounds, similar to their normal chick noises.
As they get older, the difference becomes very obvious, especially once males reach full maturity.
Tip
If you are unsure, it’s best to combine both methods.
Use the foam test for accuracy, and the sound as a quick daily indicator.
Moving Quails Outdoors
5–6 weeks old
At this stage, they start tolerating cooler temperatures and can begin outdoor training.
Daytime exposure (only in good weather):
30 minutes to 2 hours outside
Only when:
No rain
No strong wind
Sunny or at least mild temperatures
After 6 weeks
If they are:
Fully feathered
Healthy
Kept in a dry coop
Protected from wind
They can handle temperatures close to 0°C better than expected.
Outdoor coop setup:
Roofed shelter
Heat lamp at night (important in colder climates like Germany)
Safe hiding boxes
Wind protection at ground level
Even after moving them outside, I still use a heat lamp at night until around 8 weeks, because in Germany temperatures can still drop to 0–2°C at night.
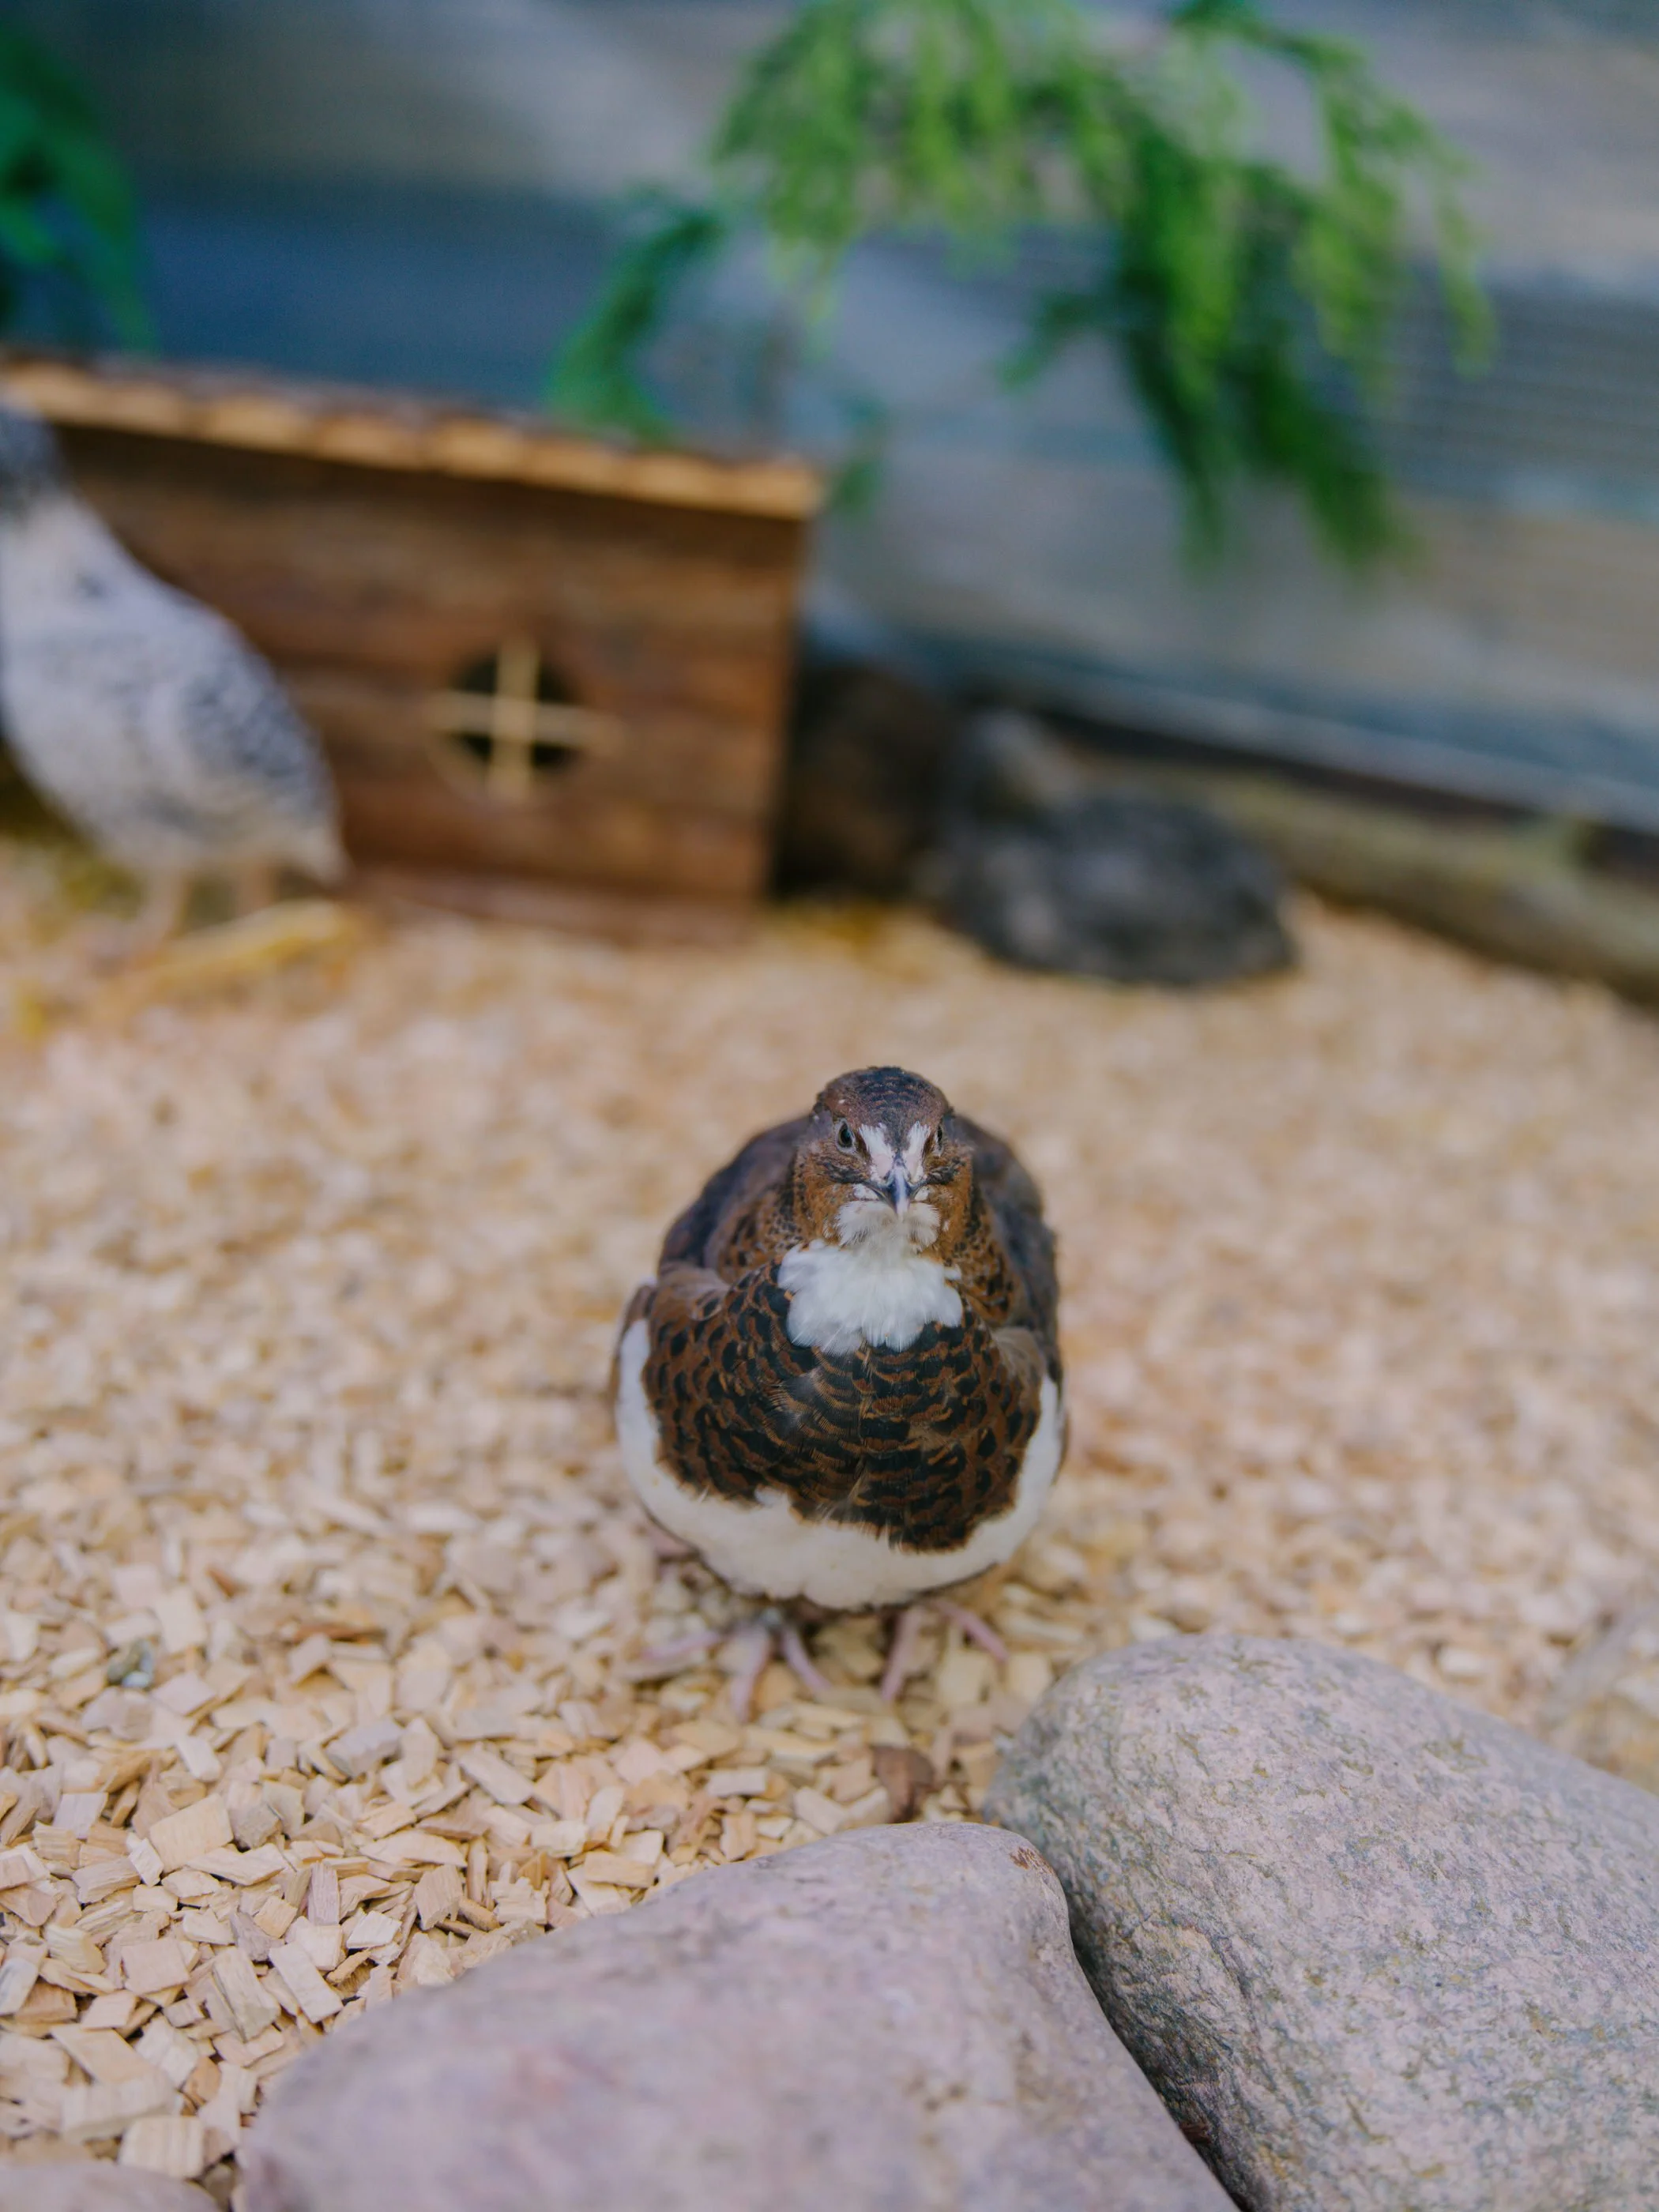
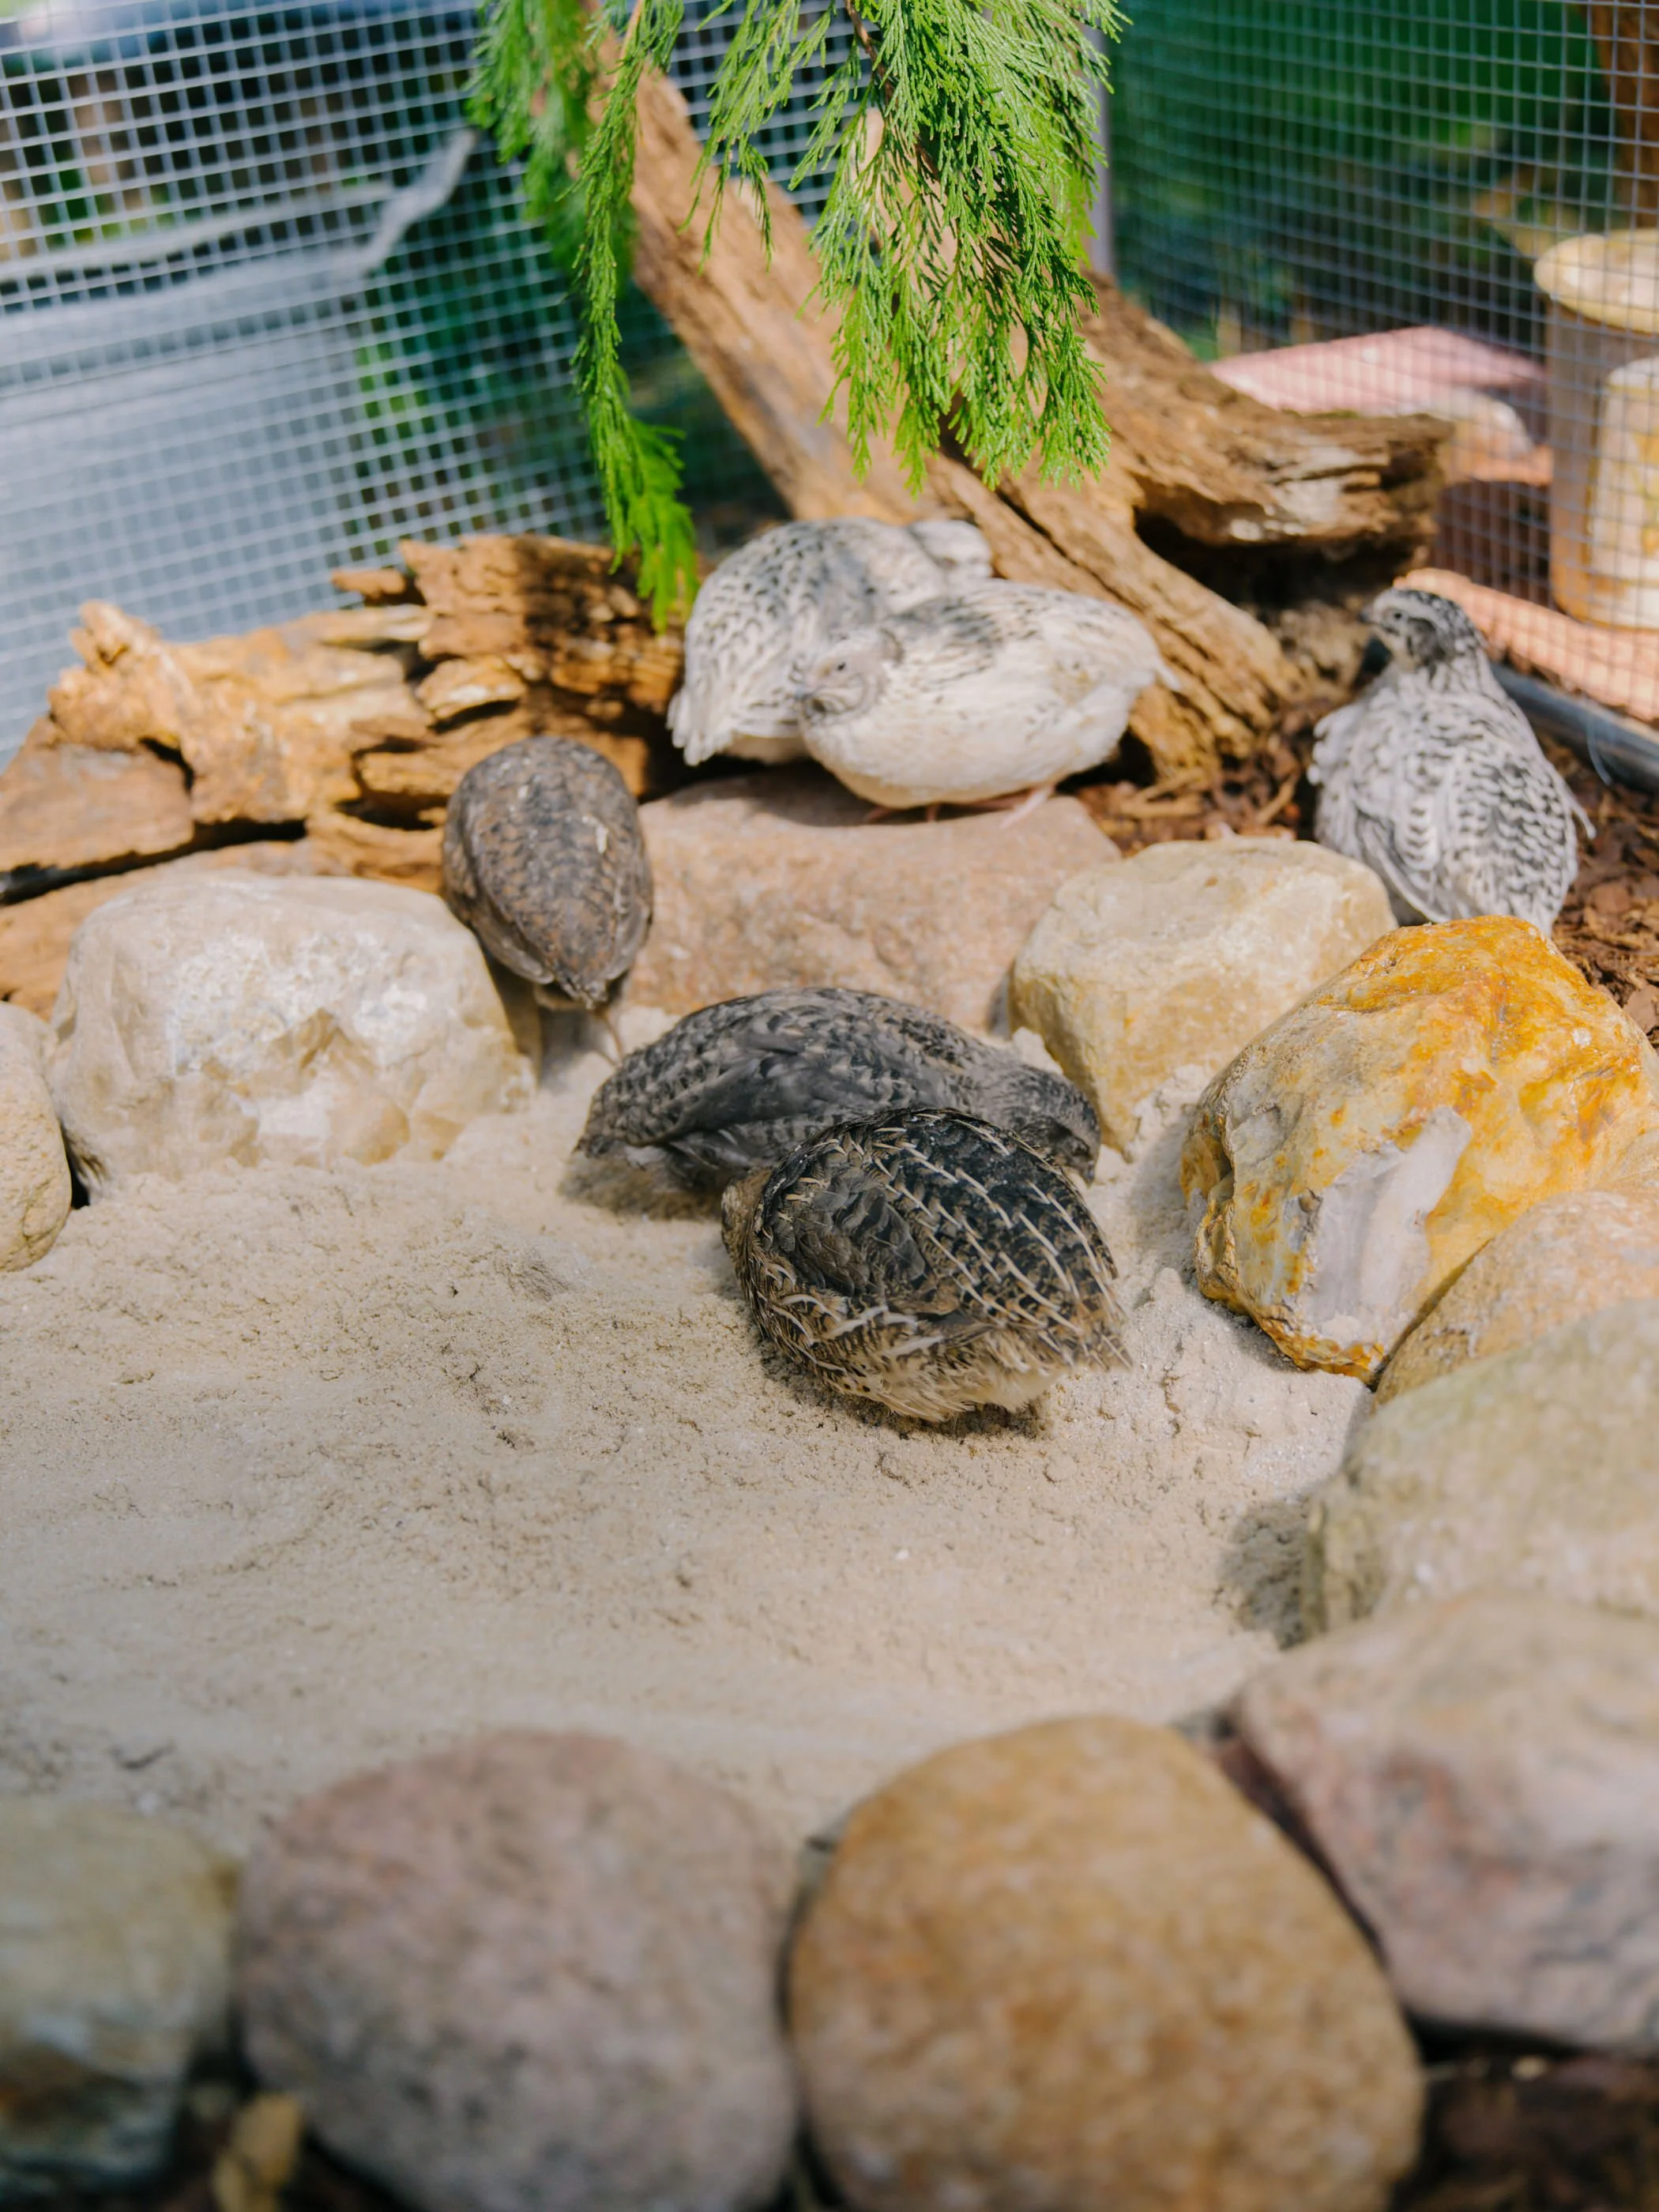
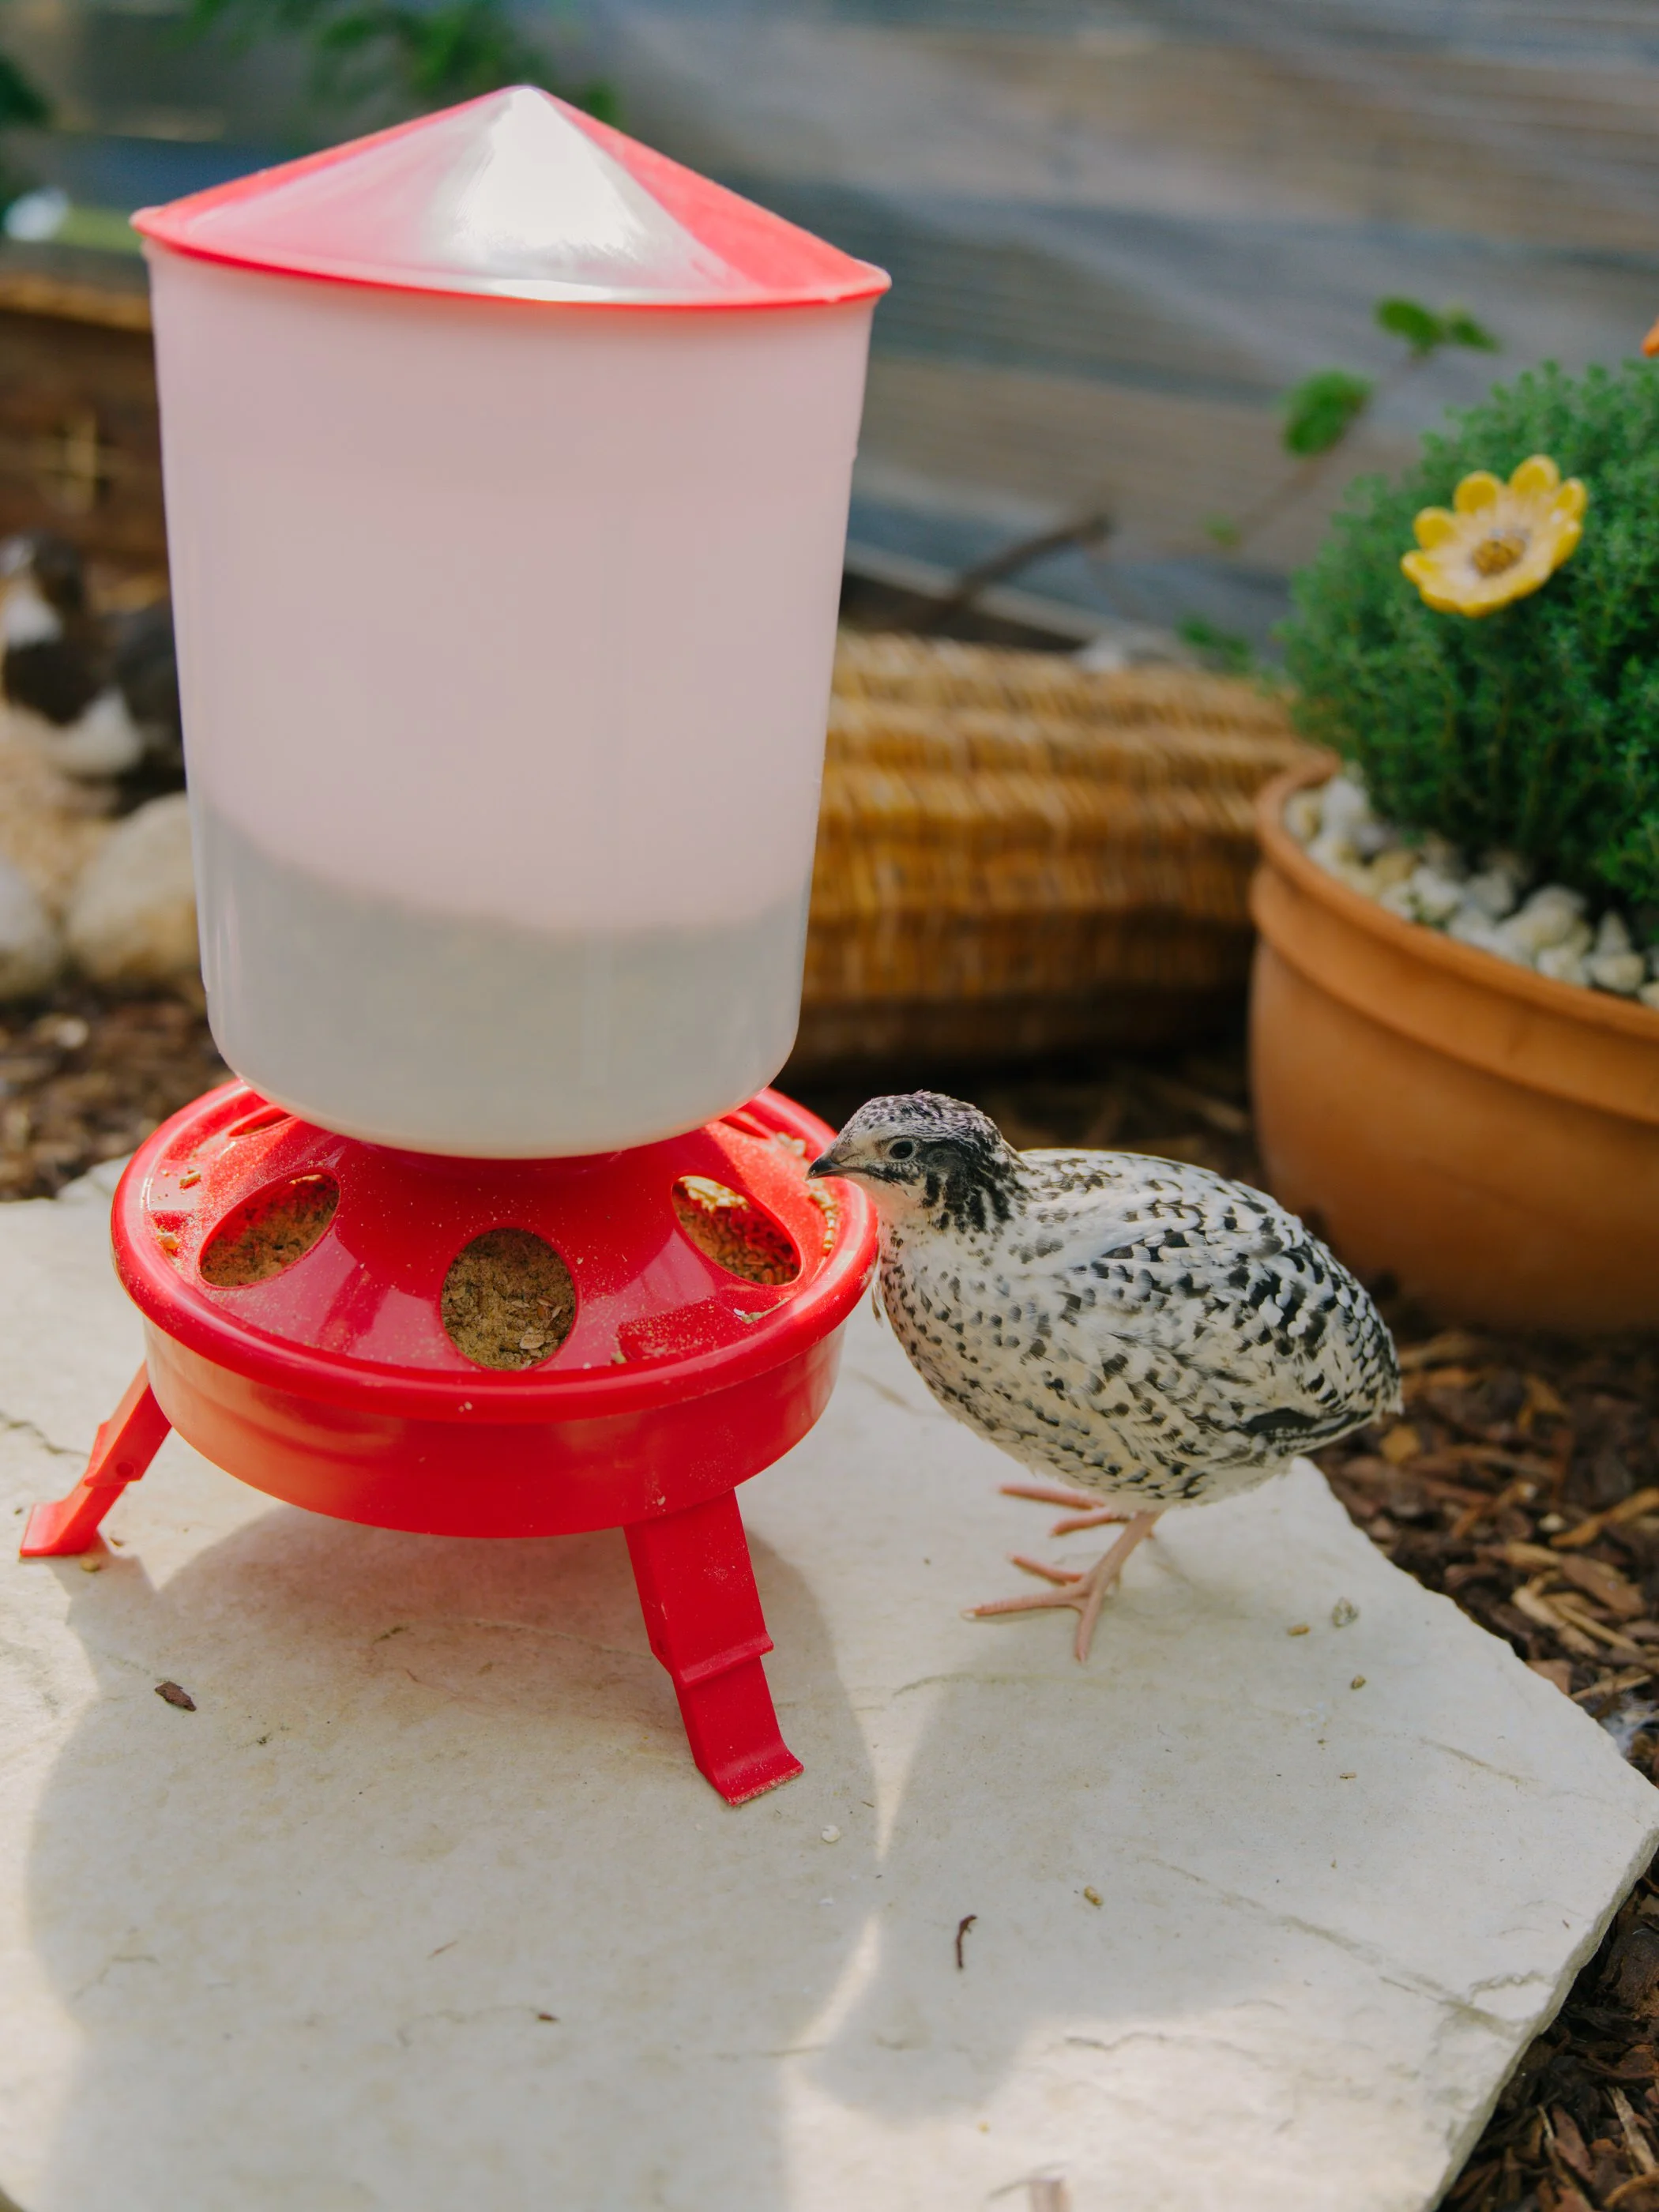
Feeding quails properly is one of the biggest factors that determines how healthy they are, how fast they grow, and how well they lay eggs. It’s not just about giving them “some feed”—their nutrition needs actually change quite a lot depending on their age and purpose.
When they’re chicks, from day one up to about 3–4 weeks, they need a high-protein starter feed, ideally around 24–28% protein. This is because they grow extremely fast in the first weeks, much faster than chickens, and protein is what supports that development—feathers, muscles, and overall strength. The feed should be finely ground or crumble form, because they’re so small and can’t handle large pellets yet. In the beginning, they don’t eat much at once, but they eat very frequently throughout the day, so food should always be available.
As they move into the growing phase, around 3–5 weeks, you can slowly transition them to a slightly lower protein feed, around 20–24%. At this point, their growth slows down a bit, but they’re still developing, so they still need good nutrition. This is also when you start noticing the difference between males and females, and their behavior becomes more active, so consistent feeding becomes even more important.
Once they reach laying age, usually around 5–6 weeks for Japanese quails, their nutritional needs change again. Now the focus shifts from growth to egg production, so they need a layer feed with around 18–22% protein, but more importantly, a higher calcium content. Calcium is essential for strong eggshells. If they don’t get enough, you’ll see thin shells, soft eggs, or even health issues in the hens. A lot of people add crushed oyster shells or a separate calcium source so the females can regulate their intake themselves.
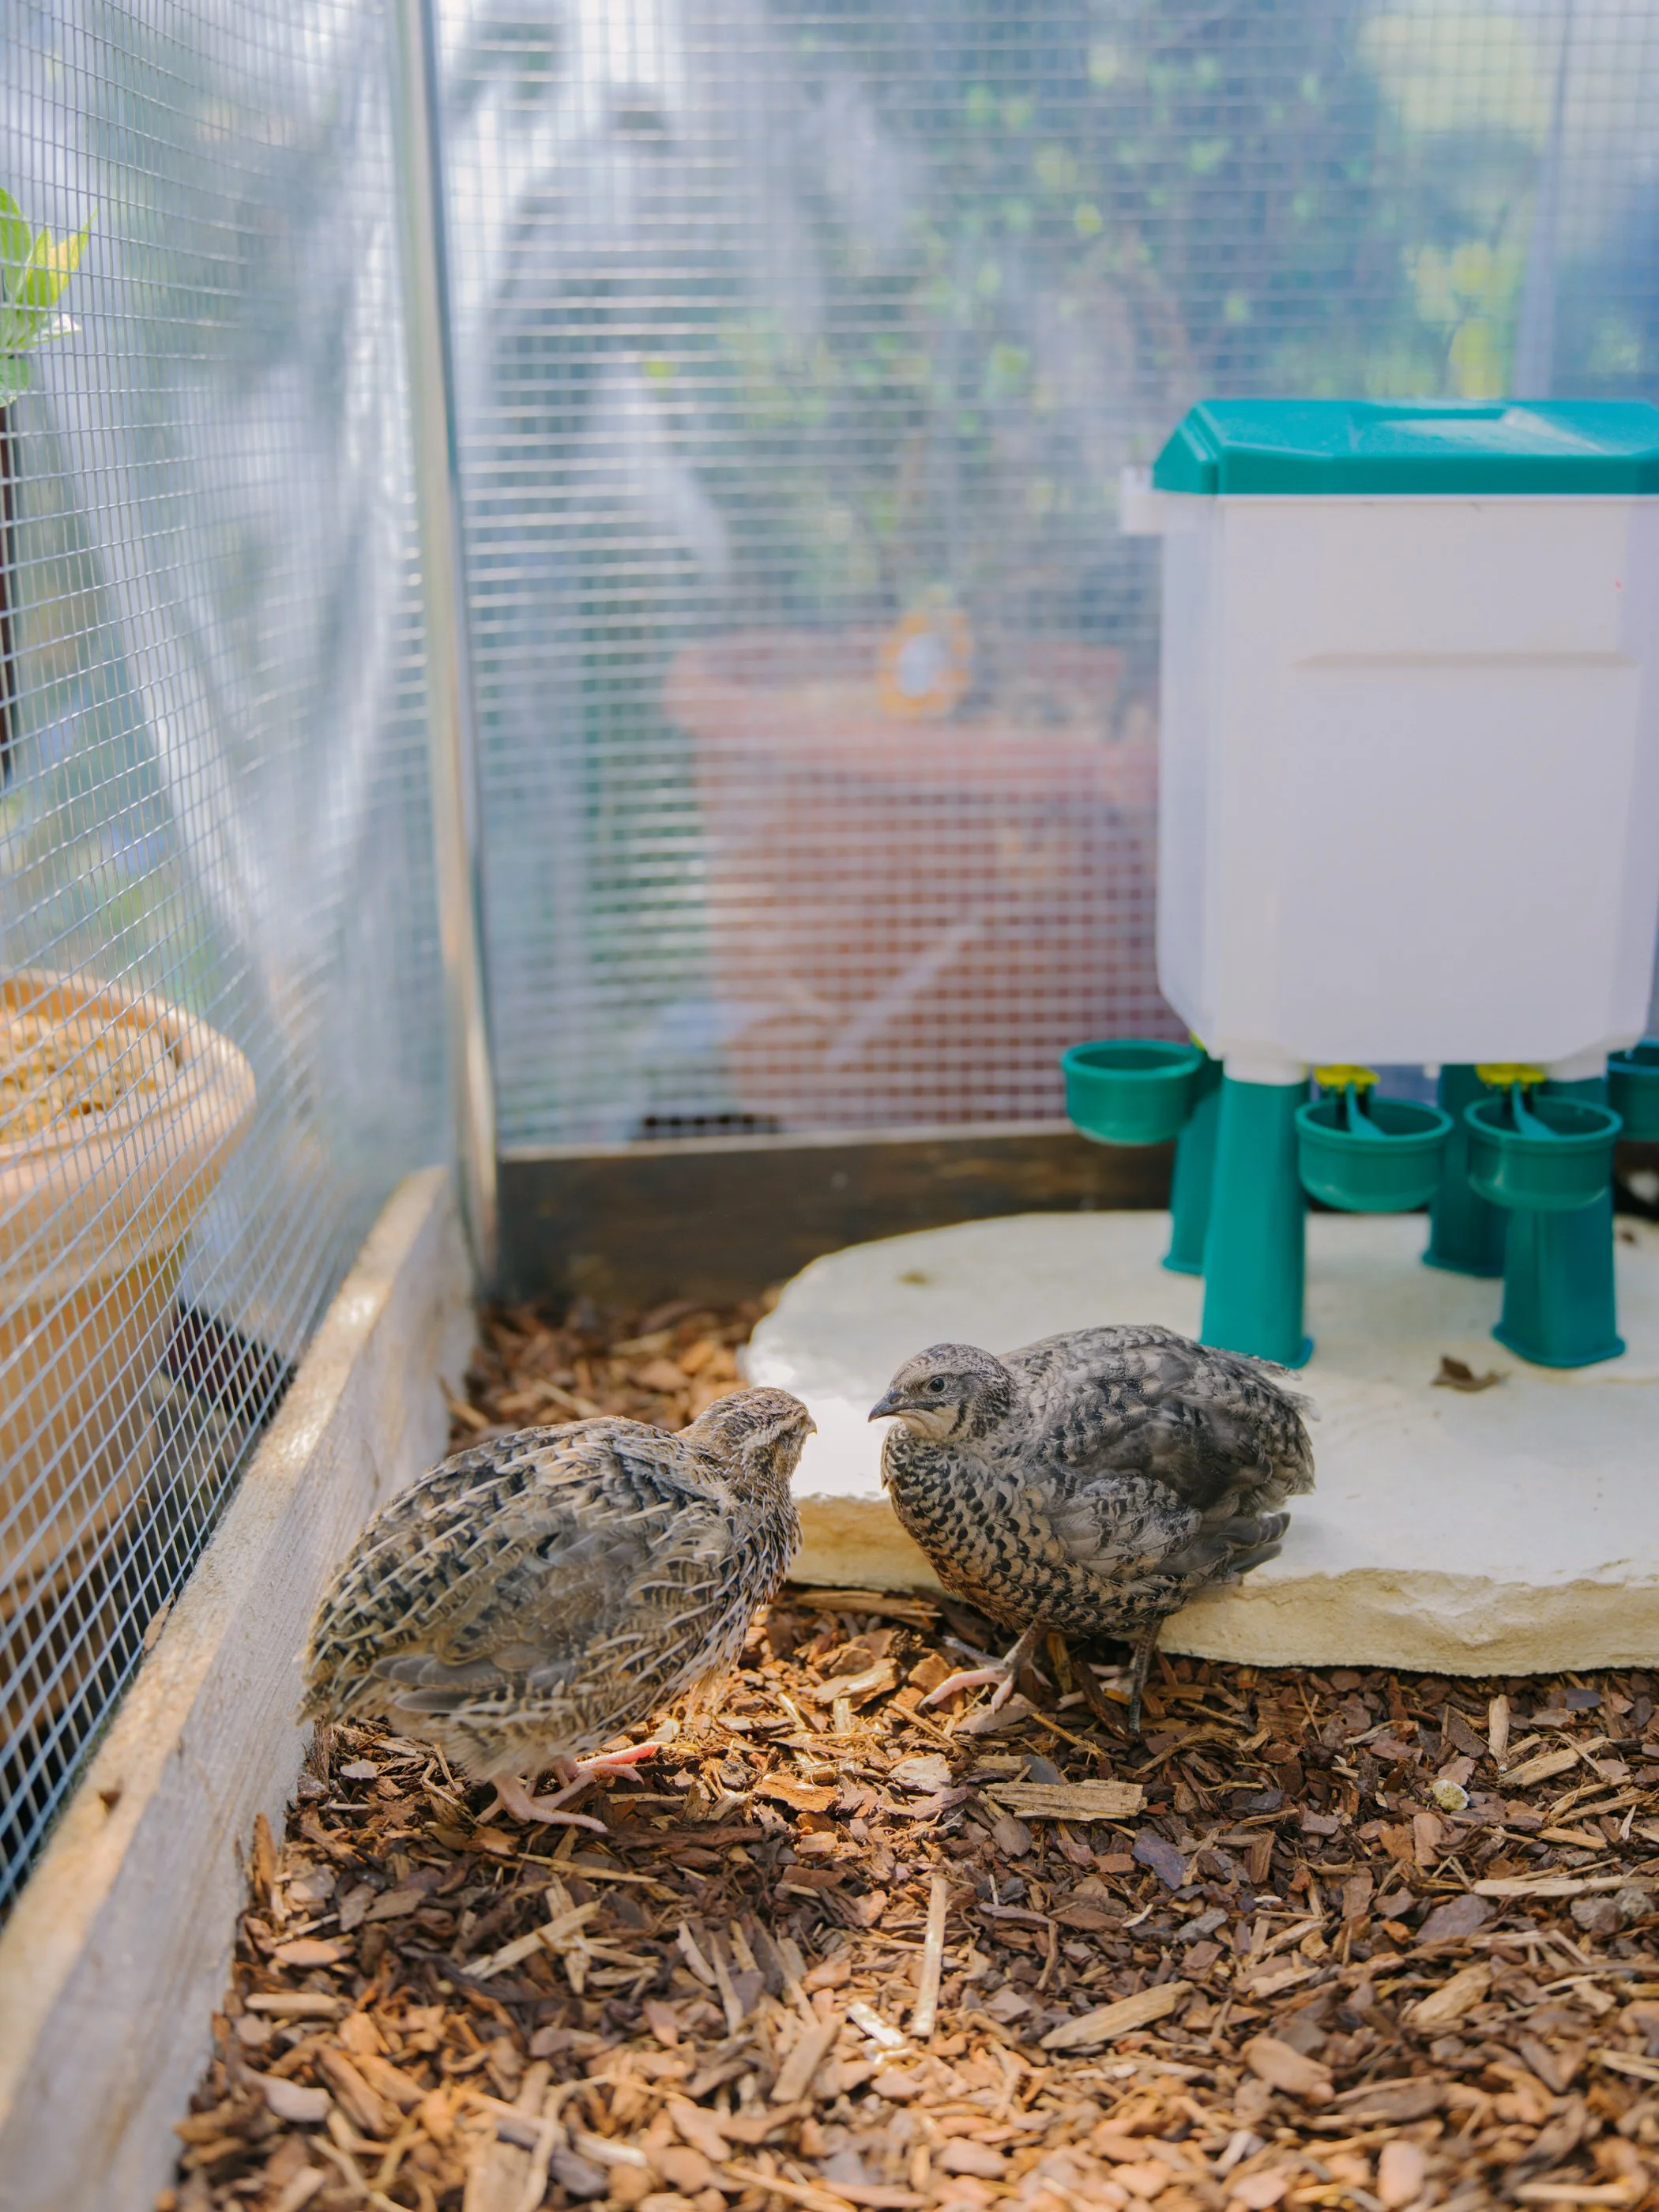
Water is just as important as feed, and it has to be clean at all times. Quails tend to make a mess, so water gets dirty quickly. If they don’t have access to clean water, they will eat less, grow slower, and egg production drops. Especially in warm weather, water hygiene becomes critical.
In addition to their main feed, you can give small extras, but this should always stay a supplement, not the main diet. Things like finely chopped greens, herbs, or small insects can be great enrichment and provide variety. But too many treats can unbalance their diet, so it’s better to keep their main nutrition consistent and controlled.
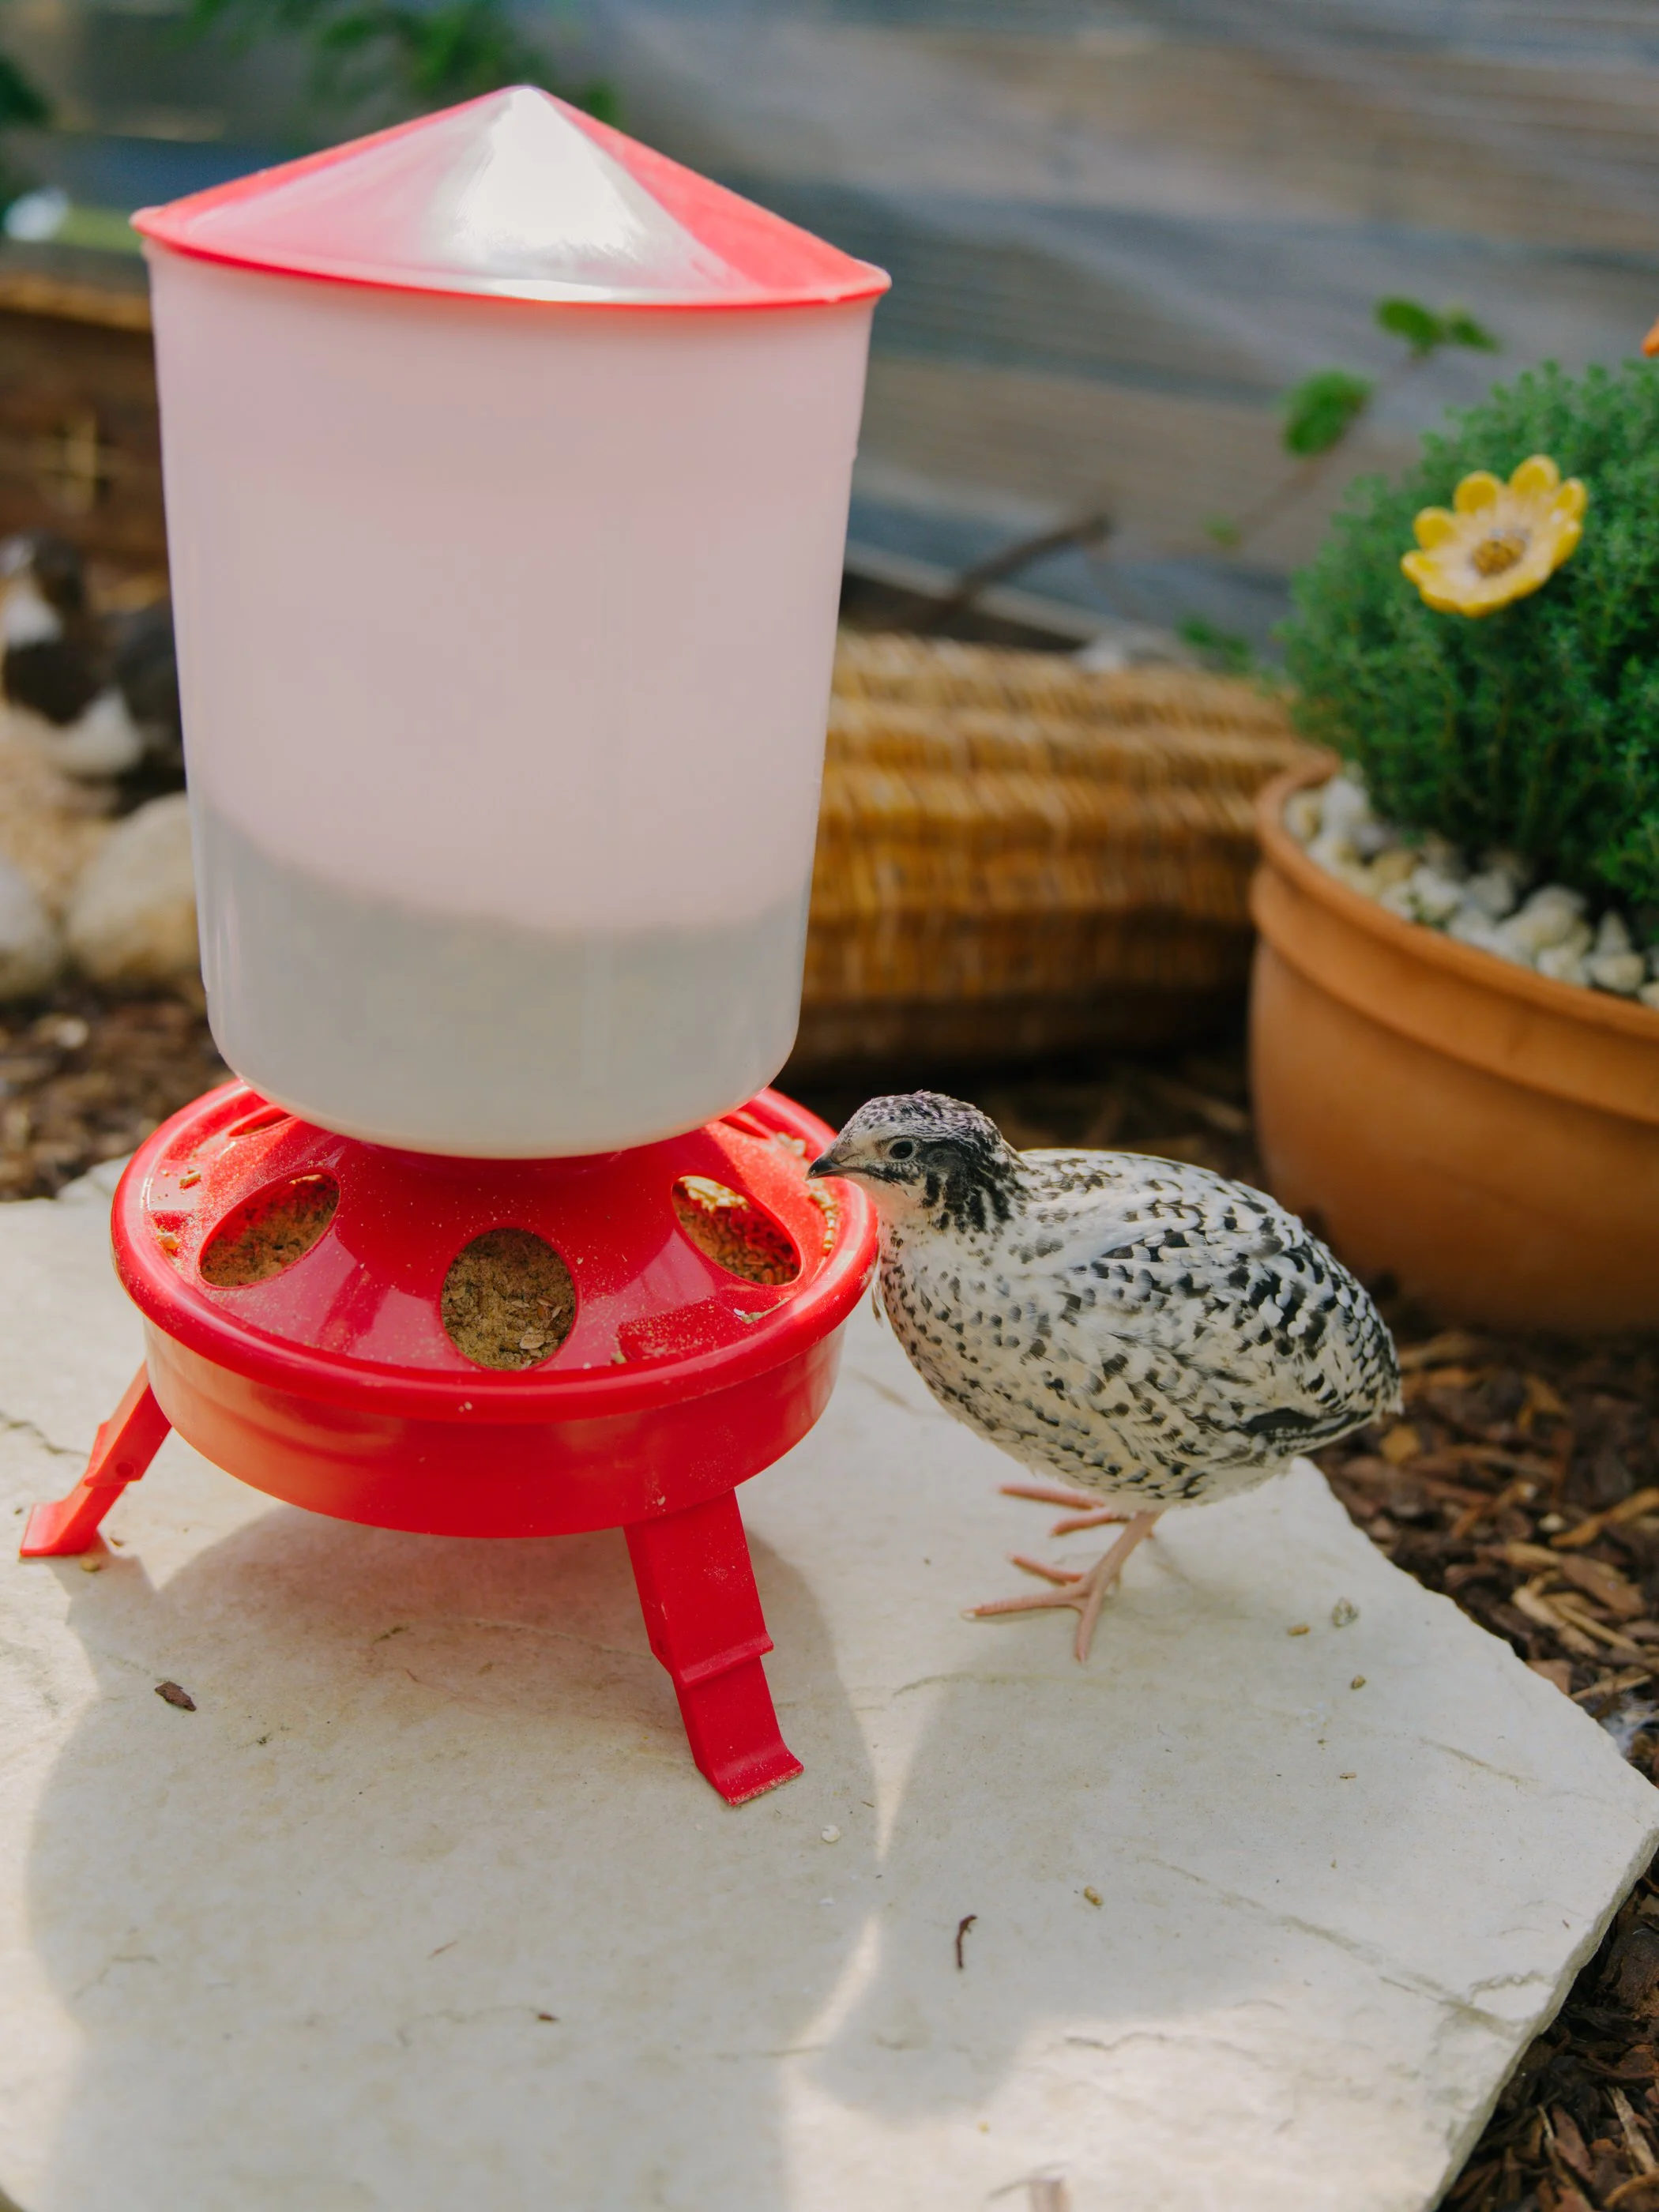
Another important detail is feeder setup. Quails like to scratch and scatter food, so if the feeder isn’t designed well, a lot of feed gets wasted. Using feeders that limit spillage not only saves money but also keeps the coop cleaner and reduces mold or bacteria buildup from leftover food on the ground.
Finally, consistency is key. Quails do best when they have constant access to the same quality feed. Sudden changes in diet can stress them and even affect egg laying. So whenever you switch feed types, it’s best to do it gradually over a few days.
In the end, feeding quails is about matching their diet to their life stage - high protein when they grow, balanced nutrition when they mature, and enough calcium when they start laying - while keeping everything clean, consistent, and stress-free.
I license my music on Artlist & Epidemic Sound! Click the link below to get 2 extra months free :)
https://share.epidemicsound.com/npm4hd
https://bit.ly/3NgdrIY
Sign up my Youtube Membership to access to exclusive content & perks :)
https://www.youtube.com/@Her86m2/membership
SUPPORT ME SO I CAN CREATE MORE QUALITY CONTENT / ỦNG HỘ MÌNH LÀM TIẾP NHỮNG NỘI DUNG NHƯ NÀY:
https://paypal.me/ThuThuyDao
https://buymeacoffee.com/her86m2
https://www.patreon.com/her86m2
PHOTO EDITING PRESETS FOR LIGHTROOM / PRESETS CHỈNH ẢNH:
BUYING PRINTS / MUA ẢNH IN MÌNH CHỤP:
https://www.her86m2.com/print-shop
STAY CONNECTED / KẾT NỐI VỚI MÌNH:
Website: https://www.her86m2.com
Facebook: https://www.facebook.com/th.thuydao
Instagram: https://www.instagram.com/thuydao__/